ARC Raiders Shield Mastery Guide: Complete Breakdown of Mechanics, Weapons & Loadouts
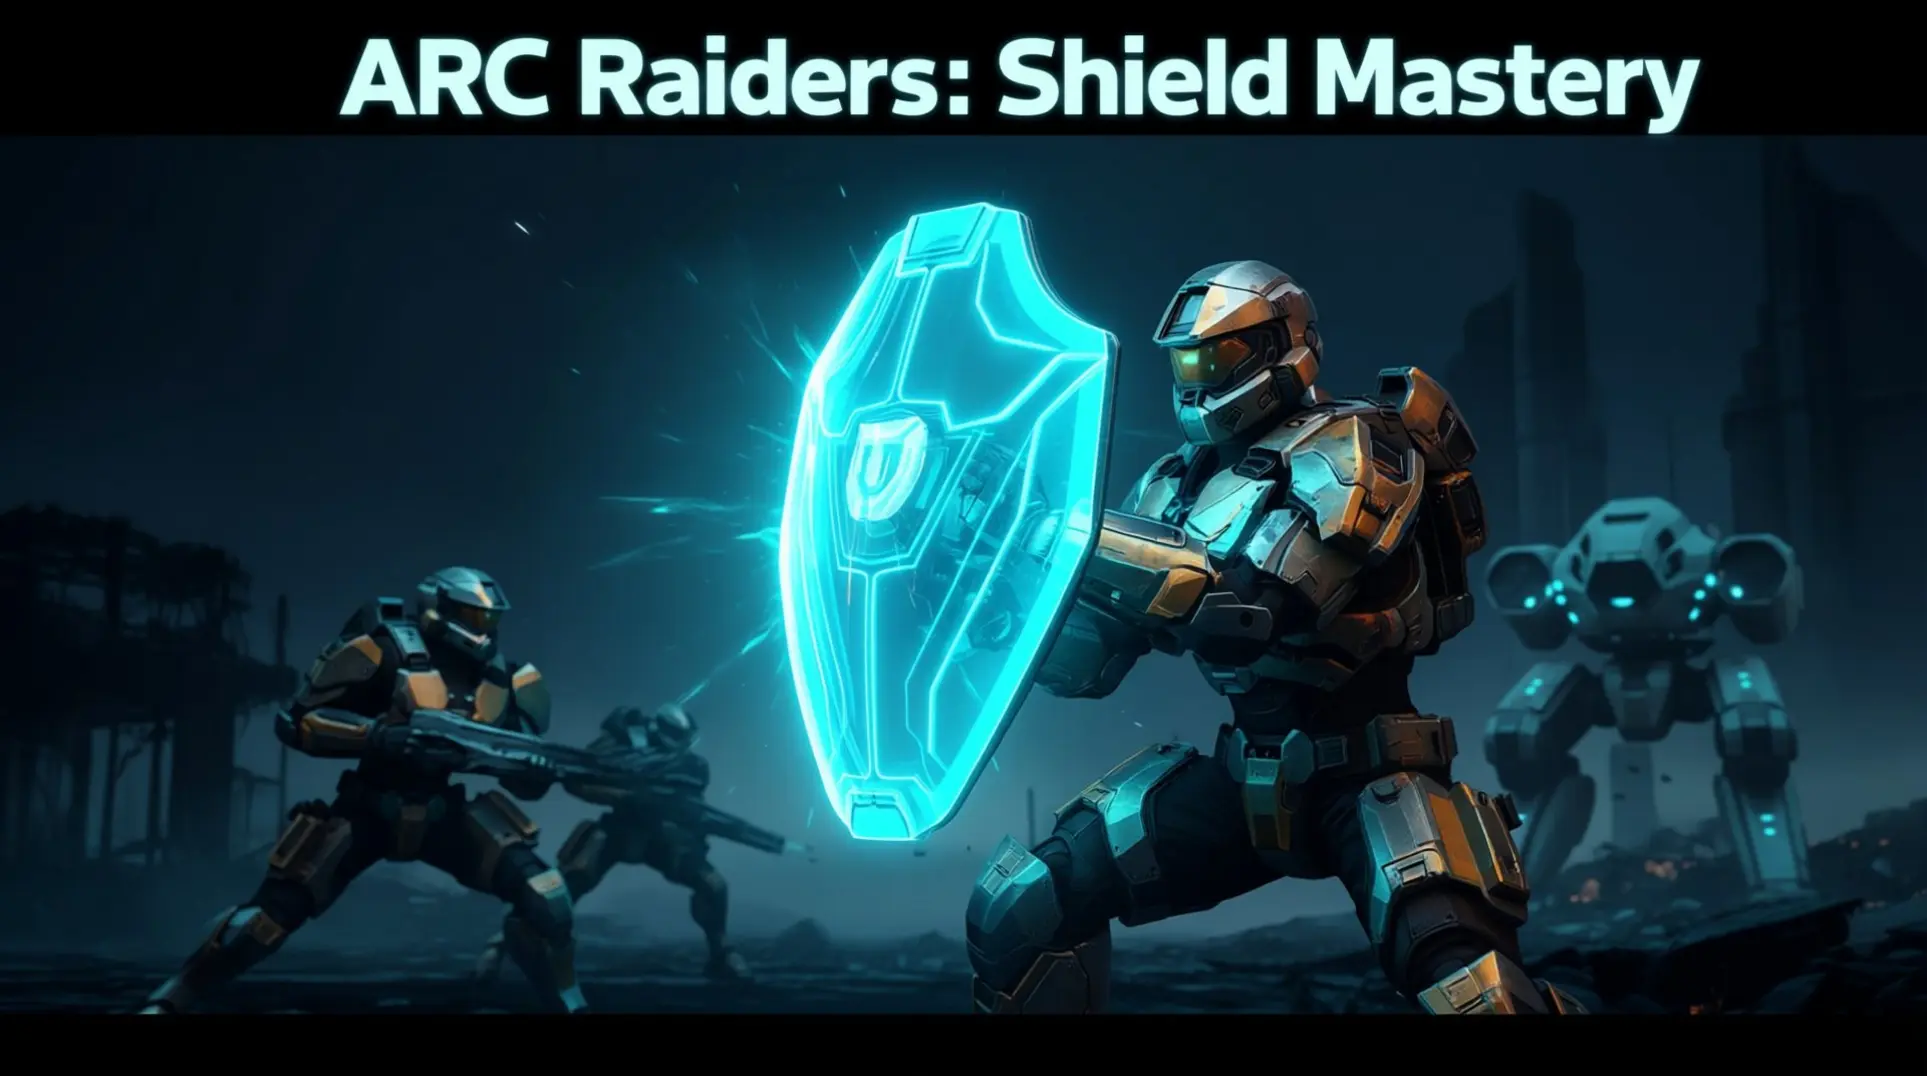
Shields in ARC Raiders are your first line of defense, but misunderstanding how they work is a quick way to lose a fight. The mechanics of damage mitigation, ammo types, and shield-breaking weapons are often confused, leading to ineffective loadouts. This guide cuts through the myths to show you exactly how to strip shields efficiently and build the right kit for any combat scenario.
Understanding the Core Mechanics: Penetration vs. Shield Damage
The Critical Misconception: Ammo Type Doesn't Affect Shield Damage
Let's get one thing straight right out of the gate, because it's a huge source of confusion: your ammo type doesn't matter against shields. I know you've probably heard that Light, Medium, or Heavy ammo might have some secret interaction with shield mitigation, but that's just not how the math works.
The community has put this through rigorous testing, and the results are clear. The shield's damage reduction is a flat percentage that applies to the weapon's base damage, full stop. It doesn't care if you're firing a peashooter or a cannon.
Here's the breakdown of what's real versus what's just a rumor:
- The Myth: Specific ammo types can ignore or shred shield damage reduction.
- The Reality: The core damage reduction formula applies consistently, regardless of whether you're using Light, Medium, or Heavy ammo.
Think of it this way: ammo types are for punching through armor or hitting weak points, but when it comes to the shield itself, it's all about raw damage numbers. The shield just takes its cut off the top before any of that damage touches your health.
How Shield Mitigation Actually Works
So, if ammo type is a red herring, what's actually happening when you get shot? It's a simple but brutal calculation that you need to understand to survive. The most important thing to remember is that shields are not overshields. You can absolutely die with charge still left in your shield.
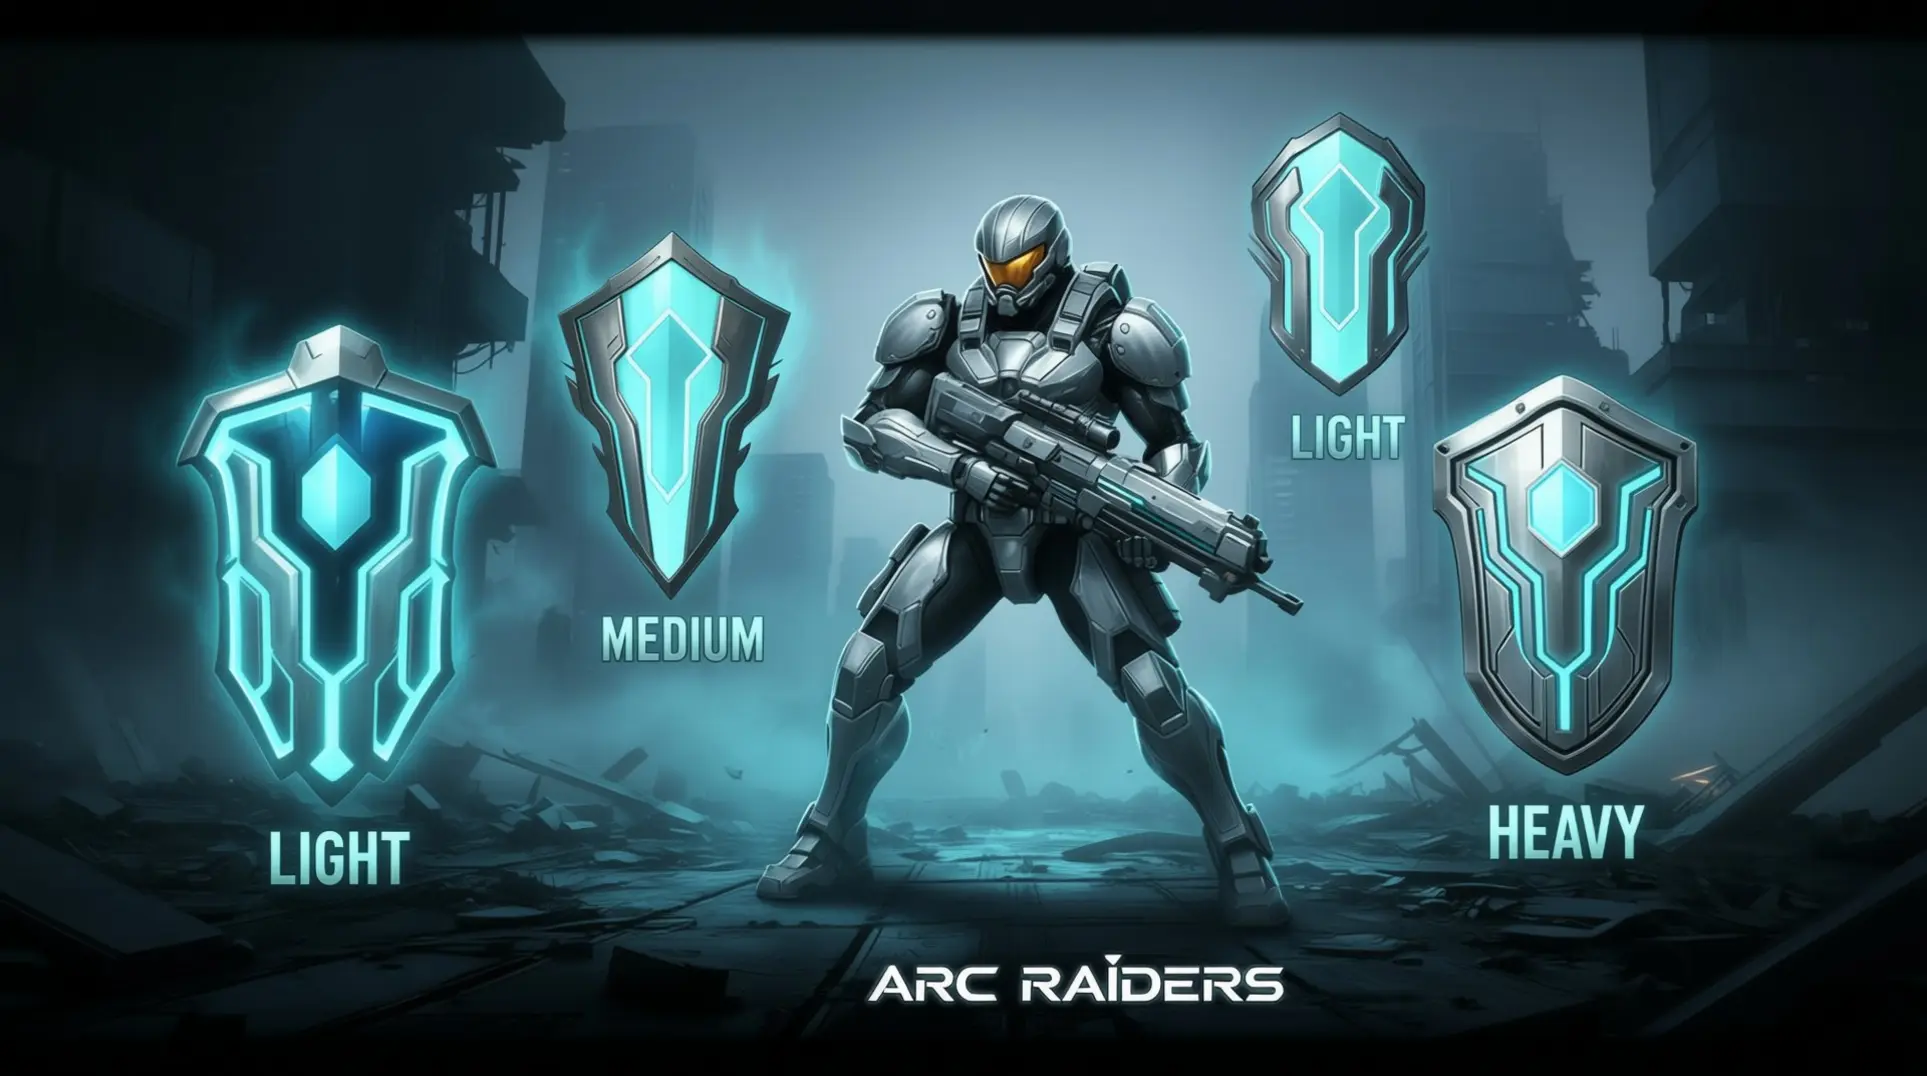
Here's the step-by-step of what happens when a 10-damage bullet hits you while you have a Light Shield (which has 40% mitigation and 40 charge):
- The Shield Takes the Hit First: The game looks at the incoming damage (10) and subtracts that directly from your shield's charge. Your shield charge drops by 10.
- You Still Feel the Punch: At the same time, the game calculates the damage that gets through the shield's deflection. For a Light Shield, that's 40%. So, you take 6 damage to your health (10 * (1 - 0.40)).
This is the crucial part that catches people off guard. That 6 damage is applied to your health simultaneously with the shield charge reduction. It's not a buffer that eats the whole hit; it's a tax you pay on every single point of damage taken. So even if your shield bar looks healthy, a few quick shots can drop you because that health damage is always piling up in the background.
Ammo Types: Their True Purpose Against Different Targets
So, you're trying to figure out which bullets to bring to a firefight, huh? It's not just about what feels good to shoot; the game is quietly pushing you to match your ammo to the enemy. You've got three main types, and while they all hurt, they're built for very different jobs. Let's break down why you should be swapping between them.
Light Ammo: The PvP Specialist
If you're planning on hunting other players, this is your go-to. Light ammo absolutely shreds human Raiders, but the second you point it at one of those ARC machines, you're going to notice something frustrating: your bullets just don't seem to stick. It has very weak penetration against their armor, so you're better off saving it for a human showdown.
This is why you see weapons like the Bobcat SMG and the Stitcher built around it. They have a blistering rate of fire that can melt another player's health bar in seconds, but trying to use them to take down a big robot is just going to waste your ammo and give away your position.
Heavy Ammo: The ARC Armor Breaker
On the complete opposite end of the spectrum, this is your dedicated robot killer. Heavy ammo is all about punching through thick ARC plating. It might not have the fire rate of the light ammo weapons, but every shot that lands is doing serious work against those machines.
When you're running PvE content, bringing a Ferro or an Equalizer is basically mandatory. The game's mechanics are pretty clear: heavy ammo has "good penetration" while light ammo is "bad" against these targets. You're not just scratching the paint; you're actually breaking through their defenses and shredding them.
Medium Ammo: The Balanced Choice
Of course, you can't always predict what you're going to run into. That's where medium ammo comes in. It's the versatile, jack-of-all-trades option that doesn't excel in any one area but never really lets you down, either. It's got moderate armor penetration, which means it works decently against both Raiders and ARC units.
This is the perfect choice for players who want flexibility. You won't be the absolute best in a pure PvP fight, and you'll take a bit longer to down a robot than a heavy ammo user, but you also won't be completely helpless if your target changes. It's the "more or less balanced" pick that keeps you ready for anything.
S-Tier Shield Breakers: The Meta Choices
When you're looking to crack shields fast, two guns immediately stand out from the crowd. First up is The Anvil, and don't let its Uncommon rarity fool you—this heavy pistol is an absolute monster. It packs 40 base damage per shot with a 6-round magazine, which means it can actually one-shot light shields (since those sit at 40 HP). What really makes it special is the heavy ammo type, giving it fantastic armor penetration that shreds both player shields and ARC armor plating. Community testing even shows it outperforms a lot of assault rifles purely because that high per-shot damage scales so well.
Then you've got the Bettina assault rifle, an Epic-tier beast that's basically the big brother to the Anvil. It uses heavy ammo too and has top-tier ARC armor penetration, making it a versatile choice whether you're fighting players or machines. What I love about the Bettina is its hybrid utility—it handles both shielded raiders and armored ARCs with equal ease, so you're not constantly swapping weapons between PvP and PvE encounters.
High Fire Rate Options for Rapid Shield Depletion
If you prefer overwhelming shields through sheer volume of fire instead of big single hits, SMGs are your best friend. The Stitcher is the king here with a ridiculous fire rate over 900 RPM. It'll break medium shields in about 19 bullets, which translates to roughly 0.5-0.8 seconds of sustained fire if you're landing your shots on blue shields.
The Torrente SMG is a bit more stable with manageable recoil and about 220 DPS. It's surprisingly ammo-efficient, breaking green shields in just 3-4 bullets and blue shields in 5-7. For a budget option that still puts in work, the Rattler hits 950 RPM and needs 4 bullets for green shields or 6-7 for blue ones. It's not flashy, but it's reliable pressure when you need to strip shields quickly.
Shotguns: The Close-Range Shield Destroyers
Shotguns live in a world of high risk and absolutely massive reward. The Vulcano Epic semi-auto shotgun delivers 49.5 damage per pellet, meaning it can delete light-shield raiders in two quick shots at close range. That's faster than most SMGs can strip shields in CQC, especially once you upgrade it to boost that already solid 26.3 RPM fire rate.
Just remember that shotguns have brutal damage falloff beyond 10-15 meters, so you've got to commit to aggressive positioning to make them work. The Il Toro is a close competitor that performs similarly, and both of these shotguns absolutely dominate indoor combat by two-tapping light shields and punishing anyone dumb enough to peek a corner against you.
Optimal Loadouts for Different Combat Scenarios
PvP-Focused Loadout: Maximizing Shield Break Speed
When you're up against other players, breaking their shields fast is the name of the game. You want to overwhelm them before they can react, and for that, you need weapons that fire quickly and shred that initial protection.
The community is pretty much in agreement that the Anvil is the king here. It's being called the 'AK47 of ARC Raiders' for a reason—it's just insanely reliable and pumps out damage like crazy. If you're looking for a combo to run, pairing the Anvil with the Vulcano shotgun is a nightmare for anyone getting in your face. That shotgun can drop a shield in one or two blasts, especially if you slap on a choke and laser sight.
For those mid-range skirmishes, the Bettina is your best friend for chipping away at shields before you push in. The real secret sauce, though, is sticking to light and medium ammo weapons. They have the fire rate and DPS to melt shields way faster than heavy ammo guns, which is crucial when every second counts. A popular solo strategy is opening with the Torrentus from a distance and then swapping to the Anvil to finish the job once you close the gap.
PvE-Focused Loadout: Shield Break + ARC Penetration
Fighting the ARC is a different beast. You can't just rely on raw damage; you need to think about breaking shields and then punching through their robotic armor. This is where a dedicated two-weapon setup really shines.
Your primary goal is to get those shields out of the way, and the Bettina is fantastic for that job. Once the shield pops, you need something heavy to deal with their armor. That's where the Ferro comes in—it's a workhorse for mid-range that handles both shielded and unshielded enemies with ease.
But if you're getting serious about farming, you should consider specialized tools. The Equalizer is a beam weapon built specifically to tear through ARC, while the Hullcracker has explosive capabilities that are perfect for erasing armored units. The smart play is to carry one high-DPS weapon for shields and swap to a dedicated ARC-penetrating weapon for the armor phase.
Balanced Solo Loadout: Versatility for All Encounters
When you're running solo, you don't have teammates to cover your weaknesses, so your loadout needs to be a jack-of-all-trades. You need something that can handle a shielded player one moment and an armored ARC the next without making you feel underpowered.
This is where the Anvil really proves its worth. It's not just a PvP monster; it's the ultimate balanced solo weapon. It breaks shields effectively and has enough punch to deal with ARC armor, so you're not completely helpless if you get ambushed by PvE while fighting a player. Pairing it with a Torrentus gives you incredible flexibility, letting you engage from range or up close.
If you're watching your resources, the Ferro is an 'insanely versatile' secondary that won't break the bank. Just remember, going solo means you need to prioritize your own survival. Pack medium shields and bring at least 5-10 Herbal Bandages for self-revives. Luckily, the Anvil is pretty ammo-efficient, so you won't burn through your entire supply in one bad fight.
Advanced Tactics: Shield Types and Counter Strategies
Countering Light Shields (40% Mitigation)
Light shields barely slow you down, which means users can dodge and weave like crazy. The trade-off is they only block about 40% of incoming damage, and their charge pool is tiny. This is where you punish them—sustained fire tears through these things before they can reposition.
Your best bet is anything with a high fire rate. SMGs and rapid-fire assault rifles absolutely melt light shields since you can dump a full magazine before they can blink. More bullets per second equals faster shield break, which means you're hitting their health bar sooner rather than later.
Countering Heavy Shields (60% Mitigation)
Heavy shields are a different beast entirely. These suckers block roughly 60% of damage and come with 80 shield charge, but there's a catch—they slow you down by 15%. That movement penalty makes heavy shield users sitting ducks if you play it right.
You've got two solid approaches. Option one: brute-force with high per-shot damage weapons like the Bettina or Ferro that can punch through the mitigation. Option two: exploit their sluggishness by flanking with an LMG and keeping constant pressure. The Vulcano shotgun is the real hero though—it can strip a heavy shield completely in one close-range blast, which means you can delete someone before they even realize you're there.
Shield Recharge Management in Combat
Here's what trips up most players: shields don't regenerate on their own. You can't just hide behind cover and wait—you have to actively recharge them with Arc Power Cells or crafted rechargers.
You've got two options, and timing matters. Standard Shield Rechargers give steady regeneration, perfect for those brief lulls between fights. Surge Shield Rechargers dump all the charge instantly, which is clutch when you're mid-combat and about to get cracked. The catch is you need materials—Arc Power Cells drop from defeated ARC enemies, and you'll want to combine them with rubber to craft the basic rechargers. So yeah, farming those cells consistently is pretty much mandatory if you want to survive long-term.
Common Mistakes and How to Avoid Them
Mistake #1: Using Heavy Ammo for Shield Breaking
Here's a myth that refuses to die: heavy ammo breaks shields faster. It won't. Shields in Arc Raiders couldn't care less about penetration—they just eat flat damage based on your weapon's base stats. The only reason heavy ammo feels better is those big numbers per shot, but there's zero hidden mechanic giving it an edge. The game literally tells us "No shield penetration or other stats—just damage," so you're burning through rare heavy ammo for no benefit.
Mistake #2: Ignoring Weapon Damage for Shield TTK
So if penetration is a lie, what actually cracks shields? Pure, unfiltered DPS. This is where most players get it backwards—they see a slow cannon with huge damage and think "shield killer," but the Ferro or Anvil will tear through shields way faster thanks to their fire rate. And here's what the spreadsheets won't tell you: accuracy matters just as much as raw damage. A fast weapon that lands every shot will always beat a heavy hitter that sprays wild, especially when you're calculating time-to-kill.
Mistake #3: Not Adapting Loadout to Enemy Type
Alright, now that shields are handled, let's talk about what happens after they pop—because this is where ammo type actually matters. See, Raiders (the human enemies) melt under light ammo thanks to better handling and fire rate. But ARC machines? They've got armor plating that demands heavy ammo's per-shot punch. The smart move is matching your loadout to the fight: bring something versatile like the Anvil for mixed encounters, but don't be afraid to specialize when you know you're facing pure PvP or PvE.
Mastering shields comes down to understanding the flat damage reduction formula and choosing weapons based on raw DPS, not penetration myths. Pair this knowledge with the right ammo for your target—light for Raiders, heavy for ARC—and you'll dominate both PvP and PvE. Now, gear up and break some shields.
More Arc-Raiders Guides
ARC Raiders Shield Mechanics: Complete Damage Calculation & Strategy Guide
Master ARC Raiders' shield system with our complete guide to damage calculation, shield types, recharge mechanics, and PvP strategies for optimal survival.
ARC Raiders Extraction Guide: Mastering the 30-Minute Timer, Grace Period & Bug Workarounds
Complete guide to ARC Raiders extraction mechanics: Learn how the 30-minute timer works, grace period secrets, current bugs, and proven strategies for successful escapes.
ARC Raiders Raider Hatch Bug: Complete Fix Guide
Master ARC Raiders extraction with our comprehensive guide to Raider Hatch bugs, symptoms, fixes, and proven workarounds for seamless gameplay.
AI Tactical Companion
Consult with our specialized tactical engine for Arc-Raiders to master the meta instantly.