Baldur's Gate 3 Puzzle Solutions: Faith Leap & Necrotic Lab Guide
Baldur's Gate 3 presents some of the most challenging and rewarding puzzles in modern RPG gaming. From Shar's spiritual tests to complex neural networks, these brain-teasers require careful observation, strategic thinking, and sometimes a leap of faith—literally. This comprehensive guide covers the solutions to the game's most notorious puzzles, including the Faith Leap Trial, Necrotic Laboratory brain mapping, Ornate Mirror dialogue, and various protected chest mechanics.
Mastering Shar's Gauntlet: Faith Leap Trial Walkthrough
The Challenge of the Invisible Path
The Faith Leap Trial in Baldur's Gate 3's Gauntlet of Shar tests your courage across an invisible path above a deadly abyss. To claim the Umbral Gem, you must navigate this spiritual trial using one of three primary methods.
Methods to Reveal the Path
You can use several methods to reveal the hidden walkway:
- Cast See Invisibility or True Sight to reveal the hidden tiles.
- Activate the portal with an Umbral Gem from previous trials to briefly illuminate the walkway.
- Study the subtle floor markings between the entrance and Ancient Altar—they become more visible in darkness and show the safe path pattern.
Recent Changes and Best Practices
Recent Patch 7 changes have increased the challenge. The patch removed the "cheese" method of clicking the final platform, but did not nerf Lathander's Light cantrip, which still reveals the path.
For the best results, follow these tips:
- Use Turn-Based Mode for precise movements.
- Save frequently to avoid frustrating reloads after instant deaths.
- Examine the floor carefully.
Characters with detection spells or high perception will have an advantage in this infuriating but authentic test of faith.
Necrotic Laboratory Brain Puzzle Complete Breakdown
Puzzle Location and Objective
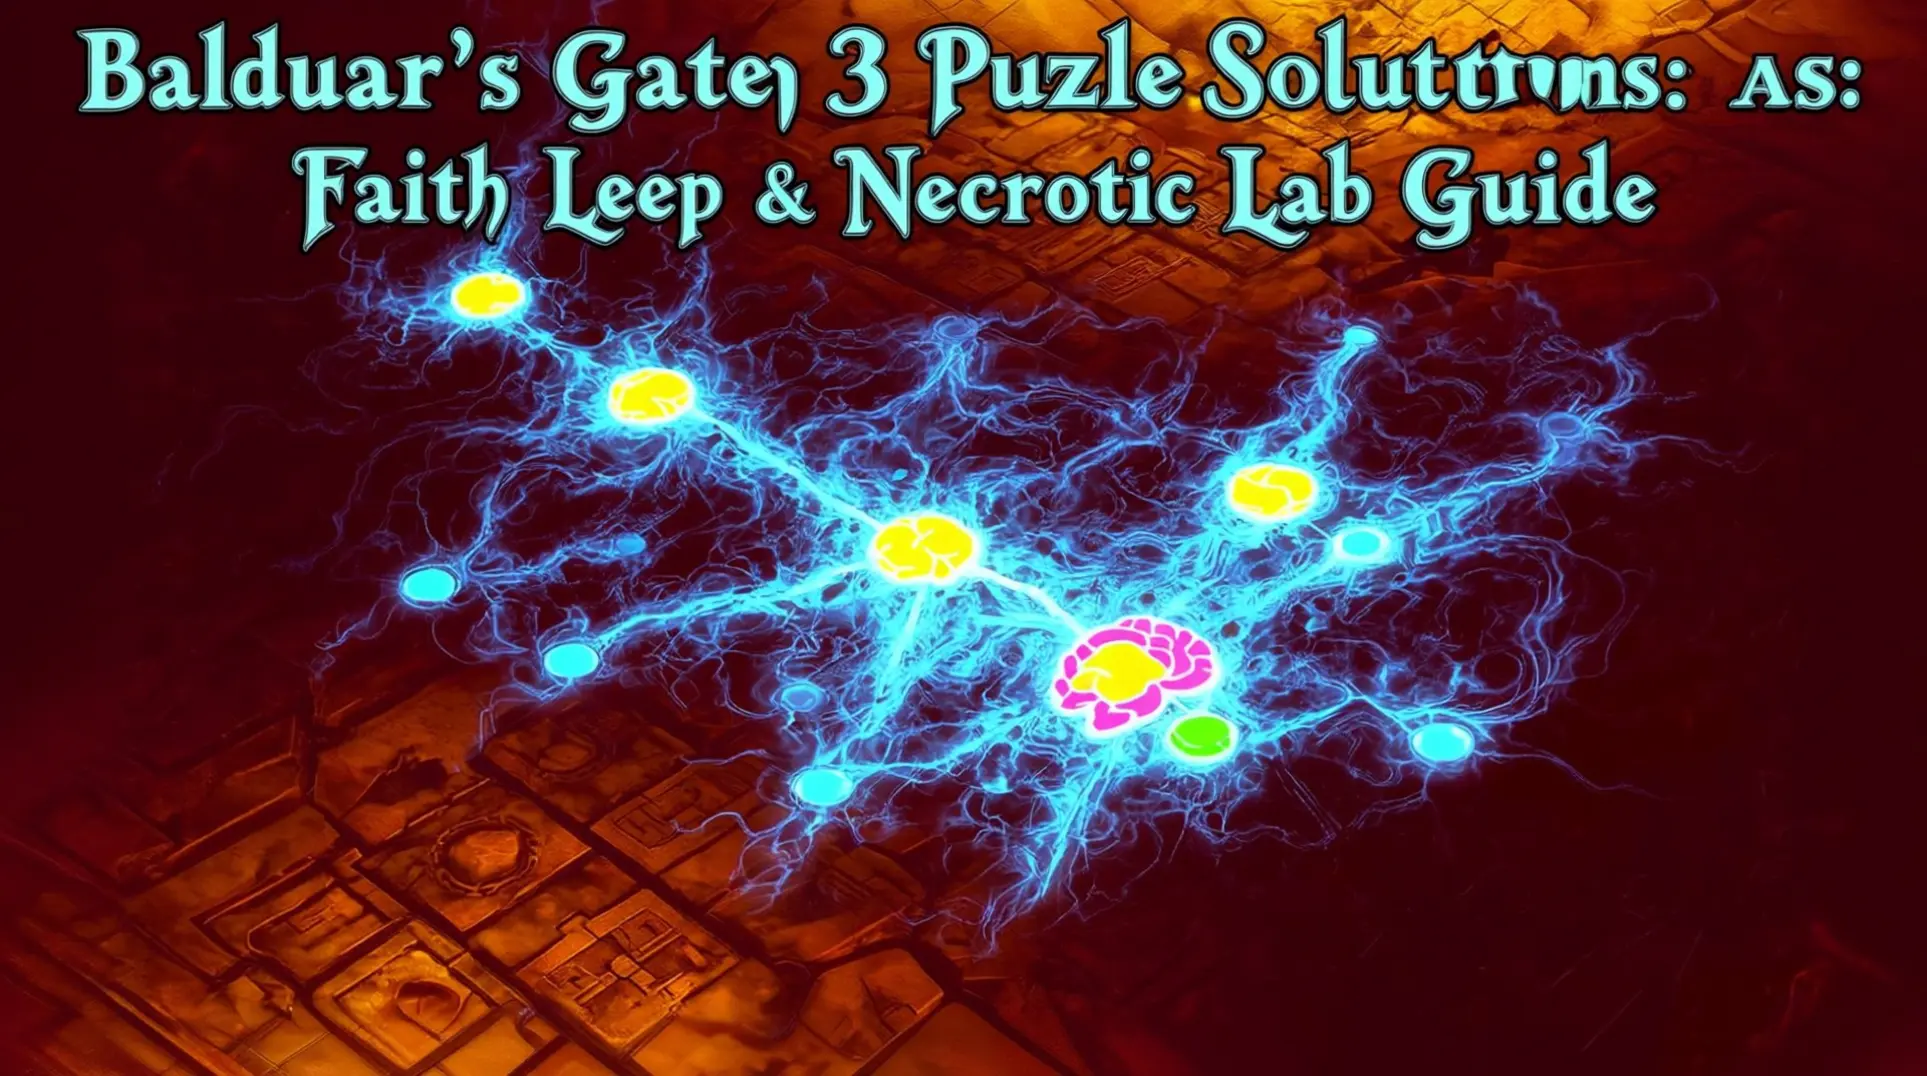
The Necrotic Laboratory brain puzzle, also known as the Brain Mapping Puzzle, is one of the most challenging spatial puzzles in Baldur's Gate 3. It is located in the southeast section of the Necrotic Lab within the Mind Flayer Colony during Act 2.
This puzzle requires players to connect four colored brain centers through a complex neural network without overlapping pathways.
Starting the Puzzle
To begin, locate the terminal console near the circular chasm in the Necrotic Laboratory. Interact with it and choose to start "manipulating a captive mind" when prompted. The puzzle involves connecting four distinct brain functions:
- Reason (Purple)
- Memory (Green)
- Emotion (Yellow)
- Speech (Blue)
Correct Pathway Solutions
According to multiple gaming guides, the correct pathway solutions are specific.
- For the Reason (Purple) pathway, start from the right neuron and continue straight until reaching the end.
- The Speech (Blue) pathway goes straight initially, then takes an immediate right turn.
- The Memory (Green) pathway begins by going downward, then makes a right turn after the initial descent.
Key Mechanics and Rewards
Key mechanics to remember include:
- The non-overlapping requirement (paths cannot intersect).
- Single node assignment (each neural node can only be assigned to one color).
- There is no time limit, allowing players to take as long as needed.
Successfully completing this puzzle grants access to the Waking Mind and a permanent Githzerai Mind Barrier buff, providing advantage on all Intelligence saving throws.
Ornate Mirror Dialogue Solutions and Gilded Chest Secrets
Two Unique Interaction Puzzles
In Baldur's Gate 3, two particularly tricky puzzles await: the Ornate Mirror in the Apothecary's Cellar and the protected Gilded Chest of Selune. Both require specific interactions, not combat, to overcome.
Solving the Ornate Mirror Puzzle
The Ornate Mirror guards a hidden laboratory and the powerful Necromancy of Thay. To pass its test, you must answer its questions correctly.
- When asked "What is Balsam Ointment used for?", the correct response is "To clean a wound?" a fact found in the Healer's Log.
- For the query, "Who is Szass Tam?", you must answer "The ruler of Thay" or "A powerful lich," information detailed in the Dark Journal.
- A third question requires you to use environmental clues from the cellar.
Remember, this mirror is immune to conventional combat and psychic damage.
Opening the Gilded Chest of Selune
The Gilded Chest of Selune in the Owlbear Cave is opened not with an Arcana check, but with a prayer.
- First, jump the chasm to find a buried Prayer Sheet and manually add it to your inventory.
- Then, stand near the chest and read the prayer. Note that Shadowheart cannot read it due to her faith, but any other party member can pick up the sheet and use the 'Read' action near the chest to dispel the seal.
Reciting the prayer will break the seal, granting you access to the chest's contents.
Tutorial Chest Puzzle Solutions and Beginner Strategies
The Elaborate Reliquary Puzzle
The Elaborate Reliquary serves as Baldur's Gate 3's introductory locked chest puzzle, located aboard the Nautiloid ship during the game's prologue. This early encounter teaches players core mechanics they'll use throughout their adventure.
You'll find it in the northern room of the Nautiloid, in the same chamber where Shadowheart is trapped inside her pod.
Finding the Solution
Unlike many chests later in the game, the Elaborate Reliquary cannot be picked open - it requires a specific key. To find it, head to the eastern optional room and search interactive corpses. One of the deceased thralls will carry the Gold Key needed to unlock the chest.
Once you have the key, simply interact with the chest while having it in your inventory to claim your rewards: 15 Gold pieces and 1 Onyx gem, which is valuable for selling to merchants later.
Gameplay Lessons Learned
This introductory puzzle establishes important gameplay patterns. It teaches players to explore optional areas for valuable items and introduces key-based mechanics. Don't waste lockpicks trying to open this chest—it won't work.
As you progress, you'll encounter more complex puzzles like the Grymforge Toy Chest which requires creative spell usage, but the Elaborate Reliquary is your perfect introduction to Baldur's Gate 3's puzzle-solving systems.
Advanced Puzzle Solving Strategies for BG3
Understanding Detection Mechanics
Mastering Baldur's Gate 3's intricate puzzles requires understanding its core detection mechanics. The game uses an automatic system that triggers Perception checks (Wisdom-based) when you approach hidden content. This reveals that something exists.
However, Investigation checks (Intelligence-based) are needed to understand what you've found and how to interact with it. This dual-skill approach is crucial for complex challenges like the House of Healing musical puzzle, where Perception uncovers hidden instruments while Investigation deciphers the correct sequence.
Strategic Party Composition
Successful puzzle solving demands strategic party composition. Include at least one character with high Wisdom for Perception and another with high Intelligence for Investigation.
- DualShockers confirms that Perception remains the primary detection skill.
- TheGamer recommends balancing your party with complementary abilities.
When checks fail, simply retry with different characters who have higher relevant attributes.
Environmental Observation Techniques
Environmental observation techniques are equally vital.
- Move your cursor systematically across areas to spot interactive elements.
- Pay attention to texture inconsistencies and visual patterns.
As noted in Reddit community discussions, many players miss content because they don't thoroughly search areas after successful Perception checks. Even in Act 3, players continue discovering hidden secrets through careful environmental scanning, proving that patience and methodical exploration are your most powerful puzzle-solving tools.
Comprehensive Baldur's Gate 3 Puzzle Mastery
Successfully navigating Baldur's Gate 3's diverse puzzles requires a combination of observation, strategic thinking, and sometimes literal leaps of faith. The Faith Leap Trial teaches you to trust environmental clues and use detection spells effectively, while the Necrotic Laboratory brain puzzle challenges your spatial reasoning skills. The Ornate Mirror and Gilded Chest puzzles demonstrate that conversation and investigation often trump brute force.
Remember that party composition matters—include characters with high Perception and Investigation skills to maximize your chances of discovering and solving hidden challenges. Most importantly, embrace the trial-and-error nature of these puzzles. Save frequently, experiment with different approaches, and don't be afraid to consult environmental clues scattered throughout each area. With patience and these strategies, you'll conquer even the most daunting puzzles that Baldur's Gate 3 has to offer.
More Baldurs-Gate-3 Guides
Baldur's Gate 3 Act 1: The Complete Guide to Quests, Companions, and Loot
Master Baldur's Gate 3 Act 1 with our exhaustive guide. Covering essential quests, companion arcs, hidden treasures, and optimal progression to avoid missed content.

Baldur's Gate 3 Evil Playthrough: Ultimate Guide to Endings & Strategy
Master Baldur's Gate 3's evil playthrough with our comprehensive guide covering endings, quest order, party composition, and difficulty strategies.

Ultimate BG3 Character Creation Guide: Build Your Perfect Hero
Master Baldur's Gate 3 character creation with our comprehensive guide covering race-class synergies, visual customization, essential tools, and beginner mistakes to avoid.
AI Tactical Companion
Consult with our specialized tactical engine for Baldurs-Gate-3 to master the meta instantly.