The Shade Evolution & Fusion Guide: Backline 10% Crit
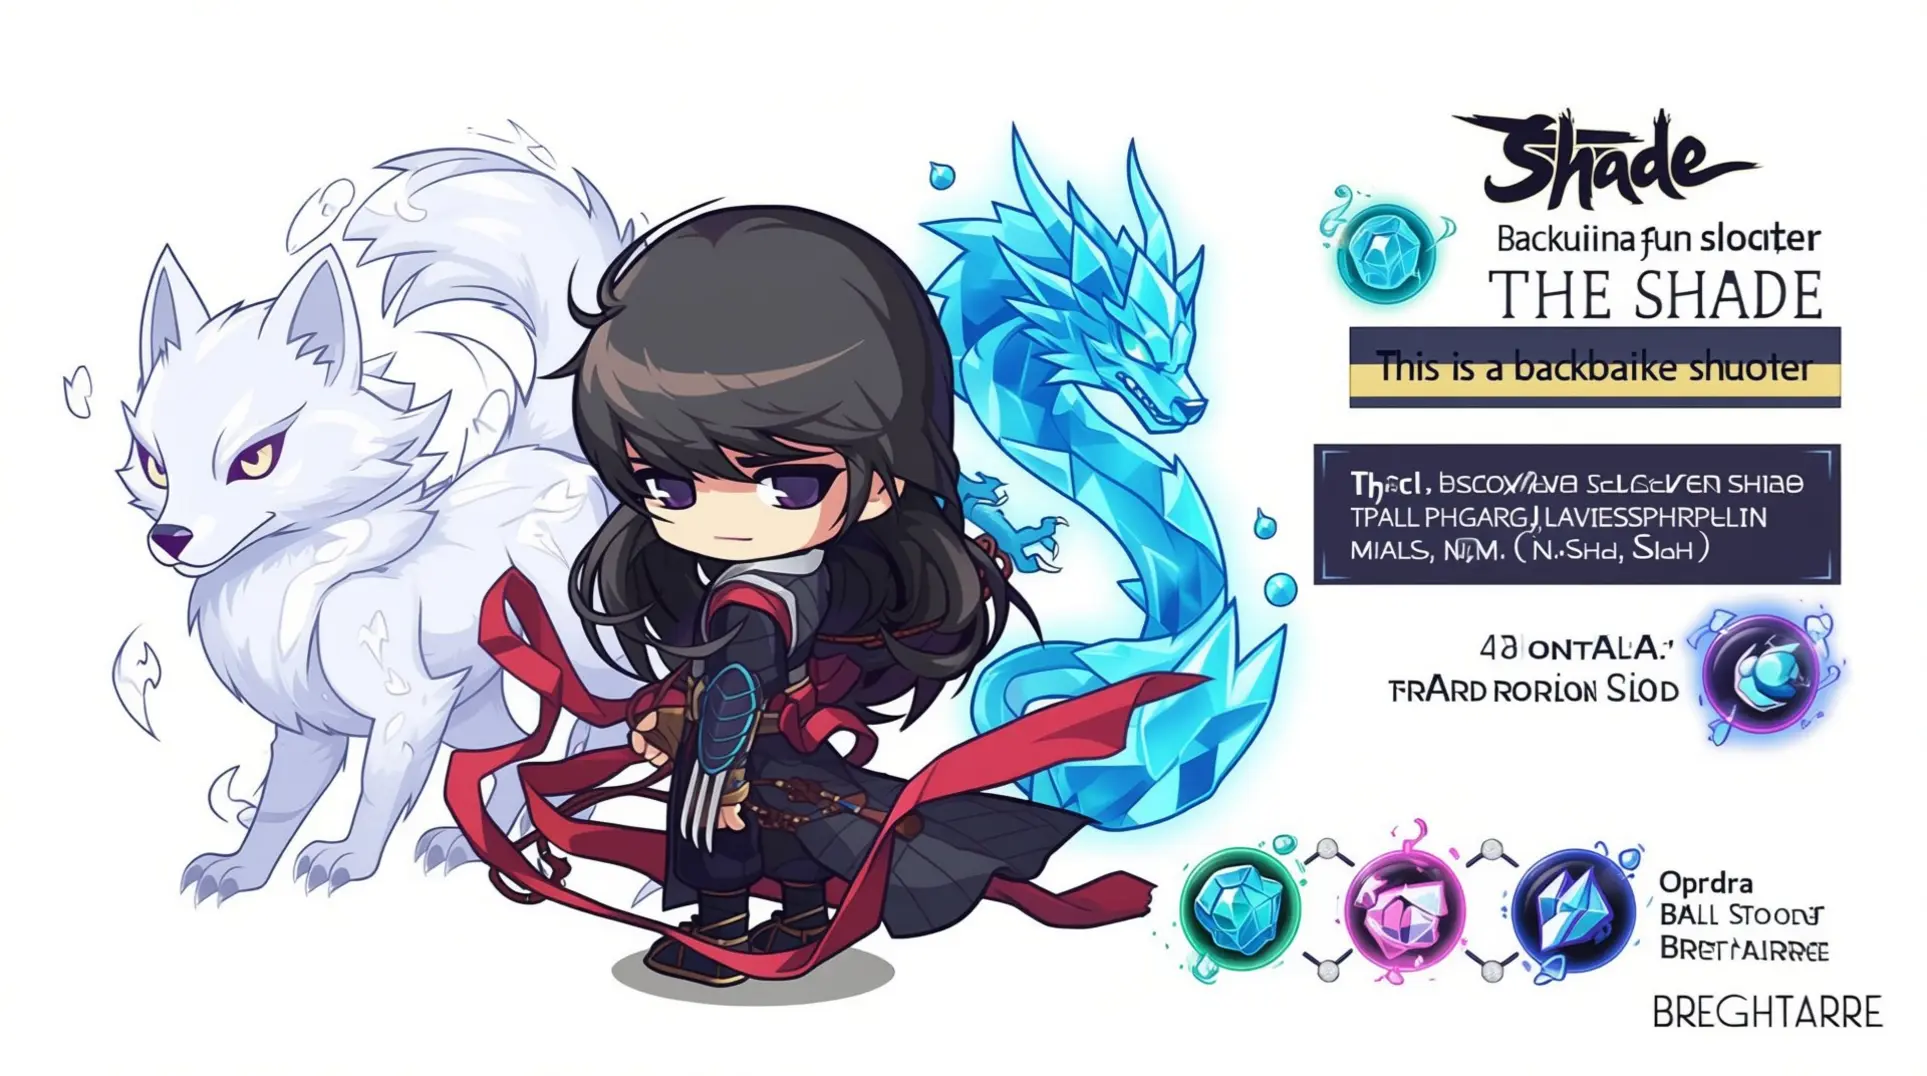
Looking to transform The Shade into an unstoppable backline force? This definitive guide cuts through the confusion to maximize your critical chance to the crucial 10% breakpoint while optimizing every evolution and fusion decision for peak performance. We'll answer your most pressing questions—what are The Shade's best evolutions for raw damage versus utility, which fusion recipes offer the highest DPS returns, and how should your positioning strategy evolve from early game survival through mid-game power spikes to late-game domination? Whether you're just unlocking The Shade or pushing Nightmare+ content, our phase-by-phase progression plans, stat priority breakdowns, and positioning tactics will help you master the backline mechanics and build the perfect critical-hit machine.
The Shade: Core Mechanics and Role in Backline
Mechanics Overview
The Shade is a backline-focused character designed for ranged damage output and critical hit mechanics. This specialized design influences every strategic decision you make during matches. The Evolution system: This system modifies base stats including critical chance, attack speed, and damage output. These progressive modifications let you specialize your build path according to combat needs. The Fusion system: This system refers to combining duplicate V-Matrix nodes to level up skills, a universal mechanic available to all classes. Backline shooting behavior prioritizes enemy positioning and maintains safe distance. This behavior ensures the character stays safe from melee threats while maximizing damage uptime.
- Core stats modified: critical chance, attack speed, damage output
- Fusion enables path combinations for enhanced scaling
- Backline positioning automatically maintains safe distance
Role in Backline Strategy
The Shade operates from rear positions to maximize survival and damage uptime. This deliberate positioning strategy is what defines your effectiveness in team fights. Target prioritization: This focuses on high-value enemies within optimal range. You must identify which targets deserve your limited attention and critical hit potential for maximum impact. Positioning emphasizes maintaining sight lines while avoiding frontline engagement. Your success depends on having clear firing lanes without exposing yourself to direct melee attacks.
- Stay at the rear to maximize uptime and safety
- Prioritize dangerous enemies within optimal range
- Keep sight lines clear while avoiding frontline dangers
Best-in-Context: When The Shade Shines
The Shade excels in map layouts with open sight lines and multiple firing positions. These maps provide the spatial freedom needed to maintain optimal range throughout engagements, making them ideal playgrounds. Enemy patterns: These involve clustered groups that provide optimal critical hit opportunities. When enemies group together, your ranged attacks can efficiently affect multiple targets. Team compositions with tank frontline support maximize The Shade's effectiveness. Tanks absorb damage and create the protective buffer you need to focus entirely on damage output.
- Seek open maps with clear sight lines
- Exploit clustered enemy formations
- Pair with tanky frontline teammates
Evolution Paths: Which Evolutions to Target
Early-Game Evolutions (Phase 1–2)
The early phases demand reliable stat boosts that establish your backline presence. These foundational evolutions prioritize immediate impact over long-term scaling.
- Attack Speed Evolution: Increases fire rate by 15% to maximize damage uptime. More attacks mean more opportunities for critical hits.
- Range Extension Evolution: Adds 20% to optimal shooting distance for safer positioning. This keeps you further from threats while maintaining damage output.
- Survivability Evolution: Provides 10% damage reduction to extend backline presence. This helps you survive longer during early team fights.
Mid-Game Evolutions (Phase 3–4)
Mid-game evolves your build from foundational stats to specialized power spikes. These choices significantly enhance your critical chance and backline damage potential.
- Piercing Shot Evolution: Allows attacks to hit multiple enemies in line. This dramatically increases your team fight impact and wave clear capabilities.
- Enhanced Range Evolution: Extends optimal range by 30% for superior positioning. This further increases your safety margin and allows you to control larger areas.
Late-Game Evolutions (Phase 5+)
Late-game evolutions define your final role in team compositions. These options maximize your combat effectiveness through peak stat optimization and advanced mechanics.
- Shadow Strike Evolution: Provides a 30% back-stab damage bonus when hitting enemies from behind. This creates opportunities to eliminate high-priority targets during crucial moments.
- Master Fusion Evolution: Enables multiple evolution paths simultaneously. This unlocks hybrid builds that can adapt to any endgame scenario.
Evolution Criteria and Selection Rules
Use these objective criteria to evaluate each evolution decision. These rules ensure you invest resources wisely throughout the match.
- Stat thresholds: Prioritize evolutions that contribute to your 10% critical chance goal. This maintains build focus and maximizes damage efficiency.
- Resource efficiency: Calculate cost-benefit ratio for each evolution path. This prevents wasted investment and accelerates power spikes.
- Team synergy: Consider how evolutions complement team composition needs. This ensures you fill the right role for your squad.
- Phase progression: Match evolution choices to current game phase power requirements. This keeps you relevant at every stage of the match.
Fusion Recipes: Best Fusions for The Shade
Fusion Principles for The Shade
Fusion system: Combines multiple evolution paths to create hybrid stat bonuses. The Fusion system lets you blend different upgrades for more powerful effects that boost backline performance. Resource prioritization focuses on critical chance components for 10% target. By targeting these specific parts first, you ensure your fusion outcomes directly improve Shade's core damage output. Fusion timing matters because early fusion accelerates power spikes significantly. Getting your first fusions online quickly can determine match outcomes and help you reach crit goals faster. Stat scaling from fusion provides exponential rather than linear improvements. Each successful fusion multiplies your effectiveness rather than adding small increments, making proper sequencing crucial.
Top Fusion Recipes (Direct, Practical List)
Fusion Planning by Progression
Your fusion strategy should adapt as the match progresses. Early fusion priority focuses on Critical Chance components for immediate impact. This creates the fastest power increase for Shade's backline shooting role and sets up your core build. Mid-game fusion strategy balances survivability with damage output components. This balance is crucial when enemy dive threats start targeting your position, ensuring you can maintain crit output while staying alive. Late-game fusion optimization pursues Master Fusion for maximum flexibility. This final optimization stage lets you complete your 10% crit cap and achieve full backline dominance. Resource management: Saving rare fusion materials for high-impact combinations. Resource management prevents waste on minor upgrades and ensures you can afford game-changing fusions like Master Fusion when they matter most.
Best Builds for The Shade: Backline Shooting and 10% Critical Chance
Core Stats and Itemization
Critical Chance: The primary stat for The Shade's backline build. You should target 10% for optimal damage scaling. Attack Speed: This increases your fire rate and creates more critical hit opportunities. The stat directly complements your critical chance investment. Range extension items: These provide safer backline positioning options. Survivability stats like damage reduction extend your uptime during team fights.
Ability Priority and Skill Order
Primary attack skill: This should be maxed first for consistent damage output. It forms the foundation of your backline DPS. Critical chance abilities: These take priority over raw damage abilities for better scaling. Mobility skills are secondary but essential for maintaining proper backline positioning. Ultimate ability timing: This should align with team engagement windows. This coordination maximizes your impact during crucial fights.
Example Builds (Early, Mid, Late)
Early build: Focuses on Critical Chance Evolution plus survivability items. This establishes your core damage potential while keeping you alive during the laning phase. Mid build: Adds Range Extension and Attack Speed for sustained DPS. These components improve your positioning safety and fire rate simultaneously. Late build: Incorporates Master Fusion and Critical Perfection to reach the 10% crit cap. Each phase includes specific item recommendations and stat targets to guide your progression.
Positioning and Combat Rhythm
Optimal distance: Maintain this from the frontline while keeping enemies in range. This balance is crucial for backline safety and damage output. Terrain and cover: Use these to create safe shooting angles. These environmental advantages protect you from enemy fire. Team engage windows: Time your attacks with these for maximum impact. Adjust positioning based on enemy dive threats and team protection.
Positioning, Synergy, and Progression by Game Phase
Positioning Fundamentals for The Shade
Maintaining a 3-4 unit distance from the boss's hitbox is crucial for optimal backline positioning. This spacing keeps you safe while allowing you to deal damage effectively. Backline Positioning: This refers to maintaining a safe distance behind your frontline while remaining effective in combat. You must adjust your positioning based on enemy team composition and threat levels. Use elevated positions and cover to maximize sight lines while minimizing exposure. Always keep escape routes accessible for mobility-based repositioning.
Team Synergy: Complementary Roles
Team Composition: Your squad should include at least one tank and one support for optimal Shade performance. Support characters offer healing and utility to extend your uptime in fights. You can also coordinate with other backline DPS characters to time burst windows for maximum impact.
Phase-By-Phase Progression Roadmap
Your progression follows a clear path through each game phase. Each stage has specific priorities to maximize your effectiveness. Early Game (Phase 1-2): Focus on basic evolutions and survivability items for early game stability. Mid Game (Phase 3-4): Pursue critical chance evolutions and range extensions for mid-game power spike. Late Game (Phase 5+): Complete fusion recipes and optimize for critical rate via the Bomb Punch Enhancement Node. Milestone Tracking: Each phase includes specific milestones for evolution targets and fusion achievements.
Frequently Asked Questions (FAQ)
How do I reach 10% critical chance with The Shade?
- Fusion Critical components add another 1-2% bonus for extra reliability in fights.
- Focus on critical chance items and evolutions before investing in raw damage upgrades.
- Monitor your critical chance stat in the character sheet to track your progress toward the 10% goal.
Which evolutions are safest for beginners?
Beginner-friendly evolutions prioritize safety and simplicity. These options help you stay alive while learning The Shade's backline positioning fundamentals.
- Iron Shell (Iron Ball + Defense Orb) provides survivability for safer gameplay.
- Sniper Sphere (Sniper Ball + Range Orb) adds distance for safer backline positioning.
- Rapid Sphere (Rapid Ball + Haste Orb) increases damage without complex positioning requirements.
Avoid complex fusion combinations until you've mastered these basic evolutions and understand their benefits in combat.
What are the common mistakes with The Shade builds?
Several common mistakes can significantly reduce The Shade's effectiveness in battle. Understanding these pitfalls will help you optimize your build and avoid setbacks that cost you matches.
- Fusing too early (pre-Lv 5) strips the final tier passive.
- Accidentally picking up melee orbs during the first 90 seconds hard-locks the assassin line.
- Forgetting to re-target after each charge-shot reduces damage efficiency.
How to adapt builds to different maps or enemy patterns?
Adapting your build to the specific encounter is crucial for maximizing The Shade's backline value. Different situations demand different evolution priorities to maintain optimal positioning and damage output throughout the match.
- On open maps, favor Range Extension evolutions for maximum positioning flexibility and safety. The extra distance helps you stay out of enemy reach while maintaining damage.
- In tight corridors, prioritize Attack Speed and Piercing Shot for close-quarters effectiveness. These tools help you handle enemies at closer ranges where positioning is limited.
- Against dive-heavy teams, prioritize Survivability Evolution and cooldown reduction. This helps you survive pressure from mobile enemies who can reach your backline.
- When facing clustered enemy patterns, benefit from Piercing Shot and area-effect fusion combinations. These maximize your damage against grouped targets and improve wave clear.
Conclusion
Your journey with The Shade hinges on reaching the 10% critical chance target through specific evolution combinations. This precise milestone unlocks your true backline potential, transforming you from a support role into a high-impact damage dealer. Progression: Your development follows a clear path from early survivability to late-game optimization. Proper positioning and team synergy are essential throughout, ensuring your survival while maximizing damage output in every team fight. The Fusion system enables powerful hybrid builds that combine multiple evolution paths. Put this evolution and fusion plan into practice in your next match to immediately boost your backline effectiveness and dominate from the rear.
- Review your current evolution setup
- Target the 10% crit threshold in your next build
- Experiment with fusion recipes to find your optimal hybrid
More Ball-x-Pit Guides

The Ultimate Physicist Guide for Ball X Pit (2025 Meta)
Master The Physicist's gravity control in Ball X Pit. Learn best evolutions, fusion combos, positioning strategies, and 2025 meta builds for competitive gameplay.
Ball X Pit: The Complete Tactician Guide - Evolutions, Strategies & Fusion Tactics
Master The Tactician character in Ball X Pit with our comprehensive guide covering turn-based strategies, optimal evolution combinations, fusion tactics, and base building for maximum efficiency.
The Repentant Build Guide: Mastering Bounce Mechanics & Top Evolution Combos
Master The Repentant character in Ball X Pit with our comprehensive guide covering optimal evolutions, fusion strategies, character builds, and advanced gameplay tactics.
AI Tactical Companion
Consult with our specialized tactical engine for Ball-x-Pit to master the meta instantly.