The Ultimate Ball x Pit Guide: Mastering Evolution, Fusion, and The Cohabitants
Ball x Pit represents one of the most strategically complex mobile games in the current gaming landscape, combining intricate ball mechanics with deep evolution and fusion systems that reward strategic thinking and long-term planning. At its core, Ball x Pit challenges players to master the delicate balance between resource management, character evolution, and tactical positioning while navigating through increasingly complex gameplay scenarios.
The game's unique approach to progression centers around two fundamental systems: evolution combinations that transform your ball's capabilities, and fusion strategies that allow for unprecedented power scaling. Understanding these mechanics isn't just beneficial—it's essential for competitive success. Players who master the evolution tree and fusion timing consistently outperform those who rely solely on raw skill or random progression.
What sets Ball x Pit apart from other mobile games is The Cohabitants system, which introduces ball duplication mechanics that fundamentally change how players approach resource allocation and battlefield control. Combined with advanced characters like The Flagagulant, who brings unique utility and damage profiles to the game, Ball x Pit offers a depth of strategic gameplay that appeals to both casual players and competitive enthusiasts.
This comprehensive guide will walk you through everything from basic ball manipulation to advanced fusion techniques, ensuring you have the knowledge needed to dominate in Ball x Pit. Whether you're struggling with evolution combinations, looking to optimize your fusion strategies, or seeking to understand The Cohabitants' complex duplication mechanics, this guide provides the insights and strategies that separate good players from great ones.
Understanding The Cohabitants' Ball Duplication Mechanics
The Cohabitants represent one of Ball x Pit's most innovative and misunderstood systems, offering players the ability to duplicate balls under specific conditions and strategic scenarios. Understanding this mechanic is crucial for maximizing your efficiency and maintaining competitive advantage throughout your gameplay sessions.
How Ball Duplication Works
Ball duplication through The Cohabitants is a passive character ability with a 25% chance to duplicate any 'Creating' ball. It does not require Energy Cores, Evolution Points, or Cooldown Tokens. The duplication process is automatic, allowing players to generate additional balls without spending currency.
Strategic Applications of Duplication
The most effective use of ball duplication occurs during the mid-game phase, typically between levels 15-25, when your evolution tree has matured but before the most expensive fusion combinations become available. During this window, strategic duplication can:
- Create overwhelming numerical advantages in objective-based game modes
- Enable rapid resource accumulation through efficient farming patterns
- Provide insurance against aggressive enemy strategies
- Allow for experimental evolution paths without permanent commitment
Advanced Duplication Techniques
Master players have developed several advanced techniques that go beyond basic duplication.
Chain Duplication: By carefully managing your Cooldown Tokens and Energy Core regeneration, you can create duplication chains that produce multiple balls in rapid succession. This technique requires precise timing and resource prediction but can swing entire battles.
Selective Duplication: Instead of duplicating all available balls, advanced players learn to identify which specific balls offer the highest strategic value for duplication based on their evolution paths and current battlefield conditions.
Defensive Duplication: When facing aggressive opponents, maintaining a reserve of duplication resources can provide a powerful comeback mechanism, allowing you to rapidly rebuild your ball count after suffering significant losses.
Top Evolution Combinations for Maximum Power
Evolution combinations in Ball x Pit follow a complex branching system where each choice impacts not only your immediate capabilities but also your future evolution options. The most successful players understand that evolution decisions must balance immediate power needs with long-term strategic goals.
Blizzard Evolution Strategy
The Blizzard evolution represents one of the most powerful area-control combinations available in Ball x Pit, offering devastating damage over time effects combined with significant movement speed penalties for affected enemies. To achieve the Blizzard evolution, players must fuse specific base balls.
Blizzard Evolution Requirements:
- Freeze ball (Level 3)
- Lightning ball (Level 3)
- Rainbow orb (obtained from level-up rewards)
Blizzard Abilities and Scaling:
Optimal Blizzard Combinations:
- Blizzard + Virus: Creates a "Frost Plague" effect that deals damage over time while spreading between enemies
- Blizzard + Lightning: Forms "Storm Front," offering both immediate burst damage and sustained area control
- Blizzard + Earth: Results in "Glacial Fortress," providing exceptional defensive capabilities with moderate offensive output
Virus Evolution Mastery
The Virus evolution offers a unique gameplay style centered around infection mechanics, damage over time effects, and strategic spread patterns. Unlike direct damage evolutions, Virus rewards patient, strategic players who can plan multiple moves ahead and manipulate enemy positioning.
Virus Evolution Path: The Virus evolution is a Tier-1 evolution that does not require the Bio-Engine path. The correct fusion recipe for Virus is Bleed + Cell + Ghost.
Core Virus Mechanics:
- Infection Rate: 15% chance per second to spread to nearby uninfected enemies (approx. 6.7 seconds average for single target)
- Damage Scaling: Starts at 3-6 damage per second, scales to 150+ with full passive and bonus stacking
- Spread Pattern: Probabilistic spread to nearby valid enemies (no fixed count or radius)
- Duration: Infection lasts 6 seconds per stack
Advanced Virus Strategies:
Plague Lord Build: Maximizes infection potential by combining Virus with the "Rapid Mutation" and "Enhanced Contagion" upgrades. This build focuses on overwhelming enemies through sheer infection volume rather than individual damage output.
Bio-Weapon Build: Combines Virus with direct damage evolutions to create hybrid strategies that offer both immediate threat and sustained pressure. This build requires precise timing but provides exceptional versatility.
Support Virus Build: Partners Virus evolution with utility-focused evolutions to create a support-oriented playstyle that enhances team performance while maintaining individual threat capability.
Additional High-Tier Evolution Combinations
Beyond Blizzard and Virus, several other evolution combinations offer competitive advantages in specific scenarios.
Lightning Storm: Combines Storm Cloud with Electric Charge for massive burst damage and chain lightning effects. Ideal for players who prefer aggressive, high-tempo gameplay.
Earthquake: Merges Stone Skin with Tectonic Shift for exceptional defensive capabilities and area denial. Perfect for defensive strategies and objective-based game modes.
Phoenix Rising: Unlocks through the Fire Evolution tree combined with Rebirth mechanics, offering resurrection capabilities and damage scaling based on previous deaths.
Advanced Fusion Strategies for Competitive Play
Fusion represents the pinnacle of Ball x Pit's progression system, allowing players to combine multiple evolved balls into single, incredibly powerful entities. Understanding fusion timing, resource management, and strategic application separates elite players from the competition.
Fusion Fundamentals
The fusion system operates on a tier-based structure where combining balls of similar evolution levels produces exponentially more powerful results. The basic fusion formula requires:
- 2-3 balls of equivalent evolution level
- 1-3 Energy Cores per fusion tier (1 for dual-element legendaries, 2 for boss-tier, 3 for omega combinations)
- Rare Fusion Materials (quantity varies by tier)
- 30-second casting time (interrupted by damage)
Fusion Tiers and Scaling:
- Tier 1 Fusion: Combines Level 3 evolutions, produces Level 4 equivalent
- Tier 2 Fusion: Combines Level 4 evolutions, produces Level 5 equivalent
- Tier 3 Fusion: Combines Level 3 evolutions (Tier-2 forms) and requires player level 5+, produces Legendary evolutions
- Tier 4 Fusion: Combines Legendary balls to produce SS-tier evolutions (often referred to by the community as 'Mythic')
Fusion Timing and Resource Management
Successful fusion requires understanding not just how to fuse, but when to fuse. The most common mistake among intermediate players is fusing too early or too late in the game cycle.
Optimal Fusion Windows:
Early Fusion (Levels 10-15): Focus on Tier 1 fusions to establish early game dominance. The resource investment is manageable, and the power spike can secure map control and resource advantages.
Mid-Game Fusion (Levels 16-25): This is the critical period for Tier 2 fusions. Players who successfully complete mid-game fusions typically maintain leads for the remainder of the match.
Late Game Fusion (Levels 26+): Tier 3 and 4 fusions become viable but require significant resource accumulation. These fusions should only be attempted when you have secured map control and resource advantage.
Defensive vs. Offensive Fusion Approaches
Defensive Fusion Strategy: Defensive fusion builds prioritize survivability and utility over raw damage output. This approach works best when playing from behind or against aggressive opponents.
Key defensive fusion combinations:
- Glacier Fusion: Combines multiple defensive evolutions for maximum survivability
- Sanctuary Fusion: Focuses on healing and support capabilities
- Fortress Fusion: Emphasizes area denial and enemy displacement
Offensive Fusion Strategy: Offensive fusion builds seek to end games quickly through overwhelming damage output and map control. This strategy requires excellent positioning and game sense but can secure victories in under 15 minutes.
Key offensive fusion combinations:
- Apocalypse Fusion: Maximizes area damage and enemy elimination
- Berserker Fusion: Focuses on single-target elimination and combat sustain
- Storm Lord Fusion: Provides map-wide presence and objective control
Advanced Fusion Techniques
Chain Fusion: Advanced players learn to plan multiple fusions in advance, creating fusion chains that produce increasingly powerful results while maintaining resource efficiency.
Counter-Fusion: Understanding opponent fusion patterns allows you to prepare counter-fusions that specifically address their strategic advantages.
Resource Fusion: Some players specialize in "resource fusions" that prioritize energy generation and resource accumulation over direct combat effectiveness.
Mastering The Flagagulant Character
The Flagagulant represents one of Ball x Pit's most unique and strategically complex characters, offering a playstyle that combines elements of support, control, and sustained damage. Understanding The Flagagulant's capabilities and optimal implementation is essential for players seeking to master advanced gameplay strategies.
Flagagulant Ability Breakdown
The Flagagulant possesses four primary abilities that create a unique tactical toolkit.
Primary Ability - Bottom-Bounce Ball Mechanics: A passive ability where balls bounce off the bottom of the screen instead of disappearing.
Secondary Ability - Agony: Applies a stacking debuff (up to 5 times). Each stack provides a DoT for 5 seconds, -12% movement speed (capped at -60%), and -20% healing received (capped at -100%).
Ultimate Ability - Mass Suffering: The Flagellant does not have an ultimate ability.
Passive Ability - Bottom-Bounce Ball Mechanics: Balls bounce off the bottom of the screen instead of disappearing.
Flagagulant Evolution Paths
The Flagagulant offers three distinct evolution paths, each emphasizing different aspects of the character's toolkit.
Torture Master Path: Focuses on maximizing debuff duration and stacking potential. This path is ideal for players who enjoy prolonged engagements and systematic enemy elimination.
Pain Dealer Path: Emphasizes immediate damage output and burst potential. This evolution path rewards aggressive playstyles and quick engagement/disengagement tactics.
Suffering Support Path: Balances personal damage with team support capabilities, making the Flagagulant an excellent choice for coordinated team strategies.
Flagagulant Team Synergy
The Flagagulant's effectiveness increases dramatically when paired with the right team composition.
Optimal Team Combinations:
Flagagulant + The Cohabitants: The Flagagulant's debuff stacking synergizes perfectly with The Cohabitants' ball duplication mechanics, allowing for overwhelming numerical advantages while maintaining individual ball quality.
Flagagulant + Blizzard Evolution: The combination of area control and debuff stacking creates devastating team fight capabilities, especially in enclosed spaces or chokepoint scenarios.
Flagagulant + Virus Evolution: This combination creates a "Plague Lord" effect where debuffed enemies become more susceptible to infection mechanics, creating exponential damage potential.
Counter-Strategies Against Flagagulant:
Understanding how to counter The Flagagulant is equally important.
- Cleanse abilities and healing reduction effects
- Mobile, hit-and-run tactics that prevent debuff stacking
- Burst damage strategies that eliminate The Flagagulant before debuffs can be applied
- Area denial that forces The Flagagulant into unfavorable positioning
Expert Gameplay Tips and Strategies
Mastering Ball x Pit requires understanding not just individual mechanics, but how they interact within the larger strategic context. These expert-level tips will help you elevate your gameplay from good to exceptional.
Early Game Progression (Levels 1-15)
Resource Management Priority: In the early game, prioritize Energy Core accumulation over immediate evolution investments. Players who maintain 200+ Energy Core reserves by level 10 have significantly higher win rates due to their ability to respond to unexpected opportunities.
Evolution Path Selection: Avoid spreading your evolution investments too thin. Focus on completing one evolution path to Level 3 before exploring secondary options. This approach provides immediate power spikes while maintaining future flexibility.
Map Control Fundamentals: Early map control through strategic ball placement and resource point denial provides long-term advantages that compound throughout the match. Focus on controlling at least 60% of available resource points by level 12.
Common Early Game Mistakes:
- Over-investing in defensive evolutions before establishing offensive capability
- Ignoring The Cohabitants duplication opportunities in favor of direct progression
- Failing to establish map control in favor of pure farming strategies
- Poor resource allocation between evolution points and Energy Core reserves
Mid-Game Optimization (Levels 16-25)
Fusion Preparation: Mid-game is the critical period for fusion preparation. Begin accumulating rare fusion materials by level 18, even if you don't plan to fuse immediately. Early preparation prevents resource bottlenecks during crucial fusion windows.
Team Fight Positioning: Mid-game team fights determine match outcomes. Position The Flagagulant and other key units to maximize area effect abilities while minimizing exposure to enemy burst damage.
Objective Control: Mid-game objectives provide significant advantages but require coordinated team effort. Never attempt major objectives without at least 70% resource advantage and proper positioning.
Adaptation Strategies: Mid-game is when opponent strategies become apparent. Prepare counter-strategies for their preferred evolution paths and fusion combinations. Flexibility during this phase often determines match outcomes.
Late Game Mastery (Levels 26+)
Resource Conversion: Late game is about converting accumulated resources into decisive advantages. Players who successfully manage resource conversion during levels 26-30 typically secure victories through overwhelming power spikes.
End-Game Fusion Timing: Tier 3 and 4 fusions should only be attempted when you have secured significant map control and resource advantage. Failed fusion attempts during late game often result in immediate defeat.
Win Condition Execution: Late game requires clear win condition focus. Whether through superior resource accumulation, strategic objective control, or overwhelming combat power, commit fully to your chosen victory path.
Meta-Game Adaptation: The best late-game players understand that adaptation often trumps optimization. Be prepared to adjust your strategy based on opponent actions and changing battlefield conditions.
Advanced Technical Tips
Animation Canceling: Many abilities in Ball x Pit can be animation-canceled to reduce downtime between actions. Practice canceling recovery animations to increase your effective action speed by 15-20%.
Resource Prediction: Advanced players learn to predict resource generation rates and plan accordingly. This skill allows for optimal timing of expensive abilities and fusion attempts.
Positioning Fundamentals: Ball x Pit positioning is more complex than it appears. Optimal positioning considers not just current threats but future positioning needs based on opponent movement patterns and ability cooldowns.
Information Management: Successful players maintain detailed mental notes about opponent evolution paths, resource levels, and strategic preferences. This information enables predictive counter-strategies that provide significant advantages.
Frequently Asked Questions
Q: What is the maximum number of balls that can be duplicated through The Cohabitants system? A: There is no theoretical maximum number of balls that can be duplicated; the ability applies to every ball launched. The limit of 12 refers to the inventory cap for distinct Special Balls.
Q: How do I determine which evolution path is best for my playstyle? A: Consider your preferred engagement style: aggressive players should focus on offensive evolutions like Lightning Storm, while defensive players benefit more from Blizzard and Earth-based combinations. The Flagagulant works well for players who enjoy systematic, methodical gameplay.
Q: What is the most resource-efficient fusion strategy? A: Tier 1 fusions during early game provide the best resource efficiency, offering significant power spikes without excessive resource investment. Avoid Tier 3+ fusions unless you have secured significant map control and resource advantage.
Q: How do I counter a player who has successfully completed a Tier 3 fusion? A: Counter-fusion strategies focus on area denial and forced engagements. Use defensive evolutions to survive initial fusion bursts, then coordinate team attacks during fusion cooldown periods. The key is preventing the fused unit from achieving map control.
Q: What makes The Flagagulant different from other characters? A: The Flagagulant's unique value comes from debuff stacking and team fight presence. Unlike characters focused on raw damage, The Flagagulant enhances entire team performance while maintaining individual threat capability.
Q: How important are rare evolution materials for competitive play? A: Rare evolution materials become critical at levels 20+. Players who fail to accumulate these materials during mid-game find themselves unable to compete with opponents who have completed advanced evolution paths.
Conclusion: Becoming a Ball x Pit Master
Mastering Ball x Pit requires understanding that success comes from the seamless integration of multiple complex systems rather than excelling in any single area. The players who consistently achieve high rankings understand that evolution combinations, fusion strategies, and The Cohabitants' duplication mechanics must work together as part of a cohesive strategic approach.
The journey to mastery begins with solid fundamentals: efficient resource management, strategic evolution path selection, and consistent map control. As you progress, focus on developing the timing and prediction skills necessary for successful fusion execution. The Flagagulant represents the pinnacle of this integration, requiring players to master debuff management, team positioning, and strategic patience.
Remember that Ball x Pit rewards adaptation and strategic flexibility. While specific evolution combinations and fusion strategies provide advantages, the ability to read opponents and adjust your approach often matters more than perfect execution of any single strategy. The best players combine technical mastery with strategic thinking, creating gameplay that is both effective and elegant.
As you continue your Ball x Pit journey, focus on incremental improvement rather than dramatic changes. Master one aspect of the game at a time, whether it's The Cohabitants' duplication mechanics, specific evolution combinations, or advanced fusion timing. With consistent practice and strategic thinking, you'll find yourself climbing the competitive ladder and achieving the mastery that separates good players from true Ball x Pit experts.
More Ball-x-Pit Guides
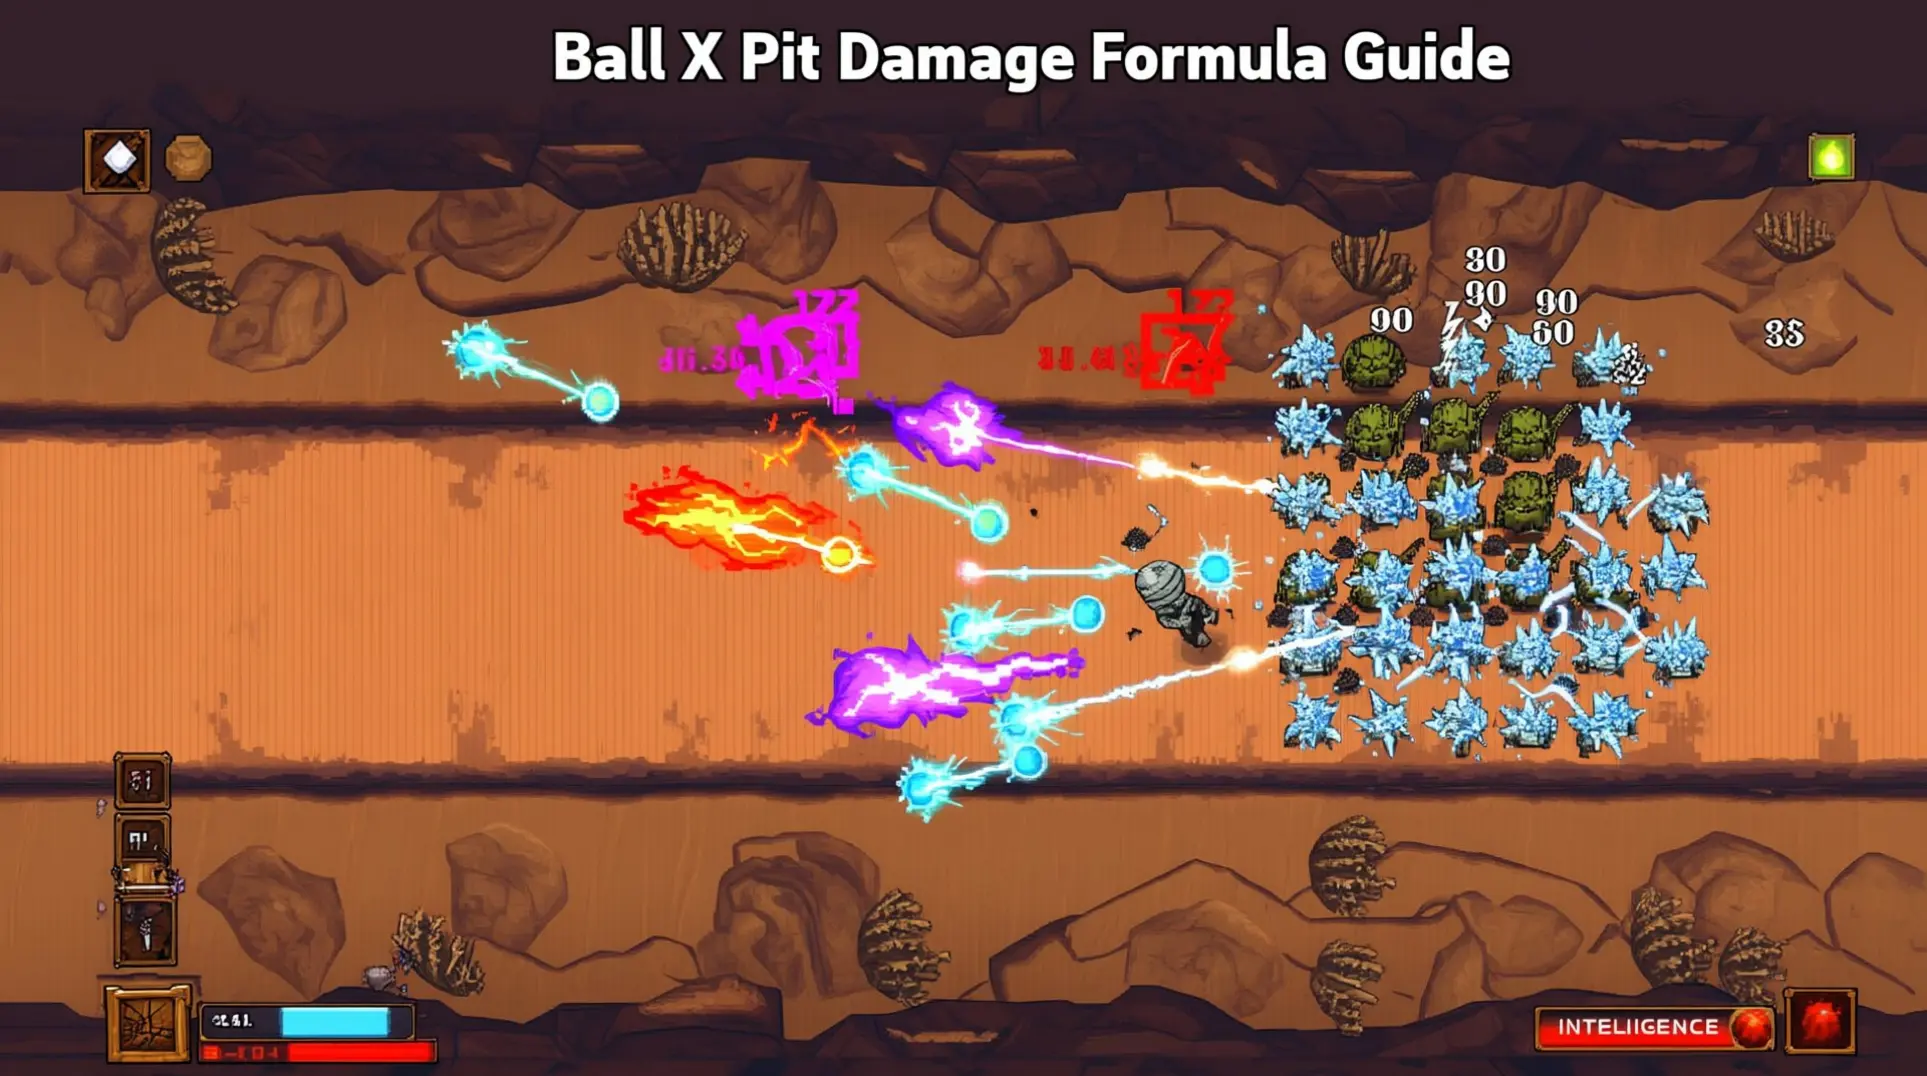
Ball X Pit Damage Formula Guide: Master Intelligence Scaling and Status Effects
Master Ball X Pit's hidden damage formula with Intelligence scaling, status effect stacking, and optimal build strategies for endgame dominance.
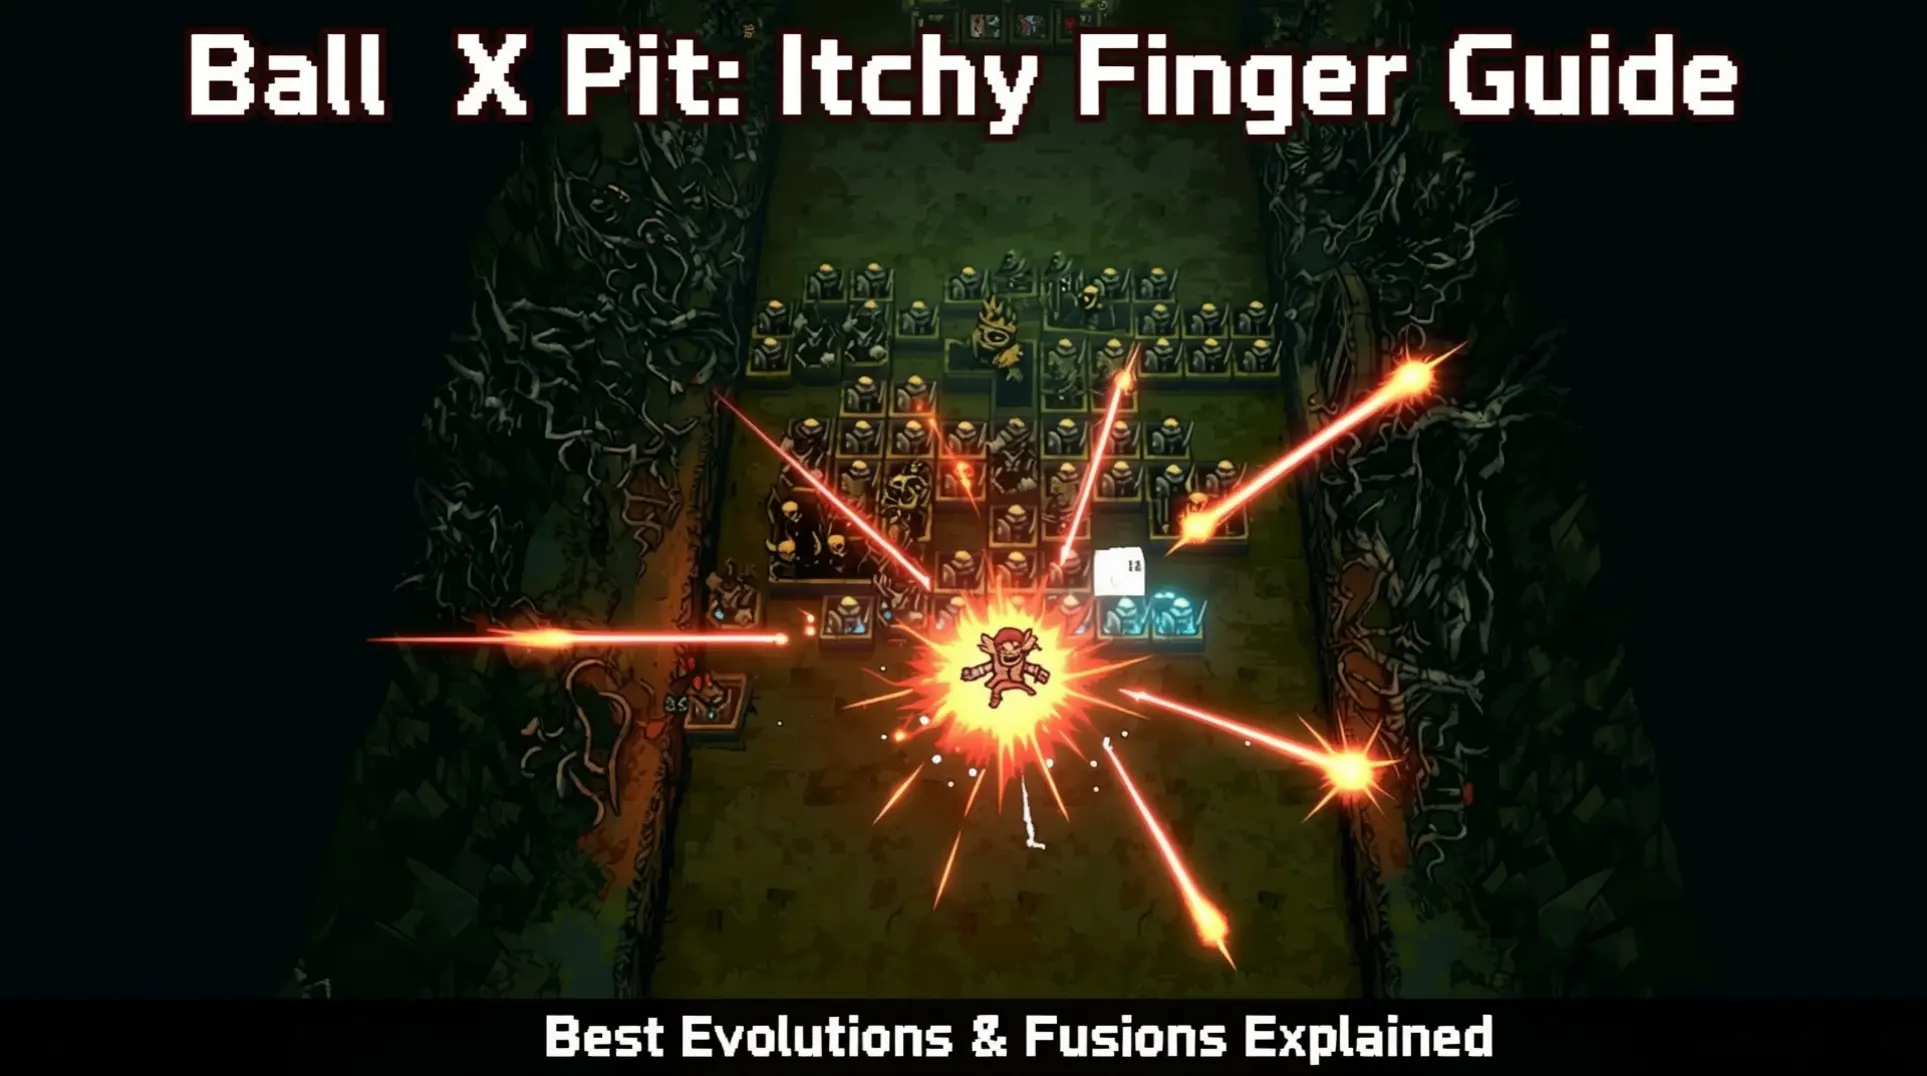
The Ultimate Ball X Pit Itchy Finger Guide: Mastering the Rapid-Fire Specialist
Master The Itchy Finger's rapid-fire playstyle in Ball X Pit. Complete guide covering Frozen Flame evolution, optimal fusions, character synergies, and pro strategies for dominating every run.
Ball X Pit Hidden Mechanics Guide: Master Undocumented Systems for Wave 20+
Unlock Ball X Pit's secret mechanics, damage multipliers, and hidden evolutions to dominate waves 20+ with strategic mastery.
AI Tactical Companion
Consult with our specialized tactical engine for Ball-x-Pit to master the meta instantly.