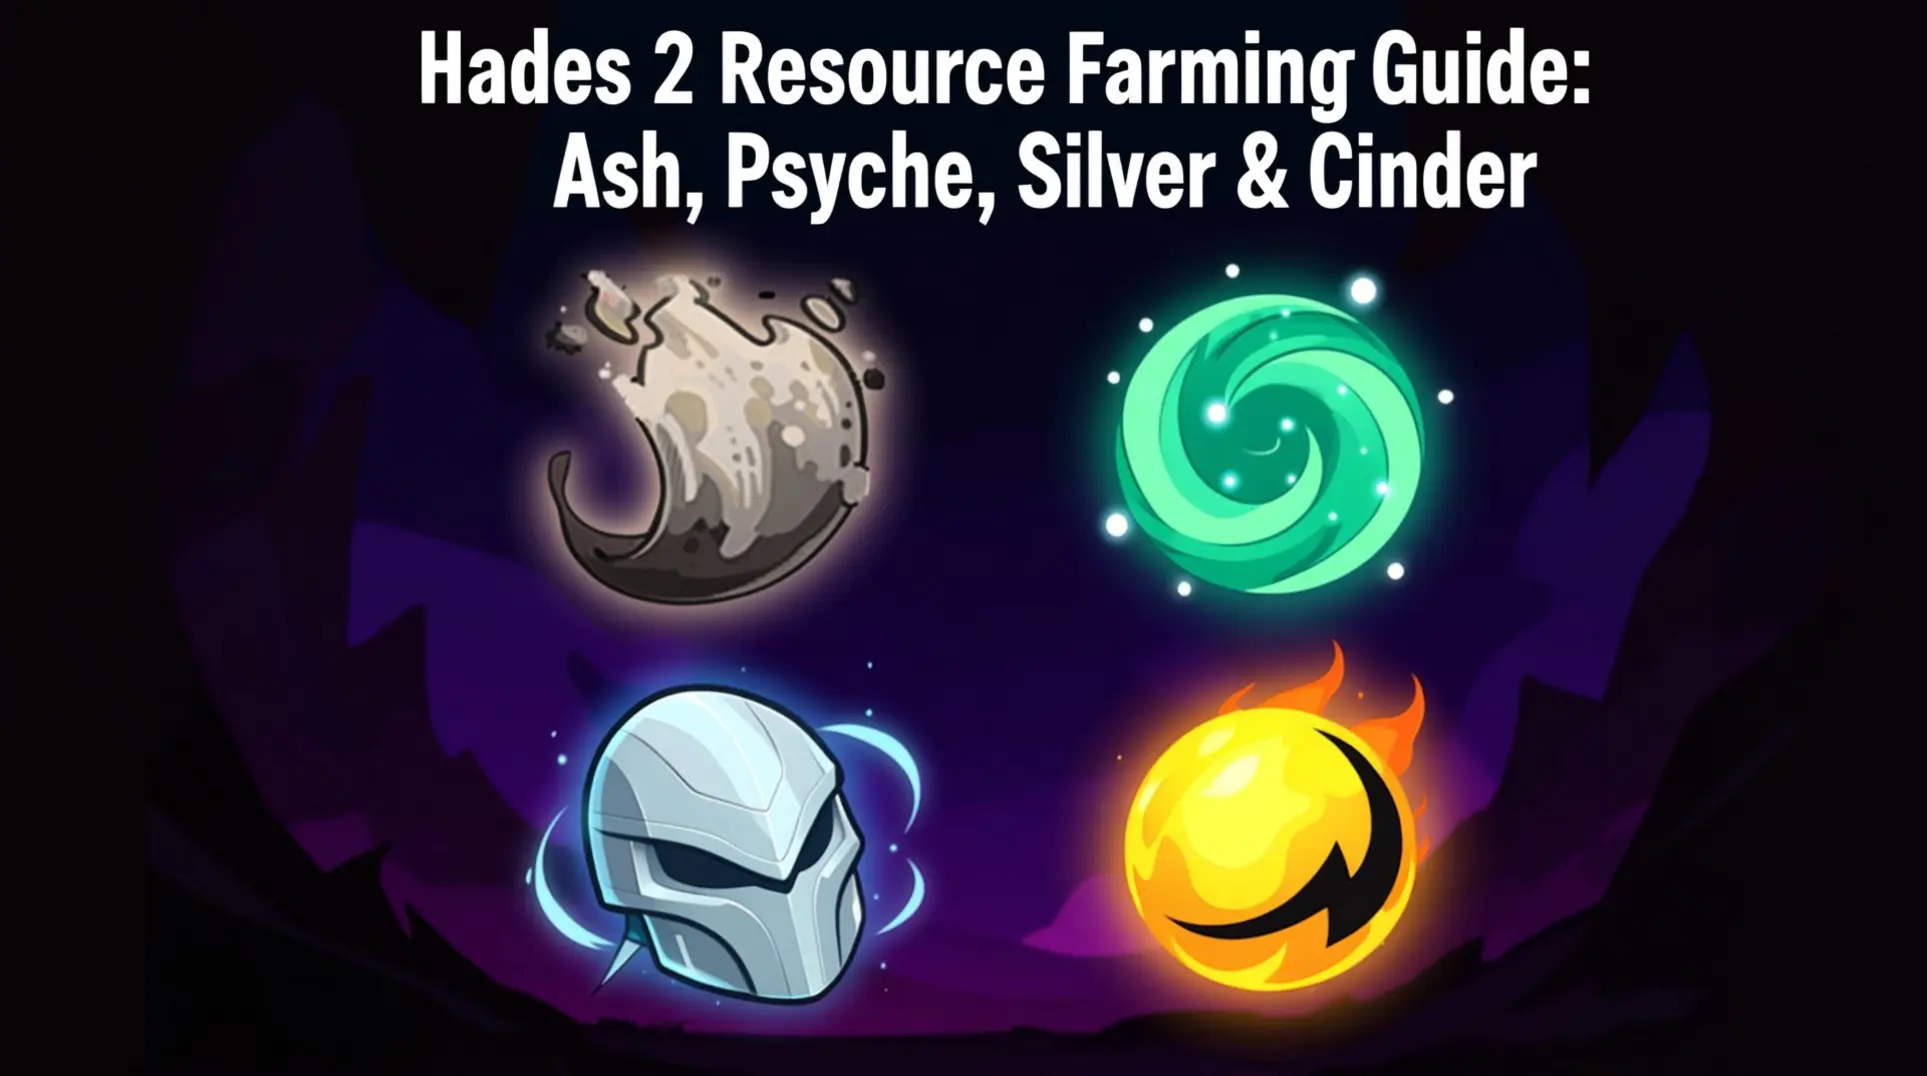
Hades 2 Resource Farming Guide: Ash, Psyche, Silver & Cinder
Introduction
Mastering Hades 2's resource economy is the key to unlocking true power, but with so many materials to track, it's easy to waste time on the wrong ones. This guide cuts through the noise, detailing the exact farming routes and priority systems you need to efficiently gather Ash, Psyche, Silver, and Cinder to fuel your progression.
Essential Resource Farming Overview
Why These 4 Resources Matter Most
You'll get flooded with resources, but only four actually gate your real power spikes. Ash is your first priority - it unlocks the first two rows of Arcana Cards (60 Ash total) and crafts the Winged Serpent Crescent-Pick upgrade, which reveals mini-boss chambers on the map. Psyche comes into play later, funding Arcana Cards past row three and the Lemniscan Bottle Incantation that lets you swap god boons mid-run. Silver is your workhorse material - every weapon aspect costs at least 15 Silver, and you'll also need it for the Tablet of Peace Incantation that disables Tartarus traps. Finally, Cinder is your endgame currency, unlocking the Adamant Rail hidden aspect and every late-game cleansing Incantation like Cleansing Fire and Ashen Sworn.
Resource Acquisition Methods Overview
You can't just punch rocks and hope for the best - you need the right tool for each job. The Crescent Pick mines mineral veins for Silver, Limestone, Bronze, and region-specific ores, and equipping it actually makes more veins spawn, which is a huge deal for efficiency. The Silver Spade digs up glowing mounds to grab reagents like Mystic Seeds, Ghost Onion, and Nightshade, all critical for Incantations and Keepsakes. The Tablet of Peace activates floating steles that dispense Ashes, Psyche, and occasionally Fate Fabric, plus it pauses room enemies for four seconds when used, giving you a clutch breather in tough fights. Finally, the Rod of Fishing lets you reel in catches from sparkling pools for Fish, Poseidon's favor, and Pearls, which you can sell to the Wretched Broker for Gold.
Ash Farming: The Universal Currency
Early Game Ash Farming Route (Erebus Focus)
You need Ash early, and Erebus is your best friend for it. First, grab Umbral Flames for its Grave Thirst passive - that's a flat 20% more Ash from every shattered urn and Shade you kill. Pair that with Selene's Luna's Wake Hex to nuke entire clusters of urns in one go.
Now, here's the trick: always pick the gray cinder-block icon doors. Those are guaranteed Ash bundles, and you want them over everything else until you've got your first six Arcana Cards locked down. A good Erebus run gives you 3-4 of these doors, which nets around 45 Ash in under six minutes if you're efficient.
For the mini-boss, Eris's shade is pure profit when you see that cinder icon with a little '+' mark - she'll drop 10-12 bonus Ash guaranteed. Speed things up by dash-canceling into urns to break them faster, and when the map forks, take the southern gate to hit those end rooms with fatter Ash bundles.
Your first 60 Ash should go straight into three specific Arcana cards, in this exact order: grab The Titan (X) first for that +30 max Life and safer Chaos trades, then The Lady (IV) for +2 Cast Ammo to melt urns even quicker, and finally The Boatman (I) for +50% move speed after clearing rooms. These three will pay for themselves almost immediately.
Advanced Ash Farming Strategies
Once you've got your foundation, it's time to min-max. The absolute fastest Ash grind is a brutal 4-zone forced-boss sprint: Surface Start → Ephyra Streets → Rift of Thessaly → Tartarus → Chronos, then quit to lobby immediately after Chronos drops to skip the credit timer completely.
For this, you'll want:
- Weapon: Sister Blades with the attack-speed Aspect for pure clear speed
- Keepsake: Luckier Tooth for the early floors, swapping to Evergreen Acorn for the Chronos fight
Stack these Arcana cards: The Furies gives you +20% move and attack speed after just 3 encounters, while The Messenger adds another +15% sprint speed. For your Pact, crank up Wealth (+40% Obol & Ash), Forced Overtime 1 (+20% faster spawns), and Heightened Security (more vases = more Ash, obviously).
This setup pulls 20-25 Ash per 8-10 minute clear, or up to 30 if Wealth is active. That's roughly 150-200 Ash per hour if you're consistent.
Your endgame Ash sink? The Wretched Broker. Dump your Ash into Fated Persuasion ranks at 10 Ash each until you hit the community soft-cap of 80-100 total ranks. That'll cost you 800-1,000 Ash, but it's worth it for comfortable rerolls during full runs.
Ash Usage Priority Guide
Not all Arcana cards are created equal, and your Ash is precious. Here's the priority order:
The Fool costs just 25 Ash and 1 Grasp, giving you +30 max life, +5% move speed, and +5% dodge range. It's the best first purchase because that extra health and speed pay for themselves immediately.
The Titan is next at 50 Ash and 3 Grasp, and it's your biggest DPS spike - +20% damage to bosses and mini-bosses plus another +10% max life. This one synergizes perfectly with The Fool's HP boost.
The Unseen is the long-term goal. At 150 Ash and 5 Grasp, it's expensive but broken - 20% chance to dodge literally any hit, +25% reduced trap damage, and +15% sprint speed. The catch? Don't grab it until you have enough Grasp to run it without sacrificing your other key cards, or you'll just hamstring yourself.
Psyche Farming: Mana & Keepsake Upgrades
Mourning Fields Psyche Farming Route
The Mourning Fields is your money run for fast Psyche, and it plays by different rules than the rest of the Underworld. You won't find a single Chaos Gate here - every gate is either a Boon or a straight Psyche reward, which means you're guaranteed progress no matter which path you take. The whole zone is only six fixed chambers deep, so you can learn the layout and start shaving seconds off your time pretty quickly.
Here’s the optimal loop: skip every non-Psyche gate and bee-line for rooms with the psychic eye sigil. These special chambers drop 3-5 Psyche each, and while they only pop up in about 8% of Wells of Charon, they’re the fastest payout when you get lucky. Speaking of Wells, they spawn in roughly 35% of chambers, and about one in three runs you’ll spot the Flask of Soul - a 30-Psyche item that costs 40 Obols. Always grab it when you see it.
If you’re running with 50 Grasp or more, the mini-boss that appears between chambers 2-4 becomes a jackpot: it drops a high-rarity Boon plus an extra 10-15 Psyche on top. And don’t sleep on the Guardian of Mourning Fields (Hecuba) - she guarantees 20 Psyche on your first meeting and 10 on repeats.
A perfect run, where you hit every sigil room and buy the Flask, nets you 70-90 Psyche in under six minutes.
Tablet of Peace Optimization
The Tablet of Peace is a permanent Gathering Tool that flips the script on how you collect Psyche from Lone Shades. Instead of chasing them down, the tablet compels them to come to the Crossroads and pay tribute.
Here’s what you need to know about it:
- To craft it: Spend 5 Silver and 5 Psyche at the Night’s Craftwork incantation.
- Base effect: Lone Shade spawn chance jumps from 2% to 30% while equipped.
- Upgrade cost: 50 Ashes and 3 Marble for a +20% boost to Psyche drops from Lone Spirits.
TechRaptor notes that Psyche can also be bought from the Wretched Broker, and upgrading the tablet makes those purchases less necessary over time.
Psyche Usage & Target Amounts
Before you burn through your stash, know what you're actually buying. Psyche is spent at the Altar of Ashes to increase your Grasp stat, which controls how many Arcana Cards you can equip. The big misconception is that Grasp increases your mana pool - it doesn’t. That’s a completely separate system.
Each upgrade gives you +2 Grasp, but the cost ramps up fast. You start at 10 Grasp, and the first six upgrades will get you to 22; a seventh bumps you to 24. After that, you’re looking at hundreds of Psyche per click.
For early progression, save up 60 Psyche before your first shopping spree. That’s enough for your first two Grasp upgrades and lets you equip some game-changing Arcana Cards right out of the gate.
Silver Farming: Weapon & Tool Progression
Erebus Silver Mining Locations
Silver's a pale, moon-bright metal that only shows up in Erebus, which means you won't find it in later biomes at all. You'll need the Crescent Pick equipped to mine those sparkling outcroppings, and each biome typically spawns two nodes that give 5 Silver each when you hit them.
The nodes appear after clearing standard encounters, so keep an eye out for that silvery glint on walls. Cast Reagent Sensing at the Crossroads Cauldron - it adds a visual indicator that reveals nodes after you clear a chamber, which makes hunting way less painful. Oh, and if you've got the familiar Raki with you, Silver outcroppings become way more likely to spawn during your run.
Crescent Pick Usage & Upgrades
You can grab the Crescent Pick at the Crossroads Training Grounds for just 1 Ash, which is practically free. Just equipping it boosts ore deposit spawn rates from a miserable 1% to 40%, and that's massive for any farming run.
The Rank II upgrade costs 6 Glassrock and 4 Iron, but it adds +1 extra ore per node, effectively doubling your mining yield. This pays for itself after roughly five upgraded nodes, so it's absolutely worth grabbing early if you can spare the materials.
Silver Priority Crafting Guide
Here's what you should be saving for: the Silver Spade (8 Silver) and Nocturnal Arms like Sister Blades (20 Silver). The Spade is under Gathering Tools in the Silver Pool, and most veterans swear by crafting it first because it lets you dig up Mystery Seeds and Reagents, creating a sustainable income loop for your next weapon purchase.
Getting 20 Silver before you leave Erebus is crucial since that's the cost to get most Nocturnal Arms. The Spade essentially funds itself and your next big purchase, so don't skip it - even if you're itching for that new weapon.
Advanced Farming Optimization
Tool Loadout & Switching Strategy
First things first - tool-switching mid-run got axed in a patch, which means you're locked into one choice when you leave the Crossroads. No more swapping on the fly, so you have to plan ahead.
Early on, this decision is simple: Crescent Pick is your go-to. Ore is the bottleneck for weapon unlocks and those early Altar of the Fates upgrades, so you want as much of it.
Progression Roadmap & Farming Schedule
Early Game (First 5 Runs): Ash → Psyche → Silver
Your first five runs should follow a very specific farming order, and there's a good reason for it. Start with Ash - you'll want to grab 80-100 of it before anything else, because Ash unlocks Major Arcana like The Titan (+20 HP) and The Swift Runner (+15% sprint speed) that provide immediate power spikes.
Before you even start a run, equip the Grave Thirst weapon buff since it grants free Ash on kill, which means you're basically getting paid to play normally. Once you've secured about 30 Ash, pivot to Psyche and aim for 60 total, since Psyche fuels Arcana XP and unlocks additional cards.
After you hit 25 Psyche, Silver becomes your new target - you'll need 20-40 of it to craft the Crescent Pick (costs 10 Silver). So your goal after five runs should be around 30-35 Ash for your first four Major Arcana, 25-28 Psyche for that fifth slot, and 20-25 Silver for the Pick plus an incantation.
Mid-Game Transition: Nightshade & Bones
Once you've got your Silver Pick, it's time to pivot to Nightshade and Bones, but you need the Silver Spade first. Grab it at the Training Grounds for 10 Silver - you literally can't farm Nightshade without it.
Nightshade seeds are found in Erebus dig spots, and you can rush the Surface gate for two guaranteed dig spots in the first two rooms. Plant those seeds in the Crossroads garden behind the Cauldron using the Flourishing Soil incantation (costs 1 Moss, 1 Wheat, and 1 Driftwood). You'll want about 6 Nightshade total.
For Bones, the fastest method is clearing the first three rooms of Erebus at Heat 3 or higher - you can snag 30 Bones in under two minutes that way. If you end up with extra Nightshade, convert it at the Wretched Broker at a rate of 1 Nightshade for 10 Bones, which is a solid trade when you're drowning in the stuff.
Late-Game: Bronze, Shadow & Cinder Farming
Don't even think about farming Bronze, Shadow, or Cinder until you can clear Erebus in under four minutes - seriously, wait for that threshold. Once you're that fast, start with Bronze in the City of Ephyra (Surface route) from Mounds of Bronze, getting 1-3 per mound with your Crescent Pick.
Shadow is weird because it's not a natural drop at all. You have to unlock Shadow Extraction first (costs 1 Cinder + 1 Moly), then craft it using 30 Ash + 15 Psyche per unit, so it's a huge resource sink.
For Cinder, it's guaranteed from the Hecate boss in Erebus, but you can also get bonus drops from the Bone-Crusher elite - that giant skeleton with the spiky wheel. Use the Moonstone Axe with the Kinetic Return hammer for maximum speed when you're grinding this out.
Marble is a whole different beast; it only appears in the Rift of Thessaly and requires the Argent Pick (which you get after beating Chronos once). Most players use the quit-run method for efficiency, since full runs are a massive time sink.
Conclusion
By following this structured roadmap - from early Ash runs to late-game Cinder farming - you transform a chaotic grind into a streamlined power climb. Focus on one resource goal at a time, upgrade your tools, and watch your build options and clear speed skyrocket.
More hades-ii Guides
Hades 2 Beginner's Guide: Your First 10 Runs to Chronos
Stop dying and start dominating. This guide breaks down the exact 10-run progression from system mastery to your first serious boss attempt in Hades 2.
Hades II True Ending Guide: The Complete Roadmap to the Golden Age
A step-by-step guide to unlocking Hades II's true ending. Defeat Chronos, complete the Moirai prophecy chain, craft essential incantations, and conquer the final boss rematch.
Hades II Boss Guide: How to Defeat Hecate and Chronos
Master Headmistress Hecate and Chronos in Hades II with phase breakdowns, optimal builds, and reward strategies for progression.
AI Tactical Companion
Consult with our specialized tactical engine for hades-ii to master the meta instantly.