Indiana Jones and the Great Circle: Marshall College Prologue 100% Guide
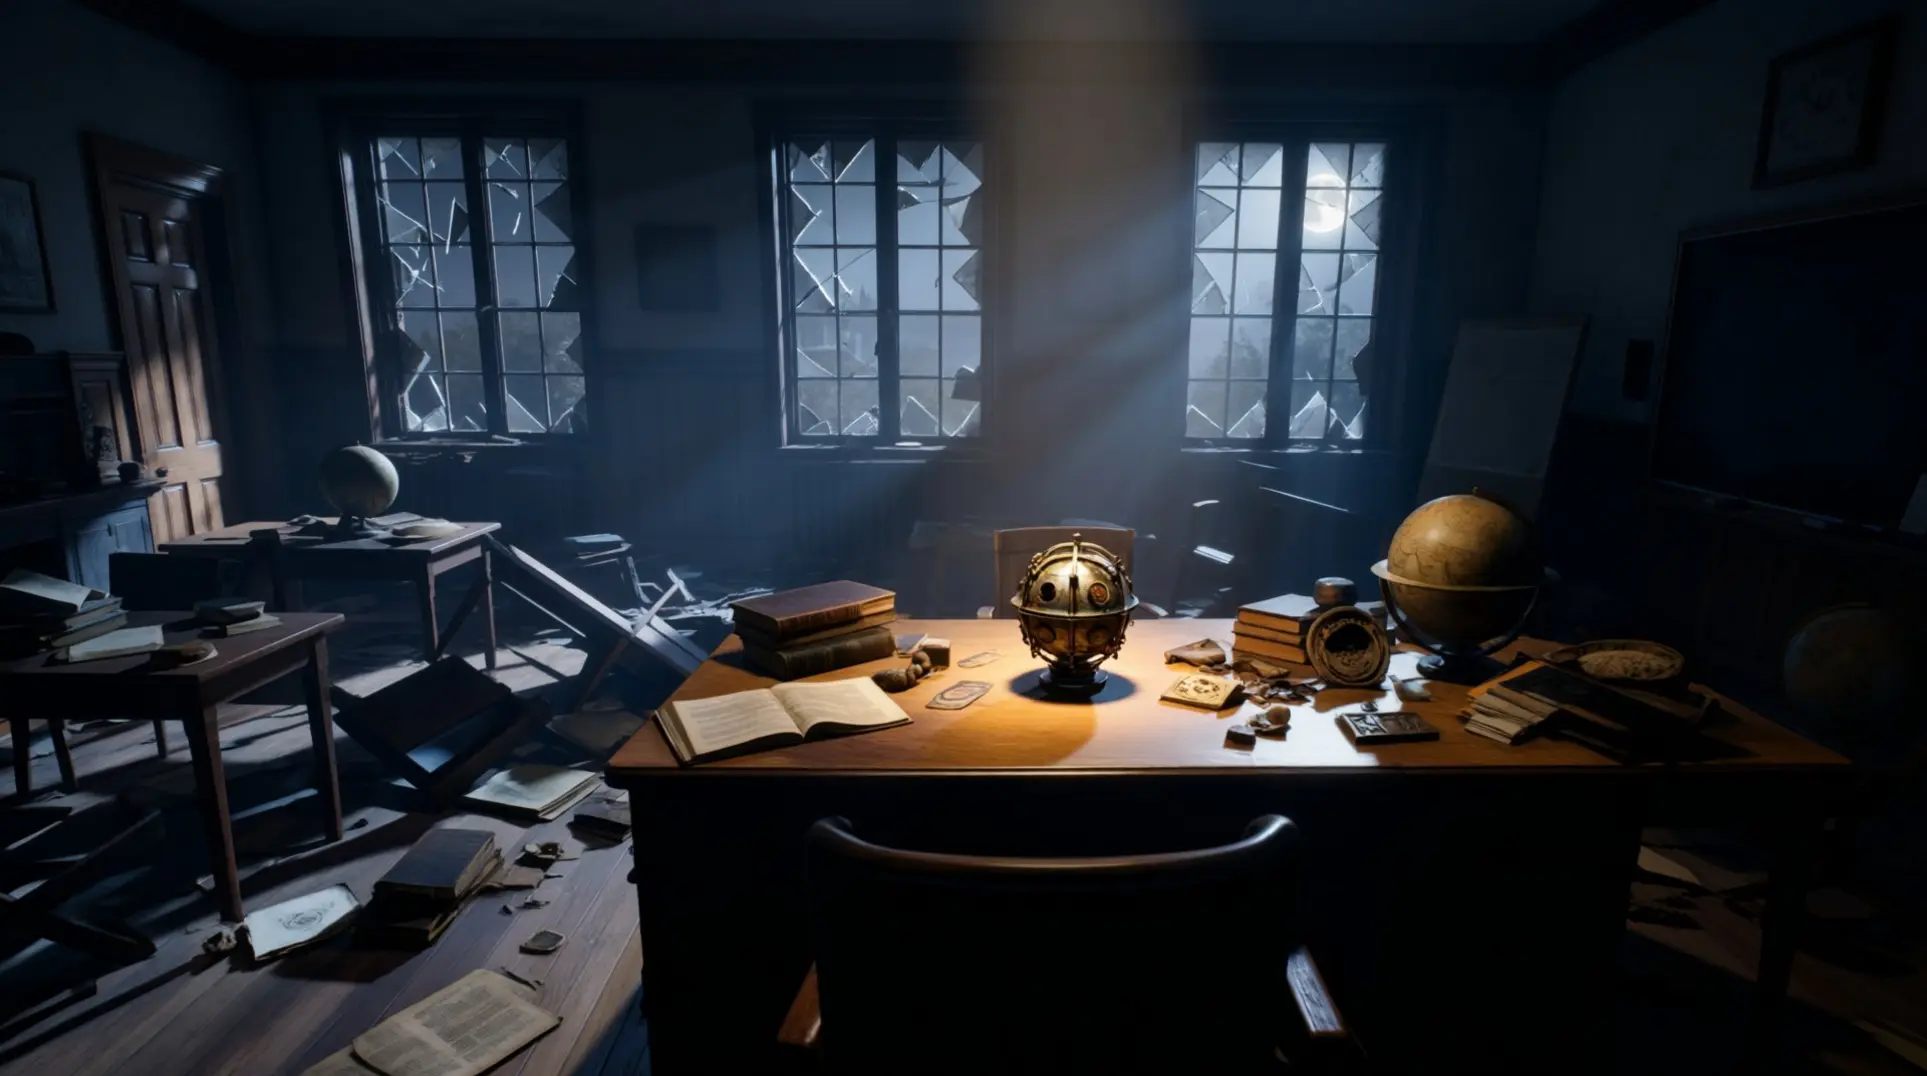
The Marshall College prologue in Indiana Jones and the Great Circle is a collectible hunter's nightmare, deliberately designed to lock you out forever after a single playthrough. Missing any of the ten items does not force a replay of the entire campaign for 100% completion, as all items can be collected after the main story via free-roam or chapter replay. This guide details exactly what you need, where to find it, and the critical point of no return you must avoid. ## Why Marshall College Prologue is Permanently Missable ### The Point of No Return: When You Lose Access Here's the harsh truth about Marshall College - it's a one-way door, and the game doesn't warn you nearly enough. It all goes down right after you solve the idol pedestal puzzle, when Gina pops open the freight-lift gate and says, 'Let's get this crate topside.' That line isn't just dialogue; it's your final warning to scour every last corner because the instant you step onto that lift, the autosave icon flashes and the chapter-complete summary screen hijacks your display. That's your hard point-of-no-return, and there's no undoing it. Once that cutscene ends, both the basement and the exhibition hall seal themselves off completely. The chapter remains accessible in Chapter Select, and collectible progress can persist. This means if you missed any of those ten Notes scattered around, you can return via chapter select or free-roam later. ### Trophy/Achievement Consequences This is where missing collectibles stings the most. Five trophies become permanently blocked if you don't grab everything, and they're all mandatory for platinum or 100% completion. First up, Eagle-Eyed demands you find Comic Page #1 hiding above a bookcase in the Student Lounge - miss that, and you're locked out. Master Archaeologist requires collecting all five chapter-specific artefacts: Barnett's Message (Chapter 4), Suspicious Letter (Chapter 5), Voss' Warning (Chapter 7), Locus Map (Chapter 8), and Emmerich's Journal (Chapter 9). Then there's Relic Hunter, which won't pop unless you grab both the Giant's Pendant and the Cat Mummy Photograph. Roman Scholar requires collecting all Journal notes in the Rome chapter (60 notes), not the ten collectibles in the Marshall College prologue. Finally, Kodak Moment needs you to snap a photo with the instant camera in the attic storeroom, specifically where the Cat Mummy sits. All five trophies are mandatory for completion, and they all rely on items you'll never see again after that freight-lift ride. ### The One-Time-Only Design Marshall College is a one-time-only level that becomes inaccessible after completion, but the collectibles within it are not missable. The level remains accessible in Chapter Select, and collectibles can be obtained in subsequent playthroughs. This design forces a brutal decision: either grab every collectible on your first run or accept that you'll need a full campaign replay for 100% completion. The only silver lining is that a single, clean replay where you snatch every object guarantees all the trophies will unlock properly. But that's cold comfort if you were hoping to mop up collectibles later. ## Collectibles Overview and Categories Marshall College might be the prologue, but it’s absolutely stuffed with collectibles you’ll kick yourself for missing later. You’ve got ten total items across three categories, and most of them can be grabbed before you even leave for the main adventure. Some are just sitting out in the open, while others need a bit of whip work or won't lock you out if you progress too far. ### Adventure Notes (8 Optional + 2 Mandatory) First up are the Adventure Notes, and here’s the deal: you’ll find ten total, but only two are mandatory story items you literally can’t miss. The other eight are optional, though you’ll want them if you’re chasing that 100% completion. The Faculty Card appears on the reception desk after the 'Break-In' objective is accepted, so that’s automatic. Marcus’ Letter is also story-gated, sitting on the coffee table in Indy’s office once you’re able to explore. Now for the optional ones you’ll actually have to hunt down. The Baseball Card is located on a book cart in the upstairs hallway of Marshall College. While you’re in that room, check the secretary’s desk for the Student Roster tucked in among the papers. Head upstairs to the Archaeology Classroom on the second floor. The Cat Mummy Photo is pinned to a board on the back wall of Indiana Jones's office, and a black-and-white photograph of the college façade is posted on the bulletin board right outside the classroom door. Finally, Gina’s Note is not found in the Marshall College prologue; it is located in the Apostolic Library in the Vatican chapter. ### Ancient Relics (2 Hidden Items) Let’s clear something up first: some early guides mention a Nazi Coin here, but that’s misinformation. You won’t find that collectible until later locations like Gizeh, so don’t waste time searching filing cabinets for something that doesn’t exist. What you will find are two relics, and one of them requires your whip. The Giant’s Pendant is story-mandatory, hidden behind a liftable bookcase in the Student Lounge on the first floor, so you can’t miss that one. Both count toward the Relic Hunter trophy, and grabbing them unlocks your first whip upgrade at the initial workbench, which makes the early game much smoother. ### Field Notebook Page & Photograph These last two are the easiest to blow past, especially during your first run. The Ancient Astronaut Sketch (counts as your Field Notebook Page) is found on the floorboards near a cracked skylight in the Storage Balcony. Just walk over and interact with it. The Marshall Quad Photo is even more missable because it’s not a standard pickup - it’s an inspectable broken picture frame found on a dusty wooden shelf in Indy's office attic. You’ll need to manually examine it to add it to your collection. Both are required for achievements: the sketch is needed for Roman Scholar, and the photo unlocks the Kodak Moment trophy. The chalkboard in Indy’s office also triggers a notebook entry, but that specific page is another skippable one, so don’t stress if you forget to interact with it. ## Efficient 100% Collection Route (Under 5 Minutes) Don't just bolt out of Indy's office when the game starts - you've got ten collectibles to grab at Marshall College, and you can knock them all out in under five minutes if you follow this exact route. Here's what to grab and where, so you don't have to replay the entire prologue. ### Phase 1: Office Sweep (Items 1-3) Your first three items are all clustered in the starting area, so don't get trigger-happy with the exit door. The Baseball Card is located on a book cart in the upstairs hallway. The Nazi Coin isn't actually in the office itself; it's tucked on a metal shelf inside the janitor closet under the main staircase, so you'll need to backtrack a few steps. Once you've got those, head to the Storage Balcony to find the Ancient Astronaut Sketch (Field Notebook Page) on the floorboards near a cracked skylight. Grab these before you move on, or you'll be kicking yourself later when you're stuck at 9/10. ### Phase 2: Hallway & Display Case (Items 4-5) The next two items introduce you to the lockpicking mechanic, and luckily Indy already has the perfect tool. In the museum corridor, you'll spot a display case that needs opening - use a lock-pick found on Indy's jacket to jimmy the lock, which gets you the Cat Mummy Photo. Directly opposite the vending machine, there's a bulletin board where a black-and-white photograph of the college façade is waiting. This whole section is basically the game's way of teaching you the lockpick trick, so pay attention now and you won't struggle with it later in Vatican City. ### Phase 3: Secretary Area & Storage (Items 6-8) Now you'll need to get comfortable with your whip. The Student Roster is sitting right on the secretary's desk in plain sight, so grab that first. This item is about mastering that whip mechanic early, and you can practice the timing here without any Nazi guards breathing down your neck. ### Phase 4: Burglary Scene & Final Check (Items 9-10) This is where most people mess up, so listen close. Before you leave the building, you can photograph the courtyard statue outside as a tutorial prompt, though it is not required for a puzzle. Finally, pause and check your Options → Collections menu to confirm you're at 10/10. If you're not, backtrack immediately because once you exit Marshall College, you can return later. ## Beginner Pro Tips for Marshall College ### Stealth & Combat Fundamentals Marshall College is basically the game's stealth boot camp, and you don't want to skip the lessons. The whole level teaches you crouch-walking, body-hiding, and stealth takedowns before the real adventure starts. Here's the thing though: your weapons have hidden durability counters, and they will break on you. Every melee weapon starts with 10 uses, but each armed stealth kill costs one full point. If you get your swing blocked, that costs one point, and parries don't cost anything. You can't see the counter, but you'll definitely feel it when your pipe snaps mid-encounter. Luckily, there's a trick: torches in the janitor's closet do not respawn. They're not great weapons, and they are not infinitely farmable if you want to practice your takedowns without burning through your actual gear. ### Investigation Mode & Lockpicking The lockpicking system looks complicated, but it's actually pretty simple once you get the hang of it. When you see a glowing lock, press the interact button (E or □) and Indy will crouch down for a close-up view - this is Investigation Mode, and it's your only way to see those sweet, sweet interactables. Gently rotate the stick (or A/D keys) until the hairpin vibrates and the lock cylinder wiggles, then press the trigger to set the pin. Most locks in Marshall College only have two pins, so it's over fast. But here's where it gets weird: regular padlocks don't work this way at all. Instead, you need to hit them with a melee weapon to break them permanently. Once they're gone, they're gone, which means you can create a permanent shortcut through the level. The game does have a contextual 'Force' prompt on some locks, which triggers a short animation where Indy just pries or snaps the thing. It isn't lockpicking, it's just brute force. Oh, and your companion Gina can open certain passages on her own after you try and fail. She has her own tricks. ### Whip Mechanics & Early Skill Point The whip swing tutorial in the fountain courtyard is one of those 'learn it or get stuck' moments. Hold LT/L2 to aim and attach your whip at the lantern chain. Tilt the stick back first, then push forward to build momentum, and tap Jump right at the apex to mantle onto the balcony. Once you're up there, snap a photo of the fountain below using D-pad Down or middle mouse. This 'Courtyard Vista' photo opportunity is worth 250 XP, which is exactly enough for your first skill point. No skill tree unlock required for whip-climbing - it's granted as soon as you finish the tutorial. This photo is not a tracked collectible and is not required for 100% completion. While you're in the museum office, grab the Bare Hands manual on the desk. Reading it now unlocks the permanent unarmed prompt for the whole game. ## Critical Oversights That Ruin 100% Runs Here is where most runs fall apart. The Marshall College prologue is packed with tiny interactions that look like background scenery, and three of them will absolutely murder your 100% attempt if you blink. Then there's Indy's lecture hall chalkboard, which you can actually wipe down with the interact button. That action reveals a hidden Comic Strip Doodle that counts toward completion, but most people never think to scrub a chalkboard in a video game. And finally, that central statue in the exhibit hall. It serves as a tutorial prompt for the Adventure Book camera mode; taking a photo of it does not solve any puzzle. ### Manual Save Strategy Before Exit You'll want to create a manual save slot right after the burglary scene, before you leave Marshall College for good. Here's why that matters: the game only autosaves at the suitcase interaction, which isn't nearly enough. The moment you walk through those front gates, the prologue area unloads completely. You can return later. That manual save in the reception area is basically your insurance policy. If you realize you missed that chalkboard doodle, you can reload and fix it without starting the entire game over. ### Inventory & Progression Carryover Collectibles found at Marshall College are chapter-specific and do not carry over to the Vatican. Only adventure-book perks and general inventory items carry forward. The Emergency Revolver is removed from your inventory at the end of the prologue, but story-critical keys are not removed. And here's the thing about missables: Marshall College items are flagged as non-missable, which means you can return via chapter select or free-roam later. But you can't just backtrack during your initial run - once you leave, you're out until you use chapter select. Marshall College is a brutal but intentional tutorial that demands meticulous exploration on your first visit. By following the efficient collection route and creating a manual save before exiting, you can secure all trophies and avoid replaying the chapter. Remember: once you step onto that freight lift, you can return later.
More indiana-jones-and-the-great-circle Guides

The Ultimate Guide to 100% Completion in Indiana Jones and the Great Circle
Complete guide to finding all 333 collectibles in Indiana Jones and the Great Circle. Learn strategies, locations, and tips for 100% completion.
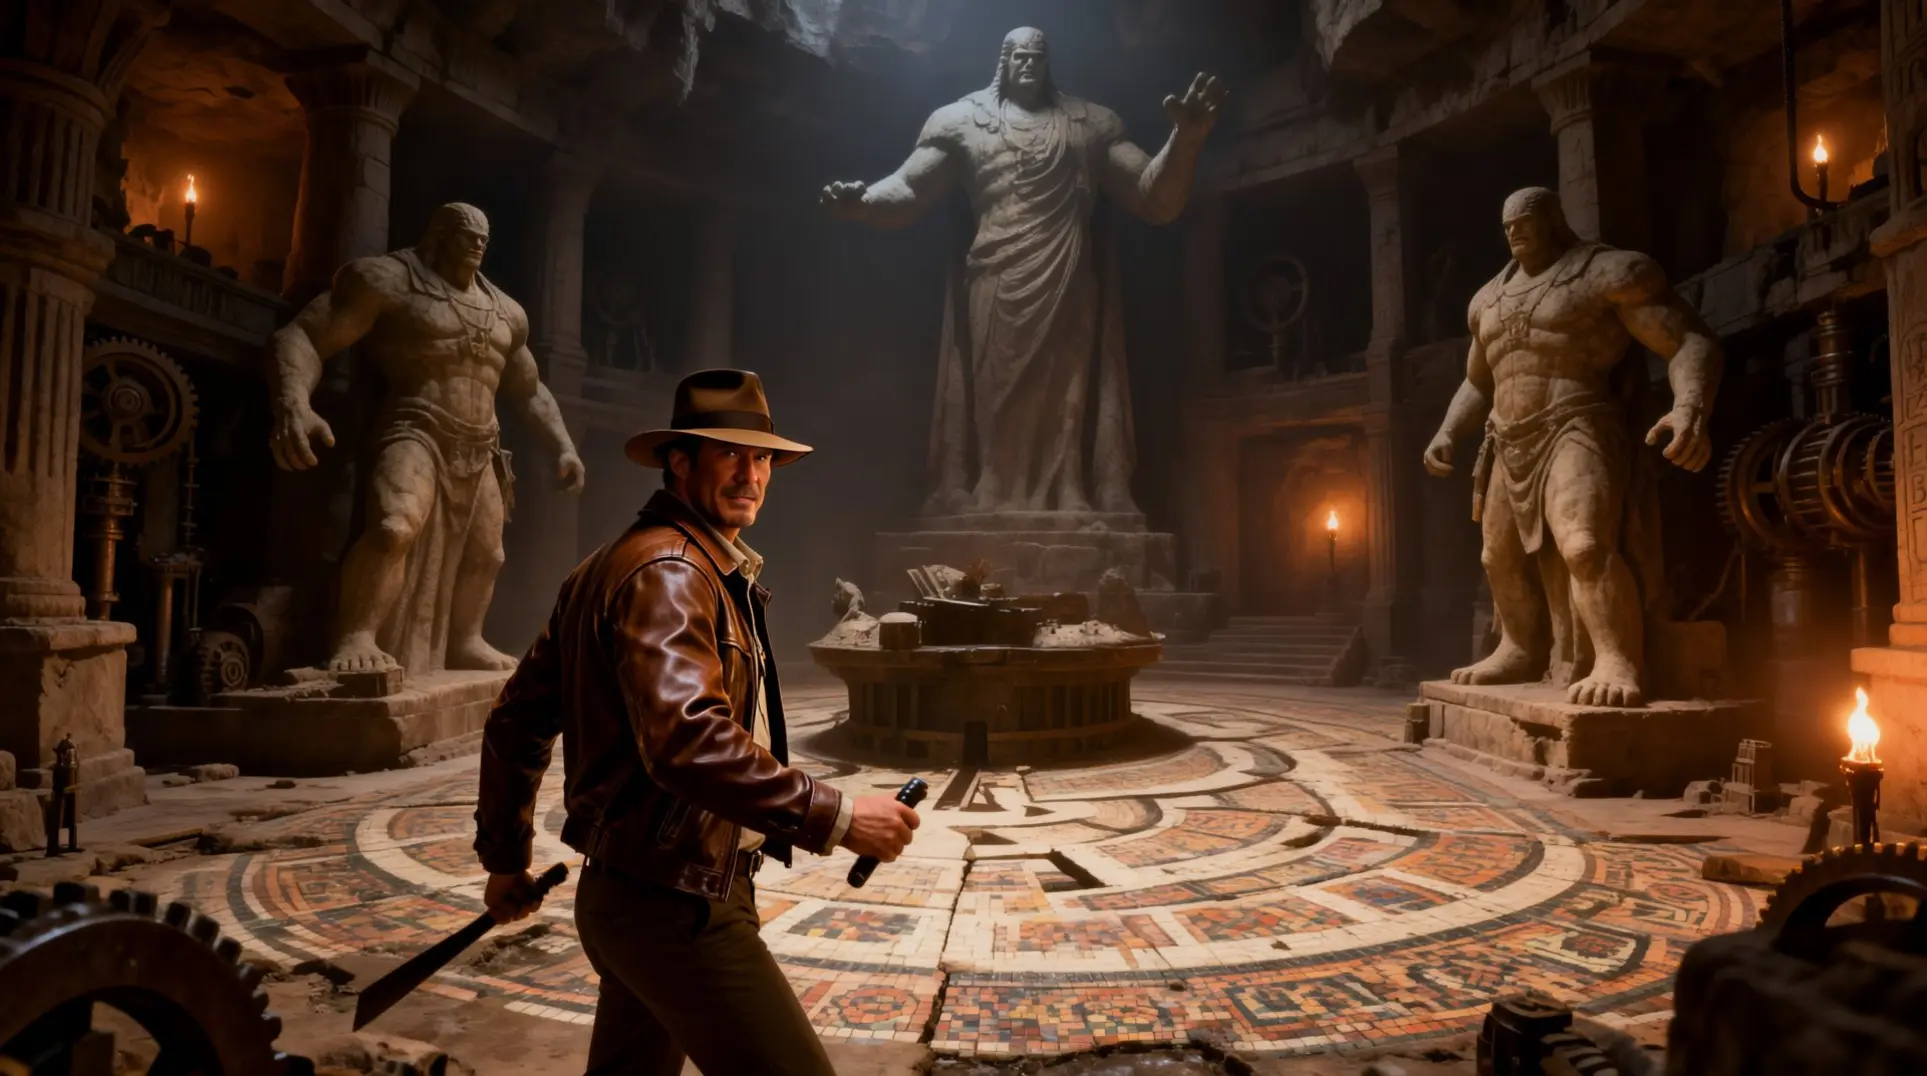
Complete Guide to Indiana Jones: Order of Giants DLC - Achievements, Collectibles, and Walkthrough
Master the Order of Giants DLC with our full guide. Find all achievements, collectibles, puzzle solutions, and tips for 100% completion in Indiana Jones and the Great Circle.

Fix the Blessed Pearl Bug in Indiana Jones and the Great Circle: Complete Guide
Stuck in the Blessed Pearl mission? This guide covers all bug variants, workarounds for PC, Xbox, PS5, and how to prevent soft-locks. Get past Sukhothai now.
AI Tactical Companion
Consult with our specialized tactical engine for indiana-jones-and-the-great-circle to master the meta instantly.