The Outer Worlds 2 Workbench Guide: Complete Crafting, Mods & Resource Management
Survival in Halcyon's unforgiving frontier demands more than combat skill alone. The workbench system is crucial for survival and combat effectiveness, transforming scarce materials into the ammunition, gear, and consumables that keep you alive during dangerous expeditions into corporate-controlled territory.
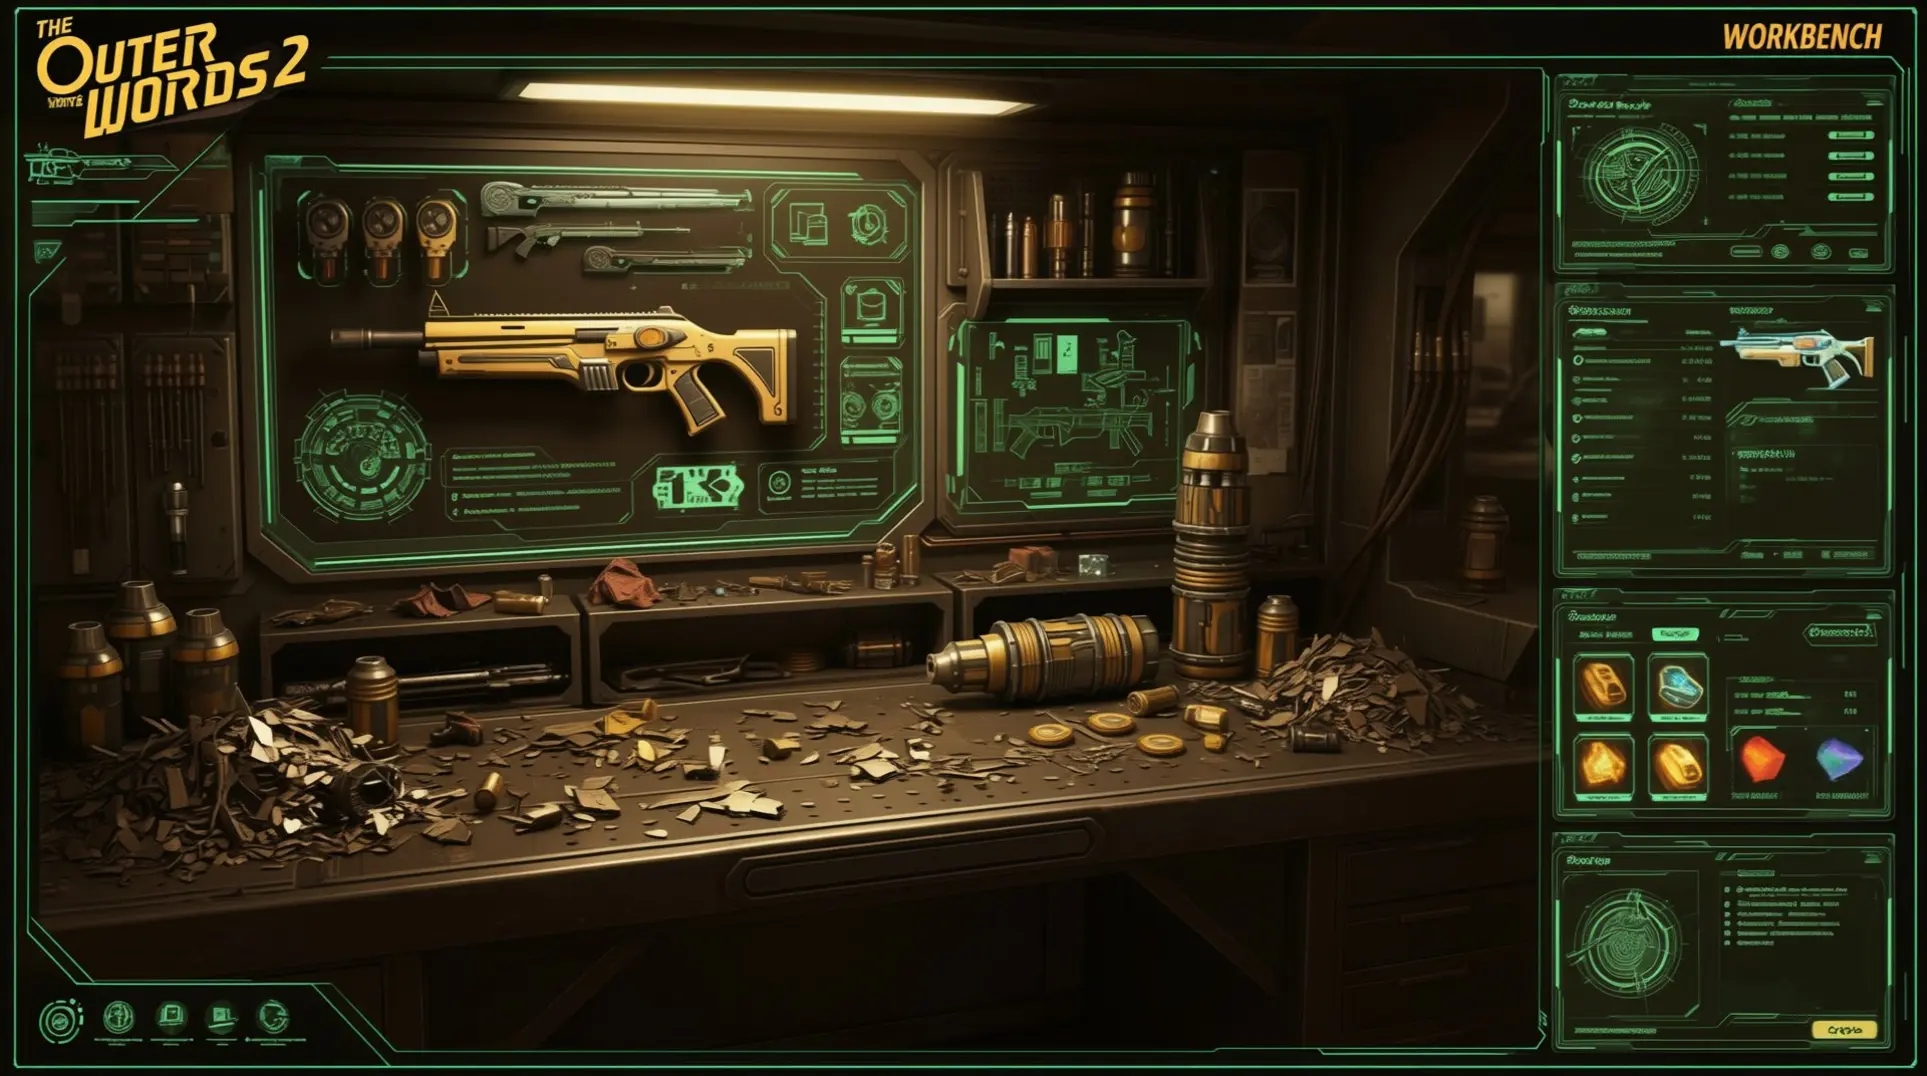
Workbenches serve as central hubs for crafting ammunition, modifying weapons and armor, creating consumables, and recycling unwanted items into valuable components. These vital stations are found throughout safe zones and settlements across the colony, ensuring you can always restock and regear before venturing back into hostile territory.
Mods allow powerful customization of weapons and armor to suit your preferred playstyle, but equipment has limited mod slots requiring strategic choices. Each modification must be carefully weighed against your build's needs and the resources you have available at any given time.
Recipes serve as blueprints defining resource requirements for every craftable item. Effective resource management is fundamental to successful crafting, especially given limited inventory space that forces tough decisions about what to keep, recycle, or leave behind in the field to maximize efficiency.
This comprehensive guide covers workbench mechanics, essential crafting priorities, and advanced resource management strategies. Master these interconnected systems to turn the colony's scarce resources into your greatest tactical advantage against corporate threats and hostile creatures.
Understanding The Outer Worlds 2 Workbench System
Core Workbench Functions Explained
The workbench operates as a multi-purpose crafting station found aboard the Unreliable ship and throughout the game world. It consolidates four essential functions: crafting new items, modifying equipment, repairing damaged gear, and breaking down unwanted items into components.
Crafting: The workbench enables you to manufacture critical supplies. You can craft ammunition, specialized modification kits, grenades, and various consumables to maintain combat effectiveness.
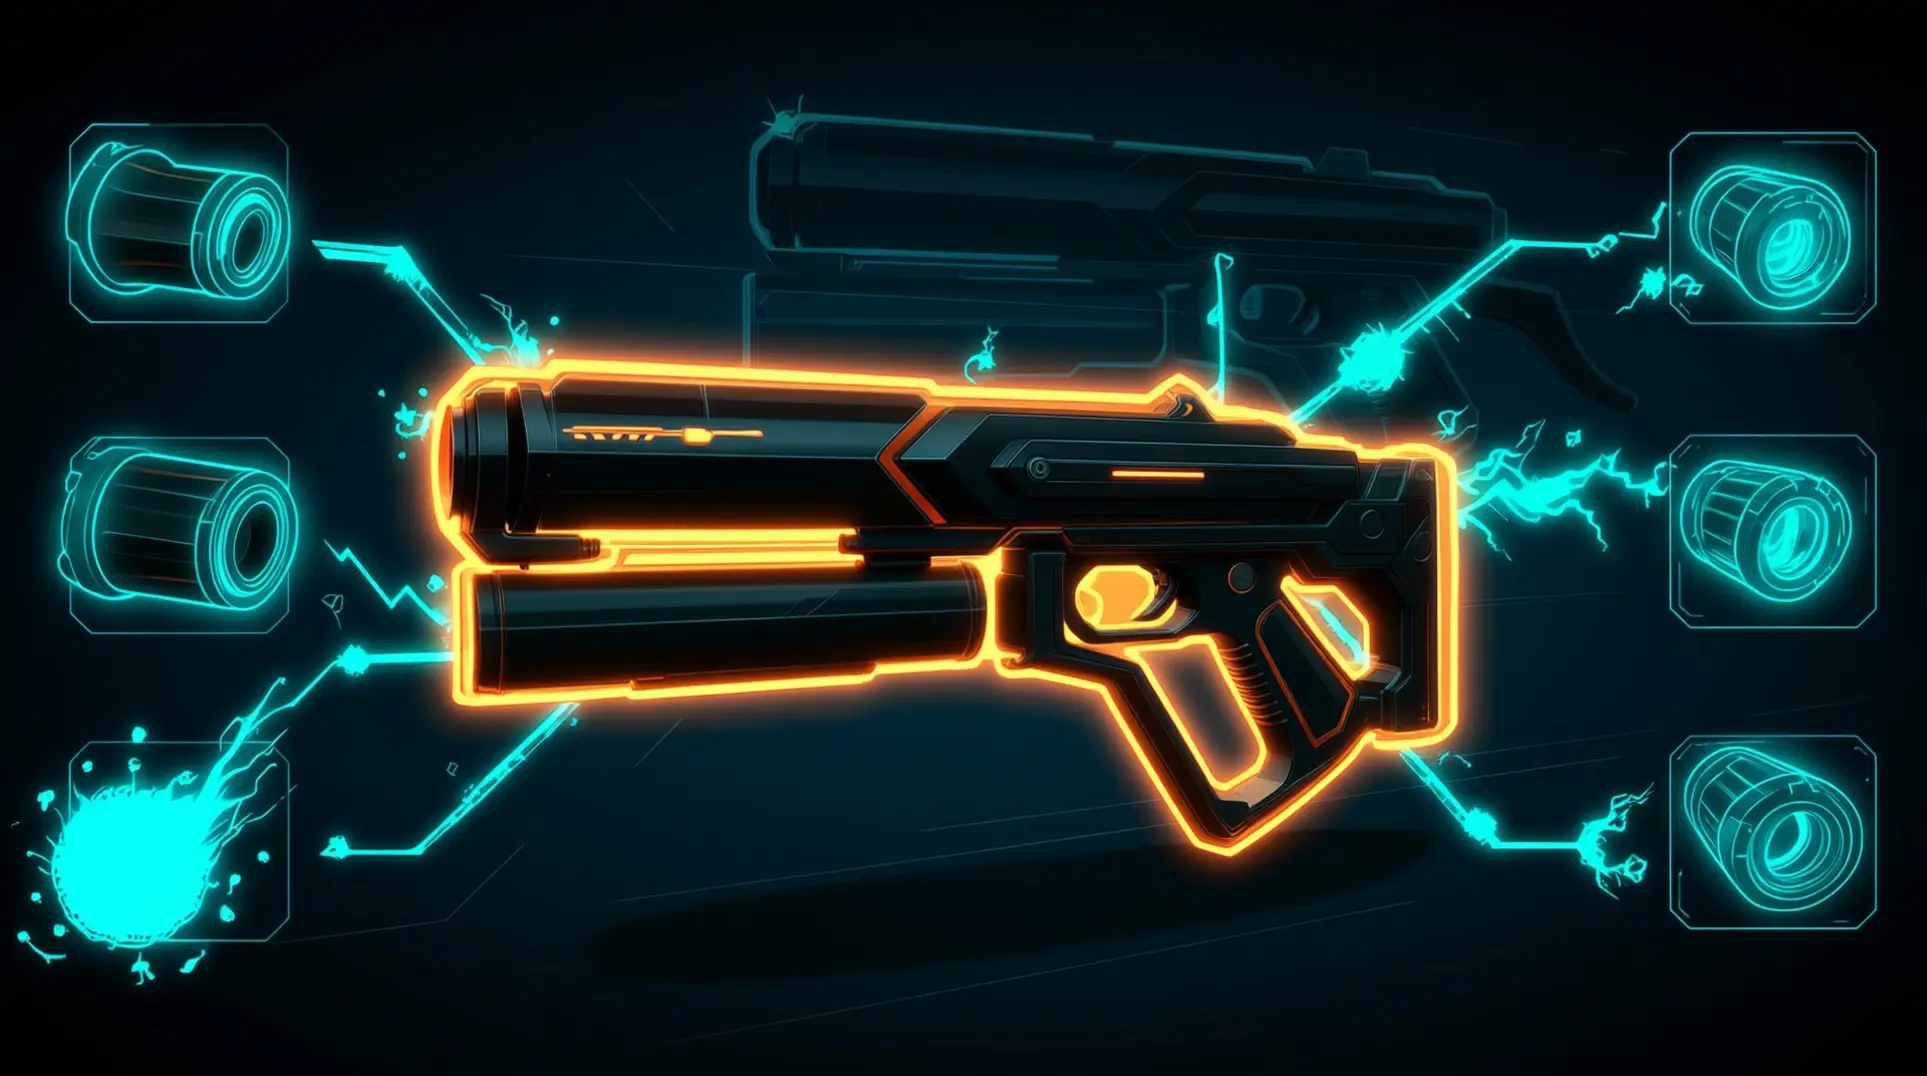
Modification System: This system uses specialized Mod Kits to enhance weapon performance.
- Ranged weapons accept barrel, magazine, and sight modifications
- Melee weapons utilize Grip Mods to improve handling and Strike Mods to increase damage output
Sturdiness Meter: This is a durability indicator on all equipment that depletes during combat and exploration. You must repair gear when this meter runs low to maintain effectiveness.
Engineering Skill: This skill reduces repair costs and improves breakdown efficiency. It lowers the Weapon Parts and Armor Parts needed for repairs.
Breakdown Process: This function disassembles unneeded equipment into components. A workbench breakdown produces 4-5 parts compared to only 3 from inventory breakdown. Note that workbench breakdowns are 'mod-blind' and do not allow for mod recovery. Your Engineering skill increases the likelihood of recovering valuable mods only when breaking down items in your inventory.
Locating and Accessing Workbenches
Workbench Locations: These stations are strategically placed throughout the game world to support exploration and combat. They appear most commonly in settlements, often near vending machines for player convenience.
The Unreliable's Workbench: Your ship includes a dedicated workbench that enables mobile crafting. This onboard station provides identical functionality to world-based workbenches, eliminating the need to return to settlements.
Specific Locations: You will find workbenches in most main cities and settlements across the Halcyon system. The Edgewater Landing Pad in Emerald Vale features one near the main landing area. Each workbench offers the same core capabilities regardless of where you access it.
Essential Crafting Priorities: What to Craft First
Ammunition Crafting - Your Top Priority
Ammunition serves as the lifeblood of combat, powering diverse ranged weaponry. Without proper ammo supplies, players rely heavily on melee combat or Gadgets. This dependency creates a dangerous vulnerability in ranged engagements.
Each weapon class requires specific ammunition types, and some types like Long Rounds are quite rare. The rarity and availability of certain ammunition types makes crafting important for extended gameplay. Crafting a healthy supply of rare ammo like Long Rounds will keep you going while exploring.
- Prioritize rare ammunition types that are difficult to find in the field
- Balance immediate combat needs against long-term sustainability
- Stockpile before extended exploration trips
- Consider ammo consumption rates of your preferred weapons
The primary method for creating ammunition is through Workbench crafting system. Players must have appropriate recipes in inventory to craft. The game's ammunition system adds resource management complexity that demands strategic planning.
Ammunition Management: The practice of balancing immediate combat requirements with sustainable long-term supply chains.
Effective ammunition management requires balancing immediate needs with long-term sustainability. This means regularly checking your reserves and planning crafting sessions. Failing to maintain adequate supplies can severely limit your combat options.
Make ammunition crafting your first priority when establishing your crafting routine. This ensures you never face a firefight without the means to defend yourself effectively.
Best Weapon Mods to Craft Early
Weapon mods fall into three categories: Barrel Mods (damage, range, accuracy), Magazine Mods (capacity, reload speed, fire rate), and Sight Mods (targeting, zoom). Early game (levels 1-10) focus on basic magazine and sight mods for usability. Magazine capacity increases provide immediate practical benefits without build commitments.
- Extended magazine mods are particularly effective on frequently used weapons
- Sight mods offer advantages depending on combat distance and weapon type
- Barrel modifications should be saved for weapons that truly benefit from their effects
- Prioritize mods that enhance your primary weapon's strengths
Certain weapons like Vermin revolver, Bolter Pistol, Tactical Shotgun have barrel slots available earlier. Around level 12-13, players encounter Mk 2 weapons that accept all modification types. Weapons typically feature 2-3 modification slots, and not all weapons support all modification types.
Modification Slots: The available attachment points on weapons, typically 2-3 per firearm.
Focus on magazine upgrades first. These provide the most consistent combat improvement early on. Sight mods come second, enhancing target acquisition for your preferred engagement range.
Essential Armor Mods for Survival
Body Armor Mods fall into three groups: Armoring, Resistance, and Material mods. Early game players should prioritize Armoring mods over Resistance mods. Armoring mods provide targeted or conditional damage resistance (e.g., against explosives, while below 50% health), making them versatile defensive options.
- Defensive Plates is an Armoring mod providing essential physical damage protection
- Blast-Proof Defenses is currently bugged and reduces the explosive damage you deal to enemies rather than reducing explosive damage taken
- Armor mods can provide resistance to physical, energy, and chemical damage
Light armor prioritizes mobility with high Evasion Chance and Combat Sprint Speed. Medium armor offers balanced stat line mixing Evasion, Sprint Speed, and Damage Resistance. Nightfall Squad armor provides 54 damage resistance in all categories with -50% equip time bonus.
Armoring Mods: Targeted or conditional damage resistance enhancements (e.g., against explosives, while below 50% health) rather than universal damage reduction.
Many armor mods trigger special effects beyond damage reduction. Choose mods that complement your playstyle and armor type. Early investment in Armoring mods pays dividends throughout your entire playthrough.
Mastering Weapon Mods and Customization
Weapon mods provide essential customization options that transform base weapons into specialized tools. Understanding each modification type and aligning them with your build strategy is crucial for maximizing combat effectiveness.
Ranged Weapon Mods: Barrel, Magazine, and Sights
Ranged weapons feature three distinct modification slots: barrel, magazine, and sight. These slots allow you to customize your firearm's performance across multiple dimensions and adapt to any combat scenario.
Barrel Mods: These alter damage type, projectile speed, range, or add elemental effects. Key options include Shock Barrel, Reinforced Barrel, and High-Velocity Barrel, each transforming your weapon's baseline capabilities in distinct ways for different tactical situations.
Magazine Mods: These change capacity, fire mode, or ammunition characteristics. The Mag-Num mod increases size by 50%, Mag-2-Ray adds +2 rounds, Extended Magazine provides a 30% boost, and Burst Magazine converts weapons to burst fire mode, fundamentally changing combat behavior and rhythm.
Sight Mods: These improve aiming speed, provide zoom, or add accuracy aids. Red Dot Sight excels in close-quarters, 4×/6× Scopes support long-range precision, and Laser Sight benefits mid-range combat. Match your sight to your engagement range for maximum effectiveness.
Optimal DPS combinations pair elemental barrel mods with high-base-damage weapons. This synergy maximizes the effectiveness of each shot delivered to your target and exploits enemy vulnerabilities.
Capacity-boosting magazine mods work best on fast-firing weapons to minimize reload downtime. This keeps you in the fight longer during intense firefights and sustained combat scenarios.
Players must weigh weapon base stats before slotting damage-boosting mods. Understanding your weapon's inherent strengths prevents inefficient combinations and wasted modification potential.
Not every weapon can be modified; some have no slots or are locked. Once installed, mods cannot be reclaimed unless you have the Peril on Gorgon DLC and Engineering 150.
The Mag-2-Ray is a restricted item at the Edgewater Spacer's Choice vending machine, requiring a Hack skill of at least 40 to appear for purchase. It may not appear on the first visit due to inventory randomness.
Melee Weapon Mods: Grip and Strike Modifications
Melee weapons utilize two modification types: Grip mods and Strike mods. These modifications allow you to tailor melee combat performance to your specific needs and playstyle preferences.
Grip Mods: These affect handling characteristics and can provide special bonuses. The Impact Hammer Combat Grip and N-Radiated Scythe Stabilizing Grip improve weapon control, while the PowerGrip modification increases melee weapon critical chance by 10% for more frequent devastating hits.
Strike Mods: These focus on damage output enhancements, primarily Attack mods. They can convert damage types and introduce elemental status effects including burning, freezing, electrical, and corrosive to control the battlefield and exploit enemy weaknesses effectively.
Specific grip mods like the Sentry Blade Covert Grip provide stealth bonuses for silent takedowns. One-handed melee weapons are particularly effective with grip mods that increase attack speed, allowing rapid successive strikes and higher overall DPS.
Strategic implementation should align with your overall build strategy and tactical approach. Consider your combat role and preferred engagement style when selecting mods. Mods can be obtained through vending machines, world exploration, and enemy drops throughout your adventure.
Modding Strategies for Different Builds
Mods should be tailored to different playstyles and tactical requirements. Strategic implementation must align with your overall build strategy to maximize combat effectiveness and create a cohesive character setup.
Different builds require different mod combinations for optimal effectiveness. High burst damage builds benefit from damage-enhancing barrel mods on powerful base weapons. This creates devastating opening volleys that eliminate threats quickly before they can respond.
Sustained combat builds need capacity magazines to reduce reload frequency. This approach minimizes vulnerability during extended engagements and maintains constant pressure on enemy forces without pause.
Crowd control builds excel with elemental effects that inflict area denial and status conditions. These modifications control battlefield tempo and limit enemy movement options while dealing damage over time.
Stealth engagement builds utilize covert grips and suppressed weapons for silent takedowns. This playstyle requires mods that enhance concealment and minimize detection while maximizing critical hit potential.
Players should consider their preferred engagement ranges when selecting mods. Close-quarters fighters should prioritize quick-aiming sights and rapid-fire modifications. Long-range specialists need high-power scopes and stability enhancements for precision at distance.
Your combat role also determines ideal mod selection. Front-line assault troops need durability and damage output modifications to survive direct confrontation. Support characters may focus on utility modifications that help control the battlefield and assist teammates through tactical advantages.
Advanced Armor Modding and Enhancement
Defensive Mods: Resistance and Protection Types
Body Armor Mods: Modifications that fall into three groups: Armoring, Resistance, and Material mods. Each category offers distinct protective capabilities that stack to create comprehensive defense for any combat scenario.
Armoring mods provide targeted or conditional damage resistance (e.g., against explosives, while below 50% health). Early game players should prioritize Armoring mods over Resistance mods because this broad protection proves more valuable than specialized defense in initial encounters against varied threats.
Resistance mods deliver targeted protection against specific damage categories. Armor mods can provide resistance to physical, energy, and chemical damage, allowing you to tailor your defense to anticipated threats in specific missions.
- Defensive Plates: Provides essential physical damage protection for direct combat scenarios
- Blast-Proof Defenses: Is currently bugged and reduces the explosive damage you deal to enemies rather than reducing explosive damage taken
The Nightfall Squad armor provides 54 damage resistance in all categories with -50% equip time bonus. This elite gear combines multiple Resistance benefits into a single package for comprehensive protection.
Many armor mods trigger special effects beyond damage reduction. Defensive mods are essential for survival when facing standard enemy attacks throughout your progression.
Utility and Specialty Armor Mods
Different armor types serve different tactical purposes on the battlefield. Your choice between Light, Medium, or specialized gear directly impacts your combat approach and survivability in specific encounters.
Light armor: Prioritizes mobility with high Evasion Chance and Combat Sprint Speed bonuses. This allows for hit-and-run tactics and rapid repositioning during intense firefights where staying mobile means staying alive.
Medium armor: Offers balanced stat line mixing Evasion, Sprint Speed, and Damage Resistance. This versatility makes it ideal for players who adapt their strategy mid-combat and need flexibility over pure specialization.
The Safecracker's Jacket provides 13 defense against Physical, Plasma, Corrosion, Shock, and N-Ray damage, and a +10 Lockpick skill bonus. This specialty gear demonstrates how armor can enhance non-combat abilities while still offering solid protection.
Many armor mods trigger special effects during combat beyond just damage reduction:
- Stealth bonuses for covert operations
- Skill enhancements that boost core abilities
- Status effect resistances against debuffs
Armor mods can be crucial for survival in specific encounters. Specialty mods can provide unique advantages in specific situations where standard defenses prove inadequate and tactical flexibility becomes paramount.
Resource Management and Material Acquisition
Core Resource Types and Their Uses
Effective resource management forms the foundation of successful crafting. Players must balance immediate needs against long-term goals while navigating resource scarcity.
Resource acquisition methods:
- Exploration
- Combat drops
- Trading with vendors
- Recycling unwanted equipment
Core materials needed for crafting include Weapon Parts, Armor Parts, and various elemental components. Different ammunition types require specific materials such as Long Rounds and Compact Rounds.
Resource scarcity: The limited availability of materials that forces players to make tough decisions about prioritization.
Mod crafting requires specialized components and rare materials. These advanced resources are typically harder to find and demand more strategic planning to acquire.
With limited inventory space and carrying capacity, strategic resource management becomes essential. Players must constantly evaluate their stockpile and make tough decisions about what to keep, recycle, or leave behind.
Every item in your inventory represents a choice between immediate utility and future crafting potential. Understanding these core resource types helps players make informed decisions.
Proper planning ensures you have the right materials when you need them most. This foresight separates successful crafters from struggling survivors.
Smart Scavenging: Where to Find Best Materials
Workbenches can be found throughout the game world in settlements and safe zones. These crafting stations are often located near vending machines for convenient access.
The Unreliable ship contains a dedicated workbench for mobile crafting. This allows players to craft on the go without returning to settlements.
Resource gathering methods:
- Exploration
- Combat drops
- Trading with vendors
High-yield locations: Areas that produce maximum resources for efficient gathering routes.
Strategic placement of workbenches supports exploration and combat mechanics. Players can plan routes that pass by these stations to manage inventory and craft upgrades.
This integration of crafting locations with gameplay loops enhances overall efficiency. Smart scavenging means planning your route to include these key locations.
Key locations:
- Settlements and safe zones throughout the game world
- Near vending machines for convenient access
- The Unreliable ship for mobile crafting capabilities
Recycling and Breakdown Strategies
The breakdown system allows players to disassemble unwanted equipment into useful components. This process serves the dual purpose of clearing inventory space while accumulating resources.
Breakdown system: A mechanism for converting unwanted gear into crafting components.
Breakdown efficiency comparison:
- Workbench breakdown: 4-5 parts
- Inventory breakdown: 3 parts
Engineering skill increases chances to recover mods when breaking down equipment in your inventory, but not at the workbench. This makes skill investment valuable for long-term crafting capabilities.
Players must decide what to break down versus keep for maximum efficiency. Strategic breakdown decisions directly impact your ability to craft upgrades later.
Every item you dismantle represents a strategic choice about your future capabilities. This decision-making process is central to effective resource management.
Breakdown benefits:
- Convert unwanted gear into useful components
- Clear inventory space
- Accumulate crafting resources
- Recover mods with Engineering skill (inventory only)
Advanced Crafting Techniques and Optimization
Workbench Skill Synergies (Engineering/Science)
The Engineering skill provides comprehensive benefits to workbench operations. It reduces repair costs and improves breakdown efficiency across all equipment categories. This makes the Engineering skill tree essential for players who rely heavily on crafted gear.
Resource Efficiency: Engineering lowers the Weapon Parts and Armor Parts needed for repairs. This reduction in material costs allows for more frequent maintenance without depleting your inventory. You can keep your favorite weapons combat-ready longer.
Salvage Optimization: The skill increases the likelihood of recovering valuable mods during the breakdown process in your inventory. This makes dismantling obsolete equipment more lucrative than vendor sales. You gain more return on investment from looted gear.
Character skills affect crafting effectiveness and resource requirements throughout the game. Strategic investment in Engineering creates powerful incentives for regular workbench usage. Players maximize their economic efficiency by aligning skill development with crafting activities. The system rewards dedicated crafters with substantial long-term savings.
Tinkering vs. Crafting: When to Upgrade vs. Create New
Equipment modification requires careful cost-benefit analysis. Each piece of equipment has a limited number of mod slots, forcing strategic decisions about upgrades versus replacement. This limitation makes every modification choice significant.
Mod Slot Limitations: Some mods conflict with others, creating meaningful choices. Players must weigh weapon base stats before slotting damage-boosting mods. A low-damage weapon might benefit more from capacity or accuracy buffs than pure damage increases.
Upgrade vs. Replacement: The decision between upgrading equipment and creating new items depends on multiple factors. Consider the base weapon quality, available mods, and resource investment required. High-tier bases often justify upgrade investments.
Strategic decision-making about equipment modification versus replacement saves time and resources. Evaluate whether your current gear's potential exceeds the cost of crafting from scratch. Sometimes upgrading a familiar weapon yields better results than gambling on new schematics. Capacity or accuracy buffs may yield higher overall DPS on low-damage weapons compared to pure damage increases. Always analyze the weapon's baseline performance before committing rare mods.
Safe Zone Crafting and Power Management
Workbenches can be found throughout the game world, typically located in safe zones, settlements, and strategic locations. Each workbench provides the same core functionality regardless of location, ensuring consistent access to crafting services.
The Unreliable: The workbench on your ship offers a safe, accessible location without returning to settlements. This mobile crafting station saves significant travel time.
Workbenches are strategically placed throughout to support exploration and combat mechanics. However, strategic use of workbenches in hostile areas requires caution. Power management considerations become critical when crafting in dangerous locations. Plan your crafting sessions before venturing into unsecured territory to avoid vulnerable situations. Always secure the perimeter before beginning extended modification work.
Common Crafting Mistakes to Avoid
Resource Waste and Over-Crafting Pitfalls
Strategic resource management becomes essential with limited inventory space and carrying capacity. Players must balance immediate needs against long-term goals while resource scarcity forces tough decisions about what to keep, recycle, or leave behind.
Over-Crafting: Creating more items than immediately needed, consuming valuable resources and inventory space unnecessarily.
Common new player mistakes include inefficient resource usage. This often manifests as hoarding unnecessary materials or crafting without purpose. Over-crafting can lead to inventory overflow and missed opportunities when superior recipes unlock later in progression.
Strategic resource management prevents waste and maximizes efficiency. Players should avoid crafting items they won't use immediately. Instead, focus on gathering materials for specific upcoming needs. This disciplined approach ensures you maintain flexibility for rare discoveries and can quickly adapt to new challenges without being burdened by excess gear.
Equipment Maintenance and Repair Best Practices
Each piece of equipment has a sturdiness meter that depletes during use. Equipment effectiveness diminishes as the meter decreases, making regular maintenance essential for optimal performance.
Sturdiness Meter: A durability indicator that tracks equipment condition and decreases with use.
Repair requires specific materials:
- Weapon Parts for weapons
- Armor Parts for protective gear
The Engineering skill reduces repair costs, making it a valuable investment. Proactive maintenance saves resources compared to emergency repairs. Players should repair equipment before entering dangerous areas. This preparation prevents unexpected failures during critical combat situations and ensures your gear performs at peak effectiveness when you need it most.
Frequently Asked Questions (FAQ)
How do I get new crafting recipes in The Outer Worlds 2?
Recipes: These serve as essential blueprints that define resource requirements for crafting items. Players must have the appropriate recipes in their inventory before they can craft any item.
You can find new recipes through careful exploration, as loot from combat encounters, or by trading with vendors throughout the game world. Different ammunition types require specific recipes. Mod crafting also requires specialized recipes and unique components.
- Important: Some players report issues where recipes don't appear after character respecing
What's the difference between tinkering and modifying equipment?
Workbench: This essential station enables crafting, modification, repair, and breakdown operations for all equipment types.
Tinkering refers specifically to repair and maintenance functions that keep your gear in optimal working condition. Modifying equipment involves installing mods through the workbench system using specialized Mod Kits to alter equipment performance. Remember that all equipment has limited mod slots for modifications.
- Ranged weapons accept barrel, magazine, and sight modifications
- Melee weapons accept grip and strike modifications
Should I break down items at the workbench or in my inventory?
Breakdown: Workbench breakdown typically produces more parts (4-5 components) than inventory breakdown (only 3 components). This makes the workbench the superior option for resource gathering.
Your Engineering skill does not help recover mods at a workbench; it only applies to inventory breakdowns. The workbench breakdown system serves the dual purpose of clearing inventory space while accumulating valuable resources for future crafting needs.
- Strategic breakdown decisions significantly impact long-term crafting capabilities
- Always consider workbench breakdown for better resource yields
What are the best items to craft for beginners?
Priority Crafting: Ammunition crafting should be your top priority, especially rare types like Long Rounds which can be scarce in the early game and are critical for certain weapons.
Focus on basic magazine and sight mods for immediate weapon usability improvements. Defensive Plates provide essential physical damage protection for early survival. Extended magazine mods are particularly effective on frequently used weapons and can turn the tide in combat.
- Armoring mods provide targeted or conditional damage resistance (e.g., against explosives, while below 50% health)
- Players should prioritize crafting rare ammunition and basic weapon modifications first
Conclusion
The workbench system in The Outer Worlds 2 transforms scattered resources into your greatest tactical advantage. Master these interconnected systems to dominate combat across Halcyon's hostile frontier.
Prioritize ammunition crafting, especially rare types like Long Rounds that keep your favorite weapons operational during extended expeditions. Strategic resource management prevents waste while ensuring you have materials for critical upgrades when they matter most.
Engineering skill investment pays dividends through reduced repair costs and improved breakdown efficiency. Different combat builds require specialized modding approaches - burst damage builds need capacity magazines, stealth builds require covert grips, and frontline fighters benefit from defensive armor modifications.
The workbench on your Unreliable ship provides mobile crafting capabilities, eliminating travel time between expeditions. Proactive maintenance prevents equipment failures during critical combat situations.
Experiment with different crafting approaches to discover synergies that match your preferred playstyle. The workbench system rewards strategic thinking and careful planning, turning the colony's scarce resources into overwhelming tactical superiority.
More the-outer-worlds-2 Guides

The Outer Worlds 2 Endgame Guide: Mastering Resource Management After Level 30
Learn how to overcome The Outer Worlds 2's permanent resource crisis at level 30. Master farming, crafting, and strategic decisions for the best ending.
The Outer Worlds 2 Weapon Mod Synergy Guide: Master Builds & Combinations
Complete guide to weapon mod synergy in The Outer Worlds 2. Learn sniper, DPS, elemental, melee, hybrid, and companion builds with optimal mod combinations.
The Ultimate Weapon Modding Guide for The Outer Worlds 2: Builds & Synergies
Master weapon customization in The Outer Worlds 2 with our complete modding guide. Learn synergistic builds, playstyle loadouts, and mod combinations for maximum combat effectiveness.
AI Tactical Companion
Consult with our specialized tactical engine for the-outer-worlds-2 to master the meta instantly.