The Ultimate Nook Miles Guide: Master Earning, Spending & Optimization in Animal Crossing: New Horizons
Introduction
Nook Miles are the lifeblood of your island's progress in Animal Crossing: New Horizons, a unique currency earned through effort and spent on everything from essential upgrades to exotic adventures. But with so many ways to earn and spend them, where do you even start? This guide breaks down the entire system, from your first 5,000 Miles to mastering the endgame, ensuring you maximize every single mile.
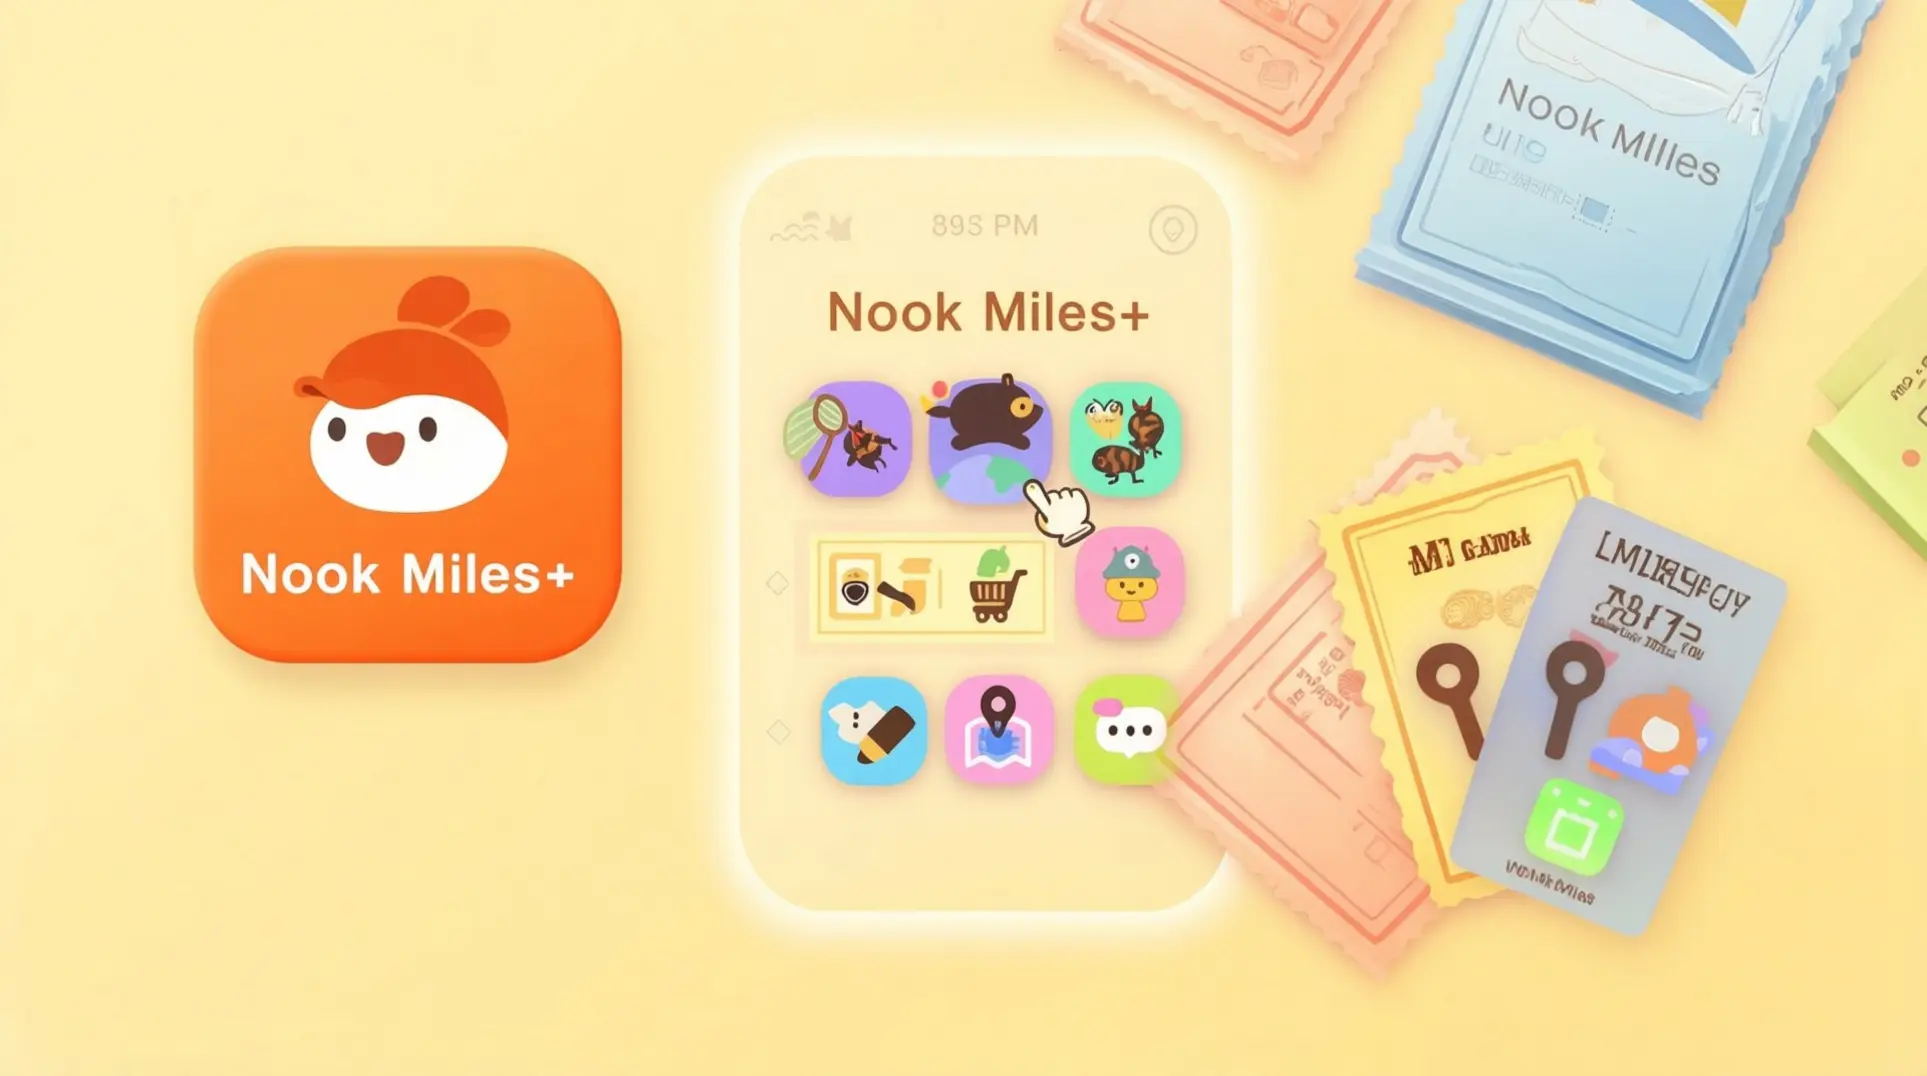
Understanding Nook Miles: The Complete System Breakdown
What Are Nook Miles & Why They Matter
Nook Miles are New Horizons' secondary currency, and honestly, they're what keeps your island moving forward. Unlike Bells, you can't just buy these with turnip profits or trade them between players, which means every single mile comes from your own effort - and you can convert them back into Bells via Bell Vouchers, so spend wisely.
Here's why that matters: early on, Nook Miles unlock stuff Bells simply can't touch, like the Tool Ring that lets you swap tools instantly, pocket expansions so you can carry more, and exclusive Nook Inc. gear you won't find in any shop. Plus, Miles are the primary way to buy Nook Miles Tickets, which are basically your keys to mystery island tours - essential if you want to hunt for specific villagers or gather rare resources.
| Feature | Nook Miles | Bells |
|---|---|---|
| Primary Use | Upgrades, exclusive items, QoL features | Buying items, paying loans |
| How You Get It | Gameplay achievements only | Selling items, trading |
| Can You Convert It Back? | Yes - via Bell Vouchers | Yes - fully tradable |
| Early Game Value | Higher (unlocks core mechanics) | Lower (basic purchasing) |
The 4 Nook Miles Earning Systems
You've got four different systems feeding your Nook Miles balance, and they all work in their own way.
First up is Nook Miles+, which hands you five fresh daily tasks every morning, and here's the key: the first five you knock out give double miles, so you'll want to prioritize those before grinding the rest at regular value.
Then you've got the Stamp Cards - these are your long-term achievements, and they're no joke. We're talking 87 total cards, most with five tiers to climb, and if you somehow completed every single one, you'd be sitting on 432,000 Miles. That's... honestly a bit insane.
Story progression also dumps lump sums into your account through milestone achievements. Catch 10,000 fish or earn 30 million Bells, and you'll not only get a fat Miles payout but also some exclusive passport titles to flex with.
Finally, there are special event bonuses that pop up during holidays. These are time-sensitive, so if you see one, grab it - most award between 300 to 1,000 Miles per task, plus seasonal recipes that won't come back until next year.
Priority Purchase Guide: What to Buy First (0-50,000 Miles)
Essential Day 1 Purchases (First 10,000 Miles)
You've just started racking up Nook Miles, and that shiny kiosk at Resident Services is calling your name. But before you splurge on a Tom Nook bomber jacket, pump the brakes - there are three purchases that'll change your entire early-game experience, and you can grab all of them for under 9,000 Miles.
First, the Pocket Organization Guide (5,000 Miles) isn't optional - it's your top priority. This single upgrade permanently jumps your inventory from 20 to 30 slots, which means fewer trips back to storage and more time actually playing. You'll feel the difference immediately when you're on a mystery island or doing a long fishing session.
Next, grab the Tool Ring: It's Essential! for 800 Miles. This unlocks a D-pad wheel that lets you swap tools in real-time without opening your inventory. You'll wonder how you ever lived without it once you're juggling a net, shovel, and fishing rod during a bug-catching frenzy.
Finally, spend 3,000 Miles on the Pretty Good Tools Recipes. These DIY blueprints give you durable versions of every tool that won't snap after a dozen uses like the flimsy ones do. You'll save wood and iron in the long run, and you won't have that mid-dig panic when your shovel breaks.
| Priority | Item | Cost | Why You Need It |
|---|---|---|---|
| #1 | Pocket Organization Guide | 5,000 Miles | +10 inventory slots = less backtracking |
| #2 | Tool Ring: It's Essential! | 800 Miles | Instant tool swapping via D-pad |
| #3 | Pretty Good Tools Recipes | 3,000 Miles | Durable tools save resources |
Progression Unlocks (10,000-30,000 Miles)
Once you've got the essentials, your next batch of Miles should focus on expanding your reach and farming potential. The good news? Some of the most important progression tools don't cost Miles at all.
Nook Miles Tickets (2,000 Miles each) are your ticket to resource abundance. Each flight takes you to a random mystery island loaded with extra wood, iron, flowers, and sometimes even a villager you can recruit. You'll want a stack of these for dedicated farming sessions, especially when you're hunting for that one specific fruit or rare fish.
Here's the catch: the ladder and vaulting pole recipes are completely free, but you have to earn them. Tom Nook hands over the ladder DIY after you place your third villager housing plot, and Blathers gives you the vaulting pole recipe when his museum tent goes up. While the recipes are free, you'll need to craft them - each ladder burns through 4 wood, 4 hardwood, and 4 softwood, while the pole only needs 5 softwood. So stockpile that wood early.
For the creative types, the Custom Design Pro Editor (800 Miles) upgrades your NookPhone design app with a full color palette and professional tools. This is cheap enough to grab early if you're into custom clothing, but it won't help you progress mechanically.
Advanced & Cosmetic Purchases (30,000+ Miles)
This is where things get dangerous. Once you're sitting on 30,000+ Miles, the temptation to buy every shiny thing is real, but you need to prioritize utility over looks until your island is thriving.
Cosmetic items like the Nook Inc. blouson (800 Miles) and hairstyle packs (1,800-2,400 Miles each) are pure vanity. They won't help you catch more fish or earn more bells, so treat them as a reward after you've locked down your infrastructure.
Reaction collections are fun but also non-essential. The Hip Reaction Collection (2,700 Miles) unlocks 9 emotes like 'Work It' and 'Act Natural,' while the New Reactions Notebook (3,300 Miles) adds 11 more - but you can only buy the second one after getting the first. These are great for multiplayer shenanigans but won't help you terraform.
The real endgame purchases are the terraforming permits. The Water-Scaping Permit and Cliff-Construction Permit each cost 6,000 Miles and unlock the Island Designer app's full potential. With these, you can sculpt rivers, create waterfalls, and reshape cliffs to turn your island into a masterpiece. But here's the thing - you can't even access these until you've earned a 3-star island rating and welcomed K.K. Slider, so don't rush to buy them before you're ready.
Bottom line: get your inventory and tools sorted first, then focus on exploration tickets, and only dive into cosmetics and terraforming once your island's economy is booming.
Fast Nook Miles Mastery Guide for New Horizons (First 30 Days)
The Nook Miles+ Infinite Loop Strategy
Here's the thing about Nook Miles+ that most players sleep on: your first five tasks each day are worth five times their normal value, but that bonus vanishes the moment you claim the fifth one. So you want to knock those out fast - like, really fast.
That's where the pocket kit comes in. Before you log off each night, pre-craft about 30 flimsy nets and fishing rods and stash them in a cooler near Resident Services. Throw a portable DIY bench in your pockets too, because 'Craft 3 items' tasks will pop up constantly, and you can knock them out on the beach without trekking back home.
You also want to keep 40 tree branches and 20 iron nuggets on you at all times. This triggers 'Craft tools' tasks instantly, and here's the sneaky part - recycling gives you a 50% material refund, which means you can squeeze roughly 60 crafts out of one starter stack. That translates to 2,200-2,400 Nook Miles+ per 20-minute loop if you're efficient.
If you really want to min-max, alternate between flimsy and regular tools, recycling every six crafts to keep the multiplier chain alive. You can bank 2,000-4,000 miles without ever leaving the plaza. But if you'd rather actually play the game, the four-zone route is where it's at: split your island into Resident Services Plaza, River Mouth Triangle, Orchard/Flower Field, and Clifftop Fossil Loop. Sprinting these four compact loops guarantees high-value tasks - 'Catch 5 fish,' 'Shell collector,' 'DIY workshop,' 'Fossil dig,' and 'Weed picker' - will all spawn within one in-game hour, letting you clear the 5x multiplier in 8-10 real-time minutes.
Beginner's 15-Minute Daily Routine (2,000-3,000 Miles)
Start every session by mashing through the Nook Stop terminal for your daily login bonus - that's 50-300 miles depending on your streak. While you're there, open the Nook Miles+ app and pin the five easiest tasks: sell a hot item, catch five fish/bugs, plant three flowers, shoot a balloon, and sell fruit. This setup takes 30 seconds and determines your whole run.
Now the real work begins. Sprint a counter-clockwise loop around the plaza and yank exactly 50 weeds. This pops the first Weed Eater stamp for 300 miles and leaves enough weeds for tomorrow so the card keeps progressing. Next, grab your shovel and dig two diagonal holes behind you before hitting the money rock - this prevents knockback and nets you around 16,000 bells. Selling those weeds or a hot-item DIY pushes you past the 20,000-bell daily threshold, ticking the Bell Ringer stamp for another 300 miles.
For fish and bugs, sprint the river mouth twice (spawns are 30% faster there) and jog the beach once for palm beetles. Pocket five cheap catches, release the rest, and you've finished the Nook Miles+ 'catch 5' task (200 miles) plus the first Nice Catch! stamp (300 miles).
Balloons spawn every five-minute mark, so listen for that windy whistle, face the ocean, and watch the horizon for about 10 seconds. One slingshot hit gets you 200 miles from the task plus the balloon gift (usually a DIY), which you can learn and recycle for the DIY DiY stamp (300 miles).
Flower planting is even simpler: whenever you shop, buy two lily or windflower seed bags and stash them in your house inventory. Plant exactly three seeds anywhere on grass to finish the Nook Miles+ task (200 miles) and the first Outside Decorator stamp (300 miles).
Wrap up by dumping weeds, fish, and bugs at Nook's Cranny - this normally racks 22,000-25,000 bells, guaranteeing the Bell Ringer stamp. Talk to Timmy/Tommy once for the daily conversation bonus (10 miles) and check the hot-item board. If it's something craftable in 30 seconds like a wooden chair or terrarium, bang one out for an extra 300 miles before you leave.
Zap back to the Nook Stop terminal, redeem any completed stamp cards, and order a Nook Miles ticket. The terminal itself gives you 50 miles just for showing up.
Here's the conservative math: 5×200 = 1,000 miles from tasks, 5×300 = 1,500 from stamp cards, 50 from the terminal, 10 from chatting - that's 2,560 miles in 15 minutes. If the hot item is selling at 2× price and you craft one extra, you'll push past 3,000.
After your micro-loop, pin 'Sell 1 item' or 'Talk to 2 villagers' to re-roll and chain 900-1,200 miles every 4-5 minutes. If you cycle continuously, you're looking at roughly 15,000 miles per hour.
Advanced Farming: Mystery Island Optimization
A Nook Miles Ticket costs 2,000 miles, which sounds steep until you see the loot tables. Every mystery island - even the 'bad' ones - contains a simple DIY bench, and the house always gives you a free bench, but the real prizes are scattered across 20 distinct island templates: iron nuggets (375 bells each), clay (100 bells each), gold nuggets (10,000 bells), foreign fruit stacks (5,000 bells if your native sells for 100 each), rare butterflies like Emperor or Birdwing (4,000 bells each), and tarantulas or scorpions (8,000 bells each).
A single money-rock island can drop 8 iron and 2 gold nuggets, which is 13,000 bells in raw ore alone - more than triple the ticket's face value. Even a conservative haul of 15 clay, 10 iron, and one foreign fruit stack returns 7,250 bells, comfortably above the 2,000-mile cost.
Mystery islands also guarantee you'll finish 'Hit 5 rocks' in under 10 seconds, and they spawn 10-15 native flowers for instant 'Plant 3 flowers' cycling. You'll find up to four fossil dig spots that count toward 'Dig up 3 fossils' too.
So you budget two tickets per day (4,000 miles) and still net 8,000-10,000 bells profit after the ticket cost, while completing 3-4 Nook Miles+ tasks in under three minutes per trip.
The soft value is where it gets spicy: some islands let you invite a villager, which is worth 10-50 NMT on player markets; hybrid flower islands (purple, blue, orange mums or windflowers) save weeks of cross-breeding time and sell for 50,000-200,000 bells per inventory; and message-in-a-bottle islands give you an extra DIY recipe on top of your daily one at home.
Treat these islands like resource dungeons - even after 1,000+ hours, the procedural loot tables remain the fastest renewable source of iron and gold without wrecking your home rocks. One lucky money-rock or tarantula layout can repay 30-60 tickets' worth of miles in a single visit.
Top 10 Stamp Cards for Beginners (Fastest Completion)
If you're just landing on your island, these ten stamps are basically free Miles waiting to be claimed, and most of them take less time than brewing coffee.
The Instant Gratification Trio The DIY Tools card gives you 300 Miles for crafting five tools, which you can finish in under two minutes by spamming flimsy nets from branches you find on the ground. While you're crafting, make five Frying Pans (one iron nugget each) to knock out the DIY Furniture card for another 300 Miles.
Your Day 1 checklist should also include First Custom Design - just use the free kit on your DIY workbench for a 30-second completion - and Bulletin-Board Benefit, where a single-letter post at Resident Services grabs another 300 Miles.
Use What Your Island Gave You Those three lilies on your cliffs aren't just decoration, so dig them up and replant them anywhere to make progress on Flower Power (though you'll need 10 total for the first stamp). While you're exploring, pull every weed you see because Greedy Weeder needs 50 of them, and most starter islands have 60-70 just lying around.
The Waiting Game Shrubbery Hubbubbery requires Leif's first visit, but when he shows up, you can buy one shrub, plant it, and collect 300 Miles in thirty seconds.
Strategic Weirdness Trash Fish is weirdly reliable - just fish at the pier or river mouth without bait and you'll pull up three trash items in roughly 15-20 casts, which means no special setup needed.
Faint of Heart is the strangest one since you actually need to faint. Shake trees until wasps appear, stand still, and take two stings. Luckily, it unlocks even if you've
5 Critical Mistakes New Players Make
If you're new to the island, the Nook Miles screen can feel like a candy store, but most of that stuff is a trap. The single biggest error? Buying Bell Vouchers. Sure, 3,000 Bells for 500 Miles sounds fine, but that exchange rate is brutal - you'll make way more farming tarantulas or sharks on mystery islands without spending a single Mile.
Then there's the Nook Stop daily bonus, which most new players completely ignore. It takes five seconds to click that terminal, and those free Miles stack up fast if you're consistent. Don't leave money on the table.
But here's what really hurts to watch: new players splurging on cosmetics like haircuts and reaction packs before securing utility upgrades. The Pocket Organization Guide costs 5,000 Miles and expands your inventory from 20 to 30 slots, which means fewer trips back to storage and way more efficient gathering. It's the single best quality-of-life purchase in the game. The Tool Ring is equally essential - being able to swap tools instantly without opening menus saves literal hours.
Finally, save those Mystery Island tickets (2,000 Miles each) until after you've upgraded from a tent to a house. That's when Nook Miles+ unlocks, giving you rotating mini-goals that refresh every few hours and become your primary income source. Using tickets before that is just burning currency you can't afford to lose.
Advanced Optimization: The Pocket Kit Strategy
This is where the real grind begins. Once you've got your basic upgrades, you can start running Nook Miles+ like a production line, and it all comes down to what's in your pockets.
The core idea is simple: keep a permanent 'pocket kit' that lets you instantly complete tool-based objectives without ever returning to base. Here's what you should always have on you:
- Flimsy axe
- Flimsy shovel
- Slingshot
- Ladder
- Vaulting pole
- DIY workbench
- Customization kits
- Stack of 10 native fruit
That's 10 slots permanently occupied, which sounds crazy until you realize Nook Miles+ tasks now refresh every 30 minutes (thanks to the 3.0 update) and you can knock out 15-18 unique objectives per hour. That nets you 10,000-12,000 Miles if you're efficient.
But you can go deeper with daily micro-kits. For fossil digging objectives, keep an empty slot. For flower watering, carry a spare can. For shell collection, hold onto manila clams. For letter writing, keep a wrapped gift and foreign fruit ready. The goal is zero downtime - see a task, complete it instantly, move on.
This strategy turns Nook Miles+ into a passive income engine rather than a chore, but it requires discipline. You can't treat your inventory like a junk drawer; every slot needs a purpose.
Version 3.0 Updates & New Opportunities
If you haven't played since the 3.0 update dropped, you've got some catching up to do. The core 87-achievement system is still there - no separate Switch 2 Edition exists - but Nintendo added several long-term Stamp Cards that reward patience.
The big three are: welcoming 10 resort guests (1,000 Miles), booking 50 Kapp'n tours (2,000 Miles), and hitting a 7-day Happy Guest streak (3,000 Miles). These aren't quick hits; they're meant to be background goals while you focus on dailies.
Speaking of Kapp'n, his tours now cost 1,000 Nook Miles and take you to season-locked islands, Slumber Islands with nocturnal critters, and resource-overflow maps with rare furniture variants. More importantly, Nook Miles+ tasks now refresh every 30 minutes instead of 60, doubling your potential income.
New objectives include serving guests their favorite drink at the resort and taking group photos at the pier, which means your pocket kit strategy needs to evolve. Keep a camera handy, and maybe stash some exotic fruits for the drink orders.
The Kapp'n Family Resort Hotel unlocks on your pier after the update and introduces guest management with a 'Comfort Score' system. It's another Miles sink, but the long-term payouts from Stamp Cards make it worth the investment if you're playing for the long haul.
Progression Roadmap: First Week to First Month
Days 1-3: Foundation Building (0-15,000 Miles)
Your first three days are all about getting that Nook Miles+ program running, which means you'll start by paying off the 5,000-mile Moving Fee at the Nook Stop terminal. Once that's cleared and your tent becomes a house, the real grind begins with two tasks that'll be your bread and butter: Weed Eater (pull 50 weeds for 150 miles) and Tools of Trade (craft three DIY items for another 150 miles). The best part? Both refresh instantly, so you can spam them throughout the day.
Your first purchases should be the Pocket Organization Guide (5,000 miles) and the Tool Ring (800 miles). The guide bumps you from 20 to 30 inventory slots, which is honestly a game-changer, while the tool ring gives you that slick 8-slot radial menu for swapping tools without fumbling through menus.
Week 1: Core Upgrades (15,000-40,000 Miles)
By week one, you're looking to push past 15,000 miles and hit that 40,000 milestone. Your priority purchase here is Pretty Good Tools Recipes for 3,000 miles, which gets you durable versions of your axe, shovel, and other essentials. You'll also want to grab 2-3 Nook Miles Tickets (2,000 miles each) for mystery island tours where you can hunt resources and villagers.
Don't sleep on the freebies either: Blathers gives you the Vaulting Pole recipe after five donations, and Tom Nook hands over the Ladder recipe once you place your second villager house plot. Both are essential for full island access and won't cost you a single mile.
This is also when stamp cards start paying real dividends. Flower Power and Social Butterfly both scale from 300 to 3,000 miles across five tiers, so start breeding flowers and visiting other players early to maximize these payouts.
Month 1: Advanced Unlocks (40,000-100,000+ Miles)
Once you're rolling past 40,000 miles towards 100,000+, it's time for the big-ticket items. Ultimate Pocket Stuffing (8,000 miles) is your first target, pushing inventory to 40 slots, which feels incredible during long gathering sessions.
Then come the terraforming permits - Waterscaping and Cliff Construction at 6,000 miles each. These let you reshape your island completely once you've received the Island Designer app through story progress.
Reaction sets are also on the table: the first costs 1,800 miles, with later ones hitting 2,500-3,000 each. They're pure vanity, but emotes make multiplayer way more fun and expressive.
Here's a pro tip: once you hit 30,000 miles, you have a real choice. That's enough to grab the Pocket Guide, Tool Ring, Pro Designs, all reactions, and both terraforming permits... or you could blow it all on 15 Nook Miles Tickets for dream villager hunting. Your call, but I'd get the utility first unless you've got a specific villager in mind.
Conclusion
Mastering Nook Miles transforms your island life from a daily grind into a streamlined, rewarding experience. By prioritizing essential upgrades, leveraging efficient daily routines, and avoiding common spending traps, you can build a thriving island economy. Now, with your pockets expanded and your tools at the ready, it's time to put those hard-earned miles to work and craft your paradise.
More animal-crossing-new-horizons-switch-2-edition Guides

Ultimate Guide to Switch 2 Hotel Expansion: Unlock, Farm Tickets, and Get Exclusive Souvenirs
Learn how to unlock the hotel expansion, farm Hotel Tickets efficiently, and unlock all souvenirs including the Golden Ukulele in Animal Crossing: New Horizons Switch 2 Edition.
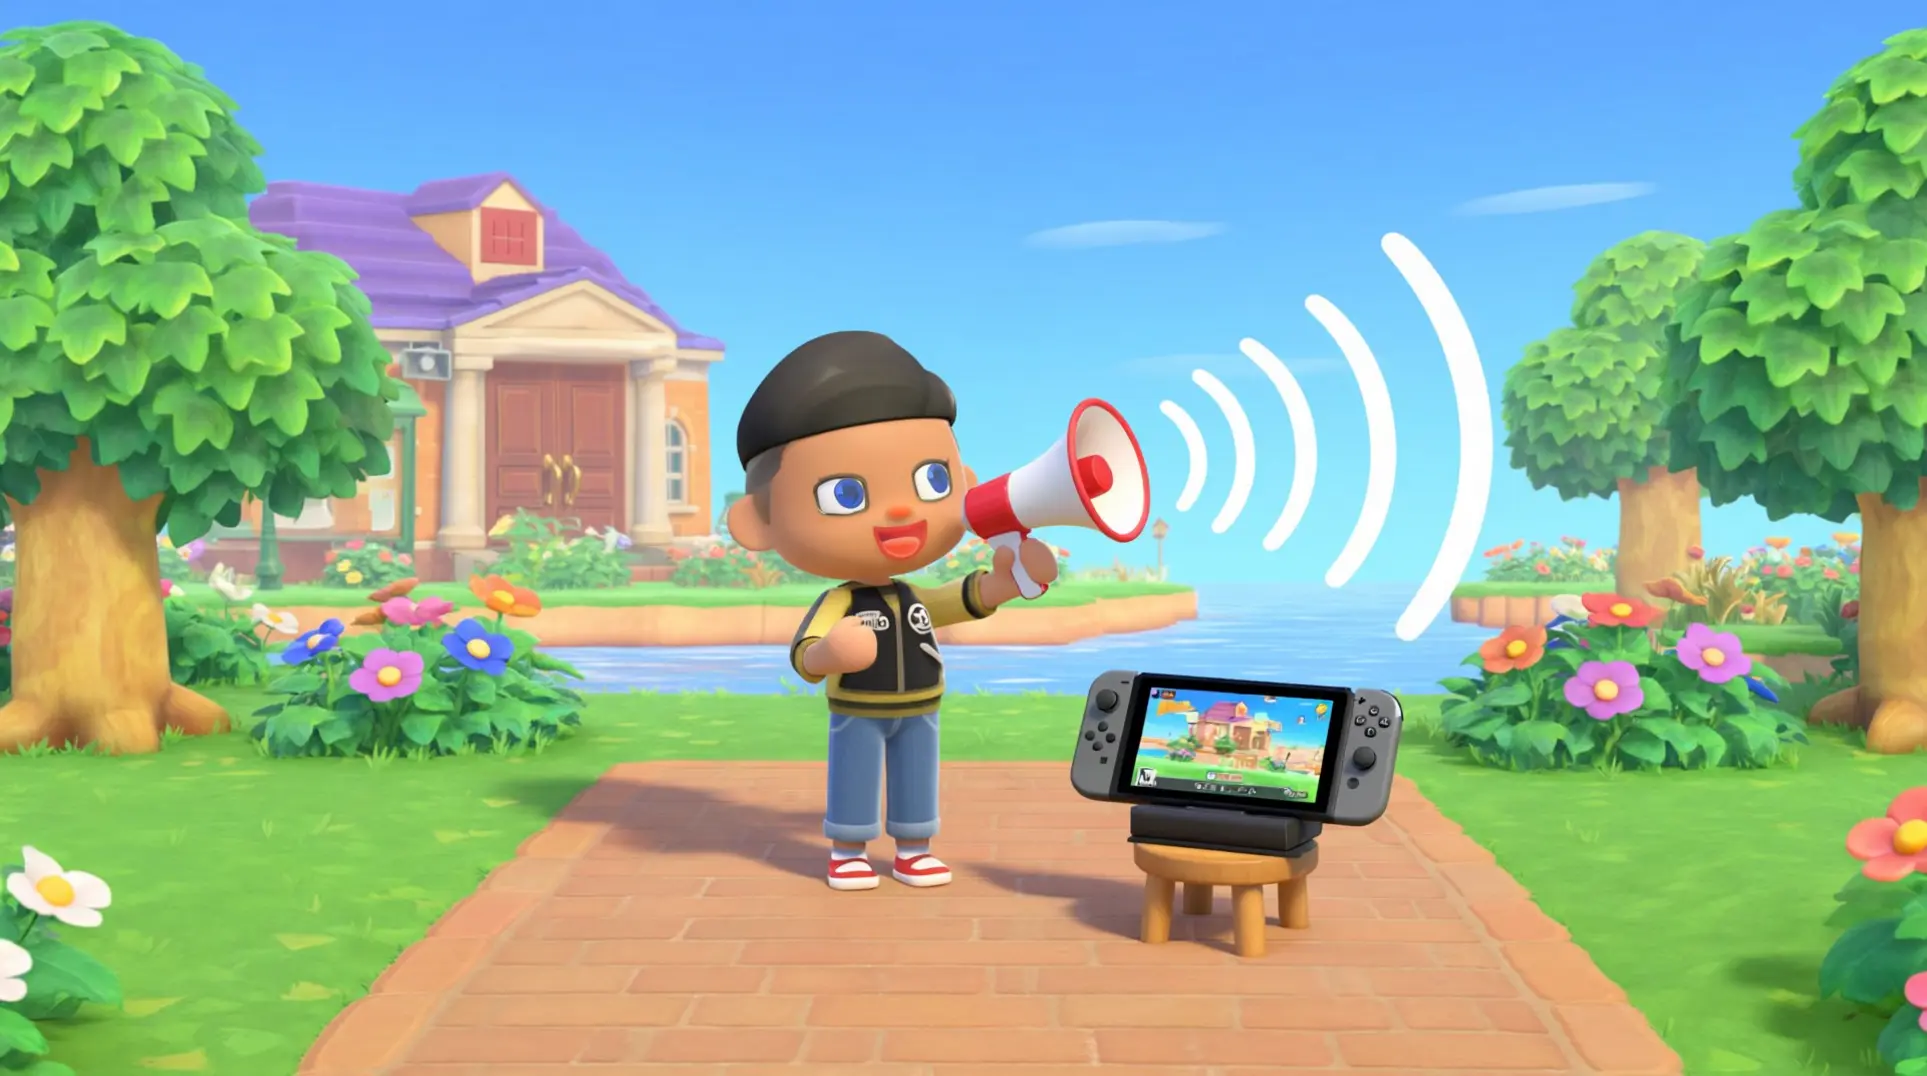
Ultimate Animal Crossing New Horizons Switch 2 Megaphone Guide: Master Voice Commands & Unlock All Reactions
A complete guide to using the Megaphone in Animal Crossing: New Horizons on Switch 2. Learn voice commands, hardware requirements, daily farming strategies, and how to unlock every personality reaction quickly.
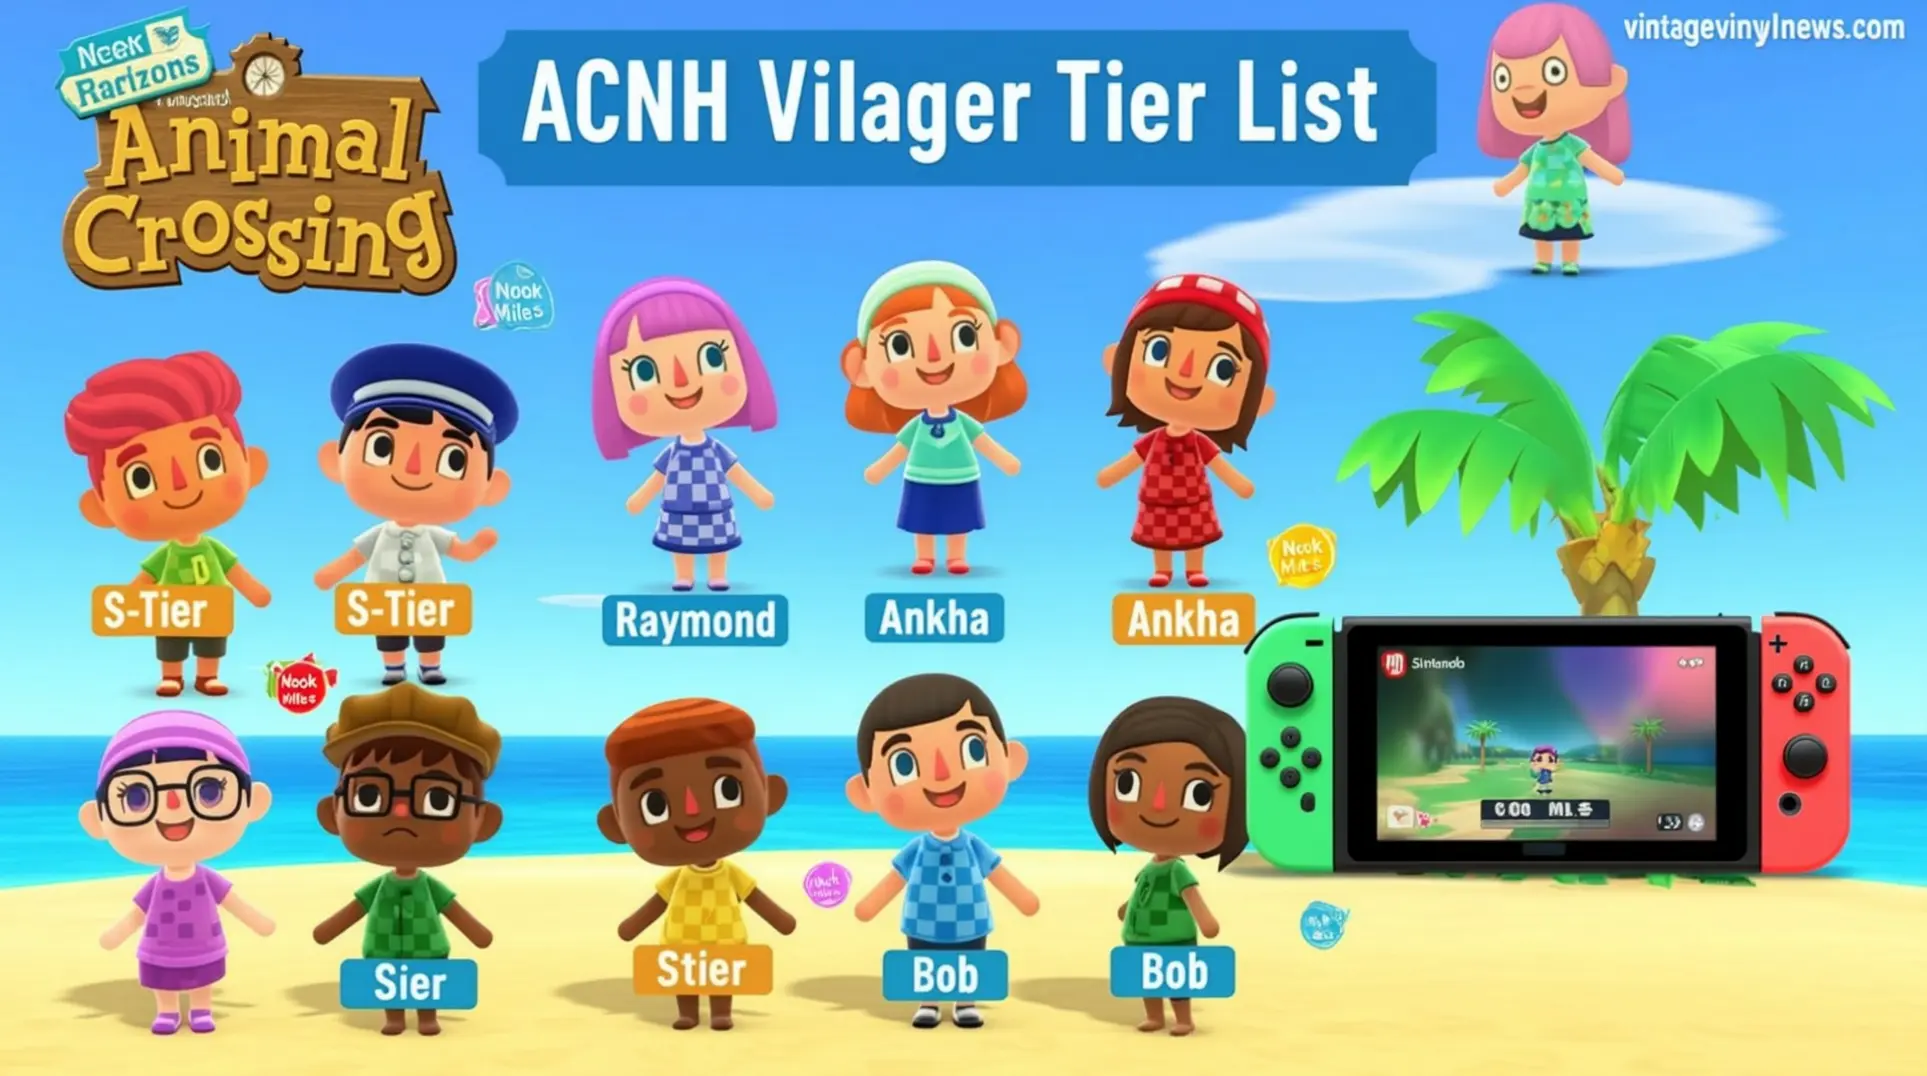
The Ultimate Animal Crossing Villager Tier Guide - Rankings, Trading & Switch 2 Meta
A complete guide to Animal Crossing villager popularity, from S+ elite residents to underrated gems. Learn trading strategies, tier rankings, and how the Switch 2 Edition is reshaping the meta.
AI Tactical Companion
Consult with our specialized tactical engine for animal-crossing-new-horizons-switch-2-edition to master the meta instantly.