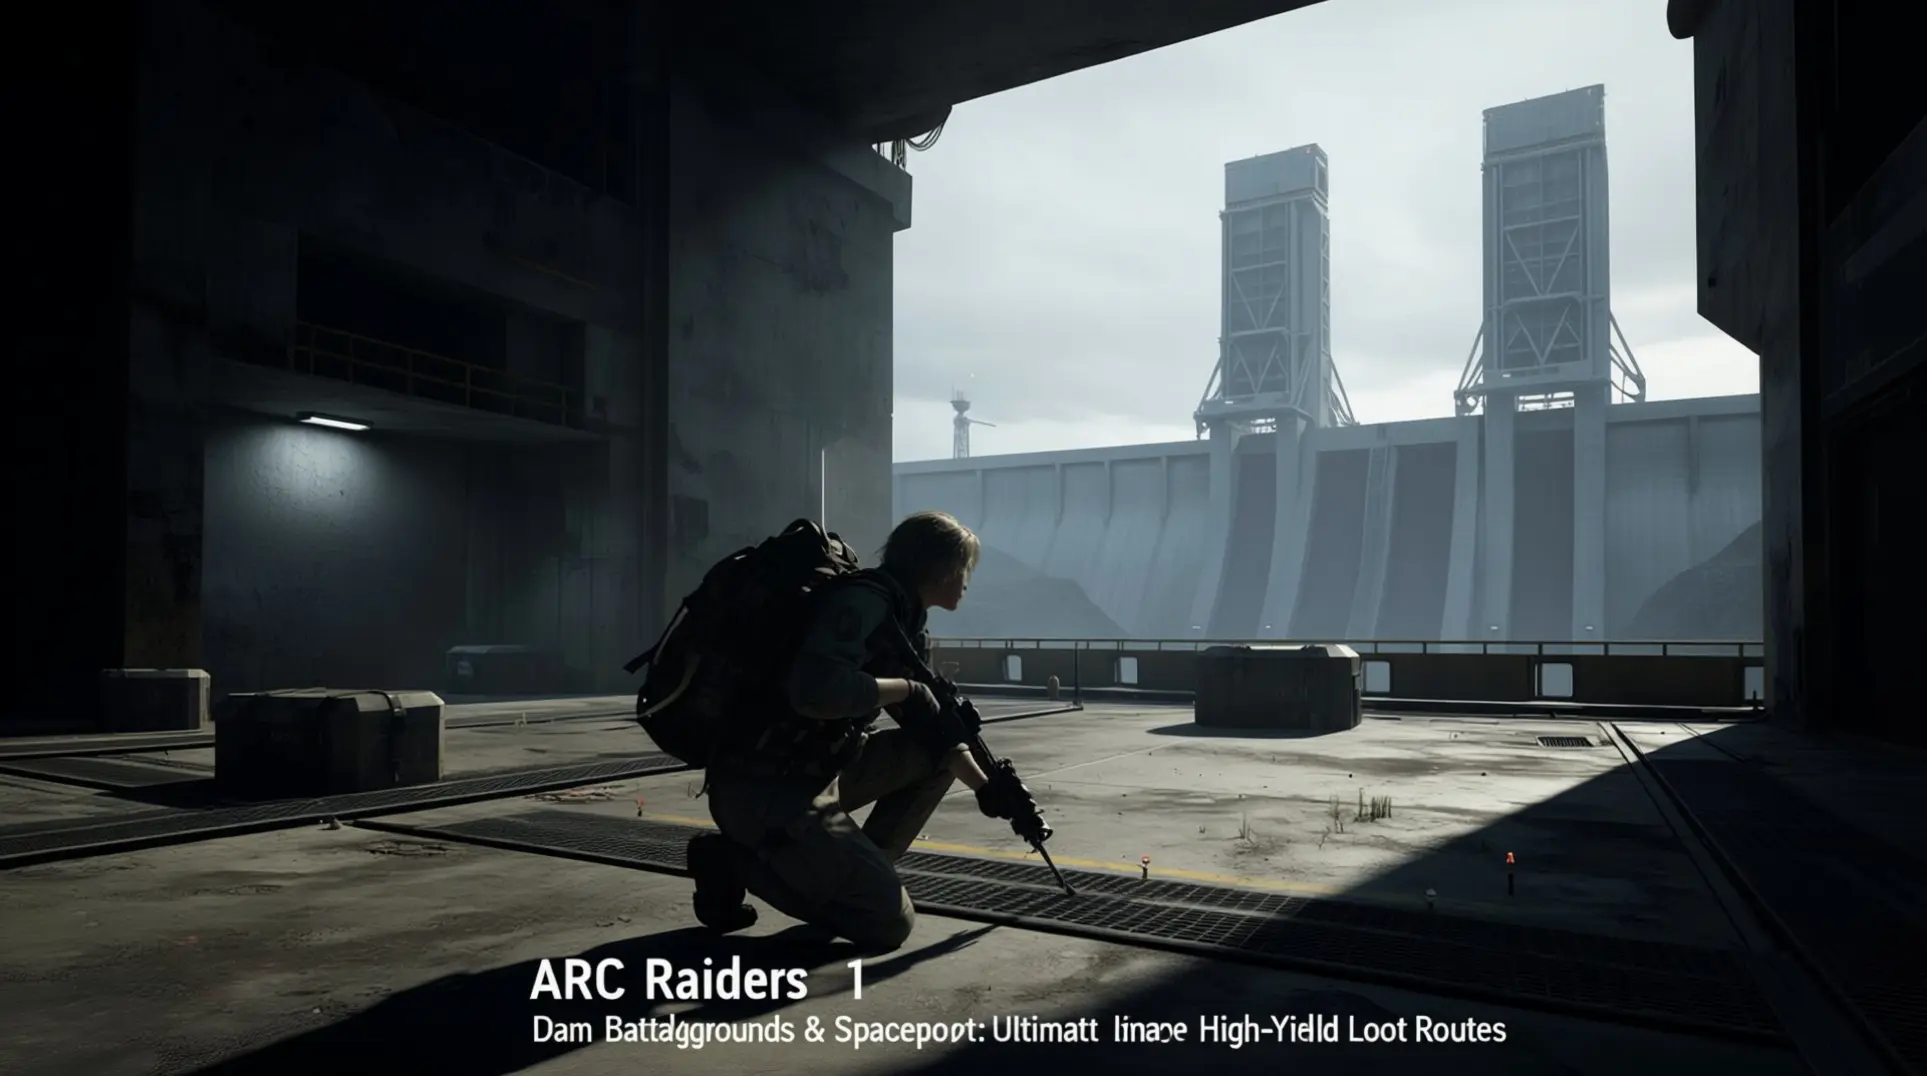
The Ultimate ARC Raiders Loot Farming Guide: Dam Battlegrounds & Spaceport High-Yield Routes
Understanding ARC Raiders Loot System Fundamentals
Location-Based Spawning and Static Containers
ARC Raiders uses a sophisticated location-based loot spawning system where items appear based on environmental context. Every map contains multiple designated zones:
- Industrial
- Medical
- Security
- Residential
- Old World
- Commercial
- Nature
- Electrical
- Mechanical areas
Static containers including toolboxes, lockers, and crates appear in the same spots every raid. However, their loot tables change dynamically based on zone risk, key requirements, and in-game events.
Container yields:
- Regular containers provide 1-4 items
- Grenade containers provide 2-4 items
- Explosive containers provide 0-2 items
Security Lockers and the Breach System
Security Breach: A late-game Survival skill requiring 36 skill points that allows players to unlock Security Lockers—special high-value containers scattered throughout the game's maps.
Without the Security Breach perk, interacting with Security Lockers shows a '0/1 Security Breach' message and the container remains sealed. Once unlocked, the locker opens instantly when interacted with.
Security Lockers contain high-tier weapons, large credit caches, rare blueprints, and other premium items. This makes them significantly more valuable than regular containers.
Breachable rooms: The community term for Security Lockers that appear as sealed doors or lockers in high-traffic or high-value zones, requiring the Security Breach skill to open.
You can visually identify Security Lockers by their closed door or metal locker appearance with a faint blue glow. This provides a clear visual cue that the container is a security-type container.
Advanced Breaching Opportunities
A special sealed bunker spawns on Spaceport outskirts marked by heavy Arc activity. This location requires activation of four antennas around the map to unlock and contains high-value loot behind breachable doors.
The Security Breach perk does not consume any resources and has unlimited uses. This makes it ideal for rapid farming of multiple Security Lockers in quick succession.
Dam Battlegrounds Perimeter Loop Strategies
Eastern Perimeter Route
The eastern perimeter route focuses on safe, accessible containers around the map's edge. This approach avoids high-traffic central areas for lower-risk farming.
Key Residential Locations
- Ruby Residences: A residential POI offering consistent loot opportunities and Scrappy upgrade materials like Dog Collars.
- Pale Apartments: A residential POI providing good early-game loot alongside Ruby Residences.
- Pattern House: A residential area with consistent loot containers suitable for perimeter farming.
This route yields 15-40k coins per raid when executed properly. It serves as one of the most reliable low-risk farming routes for solo players.
Ruby Residences and Pale Apartments provide good early-game loot opportunities. However, they have fewer total loot rooms compared to industrial areas.
Research & Administration: A high-value area that attracts significant player attention and contains enhanced loot potential. Players should expect resistance from both human Raiders and ARC units.
Scrappy upgrade materials: Items like Dog Collars found at Ruby Residences, valuable for both coin farming and material collection.
Optimal timing: Early raids provide better loot opportunities as containers haven't been looted yet. This timing is crucial for eastern perimeter farming success.
The eastern approach enables field crate collection while minimizing exposure to other players through strategic movement patterns.
Western High-Risk Key Route
Dam Battlegrounds features 5 different keys that spawn randomly across the map. Each unlocks specific high-value locked rooms with guaranteed loot.
The western side contains the highest concentration of key-locked rooms. This makes it a high-risk but high-reward farming route for experienced players.
Primary Facility: The most contested warehouse location on the western side. This area contains cargo containers with small loot crates and bins on shelves, offering additional loot opportunities beyond key-locked rooms.
Key rooms: Locked areas requiring specific keys, commonly containing recipes, trinkets, and guaranteed high-value loot. They face heavy player resistance due to predictable locations and high-value reputation.
The western high-risk route requires fighting through the busiest POIs and extraction areas. Primary Facility stands as one of the most contested locations on the map.
Key acquisition methods: Keys can be obtained from quests, crafting, random spawns, or looting other raiders. Each key has a specific unlock location on the western side of the map.
Breachable containers: Accessible containers in the Primary Facility warehouse area that don't require keys. However, the highest-value loot requires specific keys for locked rooms.
Western perimeter farming can yield 40-80k coins per successful raid when all key rooms are accessed. This requires significant combat experience and risk tolerance.
Dam Control Tower Key Strategy
The Dam Control Tower Key unlocks a locked door at the very top of the Control Tower structure. This structure sits on the southeast side of the Dam Battlegrounds map.
The top floor of the Control Tower is consistently rated as the absolute best place to find weapon crates. The Control Tower represents the premium locked room among other valuable locations.
Access path: Players must enter from the base, turn left, follow the path to the elevator area, and use the zip line that leads to the top.
Surveillance Room: The Control Tower's second floor contains 1 guaranteed weapon crate. Additional weapon cases spawn on the top floor.
The Dam Control Tower Key is obtained as a random drop from drawers, cabinets, and lockers in the Research & Administration building. The random nature means finding it isn't reliable, contributing to the Control Tower's exclusivity and high-value reputation.
The Control Tower consistently provides some of the highest-quality loot. This includes rare purple weapons, high-value attachments, essential resources, and grenade bags.
The Control Tower is described as a popular target that requires significant fighting capability. Its guaranteed weapon crate spawn makes it worth the risk for equipped raiders.
Bypass method: Players have discovered methods to access the Control Tower's top floor without the key. This requires specific knowledge and timing.
The Dam Testing Annex in the bottom-right corner represents another valuable locked location on Dam Battlegrounds.
Spaceport Cautious Progression Routes
Edge-to-Center Safe Progression
Spaceport is the third map in ARC Raiders, described as a high-tech orbital facility that serves as a key transportation hub with greater ARC enemy density and dangerous POIs compared to earlier maps. The map features vertical combat zones and elevator systems, with the map organized into distinct zones: outer dockyards, central hub, lower service levels, upper command decks, and orbital platform, each separated by vertical connections.
Vertical Strata: The Spaceport consists of at least three vertical strata: Ground Level (Dock & Cargo Bays) as spawn area, Mezzanine Level (Main Operations & Control Rooms) with central hub and security lockers, and Upper Command Deck (Extraction Zone) containing extraction point and high-value loot.
Safe progression in Spaceport starts at the outer edges to reduce early encounters with ARC enemies and minimize risk of player-versus-player ambushes, with outer dockyards and cargo corridors having lower enemy density and ample cover.
The recommended edge-to-core route begins at spawn in the outer dock (south-west corner), moves north along peripheral cargo corridors, reaches Trench Tower entrance, ascends to Mezzanine Level, proceeds through lower service tunnels, enters central hub, takes main elevator to Upper Command Deck, and loots before extraction.
Elevator Systems: Elevators in Spaceport act as fast-travel nodes that reduce time spent traversing dangerous ground-level corridors, but can become hotspots for enemy ambushes due to being located near high-traffic POIs.
The Trench Tower Key is essential for Spaceport progression as it unlocks access to the elevator system that connects the different vertical levels of the facility.
Additional elevators can be found near the central hub and along peripheral cargo corridors in Spaceport, providing rapid vertical movement while minimizing exposure to hostile fire.
Spaceport's compact layout means noise alerts other squads, requiring successful runs to control vertical space via elevator systems and coordinate timing to avoid predictable player movement patterns around high-value zones.
Players are advised to use elevators during periods of low player activity or after clearing the surrounding area, as enemy players often camp elevators during peak play times in Spaceport.
The mezzanine level in Spaceport provides a good intermediate stop where players can gather loot, rest, and plan the next vertical move without committing to the high-risk upper command deck.
The upper command deck in Spaceport contains weapon cases and ARC Raider caches but requires preparation for increased enemy density and possible PvP encounters before the final ascent.
Strategic Planning: Spaceport's multi-level design creates a dynamic environment where vertical movement is both a tactical advantage and potential liability, requiring strategic planning of routes and timing for elevator usage.
Interactive map resources like ARCTracker.io and Map Genie are essential for visualizing Spaceport's floor layout, planning safe routes, and timing elevator usage effectively to avoid high-risk POIs.
High-Value Loot Zones Breakdown
Vehicle Maintenance Upper Level in Spaceport consistently spawns weapon cases and ammo crates, making it one of the highest-value loot zones for players seeking combat equipment. The Vehicle Maintenance point of interest on Spaceport has abundant vehicles that can be searched for loot, particularly yielding motors and mechanical components for crafting.
Central Command in Spaceport contains two lockers in the upper command area, specifically located behind the data server room, making it a prime target for Security Breach perk users. Central Command serves as both a high-value loot location and strategic command center, containing security systems that indicate enhanced loot compared to standard areas.
Radar Station in Spaceport features one locker on the upper level, providing electronic components and communication equipment for players who can access this elevated position. Radar Station's elevated position provides both defensive advantages and access to electronic equipment, communication devices, and advanced technology components.
Storage Depot in Spaceport contains two lockers positioned near weapon caches, offering a concentrated area for both weapons and ammunition collection during raids. Storage Depot functions as a logistics facility in Spaceport, providing the most diverse loot selection including weapons, ammunition, medical supplies, and valuable crafting materials.
Spaceport's high-value loot zones are interconnected through the map's elevator system, with Central Command, Radar Station, and Storage Depot all accessible via vertical movement through the facility.
Security Breach Lockers: Spaceport's Security Breach Lockers are distributed across multiple high-value zones including Blue Gate, Central Command, Radar Station, Storage Depot, and Maintenance Bay, encouraging exploration of multiple areas rather than single-location focus.
Sealed Bunker Event Strategy
Hidden Bunker Event: The Hidden Bunker event in ARC Raiders' Spaceport map requires players to activate four strategically placed antennas to unlock a valuable sealed bunker containing high-value loot. The sealed bunker spawns on the outskirts of Spaceport marked by heavy Arc activity, and players must activate four antennas around the map to unlock the bunker.
The four required antennas spawn randomly across different rooftops near the center of the Spaceport map, ensuring each playthrough presents a unique coordination challenge. The antennas are designed to be easily identifiable, even from a distance, making them visible objectives for coordinating teams across the Spaceport map during the event.
When the Hidden Bunker event is active, both ARC teams on the server can participate simultaneously, creating competitive scenarios where multiple groups attempt to complete the antenna activation. Successful completion of the Hidden Bunker event requires team coordination, as all four antennas must be activated by the same team to unlock the bunker and access its rewards.
Activating the antennas requires players to physically reach each location and trigger the activation sequence, which may trigger enemy waves or other environmental challenges. The sealed bunker contains high-value loot behind breachable doors that become accessible only after completing the four-antenna activation sequence.
Event Rotation: The Hidden Bunker event operates on a rotation system within ARC Raiders, meaning the event isn't permanently available but cycles in and out of the game. The sealed bunker can sometimes be accessed through alternative means such as pinging and interacting with it directly, granting direct entry to the same bunker located far west on the Spaceport map.
Key-Based Extraction Strategies
Raider Hatch Key Acquisition and Extraction Timing
Raider Hatch Key: A critical extraction tool that provides guaranteed access to extraction points without requiring squad coordination.
The Raider Hatch Key can be acquired through multiple methods. Players may purchase it from Shani for 15,000 credits, obtain it via quest progression, or craft it using the Hideout crafting system. Shani serves as a key vendor in ARC Raiders who sells various extraction keys, making her an essential NPC for players focused on extraction strategies.
Quest progression offers alternative acquisition methods beyond vendor purchases. Quest rewards for extraction keys are typically tied to main storyline progression or specific faction missions, making them particularly valuable for new players who haven't accumulated enough credits. The Hideout crafting system allows players to create extraction keys using materials looted from previous raids, enabling sustainable key acquisition for regular players who prefer self-sufficiency.
Extraction timing in ARC Raiders is critical. The final 5 minutes of raids represent the most dangerous period due to increased ARC machine activity and higher player encounter rates. ARC machine activity escalates throughout the duration of raids, with the final 5 minutes representing peak hostility where machines become more aggressive and numerous.
Successful extraction strategies involve monitoring the raid timer and planning exit routes before the final 5 minutes to avoid this peak danger period. Players must balance loot collection against the increasing risk of ARC machine activity as raids progress. The escalating ARC machine activity creates a time pressure element where players must choose between riskier high-value loot opportunities and safer early extraction.
Spaceport's compact layout makes extraction timing even more critical. The small map size means players have less time to react to escalating ARC machine activity in the final raid minutes. Players are advised to extract before the final 5 minutes on high-traffic maps like Spaceport, where both ARC machine activity and player encounters peak simultaneously.
The Raider Hatch Key is considered essential for solo players who need reliable extraction options. It provides guaranteed access to extraction points without relying on squad coordination. Shani's key pricing at 15,000 credits represents a significant investment that players must weigh against the potential loot value of additional raid time, especially considering the risks of the final 5 minutes.
Security Breach Perk and Premium Container Access
Security Breach: A conditioning tree perk that unlocks access to high-value Security Lockers containing premium loot.
Security Breach is a late-game Survival skill that requires 36 skill points to unlock from the conditioning tree, making it a significant investment for players focused on container farming. The conditioning tree focuses on survival and utility skills, with Security Breach being one of the most impactful perks for loot-focused players.
The Security Breach perk allows players to unlock Security Lockers—special high-value containers scattered throughout the game's maps that contain premium items. Without the Security Breach perk, interacting with Security Lockers shows a '0/1 Security Breach' message and the container remains sealed. Once unlocked, the locker opens instantly when interacted with.
Security Lockers contain high-tier weapons, large credit caches, rare blueprints, and other premium items, making them significantly more valuable than regular containers. The perk does not consume any resources and has unlimited uses, making it ideal for rapid farming of multiple Security Lockers in quick succession.
Security Lockers can be visually identified by a closed door or metal locker with a faint blue glow. This provides a visual cue that the container is a security-type container. Breachable doors in ARC Raiders refer to Security Lockers that appear as sealed doors or lockers placed in high-traffic or high-value zones.
The core functionality of Security Breach remains unchanged after recent updates. Only the loot tables were adjusted, with some items now dropping less frequently, but the ability to open lockers stays the same. Security Lockers spawn in pre-defined locations across all major maps, with the exact count being fixed but spawn points being predetermined for each map.
- Spaceport Hotspots: Trench Tower (upper floor with locked security door), Cargo Bay B-12 (multiple lockers in sealed bunker area), and Command Center (fortified room with Security Breach prompt)
- Dam Battlegrounds Locations: Research & Administration building and Control Tower area
Security Lockers typically contain loot bundles that disappear after a short timer. This requires players to loot quickly to prevent other players from taking high-value drops. Security Breach containers are treated as higher-quality loot zones, meaning they have access to premium loot tables that regular containers cannot access.
Maximizing Efficiency: Advanced Farming Tips
Container Prioritization Strategy
Understanding container yields is the foundation of efficient farming in ARC Raiders. The game features several container types with distinct loot potentials that directly impact your farming efficiency.
- Regular containers provide 1-4 items with the fastest interaction time
- Grenade containers provide 2-4 guaranteed items, offering the best item-to-time ratio
- Explosive containers provide 0-2 items but contain high-value explosive weapons and ammunition
Container prioritization for maximum efficiency follows a clear hierarchy. Your farming route should prioritize: 1) Key rooms, 2) Security Breach containers, 3) Grenade containers, 4) Regular containers, and 5) Explosive containers as the lowest yield option.
Security Breach containers: These breachable rooms contain high-tier weapons, large credit caches, rare blueprints, and other premium items. They are significantly more valuable than regular containers because they access premium loot tables that regular containers cannot.
Key rooms: These locations commonly contain recipes, trinkets, and guaranteed high-value loot, making them the highest priority despite increased risk. However, they face heavy player resistance due to predictable locations and high-value reputation, requiring you to balance efficiency against combat risk.
The Security Breach perk offers unlimited uses with no resource consumption, making it ideal for rapid farming of multiple Security Lockers in quick succession. Breachable rooms can be visually identified by a closed door or metal locker with a faint blue glow, allowing for quick identification during farming runs.
For solo players, the most efficient strategy is to prioritize Security Breach containers and regular containers while avoiding high-risk key rooms unless you have significant combat experience. Container interaction time varies by type, with Security Breach containers opening instantly once unlocked, regular containers having standard interaction time, and explosive containers requiring longer interaction periods.
Focus your efforts on high-yield areas like Control Tower in Dam Battlegrounds and Vehicle Maintenance in Spaceport where multiple container types cluster together. The most efficient farming routes prioritize container density over individual value, with Research & Administration in Dam and Central Command in Spaceport offering multiple container types in close proximity.
Squad Coordination for High-Risk Runs
Spaceport is characterized by vertical combat zones with control towers and elevated platforms, requiring squads to think in three dimensions rather than using traditional horizontal battlefield approaches. Successful squad operations in Spaceport require unprecedented levels of coordination compared to other maps, with team play becoming critical for facing AI enemies that patrol vertical spaces.
Vertical combat: This is the practice of adapting tactics to account for elevation changes, tight corridors, and multi-level engagement capabilities, fundamentally changing how traditional squad tactics must be adapted.
Squad role specialization in Spaceport should distribute responsibilities to maximize coverage and survivability:
- Roamer: Monitors elevated positions and provides vertical overwatch
- Ground security: Covers ground-level areas and ensures extraction point security
- Engagement team: Handles direct combat and loot collection
Communication protocols require establishing clear verbal cues for vertical movements using specific terminology for different levels (Deck 1, Upper Decks, Tower Level) to ensure quick understanding during engagements. Spaceport's compact layout means noise alerts other squads, requiring successful runs to control vertical space via elevator systems and coordinate timing to avoid predictable player movement patterns around high-value zones.
Elevator coordination serves as both primary transportation and extraction method. Squads should position members to control elevator access points and establish overlapping fields of fire around entrances. Stagger vertical movements so only one or two members are in elevators at any given time while others provide overwatch, preventing total squad incapacitation during enemy attacks.
Crouch-walking is recommended in Spaceport whenever possible, especially indoors or along combat areas, to minimize noise and maintain stealth advantages. The vertical environment affects sound propagation, with metal surfaces and enclosed spaces creating echo effects that can mask movement sounds but also reveal position through reverb.
Extraction requires developing contingency plans accounting for squad separation, enemy pressure, and equipment damage. Establish backup extraction routes using different elevator systems or Raider Hatches on various facility levels to ensure you can escape even when primary routes are compromised.
Equipment optimization for Spaceport should focus on weapons with good accuracy at varying elevations and equipment allowing quick repositioning. Consider items that improve climbing speed or provide alternative movement options to navigate the complex vertical terrain effectively.
Dynamic Event Optimization
The Hidden Bunker event requires lobby-wide coordination where multiple players must contribute different objectives and complete various sub-tasks simultaneously to unlock the bunker's contents successfully. This event operates on a rotation system within ARC Raiders, meaning it cycles in and out of the game and requiring players to monitor event schedules for optimal participation timing.
Hidden Bunker event: A rotation-based event in Spaceport that creates tension between individual player goals and collective objectives, requiring teams to activate four antennas to access high-value rewards.
When the Hidden Bunker event is active, both ARC teams on the server can participate simultaneously, creating competitive scenarios where multiple groups attempt to complete the antenna activation sequence first. Team coordination is essential, as all four antennas must be activated by the same team to unlock the bunker and access its rewards.
Effective communication is crucial for Hidden Bunker success, including sharing information about discovered objectives, coordinating timing for task completion, and establishing roles within the lobby. The event incorporates strategic elements including hidden objectives that encourage exploration, tactical coordination between team members, strategic planning to maximize efficiency, and competition among players for optimal results.
The four antennas required for the Hidden Bunker event spawn randomly across different rooftops near the center of the Spaceport map, ensuring each playthrough presents a unique coordination challenge. These antennas are designed to be easily identifiable even from a distance, making them visible objectives for coordinating teams across the Spaceport map during the event.
Activating the antennas requires players to physically reach each location and trigger the activation sequence, which may trigger enemy waves or other environmental challenges that require team coordination to overcome. The event can yield 150K XP and 200K+ value per raid when executed properly, making it one of the highest-value opportunities in the game but requiring significant coordination investment.
The Hidden Bunker event is part of larger event cycles that include Electromagnetic Storms and Night Raids, requiring players to be strategic about timing their participation as these events have specific windows or triggers. Spaceport is particularly valuable for late-game farming and legendary blueprints, suggesting players should consider their character progression when planning their approach.
The sealed bunker can sometimes be accessed through alternative means such as pinging and interacting with it directly, granting entry to the bunker located far west on the Spaceport map. This bypass method requires specific knowledge and timing but can provide an unexpected advantage.
The Hidden Bunker event adds environmental hazard components through Electromagnetic Storms that players must account for in their timing strategies. These storms may require players to adjust their approach or timing to avoid penalties or maximize advantages during the event.
FAQ Section
Q: What's the safest loot route for solo players?
The eastern perimeter loop on Dam Battlegrounds is consistently rated as the safest loot route for solo players. This approach focuses on accessible containers around the map's edge while avoiding high-traffic central areas.
Dam Battlegrounds: A high-value map where solo players can earn 15-40k coins per raid through eastern perimeter farming. This method provides consistent income with minimal risk when executed properly.
Security Breach containers: These containers offer the best risk-reward ratio for solo players, providing high-value loot without combat risks. They require a 36-point perk investment but eliminate the need for key rooms.
- Focus on static containers and Security Breach containers instead of key rooms
- Extract before the final 5 minutes when ARC machine activity peaks
- Maintain success rates above 80% by avoiding combat encounters
The risk-reward analysis shows perimeter farming delivers steady progression. While key rooms offer 40-80k coins, they come with exponentially higher combat risks and time investment that often result in raid failures.
Q: How do I find keys in ARC Raiders?
Keys can be obtained from four primary sources in ARC Raiders. Each method offers different advantages depending on your playstyle and resources.
Shani: A key vendor who sells various extraction keys including the Raider Hatch Key for 15,000 credits. She provides a reliable, direct purchase option for players with sufficient credits.
- Random spawns: Keys appear across maps in fixed locations but spawn randomly
- Quest progression: Complete quests to earn keys like the Raider Hatch Key as rewards
- Hideout system: Craft the Raider Hatch Key using specific materials and resources
- PvP looting: High-risk method of taking keys from other raiders during encounters
Dam Control Tower Key: This specific key drops from drawers, cabinets, and lockers in the Research & Administration building. Dam Battlegrounds features 5 different keys that spawn in specific building types.
Q: What's the best time to extract from Spaceport?
Extract from Spaceport before the final 5 minutes of your raid. This timing is critical because ARC machine activity peaks during this period and player encounters become more frequent.
ARC machine activity: Throughout each 30-minute raid, machines become increasingly aggressive and numerous. The final 5 minutes represent peak hostility.
Spaceport: This compact map amplifies extraction dangers. Its small size means noise alerts other squads, leaving less time to react to escalating threats.
- Begin moving toward extraction points around the 20-25 minute mark
- The high player density combined with peak machine activity creates extreme danger
- Early extraction avoids the most dangerous period and preserves your progress
Q: Are key rooms worth the risk?
Key rooms are only worth the risk for experienced squads with coordination and proper equipment. They commonly contain recipes, trinkets, and guaranteed high-value loot worth 40-80k coins per successful raid.
Key rooms: These locked locations face heavy player resistance due to their predictable positions and valuable reputation. They require significant combat experience and risk tolerance.
For solo players, the answer is generally no. The most efficient strategy prioritizes Security Breach containers and regular containers while avoiding high-risk key rooms.
- Eastern perimeter farming provides 15-40k coins consistently with 80%+ success rates
- Key room approaches often result in raid failures due to combat encounters
- The Control Tower represents the premium locked room on Dam Battlegrounds, offering the highest-quality loot but requiring significant fighting capability
The risk-reward analysis favors safer routes for steady progression. While key rooms offer higher potential payouts, the exponential increase in combat risk makes perimeter farming more reliable for most players.
Conclusion & Key Takeaways
Choose Your Farming Style: Team Efficiency vs Solo Independence
Coordinated team play represents the most reliable money farming method in ARC Raiders. Groups of three players can earn 100K+ currency in approximately 20 minutes. This team approach significantly outperforms solo farming methods.
For solo players, the Blue Gate area emerges as the most lucrative location. Players report earning 60K per run using efficient routes. However, success depends heavily on skill in handling aggressive Arc enemies and PvP encounters.
Invest in Long-Term Power Through Blueprints
Blueprint Farming: The practice of securing blueprint drops to expand crafting options and long-term power growth.
Blueprint farming represents a critical long-term investment strategy. Each secured blueprint expands your options for future raids and becomes a key part of long-term progression. This investment pays dividends across your entire raiding career.
Master Systematic Route Optimization
The most successful farmers develop memorized routes that balance risk versus reward while maximizing time efficiency. This systematic approach requires understanding loot distributions across different map areas. Appropriate risk management separates profitable runs from costly failures.
- Dam Battlegrounds perimeter loops for safe farming
- Spaceport edge-to-center progression for cautious play
- Key-based strategies for maximum yield
- Security Breach optimization for efficient high-value access
- Container prioritization for maximum efficiency
- Extraction timing strategies
- Solo vs squad considerations
Mastering these strategies will transform your farming effectiveness. The game's design rewards coordinated team play while still providing viable paths for dedicated solo players who implement systematic approaches. Your consistent application of these techniques will determine your long-term success in ARC Raiders.
More Arc-Raiders Guides
ARC Raiders Shield Mastery Guide: Complete Breakdown of Mechanics, Weapons & Loadouts
Learn how shields actually work in ARC Raiders. Master damage mechanics, optimal weapons, and perfect loadouts for PvP and PvE. Break shields efficiently with our expert guide.
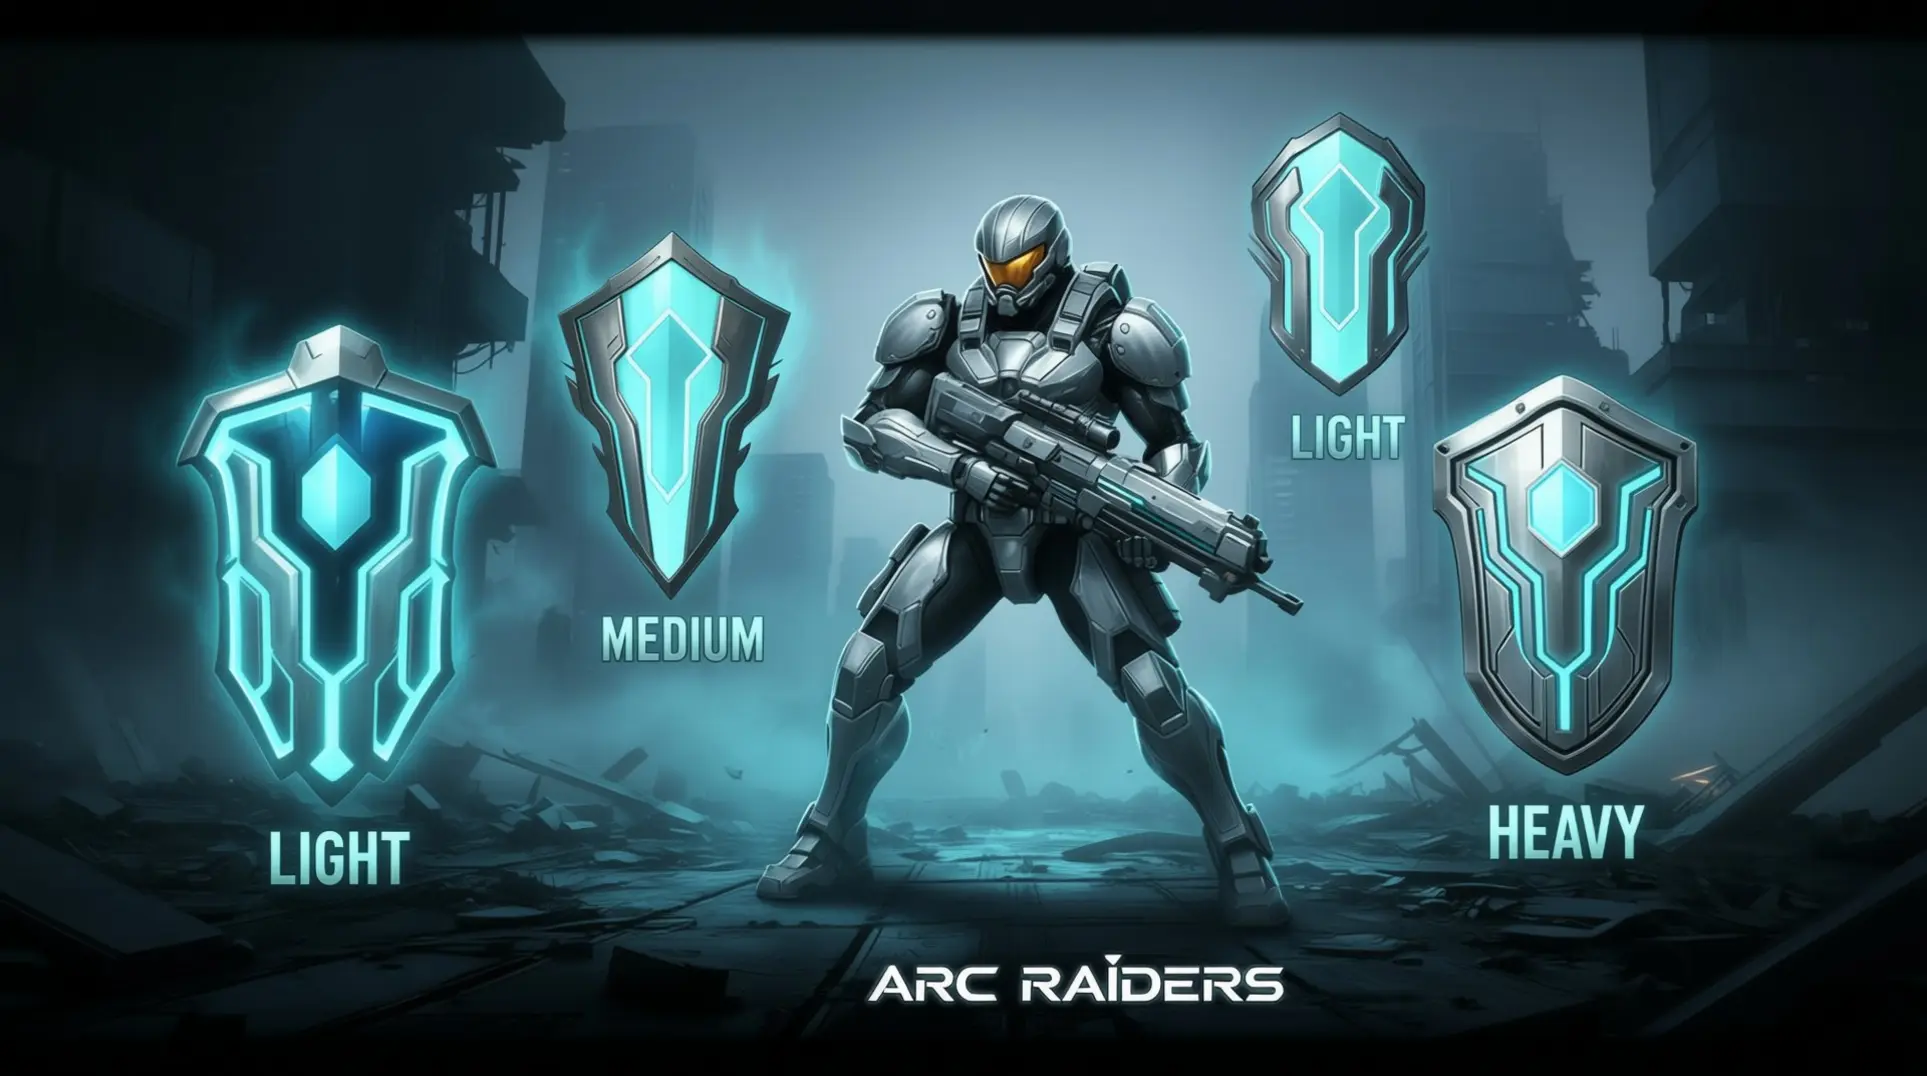
ARC Raiders Shield Mechanics: Complete Damage Calculation & Strategy Guide
Master ARC Raiders' shield system with our complete guide to damage calculation, shield types, recharge mechanics, and PvP strategies for optimal survival.
ARC Raiders Extraction Guide: Mastering the 30-Minute Timer, Grace Period & Bug Workarounds
Complete guide to ARC Raiders extraction mechanics: Learn how the 30-minute timer works, grace period secrets, current bugs, and proven strategies for successful escapes.
AI Tactical Companion
Consult with our specialized tactical engine for Arc-Raiders to master the meta instantly.