ARC Raiders Patch 1.1.0 Meta Report: Best Weapons, Builds & Strategies
ARC Raiders has established itself as a premier PvEvP extraction shooter since its October 30, 2025 launch, and the recent Patch 1.1.0 represents the game's first significant title update. Released on November 6, 2025, this patch focused on critical bug fixes and quality-of-life improvements rather than major balance changes.
The update addressed key issues including the Integrated Shield Recharger functionality, Augment skill reliability, and deployable exploits that allowed players to push through walls. As the community continues to explore the evolving meta, understanding the current weapon hierarchy, optimal skill tree paths, and strategic approaches to both PvE and PvP encounters becomes essential for success in the harsh world of ARC Raiders.
Patch 1.1.0 Key Changes
Weapon Balance Updates
ARC Raiders Patch 1.1.0 did not include any specific weapon balance changes, nerfs, or buffs according to official patch notes. The Venator pistol nerf was implemented in Patch 1.3.0, not Patch 1.1.0. The patch focused on bug fixes and quality-of-life improvements instead. These changes addressed equipment issues and gameplay exploits.
- Fixed Integrated Shield Recharger only working when equipped
- Fixed Augment skills sometimes not working
- Fixed deployable exploits pushing players through walls
- Added charge progress indicator for Integrated Shield Recharger
- Updated store rotation
Skill Tree & Progression Changes
Patch 1.1.0 focused on stability and reliability improvements rather than major skill tree or progression system changes. The update fixed several bugs affecting player abilities and achievements.
- Fixed Integrated Shield Recharger only recharging when equipped; it now properly recharges in all situations
- Fixed Augment skills sometimes not working, ensuring consistent activation
- Fixed Health Regen skills not working when triggered while in "Down But Not Out" (DBNO) state
- Fixed Well-Travelled achievement not unlocking properly, particularly on Xbox platforms
- Added charge progress indicator for Integrated Shield repair
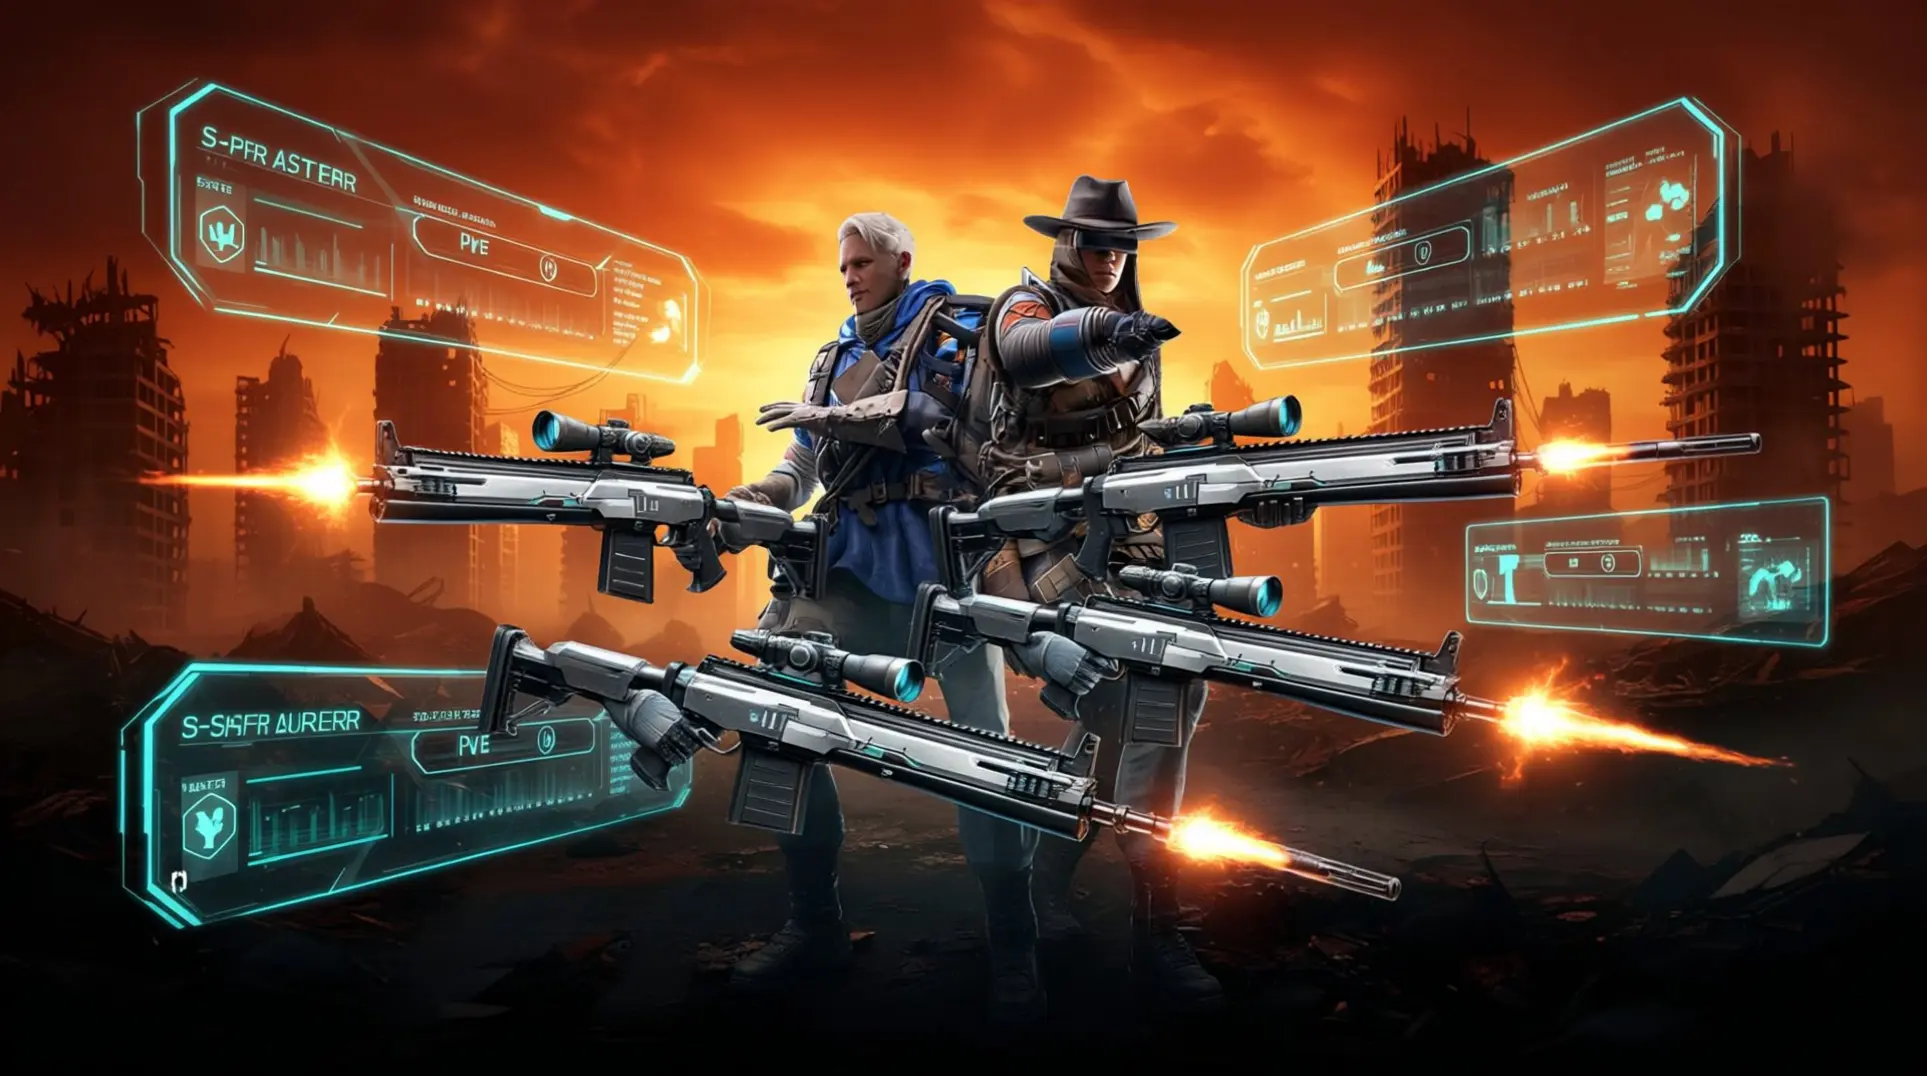
Current Weapon Meta Analysis
S-Tier Weapons (Meta-Defining)
S-tier weapons represent the pinnacle of performance in ARC Raiders. These meta-defining choices dominate both PvE and PvP encounters with exceptional stats and capabilities.
S-tier: Weapons that define the current meta through superior performance and game-changing attributes.
- Ferro: Widely cited for its armor-penetrating power and high damage output.
- Anvil: An S-tier mainstay with extremely high damage per shot, strong armor penetration, and lightweight handling.
- Bettina: Noted for solid damage, reasonable cost, and rarity that keeps it viable in top-tier loadouts.
- Jupiter: Listed among S-tier weapons as a legendary option that helps define the current meta.
- Equalizer: Highlighted as a cornerstone of high-performance build strategies.
- Aphelion: Introduced in November 2025, this weapon rapidly entered S-tier discussions and became a meta-defining option post-launch.
A-Tier Weapons (Strong Alternatives)
A-tier weapons provide excellent performance as alternatives to S-tier choices. These strong options deliver reliable results across various combat scenarios while remaining accessible to most players.
A-tier: Weapons that offer strong performance and versatility, serving as viable alternatives to top-tier meta choices.
- Kettle: Known for explosive area-of-effect damage, making it exceptionally effective against groups of ARC enemies.
- Hullcracker: An armor specialist with high armor penetration, particularly effective against heavily armored ARC robots.
- Venator: A versatile performer that offers a balanced mix of damage, fire rate, and controllability for both PvE and PvP scenarios.
- Ranger: A balanced assault option that provides reliable performance across various engagement ranges with consistent damage output.
- Tempest: Frequently mentioned for strong overall performance and a good balance of damage and fire rate.
- Bobcat: Recognized as effective for beginner loadouts due to manageable handling and solid damage output.
- Renegade: Highlighted for significant stopping power and performance that can compete with the meta.
- Equalizer: Considered a well-rounded assault rifle that performs admirably in both PvE and PvP situations.
B-Tier & Below (Situational Picks)
B-tier weapons are powerful tools with specific limitations. These situational picks excel in particular scenarios but lack the versatility to be all-around top-tier choices.
B-tier: Powerful weapons that are highly effective but have limitations preventing them from being top-tier all-around choices.
- K-28: Demands precision with high damage output but is held back by slower rate of fire or handling characteristics.
- Hullcracker: Excels at breaching ARC robot armor but is less effective against standard human opponents in PvP.
- Aphelion: A situational weapon with a unique firing mechanic or damage profile requiring specific playstyle mastery to be effective.
Situational weapon: A weapon that becomes invaluable when facing specific enemy types or in particular combat scenarios.
These weapons often have a higher skill ceiling. Players must master specific timing, reload patterns, and effective ranges to maximize their potential. While not universal solutions, they become essential when facing specific ARC enemy types like heavily armored units or boss enemies.
Optimal Build Strategies
Aggressive Assault Builds
Aggressive assault builds center around S-tier weapons like Ferro, Anvil, and Bettina for overwhelming firepower and armor penetration. These loadouts are designed for players who want to dominate through superior damage output.
Anvil: Ideal for aggressive play due to its incredible damage per shot and high armor penetration for quickly dismantling both ARC machines and enemy Raiders. Ferro offers devastating damage and effective performance across all engagement ranges, allowing aggressive players to confidently engage targets both up close and at medium distance.
Bettina assault rifle: A high-skill high-reward option for experienced aggressive players, offering unmatched rate of fire and damage output for sustained pressure. These weapons create opportunities through raw firepower that can be capitalized on consistently.
Skill tree priorities for aggressive builds include:
- Mobility tree skills for sprint speed, evasive movement, and repositioning to close distances on enemies quickly
- Conditioning tree skills providing stamina capacity, recovery, and carry weight bonuses to maintain high mobility during extended engagements
- Survival tree skills enhancing looting safety and speed, allowing aggressive players to gather resources quickly in contested zones while maintaining pressure
Recommended aggressive loadouts pair top-tier primary weapons with complementary secondaries like high-rate-of-fire SMGs or shotguns for extreme close-quarters combat. Augments should focus on increasing shield strength, improving reload speed, boosting weapon swap time, and enhancing mobility for sustained combat pressure.
Aggressive playstyle demands good positioning and game sense, using superior firepower to create opportunities and capitalize on them consistently.
Stealth & Tactical Builds
Stealth builds prioritize suppressed weapons for silent takedowns, allowing players to eliminate targets without alerting nearby enemies or rival Raiders. These tactical approaches emphasize information gathering and strategic positioning over direct confrontation.
Sniper builds: Focus on high-powered sniper rifles with suppressors to engage threats from distance while minimizing auditory footprint and muzzle flash detection. Tactical stealth builds use light shield weight classes to maximize movement speed and agility for rapid repositioning and quick escapes when detected.
Stealth loadouts pair suppressed sniper rifles with suppressed sidearms or SMGs for silent self-defense during infiltration or extraction phases. Players should prioritize elevated positions with long sightlines and multiple escape routes for optimal sniper positioning and battlefield control.
Skill tree investments for stealth focus on:
- Mobility and Conditioning paths for improved sprint speed, stamina regeneration, and quieter movement
- Survival and Awareness perks that enhance stealth builds by increasing enemy detection range and reducing character visibility on enemy radars
- Pure traversal skills and movement-focused talents for solo speed/stealth builds to navigate raids with minimal detection
Stealth builds use strategic explosives like smoke grenades for cover or EMPs to disable machines silently rather than traditional offensive explosives. In squad play, stealth specialists act as scouts or flankers, using mobility to reposition quickly and create opportunistic attacks while teammates draw attention.
Support & Team Play Builds
Support builds in ARC Raiders focus on healing and team utility, with squad composition requiring defined roles including medics who keep the team alive during extraction missions. Medic archetype: Essential for any group, focusing on healing and squad survival since players only get one shot to extract per round.
Medic's primary responsibility is health management - reviving incapacitated teammates and healing wounded teammates to prevent ticket loss and maintain squad fighting strength. Support medic builds prioritize healing capabilities and protective utility, using skills like Smoke and Mirrors to deploy reaction-immune concussion and smoke grenades for safer revives.
Support builds should run healing-focused equipment to heal multiple teammates simultaneously or target allies out of direct range:
- Healer hive
- Healing chem launcher
- Drone
Expert medics use strategic positioning and prioritization, staying behind the front line to support the squad while constantly assessing the battlefield for optimal revive opportunities. An advanced technique is to not heal teammates completely if multiple are downed - revive first, then briefly heal each for a moment to let stamina regenerate before fully healing anyone.
Support players should communicate their status (healing, smoke out) and listen to calls for help, with effective squads requiring all members to communicate and act as tactical players. The medic role is considered the most important for squad survival in team-based games, as teams without dedicated medics struggle significantly against enemy waves while working alongside assault and reconnaissance roles.
Skill Tree Optimization
Combat-Focused Trees
Combat builds prioritize aggressive sustain and mobility enhancements for high-risk, high-reward playstyles. These builds maintain constant pressure during engagements.
Fight or Flight (Conditioning): An S-tier combat skill that restores a fixed amount of stamina whenever you take damage during combat, crucial for aggressive playstyles.
The Mobility tree provides essential combat effectiveness through reload speed and weapon handling improvements. Skills like Quick Hands and Tactical Reload are fundamental for combat performance.
- Sprinter: Increases base sprinting speed, invaluable for both engaging enemies and disengaging from unfavorable fights.
- Lightfoot: Reduces movement noise generation, making it harder for both enemy Raiders and ARC machines to detect you during combat engagements.
- Stamina Efficiency: Decreases stamina cost of sprinting and evasive actions, synergizing with Conditioning tree to enable prolonged combat movement.
The Conditioning tree provides stamina management for extended combat maneuvers. These skills are essential for prolonged engagements.
- Stamina Boost: Directly increases maximum stamina pool, essential for prolonged sprinting and combat maneuvers during extended engagements.
- Rapid Recovery: Accelerates stamina regeneration rate after depletion, getting players back into combat or movement much faster.
Swift Mend (Survival): Significantly reduces healing item usage time, critical during firefights or when recovering from ARC machine encounters.
Utility & Survival Trees
Utility and survival builds prioritize resource gathering and extraction success. These builds combine looting efficiency with stamina management for balanced gameplay.
Security Breach (Survival): An S-tier utility skill that dramatically reduces time required to open locked containers and breach ARC structures, essential for efficient looting.
The Survival tree focuses on utility and survivability. It enhances looting speed, healing efficiency, and resource management to maximize extraction success rates.
- Swift Mend: Significantly reduces healing item usage time, critical for faster recovery during combat and considered essential for all builds due to universal value.
The Conditioning tree provides crucial stamina management for sustained exploration. It synergizes with Survival tree for prolonged movement capabilities.
- Stamina Boost: Directly increases maximum stamina pool, essential for prolonged sprinting.
- Rapid Recovery: Accelerates stamina regeneration rate after depletion, getting players back into movement much faster.
- Fight or Flight: A top-tier survival skill that restores stamina when taking damage, providing crucial sustain during combat encounters.
Utility builds combine Survival tree's looting efficiency with Conditioning tree's stamina management. This creates balanced gameplay that excels in resource gathering and sustained exploration.
The Mobility tree offers synergistic utility skills for stealth and movement efficiency.
- Lightfoot: Reduces movement noise generation, making it harder for enemies to detect you during both combat and stealth approaches.
- Stamina Efficiency: Decreases stamina cost of sprinting and evasive actions, synergizing with Conditioning tree for prolonged movement capabilities.
Utility skills like Security Breach and Swift Mend are considered essential for all builds. This is due to their universal value in both PvE and PvP scenarios.
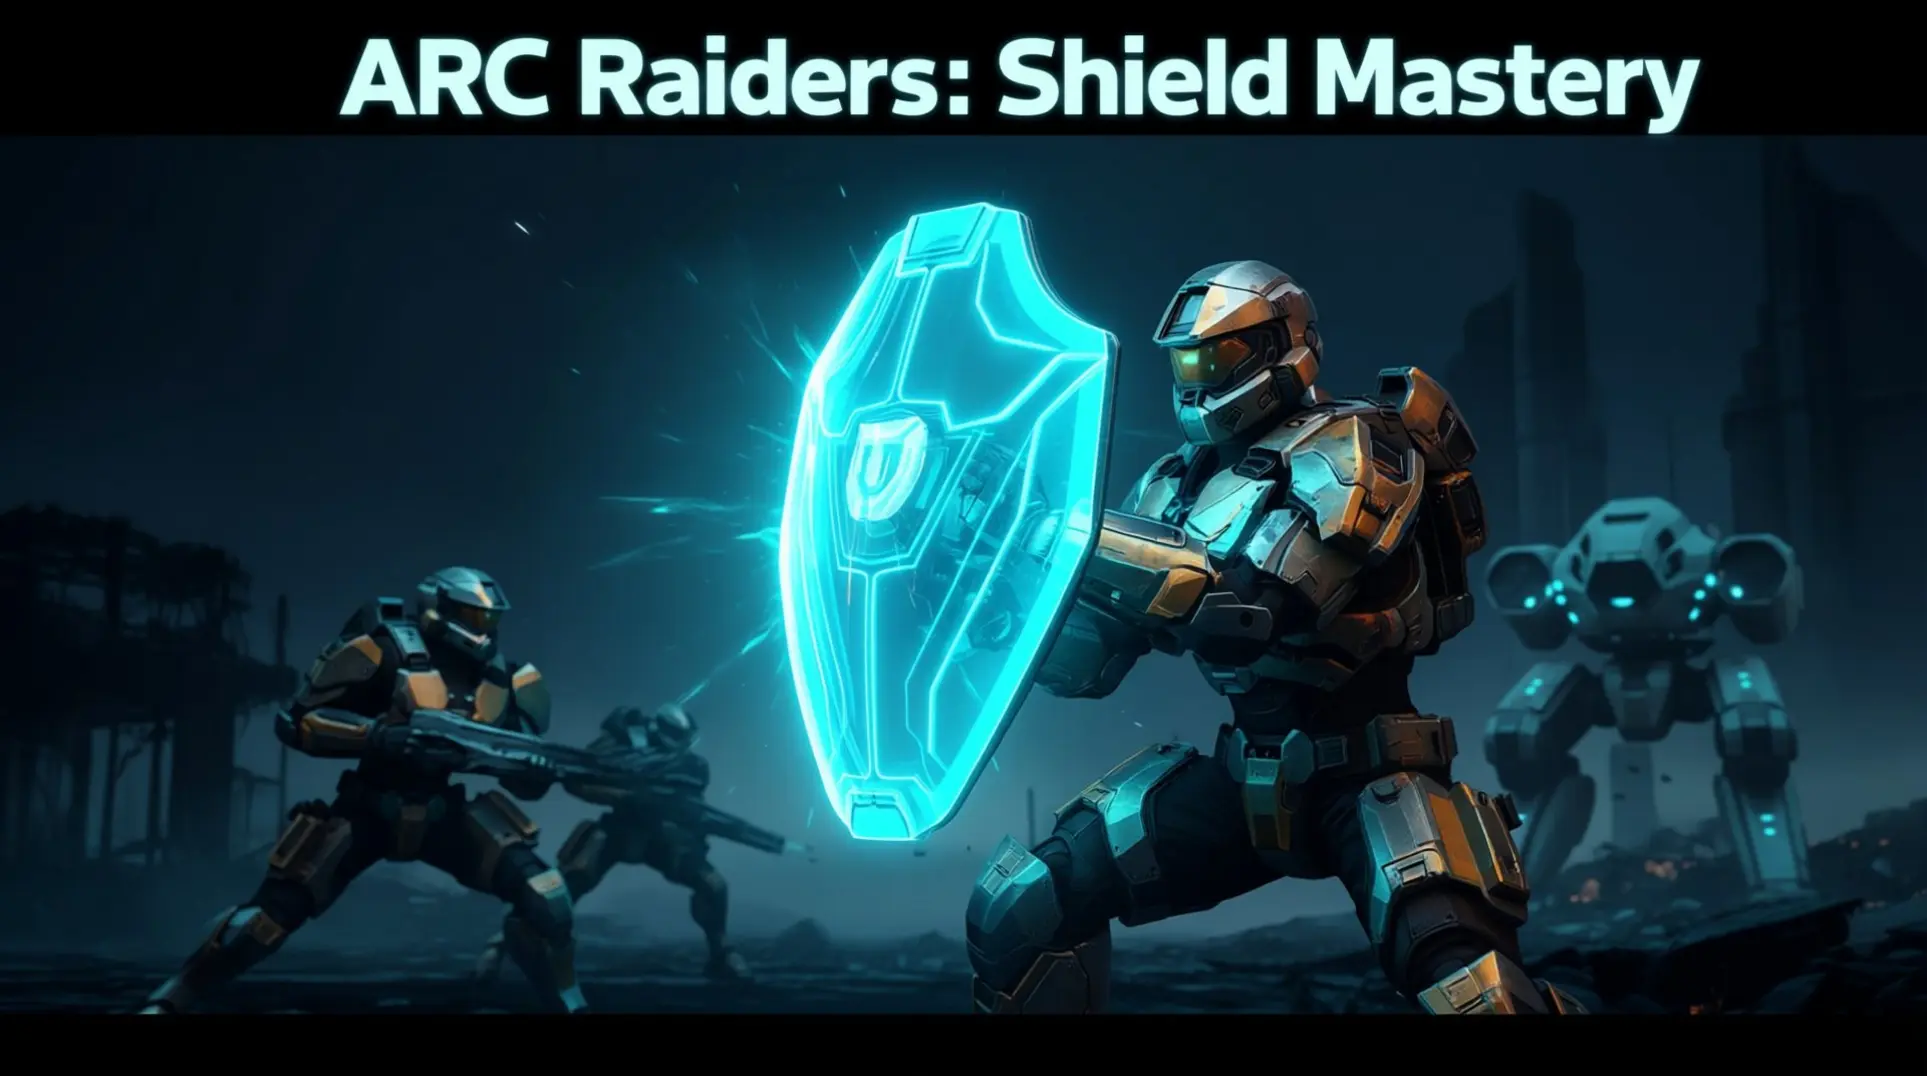
Equipment & Gear Meta
Armor & Protection
Shields serve as the primary protection system in ARC Raiders. They mitigate damage rather than providing extra health, with blue segments on the health bar representing 10 shield points each.
Shield Segments: Each blue segment on the health bar represents 10 shield points that absorb incoming damage before it affects health.
Damage calculation works directly against shield charge. If a weapon deals Y base damage, shield charge is reduced by Y, with any remaining damage penetrating to health.
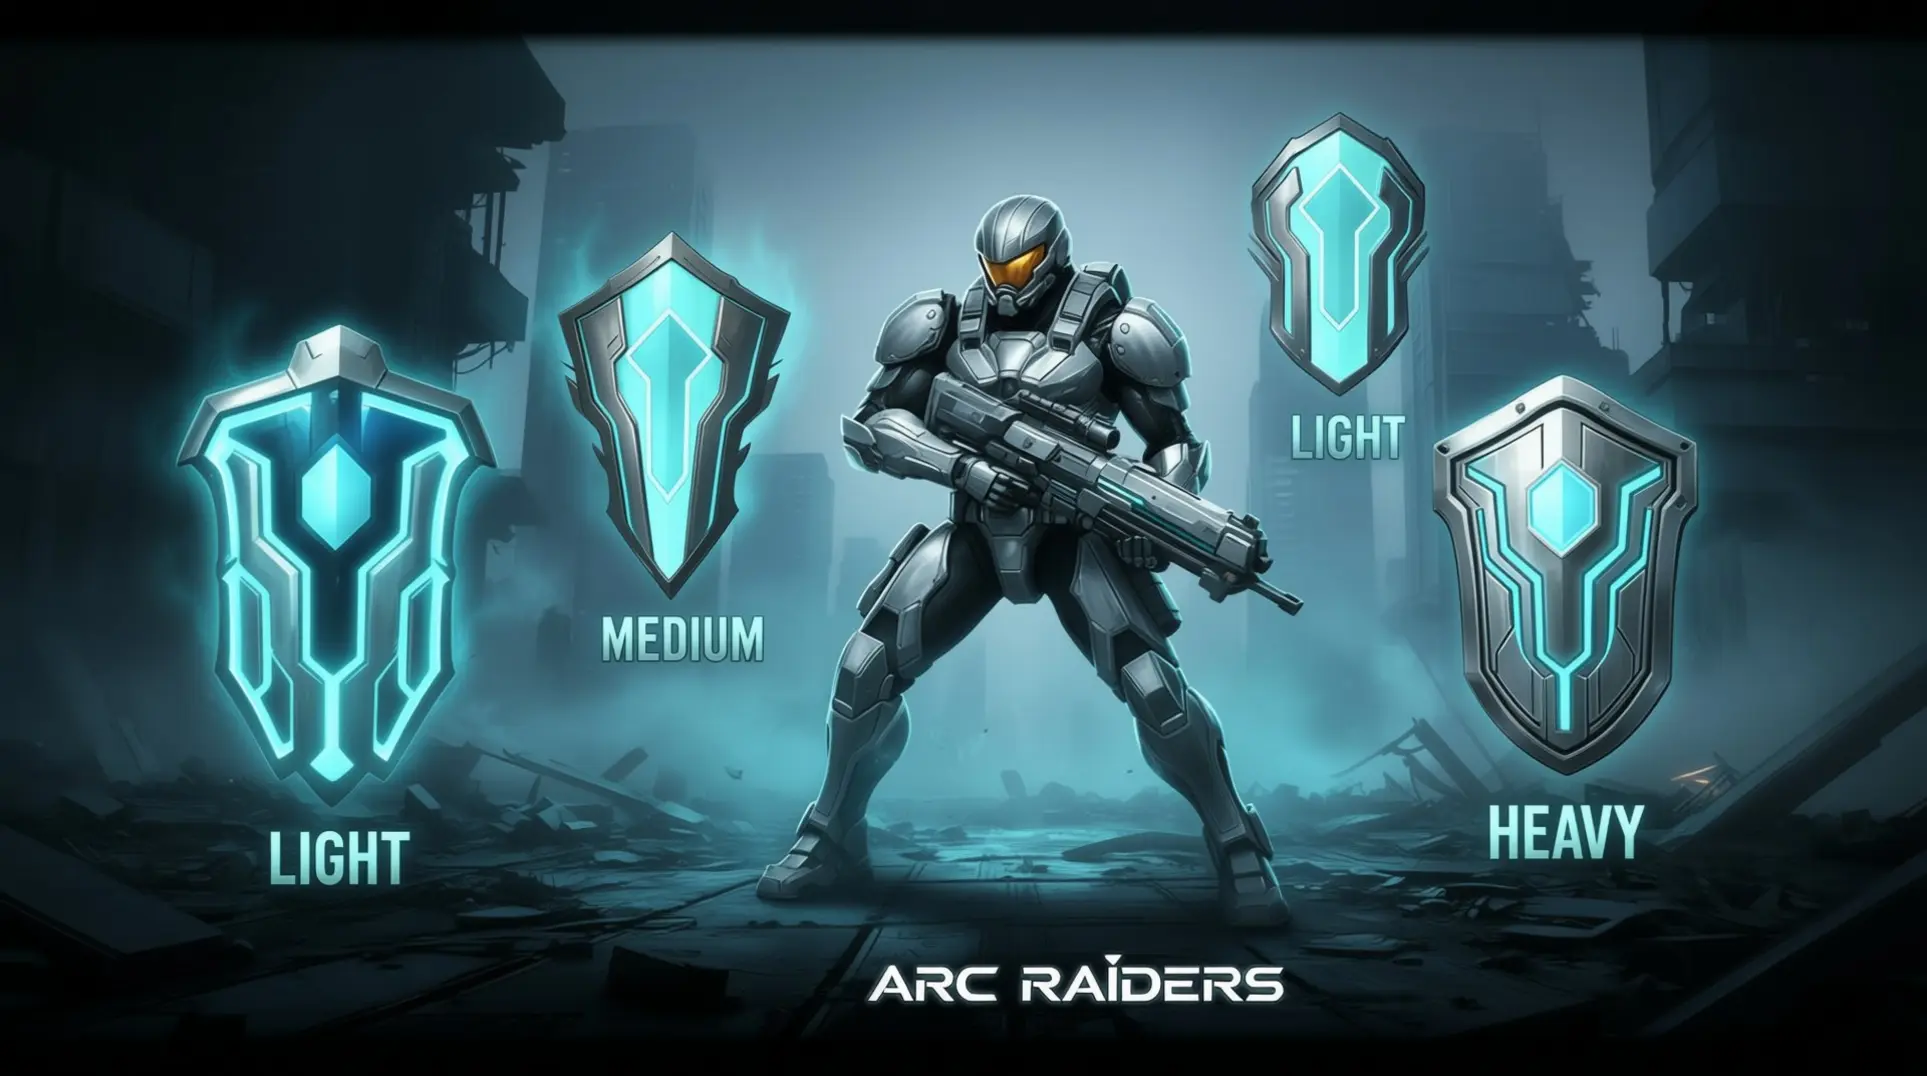
ARC Raiders features several distinct shield types, each tailored to different playstyles:
- Basic Shield: The standard-issue protection providing reliable defense and serves as a good starting point for new players.
- Reinforced Shield: Offers enhanced durability and better damage absorption, making it ideal for players who frequently engage in direct combat.
- Rapid Shield: Prioritizes recharge speed over raw capacity, perfect for aggressive players who need quick shield recovery between skirmishes.
- Heavy Shield: Provides the highest capacity but slower recharge rate, designed for frontline tanks expecting to absorb massive damage.
Strategic shield selection depends on your engagement type:
- For PvE content, Reinforced or Heavy Shields are recommended due to predictable AI damage patterns and sustained assault scenarios.
- For PvP combat, Rapid Shield provides tactical advantage with quick recharge times in fast-paced player encounters.
Shield recharge items are obtained primarily from Lance, the combat medic and defensive specialist trader in Speranza. Augments can affect shield compatibility and capacity, requiring careful balancing between offensive/utility bonuses and defensive survivability.
Gadgets & Consumables
The gadget meta is dominated by mobility and stealth options that provide significant tactical advantages. Snap Hook and Photoelectric Cloak represent the S-tier choices for most loadouts.
Snap Hook: An S-tier mobility gadget for quick repositioning, escaping danger, and gaining high ground advantage in both aggressive and evasive playstyles.
Photoelectric Cloak: An S-tier stealth gadget that provides significant tactical advantage for bypassing enemy patrols, safe revives, and setting up ambushes.
A-tier gadgets offer specialized team utility and defensive capabilities:
- Barricade Kit: An A-tier defensive gadget essential for creating chokepoints, securing objectives, and providing cover during firefights and extraction sequences.
- Zipline: An A-tier team mobility gadget that facilitates rapid traversal across large areas and enables squad cohesion for flanking maneuvers and retreats.
- Door Blockers: Serve as situational utility gadgets for temporarily sealing routes, funneling enemies, and securing indoor environments with tactical control.
Grenades and explosives form the core consumable strategy with distinct roles. Damage grenades excel in crowded encounters for clearing groups of enemies. Tactical grenades like smoke and flashbangs provide battlefield control without direct damage. Specialized grenades create lingering area-of-effect hazards, control space, or sap enemy stamina.
Healing items like medkits and Vita Spray are crafted through Medical Lab upgrades. Higher tiers require rare materials but provide crucial survival benefits. Grenades can be acquired through crafting with specific recipes, purchasing from vendors, or looting from containers throughout the game world.
The consumables meta emphasizes balanced loadouts with both damage and tactical grenades. These are combined with prioritized Medical Lab upgrades for healing item production.
Advanced Strategies & Tips
PvE Encounter Optimization
For PvE encounters, prioritize weapons with high armor penetration like Hullcracker and Ferro. These effectively damage heavily armored ARC machines and bosses.
Armor Penetration: The ability of weapons to effectively damage heavily armored ARC machines and bosses.
Use area-of-effect weapons like Kettle for clearing groups of smaller ARC enemies efficiently. These excel against clustered robotic threats.
Area-of-Effect: Weapons that excel at clearing groups of smaller ARC enemies efficiently.
Focus on Survival tree skills like Security Breach for faster looting and Swift Mend for quicker healing. These are valuable during PvE encounters with predictable AI patterns.
Survival Tree: Skills focused on faster looting and quicker healing during PvE encounters.
Heavy Shields like Reinforced or Heavy variants are optimal for PvE. This is due to predictable enemy damage patterns and sustained assault scenarios.
Use defensive gadgets like Barricade Kit to create chokepoints. This controls enemy movement during PvE encounters, especially against swarming ARC units.
Barricade Kit: A defensive gadget to create chokepoints and control enemy movement.
Prioritize Medical Lab upgrades for crafting higher-tier healing items. PvE encounters often require sustained health management against multiple waves.
Medical Lab: Workshop upgrades for crafting higher-tier healing items.
Use tactical grenades strategically in PvE to control enemy positioning. They create breathing room during intense combat sequences.
- Coordinate with squad members to focus fire on high-priority ARC targets like heavies and bosses while using suppression fire against smaller units.
- Maintain situational awareness of ARC patrol routes and spawn patterns to avoid being overwhelmed by multiple enemy groups simultaneously.
- Use elevated positions and cover effectively against ARC machines, as they often have predictable attack patterns that can be exploited from advantageous positions.
PvP Engagement Tactics
For PvP engagements, use Rapid Shield variants for faster recharge times. This provides tactical advantage in fast-paced player encounters.
Rapid Shield: Shield variants with faster recharge times for tactical advantage.
Mobility tree skills like Sprinter and Lightfoot are essential for PvP. They enable quick repositioning and stealthy approaches against human opponents.
Mobility Tree: Skills enabling quick repositioning and stealthy approaches.
Use Snap Hook gadget for rapid vertical movement and unexpected flanking routes. This gains positional advantage over enemy Raiders.
Snap Hook: A gadget for rapid vertical movement and unexpected flanking routes.
Photoelectric Cloak provides significant PvP advantage for ambushes, safe revives, and bypassing enemy positions undetected.
Photoelectric Cloak: Provides invisibility for ambushes, safe revives, and bypassing enemy positions undetected.
Use Zipline gadget for team mobility and coordinated flanking maneuvers in squad PvP scenarios.
Zipline: Enables team mobility and coordinated flanking maneuvers.
Prioritize high-damage weapons like Anvil and Ferro for PvP engagements. Quick time-to-kill is crucial against unpredictable human opponents.
Time-to-Kill: The speed at which high-damage weapons can eliminate targets.
Employ tactical grenades like smoke and flashbangs to disorient enemy Raiders. They create opportunities for pushes or retreats.
- Coordinate with squad members using clear communication for target prioritization, flanking routes, and tactical retreats during PvP encounters.
- Use elevated positions and cover effectively against human opponents, as they employ unpredictable tactics compared to AI enemies.
- Maintain situational awareness of other player movements and extraction points to anticipate ambushes and plan counter-strategies.
Future Meta Predictions
As ARC Raiders continues to evolve, we can anticipate several potential meta shifts based on current trends and developer patterns. The community's continued exploration of weapon combinations and skill tree synergies will likely reveal new optimal builds.
Future patches may introduce weapon balancing that could elevate currently underutilized options or adjust the dominance of S-tier weapons. The introduction of new content, including additional weapons, gadgets, and potentially new enemy types, will inevitably reshape the meta landscape. Players should remain adaptable and continue experimenting with different loadouts to stay ahead of the evolving competitive environment.
Conclusion
The ARC Raiders post-launch meta has solidified around a core group of S-tier weapons and strategic build approaches that cater to different playstyles. While Patch 1.1.0 didn't introduce major balance changes, it established a stable foundation for the evolving meta by addressing critical gameplay issues.
The current landscape rewards players who master weapon handling, understand skill tree synergies, and adapt their strategies to both PvE and PvP scenarios. As the game continues to evolve, the most successful Raiders will be those who remain flexible, continuously refine their loadouts, and maintain awareness of both enemy patterns and player tactics. The key to dominance lies not in following a single meta build, but in understanding the underlying principles that make certain weapons and skills effective across different situations.
More Arc-Raiders Guides
ARC Raiders Shield Mastery Guide: Complete Breakdown of Mechanics, Weapons & Loadouts
Learn how shields actually work in ARC Raiders. Master damage mechanics, optimal weapons, and perfect loadouts for PvP and PvE. Break shields efficiently with our expert guide.
ARC Raiders Shield Mechanics: Complete Damage Calculation & Strategy Guide
Master ARC Raiders' shield system with our complete guide to damage calculation, shield types, recharge mechanics, and PvP strategies for optimal survival.
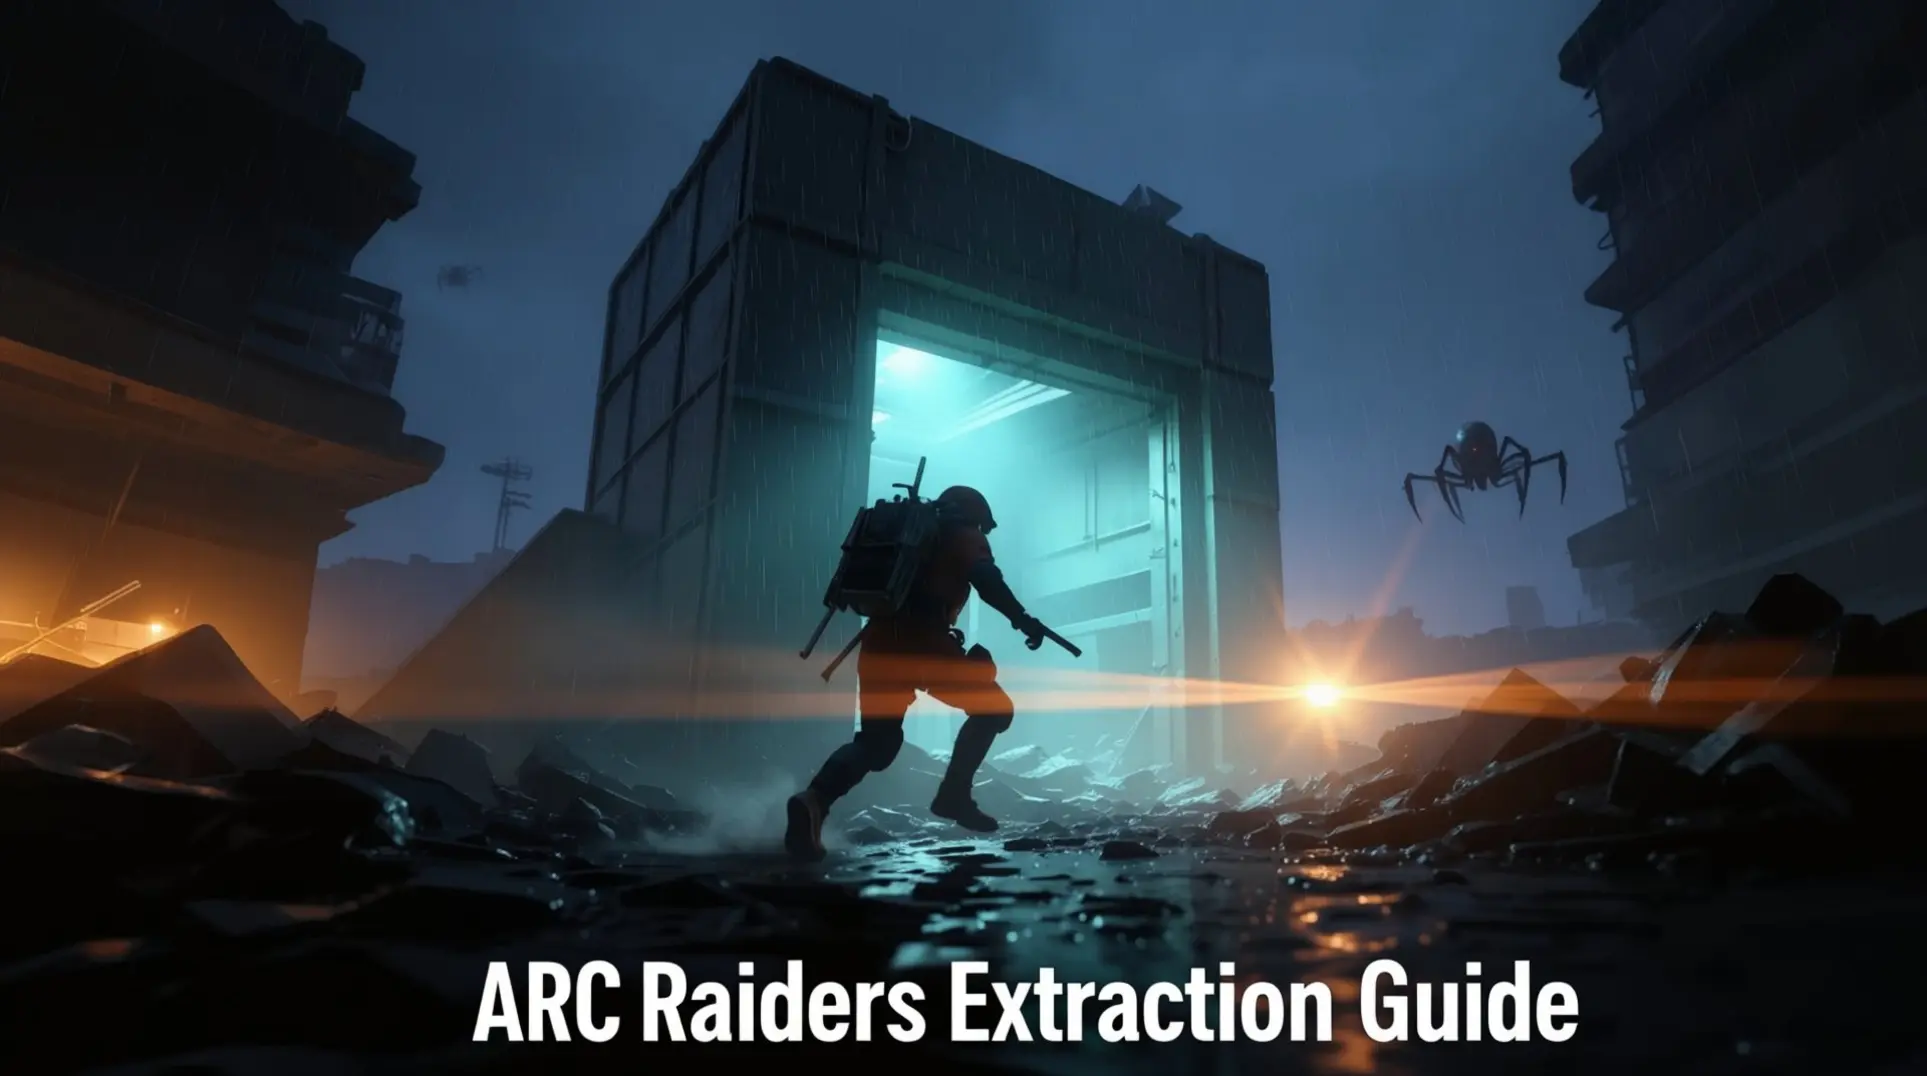
ARC Raiders Extraction Guide: Mastering the 30-Minute Timer, Grace Period & Bug Workarounds
Complete guide to ARC Raiders extraction mechanics: Learn how the 30-minute timer works, grace period secrets, current bugs, and proven strategies for successful escapes.
AI Tactical Companion
Consult with our specialized tactical engine for Arc-Raiders to master the meta instantly.