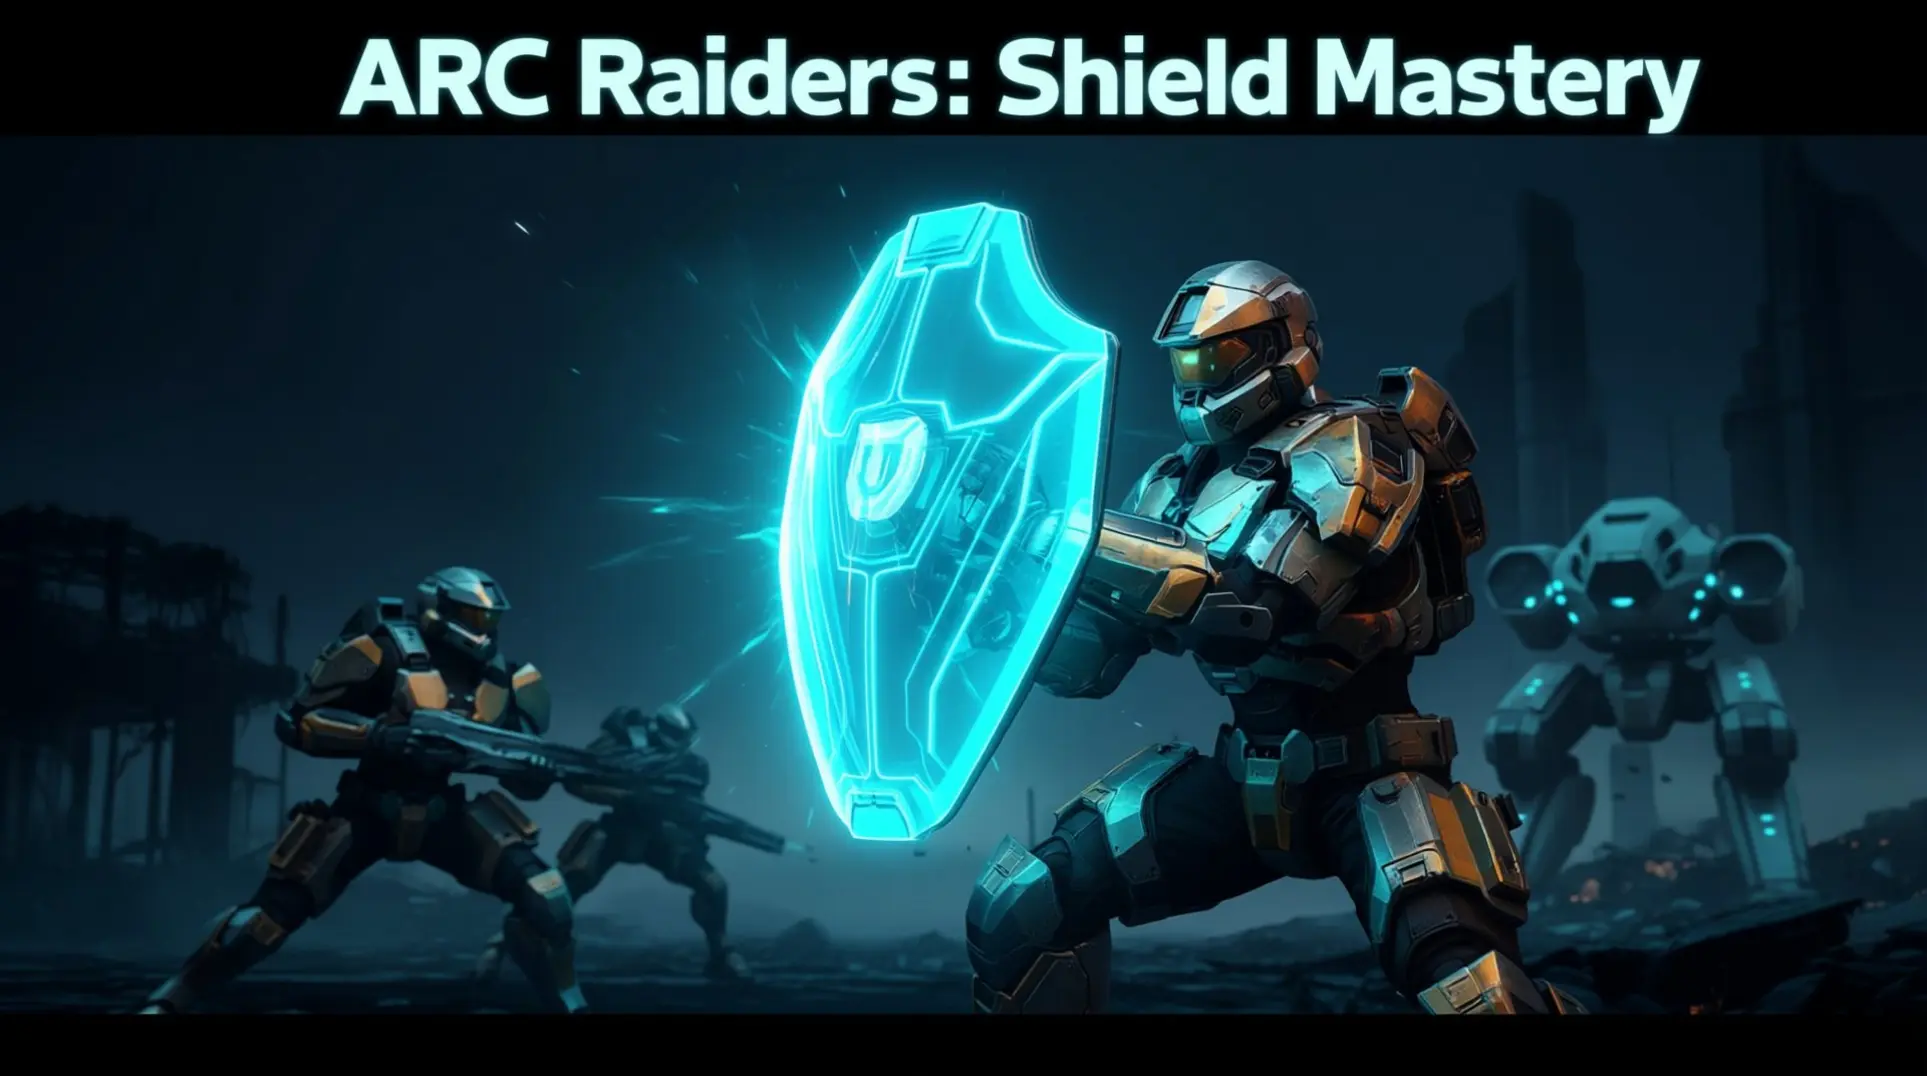
Arc Raiders Shield & Penetration Guide: Master Defense Systems

Arc Raiders Shield & Armor Penetration Guide: Master the Defense Systems
Confused why you're dying with shields up in Arc Raiders? You're not alone—most players mistake shields for bonus health, leading to frustrating deaths. The truth is simpler: shields are percentage-based damage reduction, not damage blockers, and they work completely separately from armor penetration. This guide breaks down both systems so you can build strategic loadouts and stop guessing in combat.
Shield Damage System: Unified Mechanics
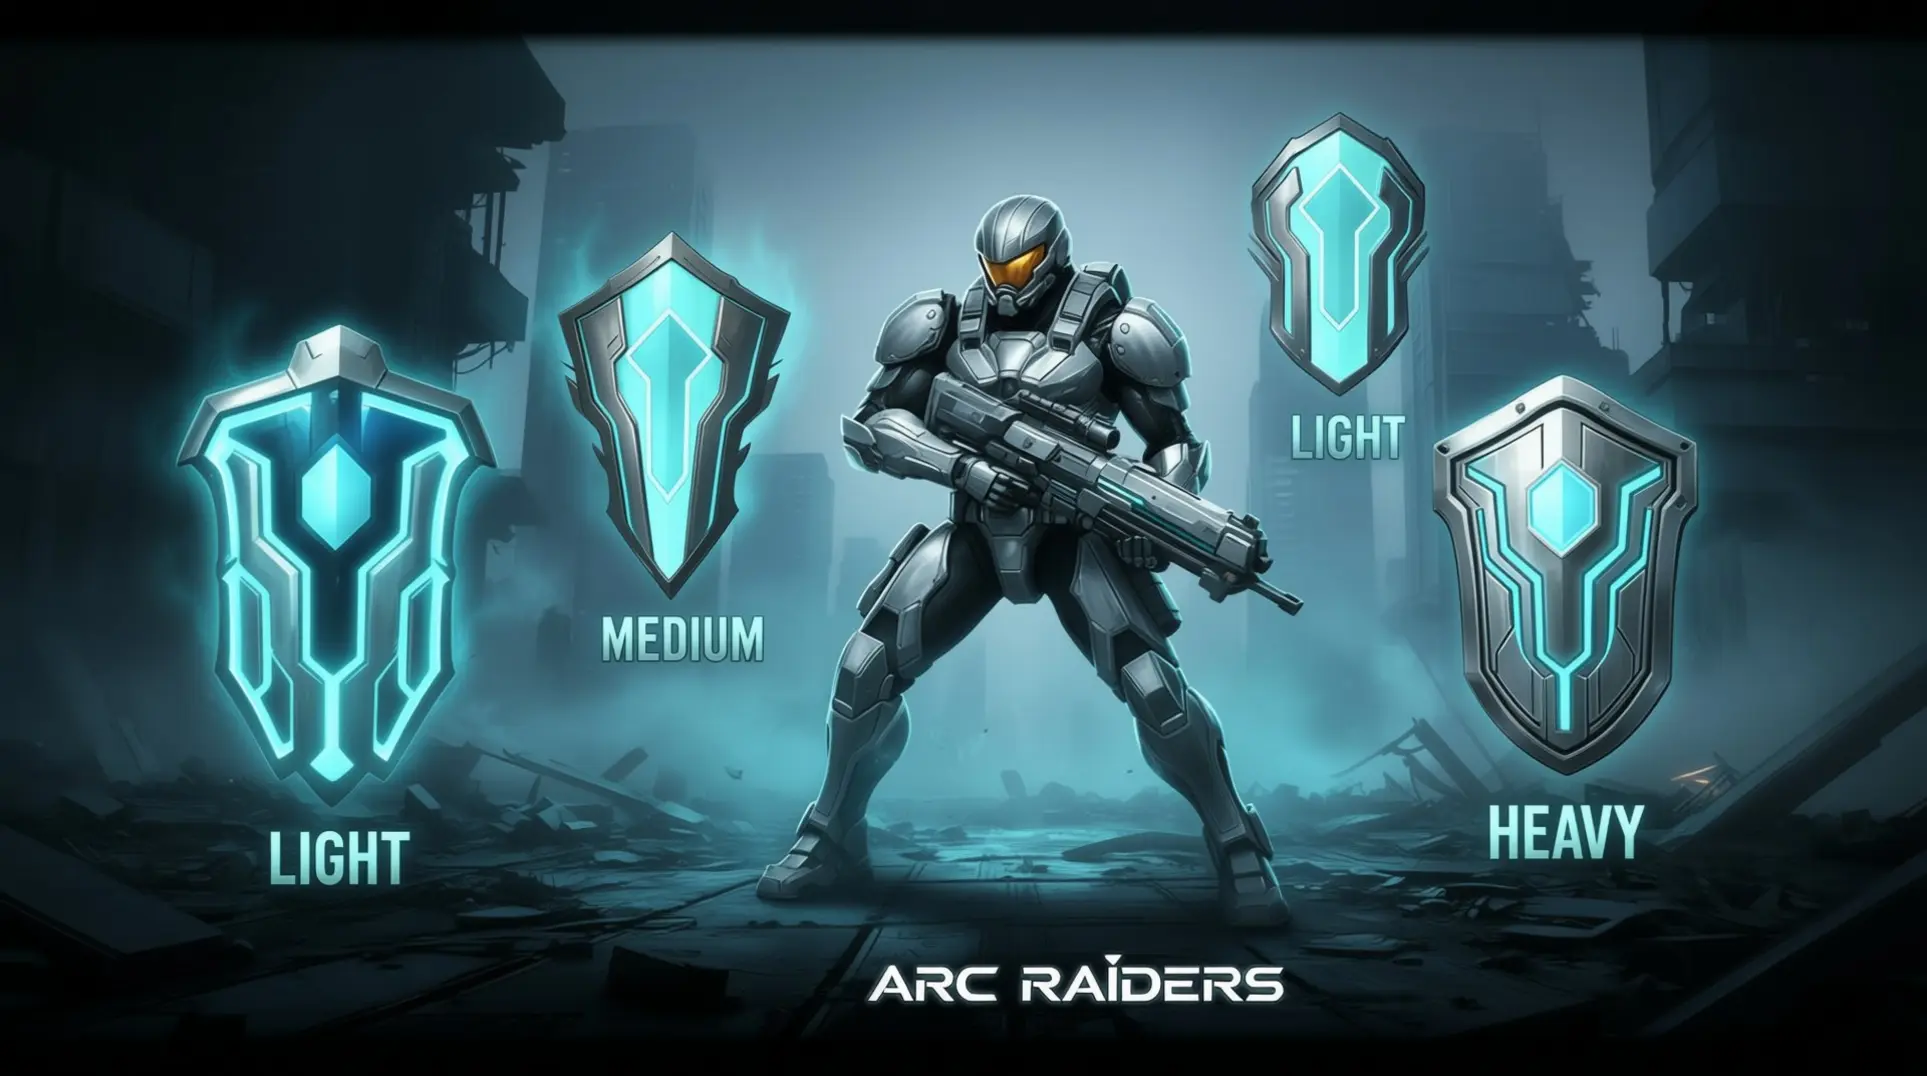
Shield Penetration Tiers
Arc Raiders uses a three-tier shield system with clear mitigation values:
- Light Shields: 23% damage reduction
- Medium Shields: 45% damage reduction
- Heavy Shields: 65% damage reduction
The Two-Phase Damage Flow
Damage in Arc Raiders follows a predictable sequence:
- Phase 1: Weapon's flat damage depletes shield charge
- Phase 2: Remaining damage hits health with shield mitigation applied
Worked Example: A 100-damage shot against a Medium Shield (45% mitigation):
- Shield loses 100 points
- Health takes 55 damage (100 × 0.55)
Shield Visual Indicators
Each blue box on your health bar represents 10 shield points. Watch these carefully—they're the difference between survival and being downed with "blue boxes still showing."
Quick Reference: Shield Types
| Shield Type | Mitigation | Best Use Case | Recharge Method |
|---|---|---|---|
| Light | 23% | Hit-and-run tactics | 1 Shield Recharger |
| Medium | 45% | Balanced engagements | 1 Shield Recharger |
| Heavy | 65% | Hold chokepoints | 1 Shield Recharger |
Weapon Penetration vs. Armor: The Yellow Bar System
Understanding Yellow Armor Bars
The yellow bar system in Arc Raiders represents enemy armor durability that must be penetrated before damaging core health. Different ammo types have distinct penetration values:
Ammo Type Effectiveness
| Ammo Type | Armor Penetration | Best Against | Example Weapons |
|---|---|---|---|
| Heavy | Highest | ARC machines, Heavy Shields | Shotguns, The Anvil |
| Medium | Moderate | Balanced combat | Assault rifles, Sniper rifles |
| Low | Lowest | Player PvP | SMGs, Light rifles |
Shield Penetration Mechanics
Penetration vs. Shield Matching
Weapons carry their own penetration values (Light/Medium/Heavy). When your weapon's penetration matches or exceeds the target's shield tier, you bypass damage mitigation entirely.
- Heavy penetration weapons negate Heavy Shield's 65% reduction
- Medium penetration handles Light and Medium Shields effectively
- Light penetration struggles against Medium and Heavy Shields
Top Icebreaker Weapons
The Anvil Hand Cannon
- Performance: S-tier for PvP and PvE
- Strength: High per-shot damage + excellent stagger
- Best Use: Shield breaking + engagement creation
Ferro Battle Rifle
- Performance: Budget powerhouse
- Strength: Cost-effective shield breaking
- Best Use: Learning the icebreaker role
Alternative Options
- Vulcano shotgun: Highest per-shot damage for close-range bursts
- Jupiter sniper rifle: Long-range shield removal
Ammo Types and Strategic Applications
Light Ammo: The PvP Specialist
Light ammo dominates PvP due to efficient shield penetration. The Stitcher SMG exemplifies this with its high rate of fire overwhelming light shield mitigation.
Optimal Targets: Player Raiders, Light Shields
Medium Ammo: The Versatile Choice
Medium ammo offers balanced performance across all scenarios. Skilled players can eliminate Light Shield opponents in four headshots, leveraging the 2.5x multiplier.
Optimal Targets: Mixed enemy compositions, consistent damage
Heavy Ammo: The ARC Breaker
Heavy ammo targets ARC machine armor but struggles against player shields. Ferro with full upgrades becomes devastating in PvP despite this limitation.
Optimal Targets: ARC machines, Heavy Shields
Loadout Optimization
PvP-Focused Builds
Primary: Tempest Assault Rifle (mid-range dominance) Secondary: Rattler SMG (close-quarters cleanup)
Strategy: Handle both PvP duels and unexpected ARC encounters while maintaining mobility.
PvE-Focused Builds
Primary: Bettina or Venator LMG (sustained wave DPS) Secondary: Anvil Marksman Rifle (priority target elimination)
Strategy: Maximize sustained damage against robotic threats while maintaining precision capabilities.
Hybrid Versatility
Primary: Bettina LMG (reliable across modes) Strategy: Adapt without loadout changes when switching between hunting ARCs and engaging players.
Shield Management Tactics
Recharge Mechanics
- Light Shields: Full recharge with single Shield Recharger
- Disengagement Threshold: 50% remaining shield capacity
- Battery Source: Looted from defeated ARC robots
Crafting Requirements
Shield Rechargers require Batteries looted from ARC machines. The red field crafting perk enables on-the-fly creation during combat.
Tactical Applications
Light Shield Strategy
- Playstyle: Mobility-focused hit-and-run
- Strengths: Quick repositioning, rapid recharge
- Best For: Aggressive peek-and-poke tactics
Heavy Shield Strategy
- Playstyle: Position-based defense
- Strengths: Maximum mitigation, chokepoint control
- Best For: Holding angles and pushing objectives
Strategic Combat Execution
The Icebreaker Sequence
- Break: Use high-penetration weapons to crack enemy shields
- Push: Exploit stagger effects during shield recovery
- Reset: Reposition while recharging shields for next engagement
Equipment Priorities
- Mobility and stamina perks: Enable rapid repositioning
- Stability attachments: Ensure accurate follow-up shots
- Range-appropriate weapons: Cover different engagement distances
Combat Mindset
Shield breaking creates stagger effects that often prove more valuable than damage. This psychological advantage gives your team initiative to control engagement tempo.
Weapon Effectiveness Matrix
Against Shields
| Weapon Class | Light Shield | Medium Shield | Heavy Shield |
|---|---|---|---|
| Heavy Penetration | Optimal | Optimal | Optimal |
| Medium Penetration | Optimal | Good | Poor |
| Light Penetration | Good | Poor | Very Poor |
Against ARC Armor
| Weapon Class | Yellow Bar Penetration | TTK Efficiency |
|---|---|---|
| Heavy Ammo | Highest | Fastest |
| Medium Ammo | Moderate | Balanced |
| Light Ammo | Lowest | Slowest |
Conclusion: Mastering the Dual Defense
Arc Raiders' combat revolves around understanding two distinct systems:
- Shields = Damage reduction that requires penetration-matched weapons
- Armor = Physical barriers requiring appropriate ammo types
Key Takeaways:
- Light ammo dominates player PvP encounters
- Heavy ammo breaks ARC machines efficiently
- Medium ammo provides versatile hybrid performance
- Shield recharges are tactical tools, not passive benefits
- Matching weapon penetration to shield tiers maximizes effectiveness
Build loadouts around your primary targets, time shield recharges wisely, and adapt your strategy based on enemy composition. The battlefield rewards those who understand both systems and execute accordingly.
Master these mechanics, and you'll transform from a shield-dependent survivor into a strategic combatant who controls every engagement.
More Arc-Raiders Guides
ARC Raiders Shield Mastery Guide: Complete Breakdown of Mechanics, Weapons & Loadouts
Learn how shields actually work in ARC Raiders. Master damage mechanics, optimal weapons, and perfect loadouts for PvP and PvE. Break shields efficiently with our expert guide.
ARC Raiders Shield Mechanics: Complete Damage Calculation & Strategy Guide
Master ARC Raiders' shield system with our complete guide to damage calculation, shield types, recharge mechanics, and PvP strategies for optimal survival.
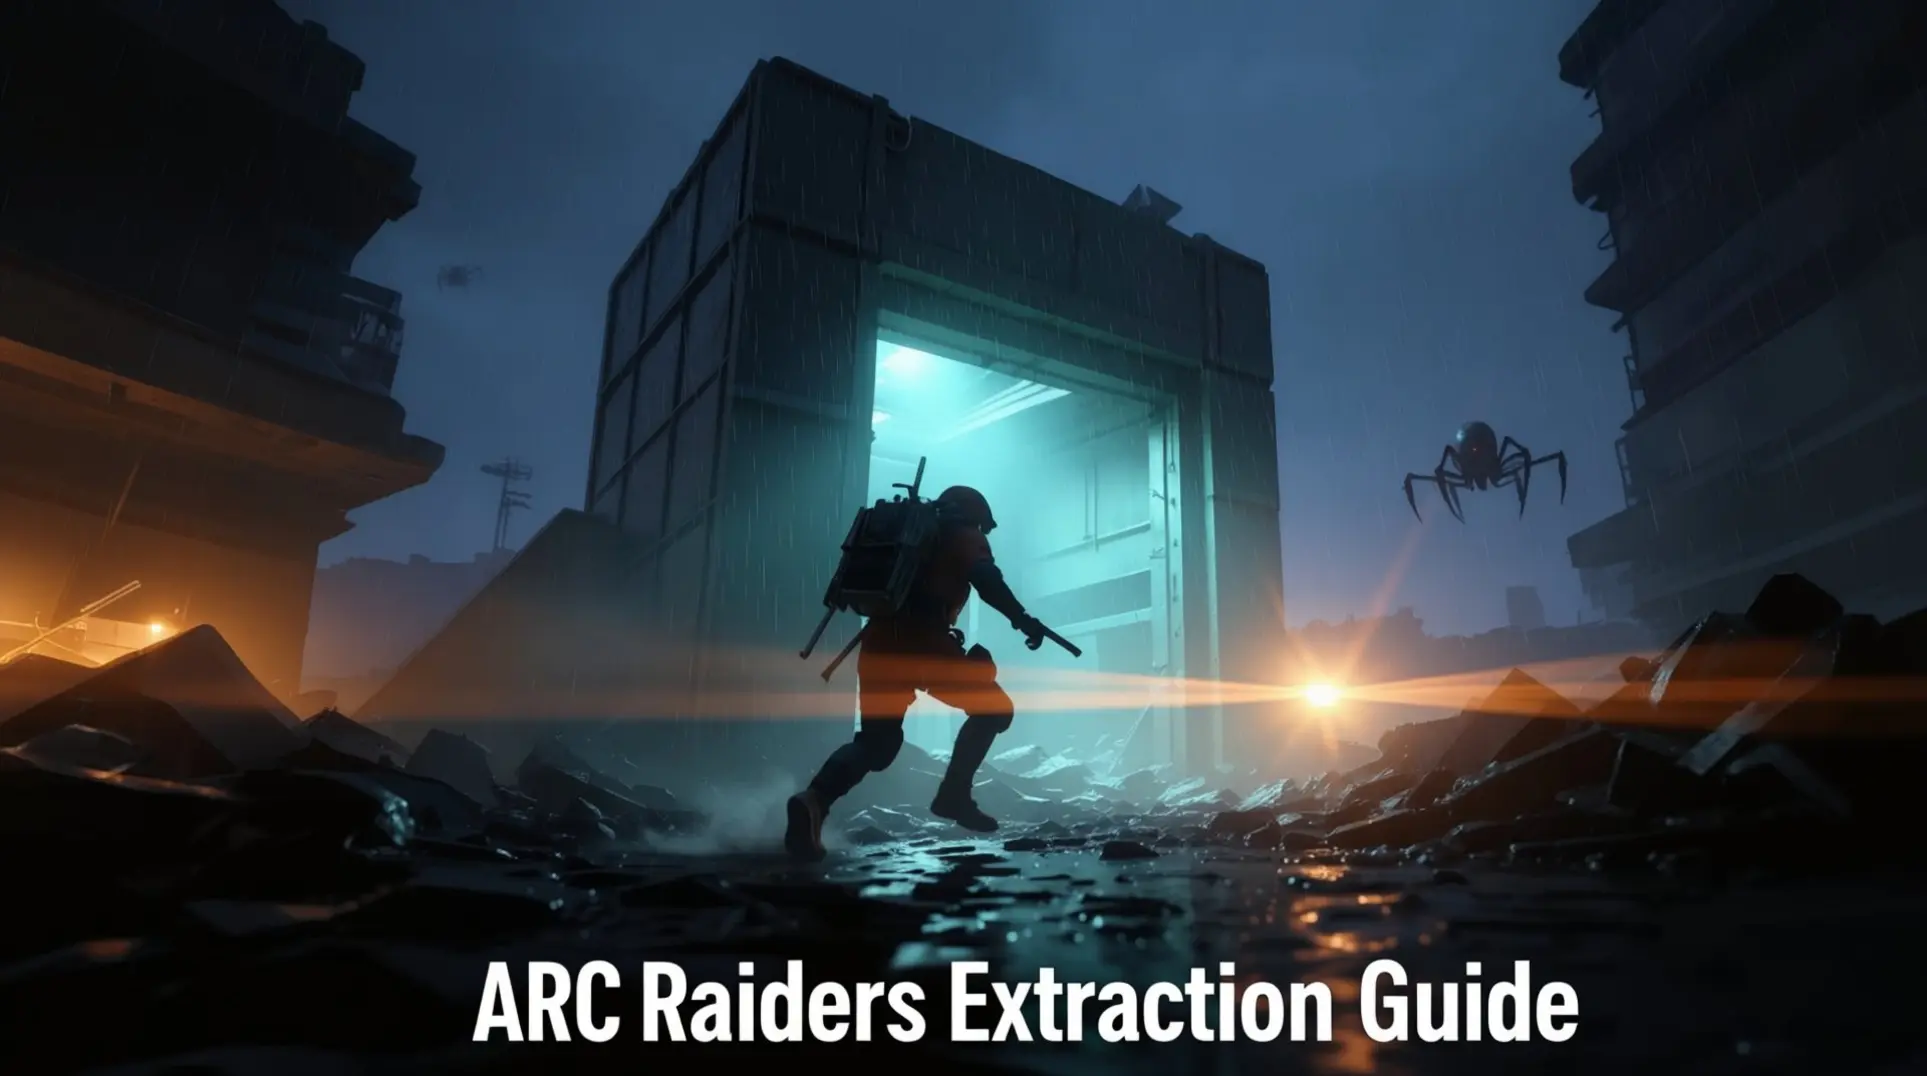
ARC Raiders Extraction Guide: Mastering the 30-Minute Timer, Grace Period & Bug Workarounds
Complete guide to ARC Raiders extraction mechanics: Learn how the 30-minute timer works, grace period secrets, current bugs, and proven strategies for successful escapes.
AI Tactical Companion
Consult with our specialized tactical engine for Arc-Raiders to master the meta instantly.