ARC Raiders Tier List: Every ARC Machine Enemy Ranked From Worst to Best
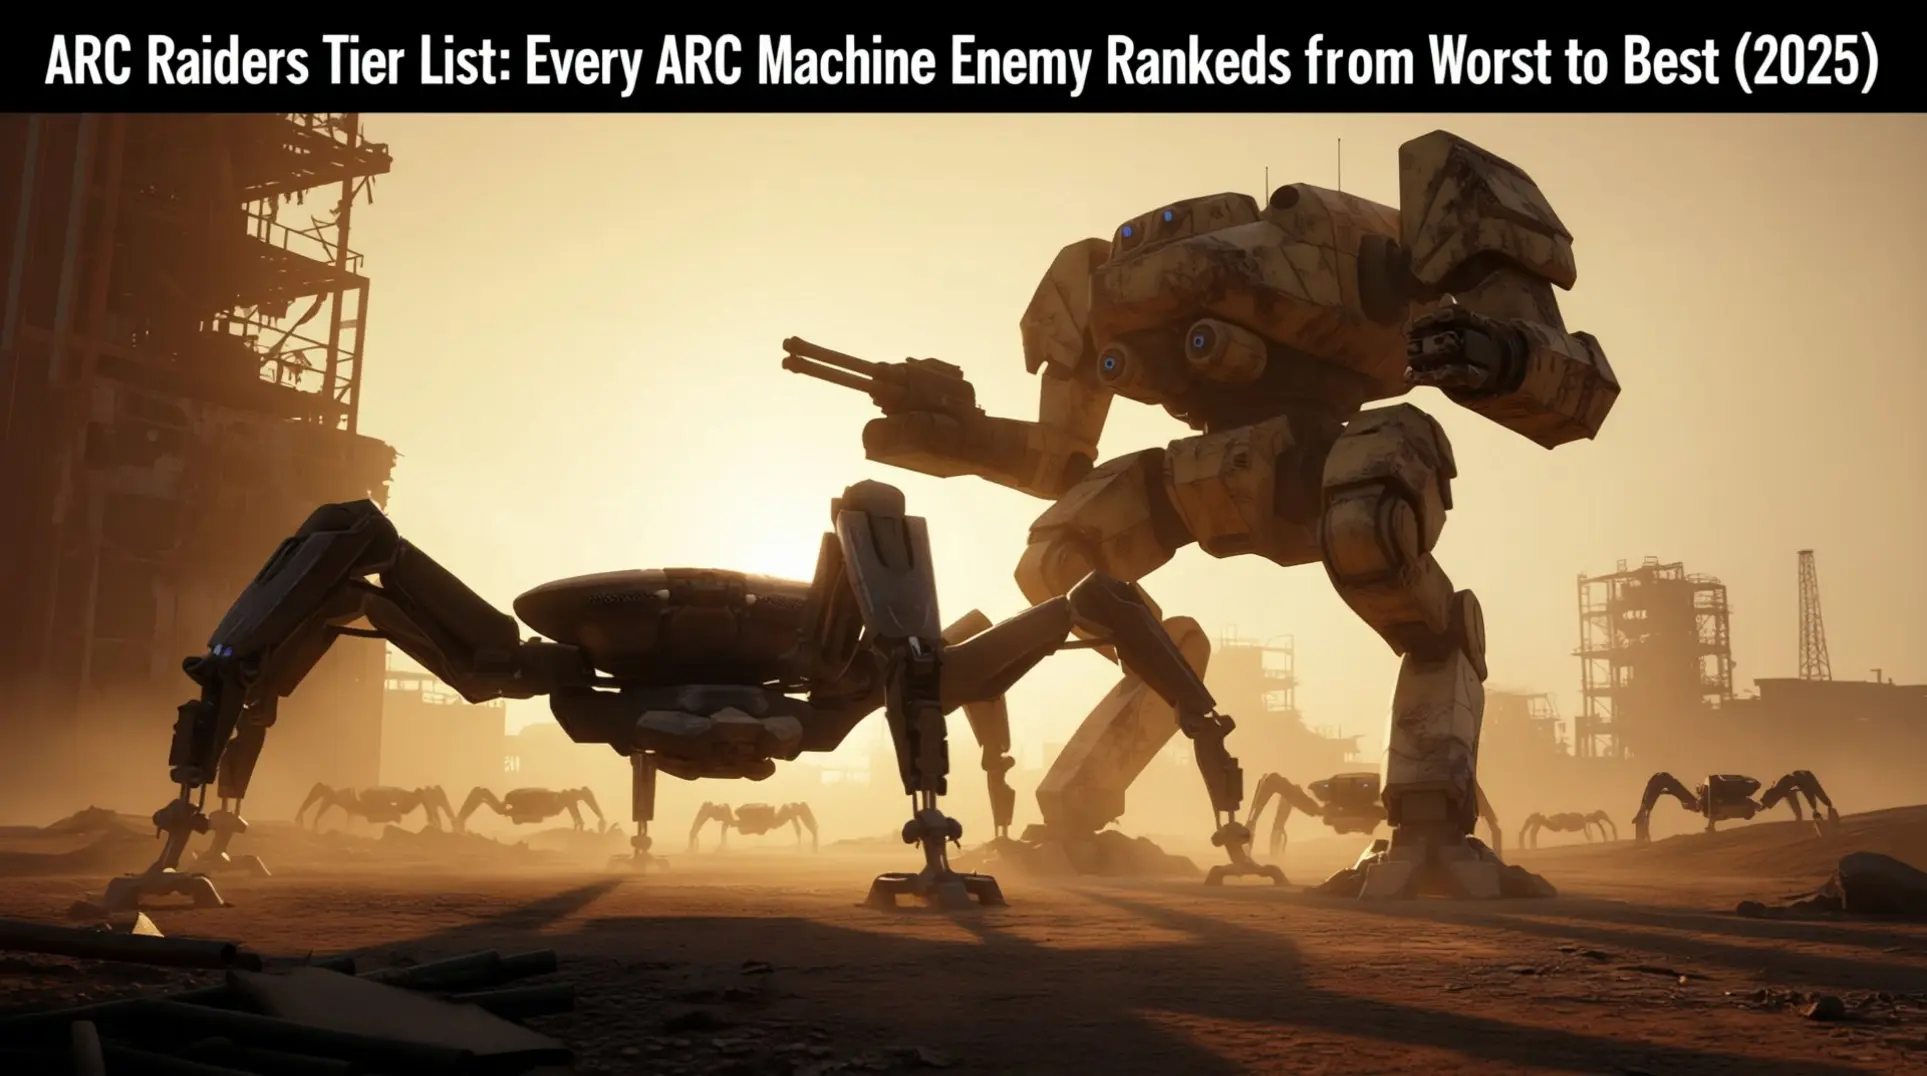
ARC Raiders, the extraction shooter (available for a one-time purchase of $40) from Embark Studios, drops you into a brutal post-apocalyptic world where survival hinges on mastering its deadly AI-controlled enemies. Known as Architects or ARC machines, these mechanical threats patrol dangerous zones where every decision matters. The game's unique PvPvE gameplay combines player vs player and player vs environment threats, forcing you to constantly manage scarce resources while racing to extract before it's too late. With 11 different ARC machine enemy types stalking the ruins, knowing which foes to engage or avoid can mean the difference between a successful run and losing everything you've scavenged. This comprehensive tier list guide ranks every enemy based on threat level, difficulty, and strategic importance to help you make informed tactical decisions in the field. We'll break down their attack patterns, expose their weak points, and provide optimal combat strategies for each encounter. Whether you're a new raider learning the ropes or a veteran looking to refine your tactics, this guide will help you navigate the machine-infested wasteland with confidence and maximize your extraction success rate. In ARC Raiders, enemy tier rankings are determined by a comprehensive evaluation of combat effectiveness and threat level. The methodology assesses six core criteria: damage output and attack frequency, health pool and durability, attack pattern complexity and unpredictability, weak point accessibility and size, team coordination requirements, and area denial capabilities. Enemies are classified into five distinct tiers: S-tier represents boss-level threats demanding coordinated teams; A-tier includes high-threat adversaries dangerous but manageable with proper tactics; B-tier covers moderate threats that become dangerous in groups but remain soloable; C-tier comprises low-threat basic enemies with simple patterns; and D-tier includes basic enemies like the Raider Standard and Turrets, which are considered nuisances. This classification is deeply contextualized within ARC Raiders' unique extraction shooter mechanics, where time pressure and resource management intersect with PvPvE dynamics, making weak point targeting and environmental advantage utilization critical survival factors against both AI and player threats. ## S-Tier: The Most Dangerous ARC Machines ### The Matriarch (Boss) The Matriarch represents the pinnacle of ARC enemy power as the largest and most formidable foe you'll encounter. This endgame boss serves as the ultimate test of your team's combat capabilities and coordination. Phase Transitions: These are critical damage windows that appear when the Matriarch shifts between its four escalating attack phases. Timing your assault during these brief moments is crucial for victory. Targeting the Matriarch's leg joints and facial region will yield the best results. These primary weak points are the key to overcoming its massive health pool and heavy armor. The battle features a four-phase attack pattern that grows increasingly intense. You'll face tracking laser attacks, mortar rounds for area denial, ground slam attacks, and EMP pulse attacks as the fight progresses. * Concentrate fire on leg joints and facial region * Exploit phase transition windows for maximum damage * Coordinate team positioning to evade tracking lasers * Prepare for escalating intensity across all four phases ### Bastion Bastions are towering mechanical frames that rank among the largest enemies in ARC Raiders. These massive units can deliver devastating long-range projectile attacks from across the entire battlefield. Bastion Cells: These are rare and valuable materials dropped exclusively by Bastions. You need them to upgrade your Gear Bench to its highest tiers. Success against a Bastion requires targeting its thinner armor plating and exposed critical components. Standard weapons won't suffice; you need high-damage arms that can penetrate heavy armor plating. Survival demands constant movement to avoid its relentless projectile barrage. The Bastion's long-range capabilities make it dangerous at any distance, so mobility is your best defense. * Aim for thinner armor and exposed components * Equip high-penetration, high-damage weapons * Maintain constant movement to dodge projectiles * Farm Bastions for essential Gear Bench upgrades ### Bombardier Bombardiers excel as area denial specialists that completely control battlefield space. These S-tier machines unleash devastating area-of-effect attacks with telltale animations that signal impending doom. Area Denial: This combat tactic involves controlling space by making zones uninhabitable through sustained explosive attacks. Bombardiers are masters of this approach. Their critical weak points are the bomb deployment mechanisms and fuel storage compartments. Striking these components can cripple their offensive capabilities and create opportunities for counterattack. The Bombardier's S-tier status comes from its unparalleled area denial capabilities and extreme damage output. Engaging one requires constant mobility and sharp environmental awareness to avoid being trapped in kill zones. * Watch for distinctive attack animations as warnings * Prioritize bomb deployment mechanisms and fuel storage * Keep moving continuously to avoid area-of-effect attacks * Maintain full environmental awareness to identify safe zones ## A-Tier: High-Threat Combat Specialists ### Sentinel: The Elevated Artillery Backbone Sentinel are medium-sized stationary turrets bolted to elevated positions like rooftops, water-towers, and cliff edges. They serve as the backbone of ARC ground forces with moderate health pools and reliable damage output. Sentinel have predictable attack patterns with telegraphed charging sequences. This predictability creates opportunities for skilled players. Weak Points: Primary weak points are chest-mounted power cores and shoulder joint assemblies. Sentinel are vulnerable to well-timed dodges and counterattacks during attack cooldowns. * Target chest-mounted power cores * Focus fire on shoulder joint assemblies * Exploit attack cooldowns with counterattacks Sentinel rank as A-tier due to balanced combat capabilities. ### Rocketeer: Long-Range Artillery Threat Rocketeer are long-range artillery specialists. They pose significant threats from distance by launching homing rockets and explosive projectiles. Their attacks require constant movement to avoid. Rocketeer have distinctive attack patterns with telegraphed rocket launches and visible warning indicators. Weak Points: Most effective weak points are exposed weapon systems and targeting arrays on their backs. They are vulnerable when flanked or engaged in close quarters. * Maintain constant movement to dodge homing rockets * Flank to expose rear targeting arrays * Close distance to negate their range advantage Rocketeer rank as A-tier or high B-tier due to dangerous long-range capabilities. ### Leaper: Agile Close-Quarters Hunter Leaper are highly mobile enemies. They use agility to close distances quickly with jumping or dashing attacks. These attacks can be difficult to dodge. Leaper have fast movement patterns requiring quick reflexes to counter. Combat Profile: Leaper have moderate health but high mobility makes them dangerous in close combat. Weak points are likely on mobility systems or central body. * Watch for jump and dash tells * Maintain distance to control engagement * Target mobility systems or central body ## B-Tier: Moderate Threat Support Units B-tier enemies in ARC Raiders represent moderate threats that excel in supporting roles rather than direct confrontation. These units can quickly escalate combat situations if ignored, making them priority targets in specific scenarios. While individually manageable, their true danger lies in their ability to coordinate with other ARC forces. ### Surveyor Surveyor: A dedicated reconnaissance unit that patrols areas and reports player locations to other ARC units. Its primary function is surveillance and intelligence gathering, making it a strategic target to eliminate early. Key characteristics include: * Low to moderate health but serves as an early warning system * Weak points probably located on main body or sensor arrays * Priority target to prevent reinforcement calls ### Grunt Grunt: Standard infantry robots that form the backbone of ARC ground forces with basic attacks and moderate health. Their most defining characteristic is their high spawn rates, making them the most common enemy type. Key characteristics include: * Can overwhelm players in large numbers despite basic combat capabilities * Weak points likely on head and chest areas * Serve as cannon fodder but dangerous through sheer volume ### Turret Turret: A stationary defensive unit that locks onto and fires at players with high damage output. These units provide predictable but dangerous obstacles that must be navigated carefully. Key characteristics include: * Fixed position makes them easier to flank and destroy * Weak points probably on weapon mounts or power core * Limited mobility compensated by powerful attacks ### Fireball Fireball: Units that specialize in launching explosive projectiles and attacking with fiery explosions. These enemies add an area-of-effect threat to the battlefield that can displace your team and control space. Key characteristics include: * Moderate threat level with distinctive fire-based attacks * Weak points likely on projectile launchers or fuel systems * Area denial capabilities make them dangerous in confined spaces ## C-Tier: Low-Threat Basic Enemies C-tier enemies in ARC Raiders represent the foundational threats you'll encounter throughout your journey. While individually manageable, these units can create dangerous situations when ignored or encountered in groups, making them essential targets for efficient combat flow. ### Wasp The Wasp is a small aerial drone that ranks among the most common initial threats in ARC Raiders. These enemies are defined by their speed and ability to attack from the air, creating a persistent nuisance for players. * Threat Level: Low individual threat, but can escalate in numbers * Combat Strategy: Prioritize targeting despite their small size; their aerial mobility makes them hard to hit * Weak Points: Easily accessible but difficult to target due to constant movement * Why C-Tier: Low health pool is offset by frustrating flight patterns that waste ammunition and time ### Hornet The Hornet represents another aerial unit similar to the Wasp but with enhanced durability and different attack patterns. This enemy type remains manageable in single combat but becomes genuinely annoying when encountered in groups. * Threat Level: Slightly higher than Wasp due to increased toughness * Combat Strategy: Engage quickly before numbers multiply; watch for distinct attack tells * Weak Points: Located on main body or wing assemblies * Why C-Tier: Despite being tougher than Wasps, predictable patterns keep them in the low-threat category ### Tick The Tick is a very small, fast-moving enemy that compensates for its minimal size with surprising speed. These units can quickly overwhelm players who fail to address them promptly. * Threat Level: Minimal individually, dangerous in swarms * Combat Strategy: Eliminate immediately; their high mobility makes them difficult targets * Weak Points: Concentrated on the main body * Why C-Tier: Virtually no health but requires precise aim that could be better spent on larger threats ### Pop The Pop is a unique enemy type with specific behavioral patterns that set it apart from standard combat units. As one of the core enemy types, it serves a more tactical function rather than direct combat role. * Threat Level: Low direct combat threat * Combat Strategy: Recognize its simple attack patterns and eliminate before it can fulfill its tactical purpose * Weak Points: Easily accessible on its low-durability frame * Why C-Tier: Specialized utility doesn't translate to battlefield effectiveness ### Snitch The Snitch is a distinct enemy type whose primary danger lies in its ability to trigger alarms or summon additional enemies. While posing minimal direct combat threat, its strategic importance makes it a high-priority target. * Threat Level: Low combat threat, high tactical value * Combat Strategy: Neutralize immediately to prevent reinforcements; silence before it can signal * Weak Points: Focus fire on alarm systems or communication arrays * Why C-Tier: Weak in direct confrontation but can escalate encounters exponentially ### Spotter The Spotter functions as a reconnaissance unit similar to the Surveyor, tasked with identifying and tracking players for other enemies. Though lower threat than its Surveyor counterpart, it remains a strategic target. * Threat Level: Minimal direct danger, significant information threat * Combat Strategy: Destroy to prevent location data from reaching stronger enemies * Weak Points: Target tracking systems or communication equipment * Why C-Tier: Cannot directly harm players but enables more dangerous units to find you ## Combat Strategies & Advanced Tactics ### Weak Point Targeting Guide ARC Raiders features a sophisticated weak point system where specific vulnerable areas deal 1.5x to 4x normal damage. This system requires precise aim and careful weapon selection to exploit effectively. Visual indicators like glowing components, exposed circuitry, and color-coded targeting highlights help identify these critical spots. Weak Point System: A combat mechanic where enemies have specific vulnerable components that take multiplied damage when accurately targeted. Headshots typically deal 2.5x damage, while specific weak points deliver 3x-4x damage multipliers. Timing windows are crucial as weak points become exposed during specific enemy animations or phases. Mastering these mechanics can reduce encounter times by 40-60%. ### Team Coordination Strategies A role-based system forms the foundation of effective team play with damage dealers, support players, and scouts. Synchronized weak point targeting is more effective than distributed damage across multiple enemies. Combat effectiveness is 20-30% higher with coordinated targeting. Role-Based System: A team structure where players specialize in specific functions to create synergistic combat effectiveness. Callout systems for weak point locations and enemy positions are essential communication tools. Coordinated focus fire on the same weak point maximizes damage output and eliminates threats faster. Communication protocols include marking weak points, calling damage status, and coordinating reloads. * Marking weak points * Calling damage status * Coordinating reloads ### Environmental Advantages Cover rotation and coordinated pushes maximize weak point exposure opportunities. Environmental awareness and positioning are crucial for success. High ground positions provide tactical advantages. Environmental Awareness: The practice of reading terrain, cover, and conditions to optimize positioning and tactical decision-making. Lighting conditions, weather effects, and terrain elevation impact visibility. Natural and artificial cover are essential for protection during engagements. Baiting enemy attacks creates deliberate weak point exposure opportunities. ## FAQ: ARC Raiders Enemy Questions Answered ### Which ARC Machine Drops the Best Loot? Higher-tier enemies like Bastions and Matriarch drop rare crafting materials and equipment, while common enemies provide basic resources but lower quality loot. Bastion Cells: Essential materials dropped by Bastions that are needed for Gear Bench upgrades. Boss-level encounters offer the most valuable rewards but require significant preparation. Loot quality correlates with extraction success. Successful extractions yield better rewards. * Higher-tier enemies: Rare crafting materials and equipment * Bastions: Drop essential Bastion Cells for Gear Bench upgrades * Common enemies: Basic resources, lower quality loot * Boss-level encounters: Most valuable rewards, high preparation needed * Extraction success: Correlates with better loot quality ### How Often Do Enemies Respawn? Enemies typically respawn based on area timers rather than individual kill cooldowns. These rates vary by enemy tier and map location. Area Timers: The system that controls enemy respawn based on location rather than individual enemy deaths. Loot and enemies reset with the start of a new raid instance (roughly every 10 minutes); there is no longer respawn timer for popular locations compared to others. Enemy respawn mechanics reset when players exit and re-enter map areas. Higher difficulty levels may feature faster respawn rates to maintain challenge. * Respawn based on area timers, not individual kills * Rates vary by enemy tier and location * Popular farming locations do not have longer timers; reset occurs with the new raid instance * Reset by exiting and re-entering areas * Higher difficulties may have faster respawns ### Are There Seasonal Enemy Variations? ARC Raiders follows live service game patterns with regular content updates. Seasonal variations likely include new enemy variants, map changes, and special events. Live Service Game: A game that receives ongoing updates, events, and new content on a regular basis. Limited-time enemy variants with unique abilities and exclusive loot are common. Seasonal content encourages regular player engagement. Difficulty scaling affects both enemy AI behavior and environmental hazards. * Regular content updates with seasonal variations * New enemy variants, map changes, and special events * Limited-time enemies with unique abilities and exclusive loot * Seasonal content encourages regular player engagement * Difficulty scaling impacts AI behavior and environmental hazards Mastering ARC Raiders' enemy tiers isn't just about knowledge; it's about survival. By adopting tier-based engagement strategies, you can reduce encounter times by 40-60% through weak point mastery while boosting team effectiveness by an additional 20-30%. S-tier threats demand coordinated firepower and specialized tactics, whereas C-tier enemies must be eliminated swiftly to prevent escalation. Adapt your approach based on composition: prioritize reconnaissance units like Surveyors and Spotters to cut off reinforcements, and focus fire on high-value Bastions for essential upgrade materials. Precision weak-point targeting transforms resource farming into an efficient operation, while synchronized teamwork ensures optimal extraction success. Understanding these tiers elevates casual players into formidable raiders. Success isn't accidental; it's built on preparation, positioning, and precision. Apply these strategies consistently, and you'll watch your extraction rates climb. The battlefield rewards the prepared. Now gear up and claim your victory.
More Arc-Raiders Guides

Arc Raiders Weapon Tier List: Best Guns Ranked for PvP & PvE (2024)
Complete tier list ranking all Arc Raiders weapons from S-tier to D-tier. Discover the best guns for PvP and PvE, meta weapons, and weapon attachments.
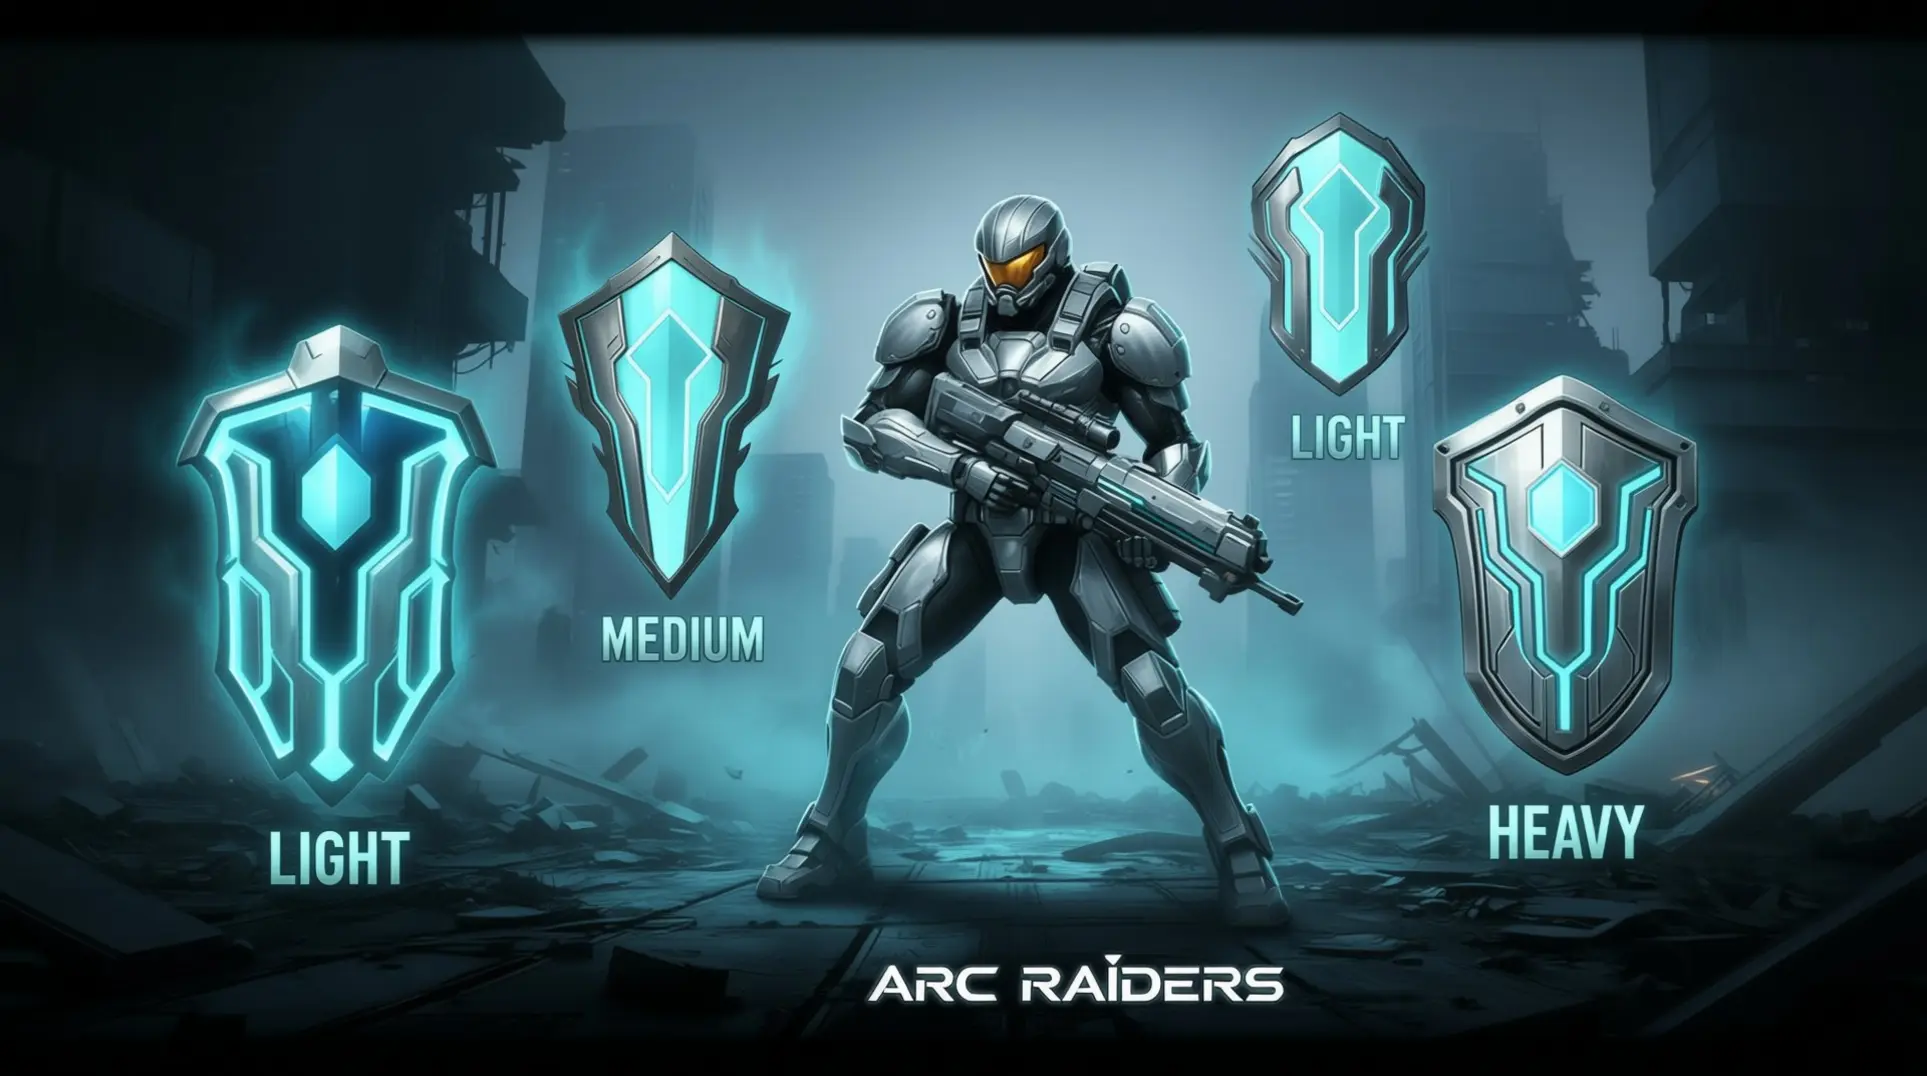
ARC Raiders Shield Mastery Guide: Complete Breakdown of Mechanics, Weapons & Loadouts
Learn how shields actually work in ARC Raiders. Master damage mechanics, optimal weapons, and perfect loadouts for PvP and PvE. Break shields efficiently with our expert guide.
ARC Raiders Shield Mechanics: Complete Damage Calculation & Strategy Guide
Master ARC Raiders' shield system with our complete guide to damage calculation, shield types, recharge mechanics, and PvP strategies for optimal survival.
AI Tactical Companion
Consult with our specialized tactical engine for Arc-Raiders to master the meta instantly.