Baldur's Gate 3 Hidden Locations Guide
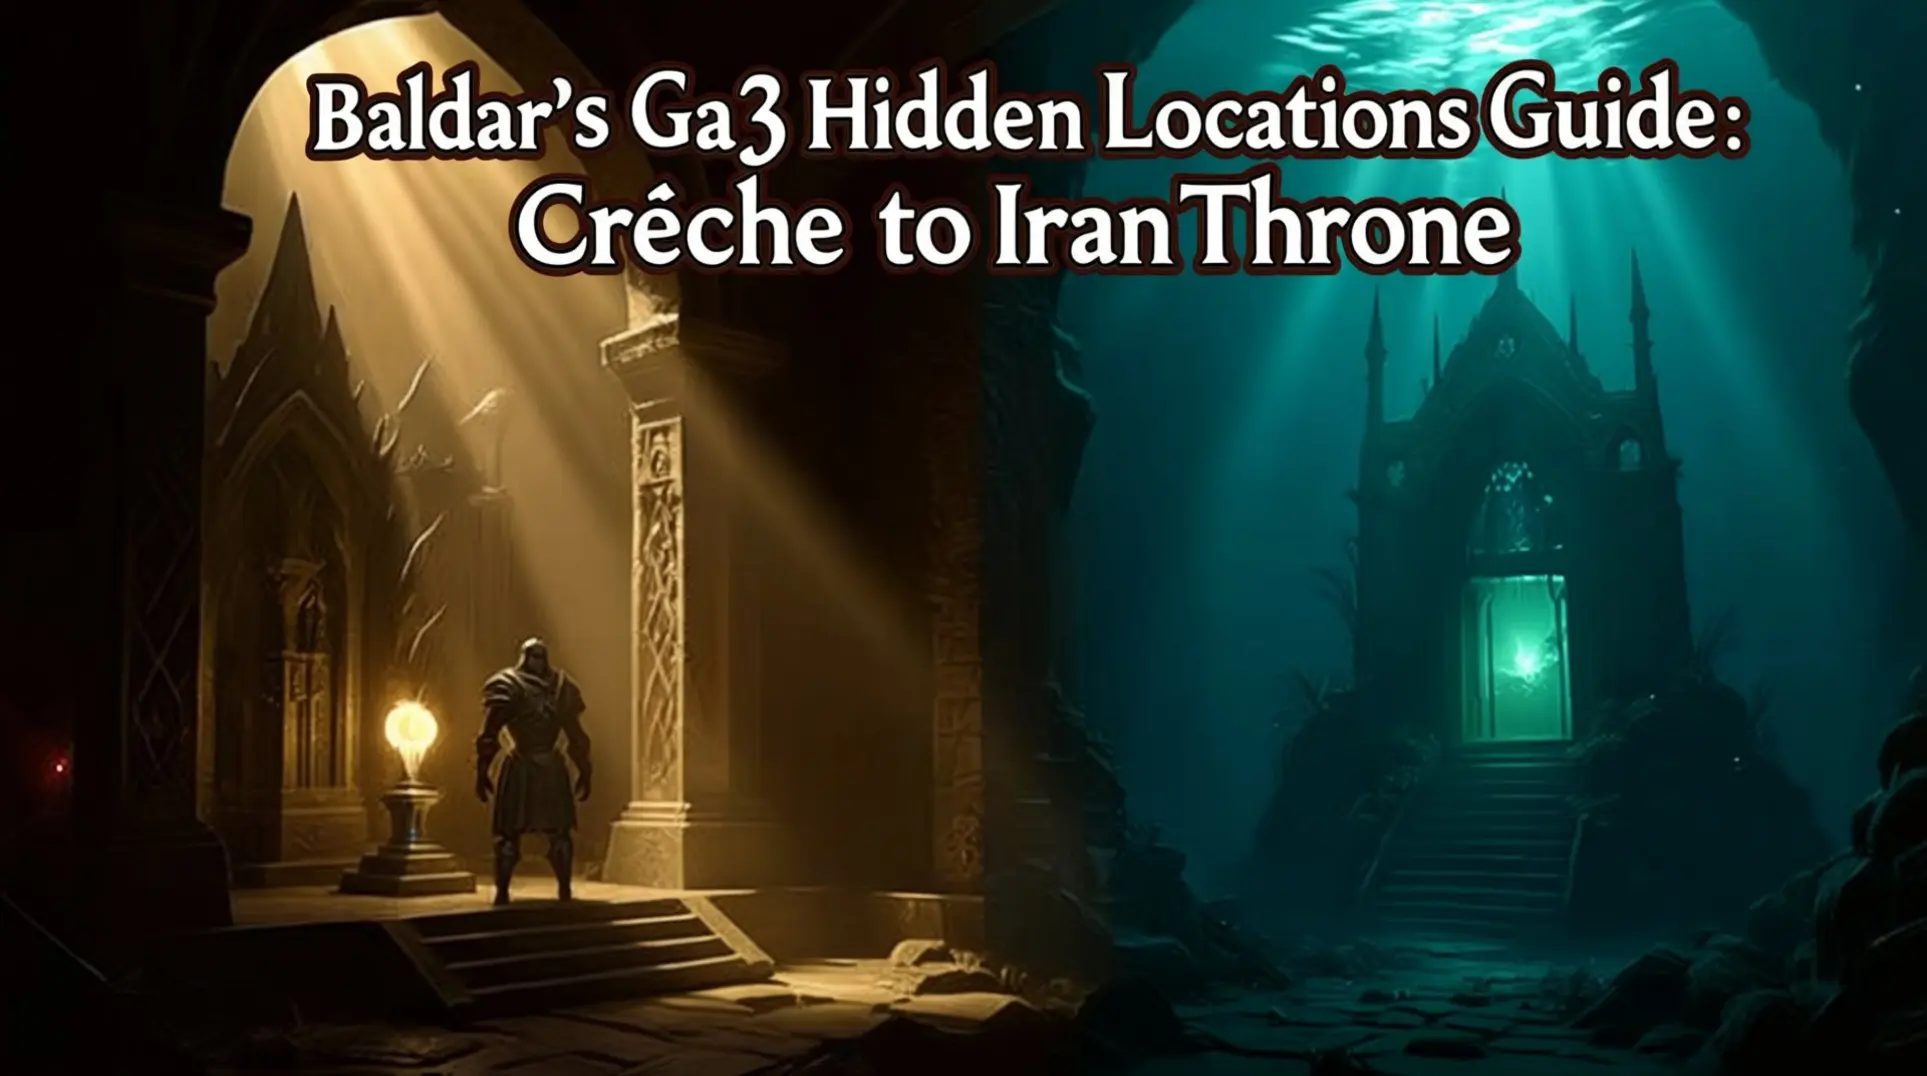
Baldur's Gate 3 rewards thorough exploration with some of gaming's most satisfying hidden locations and secret content. From the Githyanki stronghold beneath Rosymorn Monastery to the underwater prison race against time, these areas offer rich storytelling, valuable loot, and memorable challenges.
This comprehensive guide reveals the secrets of six critical locations that many players miss, ensuring you experience everything Faerûn has to offer. Whether you're seeking legendary weapons, crucial story content, or simply want to uncover every secret the game has to hide, these hidden gems will transform your adventure.
Navigating the Githyanki Crèche's Secrets
Beneath the Rosymorn Monastery lies Crèche Y'llek, a Githyanki stronghold packed with hidden chambers, complex puzzles, and critical story content that many players might miss.
Location Access and Entry Points
The crèche features two distinct entrances:
- Monastery Basement Entrance: Requires finding a hidden lever at coordinates X:78 Y:49
- Cliffside Entrance: Perfect for stealthier characters
Pro tip: Bring Lae'zel in your party to bypass difficult skill checks with Githyanki guards entirely.
The Blood of Lathander Quest
The most elaborate secret involves obtaining the legendary Blood of Lathander mace. This multi-step process begins in the monastery's stained glass room.
First, solve the ceremonial weapon puzzle by placing four specific weapons in their designated spots. Alternatively, pass a Perception check to detect the hidden chamber containing the Dawnmaster's Crest.
Once in the main chamber, rotate the left statue to face west and the right statue to face east to reveal the secret passage. Warning: retrieving the weapon triggers a destructive trap that will destroy the entire monastery unless disarmed quickly.
The Zaith'isk Purification Device
The Infirmary houses the dangerous zaith'isk purification device, which Lae'zel believes can extract illithid parasites through three stages of increasing difficulty and risk.
This device plays a crucial role in the "Find a Cure" questline and connects to multiple story threads, including Lae'zel's companion quest and "Discover the Artefact's Secrets."
Exploration tip: Thorough exploration with high Perception characters and lockpicking tools is essential for uncovering all this location has to offer.
Underground Passage Network Mastery
Beneath the Emerald Grove lies a secret network connecting multiple areas, offering both strategic shortcuts and valuable treasures for those brave enough to navigate its challenges.
Network Entrances and Navigation
The Underground Passage network features three hidden entrances:
- A forest entrance at coordinates X:172 Y:423
- One behind Sazza's cage at X:204 Y:604
- A third through the Enclave Library puzzle
The passage is heavily guarded by magical statues that fire projectiles on sight. To progress, players must disable these sentinels by finding corresponding runes matching each statue's animal shape and using Turn-Based Mode for strategic movement between safe zones.
Treasure Hunting and Key Items
One of the most valuable discoveries here is the Charred Key, found on a human corpse at X:-455 Y:-183 on a rocky island requiring jumping to reach. This singed silver key unlocks a Heavy Chest at X:-425 Y:-200.
The chest is both locked and trapped. Players need a DC 10 Sleight of Hand check to disarm the trap before opening it to claim rewards including Nature's Snare (uncommon staff), gold, and an Arrow of Lightning.
The Enclave Library Puzzle
For additional treasure, the Enclave Library puzzle requires obtaining the Rune of the Wolf from Rath after rescuing Halsin.
Inserting this rune into the Wolf monument reveals a secret chamber with valuable gear, making this underground network a treasure trove for thorough explorers.
Zhentarim Hideout Exploration
Beneath Waukeen's Rest, the Zhentarim Hideout offers early-game opportunities for savvy adventurers. This location is accessed through a barn on the western side.
Access and Quest Requirements
The hideout requires a password from Rugan, obtained during the "Find the Missing Shipment" quest. Your choices here affect both the quest outcome and available rewards.
Merchant and Rewards
Inside, Brem serves as a merchant with special stock available only through specific choices:
- Return the shipment unopened with Rugan alive
- Follow Zarys' order to eliminate him if he betrayed the Zhents
His basic inventory includes practical items like the Trap Disarm Toolkit.
Secret Underdark Entrance
The hideout also hides a secret Underdark entrance behind an illusionary wall at coordinates X: 268 Y: -190. This requires an Investigation check and a Mechanical Key from Karad to unlock.
Owlbear Cave Puzzle Solution
Northeast of the Blighted Village, the Owlbear Cave houses a challenging Selune-themed puzzle that rewards careful observation and problem-solving.
The Gilded Chest Challenge
To open the Gilded Chest, you must first locate the hidden Selûnite Prayer Sheet behind the large statue. This requires a Perception check to discover.
Important note: Shadowheart cannot read the prayer due to her Shar worship—use another party member instead.
Alternative Opening Methods
If you can't use the prayer, alternative methods include:
- The Knock spell
- A Selûne-following Cleric
- Careful physical destruction (avoid fire damage)
Rewards and Significance
The chest contains the valuable Moondrop Pendant, which prevents Opportunity Attacks when below 50% HP, along with the Selûnite Rite, Silver Necklace, Bloodstone, and Idol of Selûne.
These items have potential narrative significance later in your journey, making this puzzle worth solving even for non-Cleric characters.
Iron Throne Underwater Prison Strategy
The Iron Throne rescue mission presents one of the game's most intense underwater challenges, requiring careful planning to save multiple prisoners within a strict time limit.
Mission Prerequisites and Setup
Before attempting this rescue, players must complete several prerequisites:
- Attend Gortash's coronation
- Resolve Wyll's pact with Mizora
- Finish the Steel Watch Foundry investigation
Failure to meet these conditions results in finding Duke Ravengard already dead.
Prisoners and Time Constraints
Located beneath the Lower City, this underwater prison contains critical detainees including:
- Duke Ravengard (Wyll's father)
- Gondian engineers vital for the Steel Watch storyline
- Optionally the illithid companion Omeluum
The mission's difficulty level determines your time constraint—ranging from 8 turns on Explorer mode to just 5 turns on Tactician and Honour modes. Any characters not returned to the submersible when time expires are instantly killed.
Strategic Preparation
Strategic preparation is essential for success. Bring characters with high mobility and summoning capabilities, prepare spells like Haste and Misty Step, and equip items that boost movement speed.
The optional companion Omeluum proves invaluable with his "Teleport to Submersible" ability. This allows him to teleport himself and one ally directly to safety—perfect for rescuing priority targets like Duke Ravengard.
Cell Access and Guard Management
The prison's nine cells can be opened by:
- Pulling nearby levers
- Lockpicking
- Using ranged attacks on the mechanisms
Sahuagin guards will relentlessly target prisoners unless distracted by summoned creatures or sealed doors by Omeluum.
Mastering BG3's Hidden Geography
Baldur's Gate 3's hidden locations represent some of the game's most rewarding content, blending environmental storytelling with challenging puzzles and valuable rewards.
From the Githyanki Crèche's intricate weapon puzzles to the Iron Throne's heart-pounding rescue mission, these areas showcase Larian Studios' commitment to rewarding player curiosity and thorough exploration.
Narrative Significance
Each location offers unique narrative significance, whether advancing companion quests like Lae'zel's Githyanki heritage or Wyll's relationship with his father, or providing crucial items that impact later gameplay.
Success Strategies
The key to success lies in preparation—bringing the right party members, having appropriate skills and spells ready, and understanding each location's specific mechanics.
Whether you're navigating the Underground Passage's magical defenses or racing against the clock in the underwater prison, these hidden gems demonstrate why Baldur's Gate 3 remains a benchmark for RPG exploration and discovery.
More Baldurs-Gate-3 Guides
BG3 Strange Ox Secrets & Hidden Vault Puzzles Guide
Discover the secrets behind Baldur's Gate 3's Strange Ox, Owlbear Cave puzzles, and hidden vaults. Complete guide to solving these mysteries.

BG3 Patch 8 Subclasses Guide: Complete Tier List & Analysis
Complete guide to Baldur's Gate 3 Patch 8 subclasses with tier rankings, mechanics breakdown, and build recommendations for all 12 new classes.

Baldur's Gate 3 Location Guide: Forge to Hope Secrets
Master every crucial location in Baldur's Gate 3 from the Adamantine Forge to House of Hope. Complete guide to Act 1-3 secrets and strategies.
AI Tactical Companion
Consult with our specialized tactical engine for Baldurs-Gate-3 to master the meta instantly.