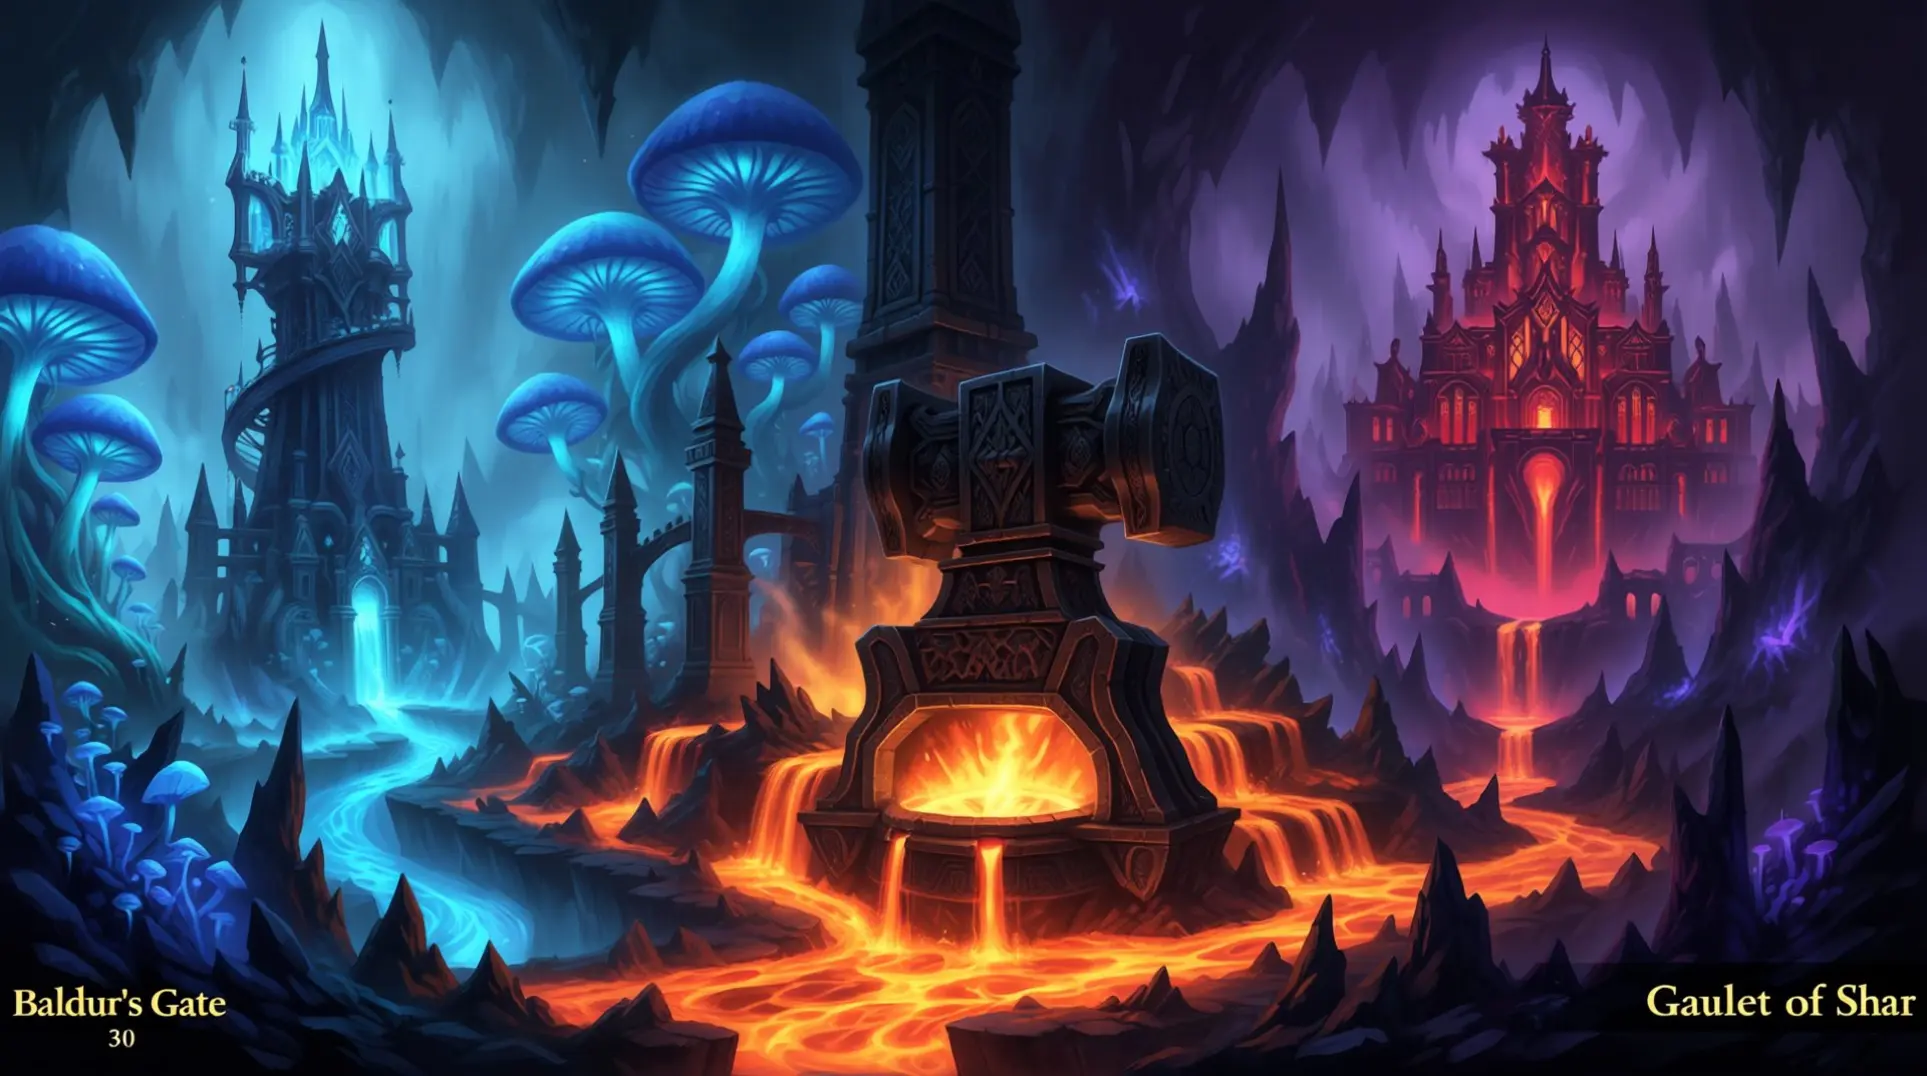
Baldur's Gate 3 Location Guide: Forge to Hope Secrets

Navigating the vast world of Baldur's Gate 3 requires strategic planning and careful decision-making across its three acts. From the mysterious Arcane Tower in the Underdark to the climactic choices at the House of Grief, each location presents unique challenges and rewards that shape your journey through Faerûn. This comprehensive guide covers the essential locations you'll encounter, providing strategies for success and highlighting the consequences of your choices. ## Essential Act 1 Locations: Starting Your Journey ### Exploring the Arcane Tower Venturing into the Underdark during Act 1 of Baldur's Gate 3, players will discover the mysterious and rewarding Arcane Tower, an optional location positioned in the southwest corner of the Underdark, overlooking the Ebonlake. This former refuge of Lenore De Hurst offers challenging puzzles and valuable loot for those who dare to explore its secrets. #### Gaining Entry Accessing the tower requires ingenuity. You can approach via: * Pink Underdark flora platforms from the south * Use a "Grant Flight" spell to descend from blue mushrooms on the left balcony * Employ a small familiar like a cat or raven to enter through a hidden pipe and activate a ground-floor lever #### Powering the Tower Before exploring, you must power the tower by collecting Sussur Blooms from the nearby Sussur Tree. These antimagic flowers are essential for activating the ground-floor generator. This action disables the tower's defensive Arcane Turrets and enables the elevator. #### Solving the Puzzle Inside, you'll encounter the mechanical guardian Bernard, who presents a poetic puzzle sequence. Solving it peacefully by finding specific books, such as The Roads to Darkness and the Threadbare Book, yields better rewards than combat. Rewards include the Guiding Light Ring and a Potion of Greater Healing. The Arcane Tower provides one of the Underdark's most engaging puzzle experiences, making it a must-visit location for thorough adventurers. For more detailed strategies, consult guides from PC Gamer and Game Rant. ### The Adamantine Forge The Adamantine Forge stands as one of Baldur's Gate 3's most crucial Act 1 locations, offering players the opportunity to craft powerful adamantine weapons and armor. This forge, located in the depths of the Underdark, requires specific materials and careful preparation to access. #### Access Requirements To reach the forge, players must: * Navigate through the Myconid Colony and Spaw areas * Possess Mithral Ore and Moulds * Defeat the Adamantine Golem that guards the forge #### Crafting Opportunities The forge allows crafting of: * Adamantine weapons (swords, axes, and more) * Adamantine armor pieces * These items provide significant advantages against constructs and heavily armored enemies #### Strategic Importance The Adamantine Forge's rewards make it essential for players planning to face the many construct enemies throughout the game, particularly in later acts where adamantine weapons become crucial for success. ## Critical Act 2 Locations: Shadow-Cursed Lands ### The Last Light Inn Sanctuary The Shadow-Cursed Lands in Baldur's Gate 3 are a deadly region, but the Last Light Inn stands as a rare sanctuary. This is thanks to Isobel, a cleric of Selune who maintains a protective barrier. Speaking with her grants temporary curse immunity but also triggers a brutal attack by Flaming Fist Marcus and winged demons. #### The Isobel Encounter Protecting Isobel at Last Light Inn is one of the most decisive moments in Baldur's Gate 3's Act Two. This cleric of Selune maintains the only barrier keeping shadow creatures away from the inn. After speaking with Isobel, the party is ambushed by Flaming Fist Marcus and winged demons aiming to capture her. #### Strategic Preparation To succeed, prioritize: * Blocking southern and western doors to limit reinforcements * Creating chokepoints and focus fire on Marcus immediately * Keeping Isobel healed throughout the battle #### Consequences of Failure Failing to protect Isobel has catastrophic consequences. The barrier collapses and unblessed NPCs transform into shadow-cursed zombies. You permanently lose key characters like blacksmith Dammon (vital for Karlach's quest) and Art Cullagh (needed for Halsin's recruitment). Multiple companion quests become unavailable and Last Light Inn becomes hostile territory. #### Long-Term Protection While Isobel's blessing offers temporary protection, alternatives include: * Torches or stolen Moonlanterns (limited relief) * Freeing Dolly Thrice from a Moonlantern to obtain the Filigreed Feywild Bell (grants the Pixie Blessing, which protects against the Shadow Curse but is not permanent) This encounter underscores the weight of player choices, where success preserves a critical safe haven and access to essential storylines. For detailed strategies, consult Polygon's guide or the BG3 Wiki. ## Pivotal Act 3 Locations: City Climax ### The House of Grief The House of Grief stands as one of Act 3's most emotionally charged locations. It forces players through a gauntlet of impossible choices that define Shadowheart's destiny. Your first major test arrives immediately: betray Shadowheart to Mother Superior Viconia DeVir to gain strategic allies for the final battle, or refuse and trigger a devastating boss fight. This choice alone can permanently lose you a companion or secure powerful reinforcements. #### Viconia's Fate After defeating Viconia, another crossroads emerges. Killing her grants legendary loot like Viconia's Walking Fortress shield and earns Minsc's approval. Sparing her pleases Jaheira but costs you valuable rewards. #### The Parents' Dilemma Yet the most heart-wrenching decision awaits with Shadowheart's imprisoned parents. ##### Following the Shar Path On the Shar path: * Killing them erases Shadowheart's memory entirely * Saving them requires passing difficult skill checks but condemns her to eternal torment ##### Following the Selune Path The Selune path offers no easy outs either: * Killing her parents transforms them into guiding Moonmotes and lifts Shar's curse * Sparing them again trades familial love for perpetual agony Every choice echoes through both narrative and gameplay, making this location a true climax of consequence. ### The House of Hope The House of Hope represents one of Baldur's Gate 3's most challenging and rewarding locations in Act 3. This celestial realm, accessible through Helsik's portal in the Devil's Fee, serves as the final sanctuary for the archdevil Raphael's former prisoner, Hope. #### Access Requirements To reach the House of Hope, players must: * Complete Helsik's questline in the Devil's Fee * Collect the required ritual items (Skull, Coin of Mammon, Diamond, Incense, and Infernal Marble) * Pay Helsik's substantial fee for portal access * Be prepared for a difficult battle upon arrival #### The Hope Encounter Upon entering, players encounter Hope, a celestial being imprisoned by Raphael. To free her, players must: * Defeat the host of minor devils guarding the area * Solve environmental puzzles to reach Hope's chamber * Make a crucial choice about her fate #### Rewards and Consequences Freeing Hope provides significant benefits: * Access to powerful celestial magic and healing * Unique dialogue options in the final confrontation with Raphael * Permanent buffs to party morale and combat effectiveness However, players must also consider the potential consequences of angering Raphael, alternative paths that might provide different rewards, and the moral implications of the choice. #### Strategic Importance The House of Hope's rewards make it crucial for players planning to challenge Raphael in his own domain. The celestial magic and unique equipment available here can provide the edge needed for the game's most challenging encounters. ## Navigating BG3's Critical Path Successfully Successfully navigating Baldur's Gate 3's critical path requires understanding how each location connects to the larger narrative. From the early decisions at the Goblin Camp to the final confrontations in Baldur's Gate, your choices ripple through every act. Strategic preparation, careful resource management, and thoughtful role-playing decisions will determine whether you emerge victorious or fall to the many dangers that await in Faerûn. Each location—from the puzzle-solving challenges of the Arcane Tower to the moral dilemmas of the House of Grief—offers unique rewards and consequences that shape your journey. The Adamantine Forge provides crucial equipment for construct-heavy encounters, while the House of Hope offers powerful celestial assistance for the final battles. The Last Light Inn serves as a vital sanctuary in the Shadow-Cursed Lands, but protecting it requires careful planning and execution. Master these locations, and you'll be well-prepared to face whatever challenges await in the depths of Baldur's Gate 3's rich and complex world.
More Baldurs-Gate-3 Guides

BG3 Strange Ox Secrets & Hidden Vault Puzzles Guide
Discover the secrets behind Baldur's Gate 3's Strange Ox, Owlbear Cave puzzles, and hidden vaults. Complete guide to solving these mysteries.

BG3 Patch 8 Subclasses Guide: Complete Tier List & Analysis
Complete guide to Baldur's Gate 3 Patch 8 subclasses with tier rankings, mechanics breakdown, and build recommendations for all 12 new classes.

Baldur's Gate 3 Hidden Locations Guide
Discover hidden locations in Baldur's Gate 3 from Githyanki Crèche to Iron Throne. Complete guide with puzzles, loot, and strategies.
AI Tactical Companion
Consult with our specialized tactical engine for Baldurs-Gate-3 to master the meta instantly.