Ball X Pit Ultimate Guide: Character Matchups, Boss Strategies & Evolution Synergies
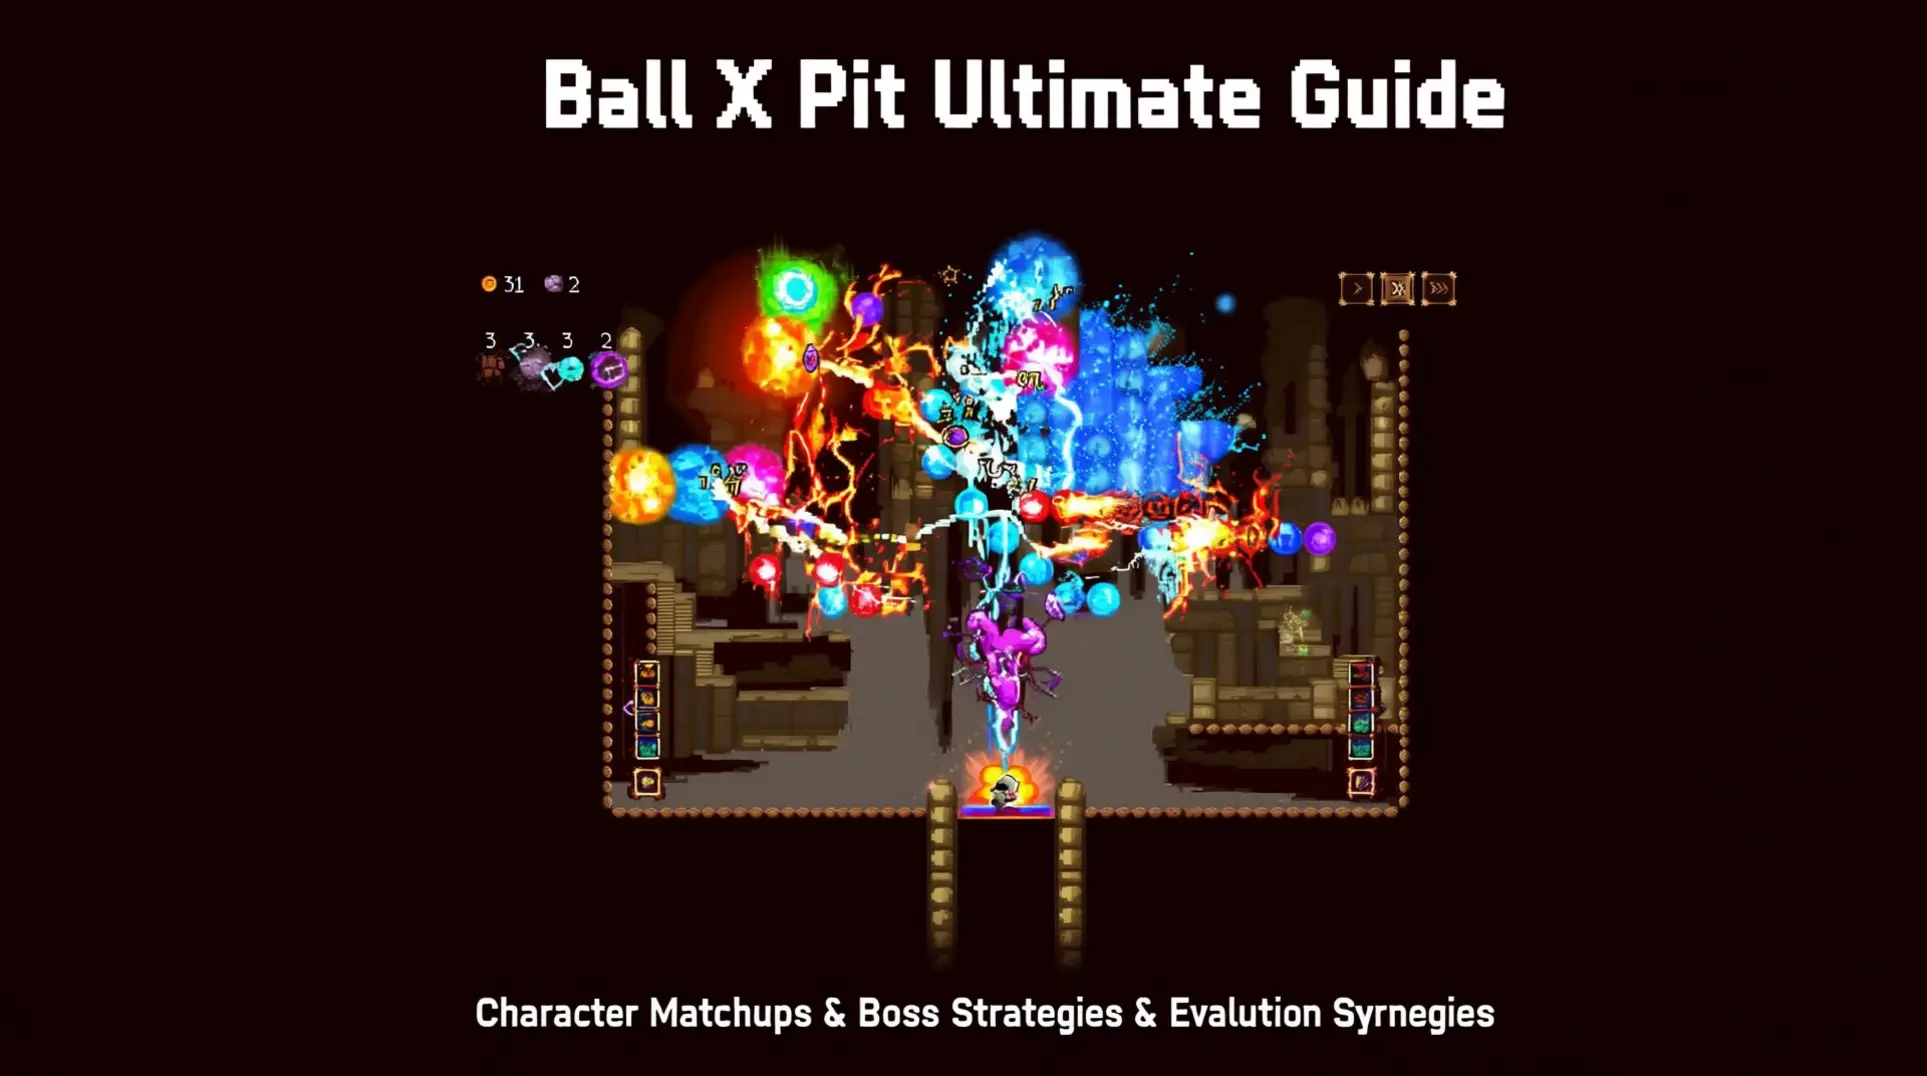
Mastering Ball X Pit requires more than quick reflexes - it demands strategic character selection and precise evolution timing. Each boss and enemy type presents unique challenges that can overwhelm unprepared players. This guide breaks down the essential matchups and synergies you need to dominate every stage, from the Skeleton King to the Void Sovereign.
Understanding Boss Structure & Enemy Categories
The 3-Boss Structure: Why Fusion Timing Matters
Each level in Ball X Pit follows a predictable three-boss pattern. You face two stage bosses (mini-bosses) before the final encounter. This structure creates your most reliable power spikes.
- Guaranteed Reactor drops appear after defeating the first two mini-bosses
- Fusion timing window requires having two level 3 balls ready before mini-boss fights
- Core evolution window - pro players use these drops to create evolutions like Frozen Flame
- Final boss limitation - no guaranteed Reactor drop, making early Fusions critical for build success
Strategic planning revolves around reaching each mini-boss with the right ball levels. The guaranteed Reactors after mini-bosses 1 and 2 represent your only predictable upgrade opportunities.
Enemy Type Breakdown: Swarm vs Armored vs Flying
Different enemy categories demand specific evolution choices. The Reddit frustration around Fungal Forest highlights why understanding these categories matters.
| Enemy Type | Key Characteristics | Required Evolutions | Example Boss |
|---|---|---|---|
| Swarm | Multiple small enemies, formation attacks | AoE/Piercing: Sandstorm, Inferno, Storm | Shroom Swarm (Fungal Forest) |
| Armored | High defense, single target focus | High single-target damage | Various stage bosses |
| Flying | Air phases, ball-stealing mechanics | Aerial attacks: Holy Laser, Storm | Celestial Guardian (Stage 7) |
Swarm enemies like Shroom Swarm use rotating formations with Bullet Spray and Enemy Spawn Rows. Without piercing abilities, these formations overwhelm single-target builds. Flying enemies in Stage 7's Heavenly Gates can steal your balls entirely, making aerial-targeting evolutions mandatory rather than optional.
Stage-by-Stage Character Matchups Against Bosses
Stage 1: Skeleton King - Best Characters for Arrow Waves
The Skeleton King greets you in the Bone X Yard with arrow wave volleys and sweeping melee swipes. Its weak spot sits on the back of its head, rewarding flanking maneuvers.
- The Shade: Dodge invincibility trivializes every arrow pattern - simply roll through the waves.
- The Itchy Finger: Doubled fire rate plus full movement while shooting lets you shred the 2× damage weak spot from behind.
- The Warrior: A balanced starter pick that performs reliably without complex mechanics.
Stage 2: Ice Colossus - Surviving Shield Bursts & Armor Phases
The Ice Colossus alternates between icy spike salvos, snow-wall barriers, and punishing AoE shield bursts. When the boss glows white, retreat immediately - this one-second telegraph precedes a point-blank explosion.
Step-by-step survival plan
- Armor Phase: Stop attacking; the boss is invulnerable. Focus on dodging and repositioning.
- Shield Burst: Watch for the white glow, then back off before the detonation.
- Character Choice:
- Shieldbearer reflects shield bursts and doubles ball damage per bounce.
- Physicist balances burst damage with the mobility needed to weave through spikes and walls.
Stage 4: Fungal Hivemind - Mandatory Add Control Characters
Single-target builds like Bomb or Blizzard crumble here - the Hivemind spawns infinite fungal adds while retreating to the arena's rear.
- Rusted Monarch: Summons tanky adds that soak damage while you clear swarms.
- The Itchy Finger: Rapid fire rate keeps the endless spawns under control.
- The Shade: Dodge through add swarms during repositioning phases.
Stage 5: Giant Blood Serpent - Countering Poison & Laser Beams
Poison arrows stack DoT, sweeping laser beams demand perpendicular movement, and summoned worms and beetles body-block your shots.
- Hollow Maiden: Health regeneration counters poison stacks.
- The Shade: Dodge invincibility slips through laser sweeps.
- The Repentant: +5% damage per bounce rewards precise, high-risk positioning in the mobile final phase.
Stage 7: Celestial Guardian - Aerial-Targeting Characters Only
⚠️ Warning: Ground-based evolutions cannot hit this flying boss. Prioritize aerial-hitting upgrades like Holy Laser, Storm, or Sandstorm.
- The Itchy Finger: Maximizes damage during brief grounded windows.
- The Physicist: Consistent ranged focus tags both the boss and its flying minions.
- The Shade: Dodges arrow barrages and guided projectiles from above.
Stage 8: Void Sovereign - Endgame Tank & DPS Characters
The final showdown unfolds in two phases: destroy the encircling heads, then chase the mobile core around the arena while dodging homing fire.
- Shieldbearer: High HP and armor let you soak the prolonged onslaught.
- The Itchy Finger: Raw DPS burns down the multiple heads before the fight escalates.
- The Repentant: Risk-reward scaling suits veterans who can maintain perfect positioning.
- The Physicist: Balanced safety and damage for learners still mastering the Sovereign's complex patterns.
Character-Specific Advantages Against Enemy Types
The Juggler + Makeshift Sisyphus: Why This Combo Melts Single Targets
The Juggler and Makeshift Sisyphus form a high-risk, high-reward duo that Reddit users have crowned the "premier boss-killing combo." Their synergy hinges on turning the Juggler's arcing ball throws into devastating single-target damage.
How the Synergy Works
The Juggler launches balls in an overhead arc that bounce after landing, creating sustained area damage. When paired with Makeshift Sisyphus, these balls roll slowly and push enemies instead of dealing direct damage. This forces a reliance on ball evolutions and fusions for damage output.
Real-World Performance
With a Holy Laser + Overgrowth fusion at level 12, this combination can reach nearly 5,000 DPS. This output is sufficient to solo most levels. The Juggler's native path to Chain Lightning, Lightning Storm, and Thunder Strike adds widespread AoE damage that complements the main laser attacks.
The Shade + Embedded: Solving Piercing Problems for Swarms
The Shade's primary weakness is its backline positioning, which often leaves front-line enemies untouched. The Embedded's piercing mechanics provide an elegant solution to this problem.
Problem: Front-Line Vulnerability
The Shade throws balls from the back of the map, allowing front-line enemies to advance with minimal damage. This creates a critical gap in crowd control.
Solution: Piercing Poison Balls
The Embedded specializes in poison balls that pierce through enemies until they strike a wall. Each hit applies poison damage, effectively turning The Shade's backline attacks into front-line sweepers. The Shade's 10% base critical rate amplifies the damage of these piercing poison balls, creating high area-of-effect damage. This combination excels in dense enemy groups like those found in Fungal Forest.
Rusted Monarch & Cohabitants: Ultimate Add Management Teams
When facing bosses that summon additional enemies, these two characters create an overwhelming force of minions.
- Cohabitants start with the Brood Mother ball, which naturally generates baby balls for immediate army building.
- Their unique power fires mirrored copies of every shot horizontally, instantly doubling or tripling the on-screen baby ball count.
- Rusted Monarch summons tank adds that absorb damage while the baby ball stampede overwhelms enemies.
- A baby ball-focused build can defeat bosses before their health bar fully appears on screen.
- The Cohabitants x Flagellant combo fills the entire screen with balls, creating an army perfect for add management.
Characters to Avoid Against Specific Enemy Types
Certain character combinations struggle against specific enemy types. Understanding these limitations prevents frustrating defeats.
- Single-target characters against swarms: Teams built around high-precision, single-target damage will fail against overwhelming numbers.
- The Embedded is frequently cited as one of the weakest characters, with mechanics that compound the single-target problem.
- The Shade feels "awful" against front lines because its backline targeting allows enemies to advance with minimal resistance.
- Ground-only attackers should be avoided against flying bosses, as they lack the vertical reach needed for airborne targets.
Advanced Matchup Strategy & Synergy Building
Pairing Character Strengths with S-Tier Boss Evolutions
The right character-evolution pairing can turn a tough boss into a speed-run. Below are the three most effective combos currently dominating high-tier play.
| Character | Evolution | Synergy Breakdown |
|---|---|---|
| The Itchy Finger | Black Hole | Double fire rate + full movement while shooting lets you spam balls into the gravity well. Clustered enemies get hit multiple times per second. |
| The Shieldbearer | Holy Laser | Shield doubles ball damage on each bounce, so the Laser's row/column AOE scales exponentially as it ricochets. |
| The Shade | Sandstorm | Rear-position shooting + 10 % base crit synergizes with Sandstorm's piercing blind, letting you kite while the storm shreds adds. |
The Hit-and-Run Technique with Mobile Characters
Fast characters like The Physicist and The Shade excel at a simple loop: rush in, unload, retreat, repeat. Mastering this rhythm is the difference between a clean kill and a screen wipe.
Step-by-Step Loop
- Rush In: Slide to the top third of the screen, just inside ball-return range.
- Spam Phase: Toggle auto-shoot ON, fire 3-4 volleys, then toggle OFF to regain speed.
- Retreat: Immediately drop to the bottom corners; balls keep bouncing behind enemy lines while you're safe.
- Catch Reset: Prioritize catching special balls mid-air to reset cooldowns and maintain DPS.
Pro Tip: With The Physicist, use gravity to arc balls behind the boss; with The Shade, stay on the sides so rear-shots pierce the entire wave.
Phase-Through Cheese: Pre-Damaging Bosses Safely
Some characters can delete up to 30 % of a boss's HP before the fight even starts. The trick is abusing phase-through balls and spawn-point positioning.
How It Works
Characters like The Embedded (always pierce) or The Repentant (return-path pierce) let you stand directly behind the boss spawn. Fire a volley just before the spawn animation ends; the balls pass through the invisible hitbox, dealing full damage while the boss is still invulnerable.
Best Balls for the Cheese
- Iron Ball + Dark/Go fusion: Travels through the target, exits, then backstabs for bonus damage.
- Sandstorm: Pierces while applying blind, making the follow-up fight safer.
- Poison Ball (start with The Embedded): Applies DoT to every enemy along the piercing path.
Positioning behind spawn points is risk-free once you learn the exact pixel. Practice in early waves to nail the timing - your future speed-runs will thank you.
Community-Driven Matchup Insights & Pro Tips
Reddit's Favorite Pairings for Clearing All Levels
The community has distilled hundreds of hours into three standout duos that dominate every stage.
- Juggler + Makeshift Sisyphus: Labeled the ultimate boss killer, this combo hits 5,000+ DPS at level 12 when holy lasers like Overgrowth are fused with Earthquake.
- Repentant Physicist: Nicknamed "easy mode," it doubles damage per bounce, making progression effortless for newcomers.
- Shade + Embedded: The only reliable way to make Shade work - balls pierce enemies until they strike a wall. Without Embedded, Shade is considered inconsistent and risky.
When to Switch Characters Mid-Game (The Reddit Revelation)
Pro Tip: You can't swap characters once a run begins. Instead, plan your pick around the upgrades you want to see.
Ball x Pit locks your choice from the lobby to the credits. Smart players therefore front-load synergy by selecting characters whose passives mesh with desired ball fusions. If you crave flexibility, unlock the Matchmaker building: it lets you bring two characters into a run, stacking both passives without ever needing to switch.
Speed Setting Strategy: Why Slow Mode Wins Boss Fights
Boss arenas have no timer - so slow the game down. Tap the '-' key to drop to Speed 1 and watch frantic bullet patterns turn into readable cues. Sabertooth's claw swipes, for example, become simple dodge checks instead of reaction-time nightmares. When the fight ends, hit '+' to zip through regular stages again.
Success in Ball X Pit hinges on pairing the right character with the correct evolution for each boss type. Whether you're leveraging the Juggler's single-target dominance or The Shade's piercing crowd control, understanding these synergies is key. Apply these community-tested strategies, and watch your runs transform from frustrating failures to consistent victories.
More Ball-x-Pit Guides
Ball X Pit Rock Farming Guide: Maximize Your Rock Yield
Master rock farming in Ball X Pit with our comprehensive guide covering U-shaped layouts, upgrade priorities, character selection, and New Game+ strategies.
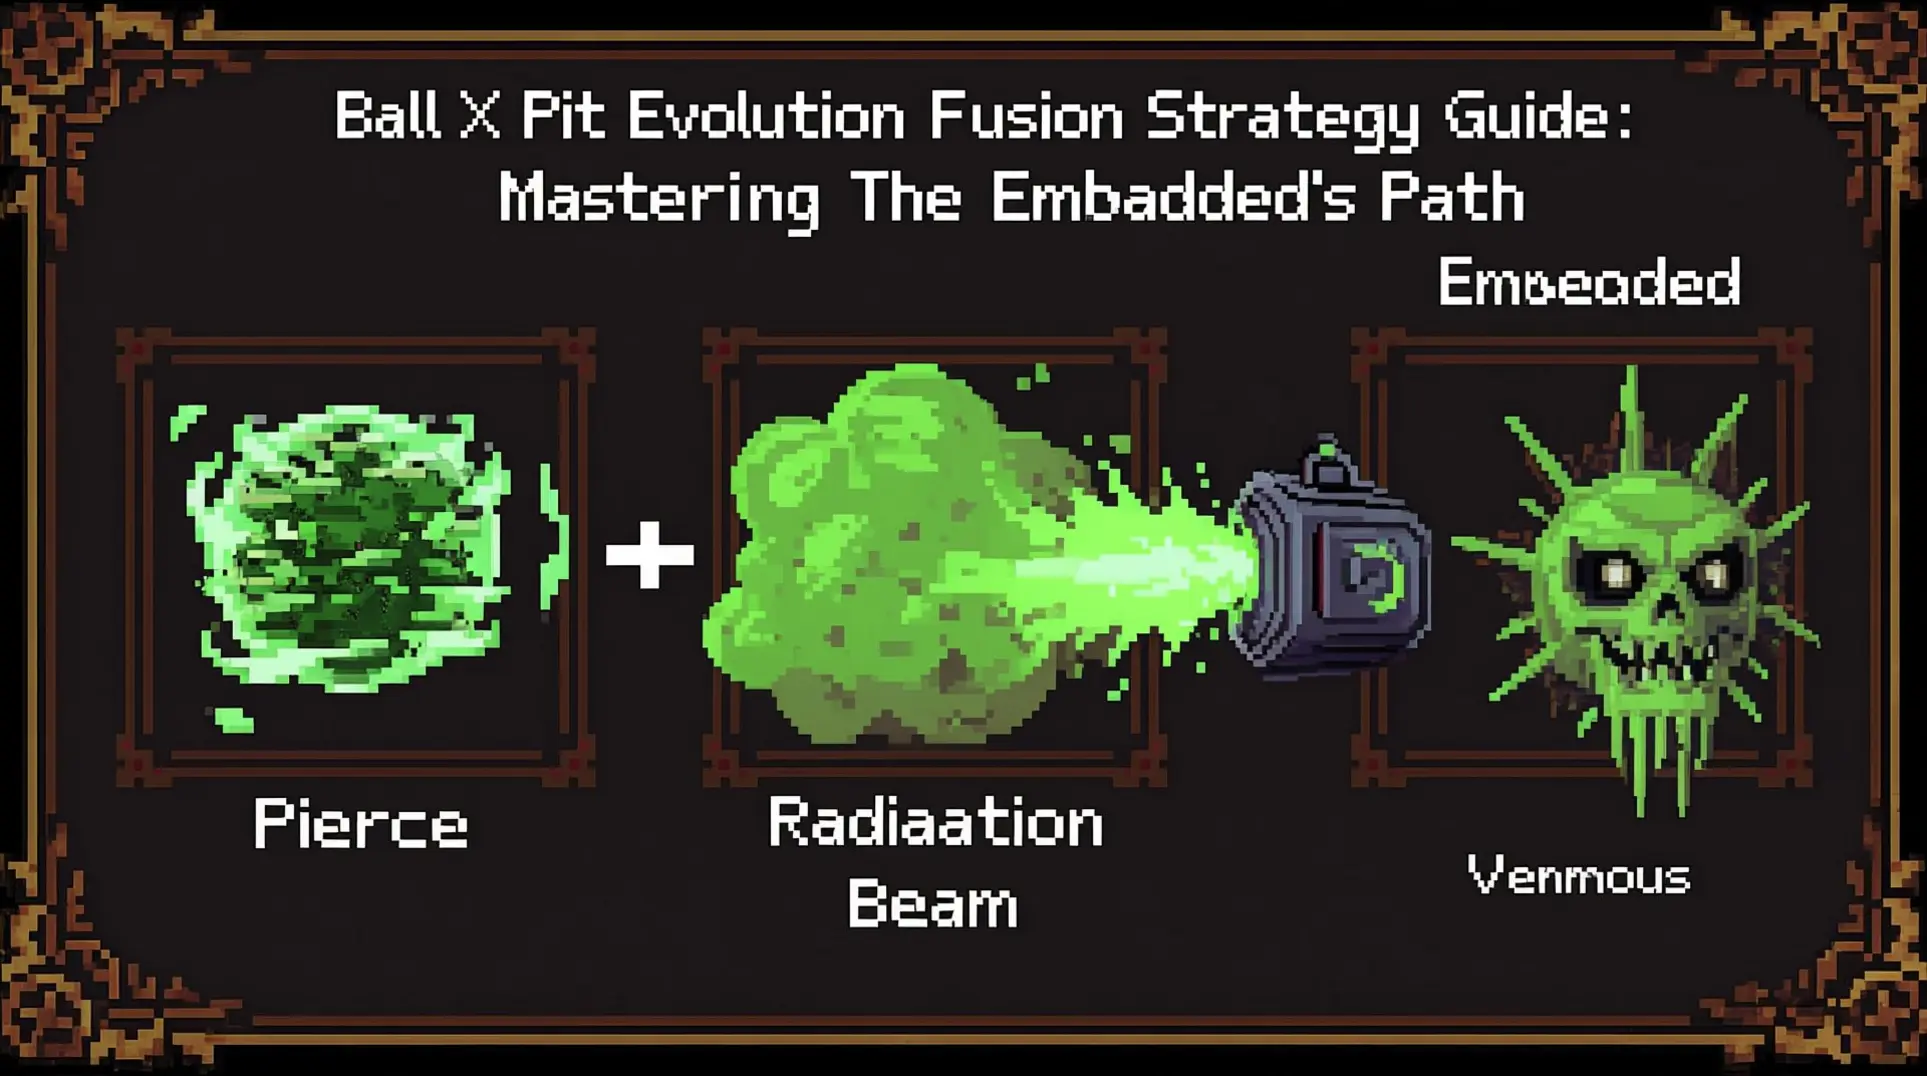
Ball X Pit Evolution Guide: Best Fusions, Strategies & The Embedded Explained (2025)
Master Ball X Pit's evolution and fusion systems with our comprehensive guide covering S-tier evolutions, strategic combinations, and advanced mechanics for dominating New Ballbylon.
Ball X Pit Complete Guide 2025: Master Kenny Sun's Roguelike Brick-Breaker
Master Ball X Pit's unique blend of brick-breaking and roguelike mechanics with our comprehensive guide. Learn character abilities, base-building, and advanced strategies.
AI Tactical Companion
Consult with our specialized tactical engine for Ball-x-Pit to master the meta instantly.