Ball X Pit Rock Farming Guide: Maximize Your Rock Yield
Rock serves as the foundational resource in Ball X Pit. This essential material drives your progression through the game and directly impacts your performance in pit runs.
The harvest system involves several key components:
- Building resource fields
- Assigning characters to work them
- Using U-shaped layouts for maximum hits
- Harvesting between runs
Stone quarries mine resources in a 6x6 tile field, with the quarry itself occupying a 2x2 space in the center. These are the primary structures you'll use for rock farming.
Understanding Rock Production Mechanics
In Ball X Pit, bounce mechanics work by having the ball ricochet off building walls, allowing a single launch to strike multiple structures in quick succession.
How Bounce Mechanics Work
The system where a ball ricochets off building walls, enabling multiple strikes from one launch is a core component of efficient farming. This mechanic is fundamental to maximizing your resource collection efficiency.
U-Shaped Layout Benefits
A U-shaped configuration creates two opposing walls that funnel the ball into a tight space. This design allows the ball to complete 4-6 rebounds before exiting, compared to just 1-2 rebounds in an open field.
Key benefits include:
- Creates two opposing walls that funnel balls into a tight rebounding space
- Ensures intersection with each mine on every pass
- Maximizes rock production efficiency by ensuring every structure contributes to the harvest cycle
- Prevents the ball from 'skipping' mines through staggered arrangement
Using Stone Quarries as Effective Walls
Stone quarries appear in Ball X Pit's tier-list as high-damage, high-cost buildings that serve as effective wall structures in U-shaped layouts. Stone quarries in Ball X Pit cannot be placed so that any already mined resource tile overlaps, requiring strategic placement for optimal coverage.
These quarries make ideal walls because:
- Their high durability withstands repeated impacts
- Their damage output contributes to resource generation
- They provide excellent bounce surfaces for the ball mechanics
Building Your Optimal U-Shaped Configuration
The step-by-step U-shaped layout construction involves:
- Picking a corner
- Creating two walls with 5-6 buildings
- Filling interior with mines in staggered arrangement
- Adding buffer structures
- Upgrading walls first
- Testing and adjusting bounce count
A staggered mine arrangement (alternating left-right) inside U-shaped layouts prevents the ball from 'skipping' a mine and ensures intersection with each mine on every pass.
Buffer structures like Storage Silos should be placed at the open end of U-shaped layouts to absorb excess momentum without breaking the bounce cycle.
The 7-Mine U-Shaped Layout
The most efficient configuration uses a 7-mine U-shaped layout. This setup yields 2,500-3,100 resources per harvest, making it the optimal choice for stone quarry farming.
Core Layout Design and Positioning
The 7-mine U-shaped layout is the most efficient resource farming configuration in Ball X Pit. This setup yields 2,500-3,100+ gold per harvest when executed properly.
U-Formation: Position the 7 gold mines in a tight U formation with the open end facing your launching point. This creates a natural trap where the bouncing ball becomes contained within the U-shape.
Detailed Placement Instructions:
- Form the walls of the U by placing mines to catch the ball at common impact points
- Use a staggered mine arrangement (alternating left-right) to prevent the ball from 'skipping' a mine
- Ensure narrow paths between structures to prevent escape while maximizing contact frequency
- Keep distance between mines close enough for consistent bouncing but not so tight that the ball gets stuck
- Each mine should be positioned to intersect with the ball on every pass
- Place your first mine at the base of the U, directly opposite your launching point
- Extend the left and right walls using three mines each to create a symmetrical shape
Layout precision is crucial for achieving maximum resource collection efficiency. Exact positioning directly affects bounce consistency in U-shaped designs. Before finalizing, conduct test shots to verify your setup. Your test should achieve at least 4 rebounds. If the ball exits before completing 4 rebounds, move a wall building outward by one tile.
Optimization Strategies for Maximum Yield
Upgrade levels directly impact resource yield in the 7-mine U-shaped configuration. Higher-level mines produce more gold per hit.
Upgrade Priority: Focus on gold mines first to maximize primary resource yield. Expand to secondary resource structures only after mines reach optimal levels.
Implement a terrain replacement strategy by converting all natural terrain within the U-shaped area with upgradeable structures. This ensures every surface contributes to progress.
Character assignment significantly affects yield in U-shaped layouts. Proper worker allocation maximizes bounce efficiency and overall harvest performance. Harvest timing optimization between runs maximizes resource accumulation in the 7-mine U-shaped layout setup. The paid reset loop strategy is particularly effective for this configuration due to its high yield potential.
Common Mistakes to Avoid
Three critical errors can drastically reduce your farming efficiency:
- Too wide spacing reduces bounce frequency
- Natural terrain inclusion wastes hit opportunities
- Poor character positioning decreases overall efficiency
Strategic Progression Shift
Your strategy should shift as you progress through different game stages:
• Early Game: Active harvesting yields better results due to limited resources requiring immediate collection and base layouts still being fluid • Mid Game: Begin transitioning to passive systems as your base becomes more established • Late Game: Passive systems become more effective once you unlock automation in later stages • New Game+: Focus shifts to mythical (red) items and automation systems that significantly boost production
New Game+ is a post-game progression system that unlocks mythical (red) items and automation systems. Reaching New Game+ significantly boosts your stone quarry production. Efficient rock farming enables faster advancement to this stage and better pit run performance overall.
Early Game Rock Farming Setup
Start your Ball X Pit journey with basic fields, forests, and mines, focusing on proper worker assignment to make them bounce and grab every resource in one harvest cycle. This foundational setup, where mines serve as your stone production facilities, will carry you until automation unlocks.
Understanding the Bounce and Grab System
Bounce and Grab: This is Ball X Pit's core mechanic where assigned workers automatically collect resources from adjacent buildings every few minutes.
The resource system operates on this principle, making proper worker assignment critical to ensure they collect every resource in one harvest cycle. Building placement should follow adjacency optimization principles, positioning buildings so each worker can access multiple resources in a single harvest cycle to reduce downtime.
The U-Shaped Configuration
The U-shaped configuration is the most consistently recommended layout for early game efficiency. This design places resource-generating buildings in a semi-circle around the worker assignment area.
Your early game progression should focus on establishing a basic U-shaped layout within the first 10-15 runs:
- 3-5 gold mines
- 2-3 forests
- 1-2 wheat fields
Gold should be the immediate priority in early game because it enables all other progression. An optimized 7-mine U-shaped layout generates 2,500-3,100+ gold per run. Forests generate 1 wood per harvest cycle when properly assigned, while mines serve as stone production facilities operating on similar principles. Wood and stone serve as foundational materials for building expansions and upgrades, but should maintain steady production without overshadowing gold generation in early game.
Worker Assignment Optimization
Initial worker distribution should follow a clear pattern. Assign one worker primarily to gold mines, distribute remaining workers across forests and wheat fields, and leave one worker flexible for market assignments.
Markets allow resource conversion with specific rates like 75 Gold for 5 Wheat, making understanding these conversion rates crucial for economic efficiency in early game. Multi-resource cycling assignment strategy involves rotating workers between different building types based on harvest timers. This ensures no worker sits idle while buildings are ready for collection.
Timing optimization by learning exact harvest intervals for each building type and coordinating worker assignments can increase overall resource generation by 15-25%. Dynamic resource management requires adjusting building focus based on immediate needs, sometimes prioritizing wood or stone for specific upgrades over pure gold farming.
Common Pitfalls to Avoid
Watch out for these common early game mistakes:
- Over-diversification (spreading workers too thin)
- Poor adjacency planning
- Ignoring upgrade priorities by spending on less valuable upgrades
Advanced New Game+ Optimization
New Game+ raises enemy spawn rates and health, which increases drop chances for rare fusion components and mythical red items that are visually represented by red color.
Mythical Red Items and Targeted Farming
Mythical red items sit at the top of Ball X Pit's rarity hierarchy with distinctive red visual cues, enhanced stat modifiers, and unique fusion potential that cannot be obtained through standard enemy drops alone.
Key Characteristics: • Distinctive red visual cues • Enhanced stat modifiers • Unique fusion potential • Cannot be obtained through standard enemy drops
When targeting mythical red items, players should focus on enemy types that drop Fusion Cores: Components in later New Game+ maps with the highest probability of producing red-item recipes.
Mythic Red Core: A fusion component that grants random high-tier bonuses like increased critical hit chance or enhanced resource drop rates when combined with any ball evolution.
Automation with the Radical Character
Automation is centered around the Radical character's AI automation mechanics, allowing players to set up hands-off farms that continue to generate resources while away from the game.
Automation Benefits: • Set up hands-off farms • Continue generating resources while away • Configure AI to patrol specific areas • Collect fusion drops automatically • Trigger ball evolutions automatically • Transform the game into an AFK farming simulator
The Radical's AI can be configured to patrol specific areas, collect fusion drops, and trigger ball evolutions automatically, effectively turning the game into an AFK farming simulator.
Pairing the Radical with passive evolutions that boost resource gain creates a feedback loop where the AI continually harvests rock and materials for reinvestment.
Resource-Boosting Passives: • Rock Harvester: A passive evolution that boosts resource gain • Fusion Magnet: A passive evolution that boosts resource gain
Strategic Progression Priorities
Ball X Pit's progression is divided into three interconnected upgrade systems: • Ball evolutions (42 total) • Passive evolutions (8 total) • Building upgrades (70+ total)
The recommended priority order for New Game+ progression is: ball evolutions → passive evolutions → building upgrades, which maintains a balanced progression curve that maximizes both combat effectiveness and resource generation.
Prioritizing ball evolutions early in New Game+ is advisable because they directly enhance damage output and survivability, allowing players to survive longer in the increasingly hostile environment.
High-Performing New Game+ Build Elements: • Ball evolutions that inflict multiple status effects • Frostbite Ball: A ball evolution that applies freeze effects • Bleeding Edge Ball: A ball evolution that inflicts bleed damage
The most efficient rock farming strategy involves using ball evolutions with area-of-effect damage to clear large groups of rock-bearing enemies quickly.
Area-of-Effect Evolutions: • Explosive Ball: An area-of-effect damage evolution • Shatter Ball: An area-of-effect damage evolution
Rock is one of the primary building materials required for the majority of the 70+ building upgrades available in Ball X Pit, making efficient rock collection a cornerstone of long-term progression.
Common New Game+ Mistakes: • Neglecting passive evolutions in favor of exclusively upgrading ball damage • Leading to resource bottlenecks • Investing in building upgrades before securing a reliable rock supply • Players should aim to stockpile at least several thousand rock units before attempting to unlock high-cost structures • Ensuring the automation system can continuously supply needed materials without interruption
Upgrade Priority System
Ball X Pit's upgrade priority system follows a clear hierarchical order that maximizes efficiency. This tiered approach ensures you build a strong resource foundation before investing in specialized upgrades.
The Four-Tier Priority Framework
The game features three distinct upgrade systems: ball evolutions (42 total), passive evolutions (8 total), and building upgrades (70+ total). Each system requires different prioritization strategies to maximize your progression.
Tier 1: Rock Production Rock production upgrades are tier 1 priority because they fuel all subsequent upgrades. They provide the highest rock output per upgrade investment while unlocking additional resource-generating structures.
Tier 2: Damage Damage upgrades are tier 2 priority, focusing on ball evolutions which offer unique damage multipliers and synergy potential. With 42 distinct evolution options available, you can optimize your build significantly. Damage scaling relies on ball evolutions with early-game priority being to max the primary ball evolution. Only then should you move to secondary evolutions that provide elemental bonuses and area coverage.
Tier 3: Farming Farming upgrades are tier 3 priority, referring to structures that generate gold and consumables essential for purchasing upgrades. These provide the highest gold-per-second output and unlock additional hero slots. Farming upgrade priority focuses on primary gold-generating structures after establishing stable rock production. However, players should avoid over-investing in farming upgrades before achieving sufficient damage, as insufficient combat power reduces gold earned per run and diminishes farming upgrade benefits.
Tier 4: Passive Buffs Passive buffs are tier 4 priority, featuring 8 passive evolutions categorized into different impact tiers. These should be invested in only after core upgrades are secured.
Understanding the Passive Evolution Hierarchy
The passive tier system categorizes 8 evolutions into three distinct tiers. This helps players identify which passives offer the most value for your investment.
S-Tier (Highest Impact): S-tier passive evolutions like Soul Reaver and Wings of the Anointed provide high-impact benefits. Soul Reaver specifically offers burn damage synergy that can dramatically increase your damage output.
A-Tier (Strong Utility): A-tier passives like Deadeye's Cross offer strong utility bonuses for specific builds. These provide valuable benefits such as cooldown reduction or increased resource generation that complement damage-focused strategies.
B-Tier (Lower Impact): The remaining four passives fall into B-tier as lower-impact options. You should avoid investing in B-tier passives until all core upgrades are secured.
Proven Optimization Path and Pitfalls
When selecting passive upgrades, prioritize S and A-tier passives that complement your damage focus. Avoid B-tier until core upgrades are secured to prevent wasted resources.
The recommended upgrade path ensures balanced progression:
- Build primary rock production
- Max primary ball evolution
- Expand farming structures
- Invest in S/A-tier passive evolutions for fine-tuning
Common Upgrade Mistakes: • Neglecting rock production for early damage, leading to resource starvation • Spreading points too thin across low-impact buildings • Investing in B-tier passives before securing core upgrades
The hierarchical upgrade approach (rock → damage → farming → passive) provides a reliable roadmap for efficient advancement. This builds a resource-rich foundation before fine-tuning with high-tier passives.
Active Harvesting vs. Passive Generation
Understanding Active and Passive Harvesting
Active Harvesting: This involves manual worker assignment to specific buildings for immediate resource collection. It provides immediate resource maximization and direct control but requires constant player input.
Passive Generation: This relies on automated systems that operate with minimal player intervention. Ball X Pit features an automated worker assignment system where you can assign workers to buildings to automatically collect resources while actively clearing levels in the pit. Passive harvesting offers low-effort, predictable scaling but modest early-game output.
When to Use Each Approach
Early game Ball X Pit strategy favors active harvesting. This is because: • Limited resources require immediate collection • Base layouts are still fluid and need frequent adjustments • Worker assignment directly impacts pit level progression
Small bases benefit from active management for better optimization. Medium bases begin transitioning to passive systems. Late game Ball X Pit benefits from passive automation systems. These provide: • Reduced micromanagement • Consistent resource flow without intervention • Scalable operations that continue efficiently as the base expands
Large bases maximize automation with minimal intervention. Endgame players find that fully optimized setups can support operations like 10 gold mines rather than the 8-mine configurations that seemed adequate earlier in the game.
The Hybrid Strategy for Long-Term Success
The most effective Ball X Pit resource management strategy uses a hybrid approach. It combines active management for new buildings and strategic adjustments, transitioning to passive systems once layouts are optimized.
The transition from active to passive harvesting in Ball X Pit should be gradual. Players should maintain some active oversight for major strategic decisions even as they adopt more automated systems. Players in the latter stages of Ball X Pit report regularly reconfiguring their base layouts. This indicates that even endgame requires some active management despite automation systems.
Resource management approach should evolve with base size: • Small bases benefit from active management for better optimization • Medium bases begin transitioning to passive systems • Large bases maximize automation with minimal intervention
Ball X Pit's resource management success depends on adapting strategy as the base evolves. Early game favors active harvesting for immediate needs and late game benefits from passive automation that scales without constant intervention.
Cooldown Management Techniques
Ball X Pit's harvest system provides a new harvest each time after completing a game run, creating a natural cooldown cycle between harvest opportunities. The harvest cycle management system in Ball X Pit rewards active play with more frequent harvest opportunities, making cooldown optimization crucial for maximizing daily rock yield.
How the Harvest Cooldown System Works
The harvest cooldown system in Ball X Pit is tied to gameplay completion rather than real-time timers, allowing strategic players to optimize yield through run frequency rather than waiting periods. The cooldown between harvests in Ball X Pit is determined by gameplay completion rather than real-time waiting, enabling players who play more frequently to achieve higher daily rock yields through more harvest cycles.
Harvest Cooldown System: A system tied to gameplay completion rather than real-time timers, where each completed pit run triggers a new harvest opportunity.
Players should avoid letting resources sit unharvested for extended periods, as this represents lost opportunity cost in Ball X Pit's harvest cooldown system where each run represents a harvest opportunity.
Core Harvest Timing Strategies
Strategic cooldown management involves balancing run duration with harvest frequency - shorter runs provide more harvest opportunities while longer runs may yield more resources per run but fewer daily harvests. Advanced players use cooldown management to implement the 'rapid harvest cycle' strategy, completing multiple short runs to trigger frequent harvests while maintaining resource accumulation between cycles.
Rapid Harvest Cycle: A strategy involving multiple short runs (10 seconds) to trigger frequent harvests while maintaining resource accumulation between cycles.
Daily rock yield maximization in Ball X Pit depends on efficient harvest cycle management, with players able to complete multiple short runs (10 seconds) to trigger new harvests more frequently. Harvest timing optimization in Ball X Pit requires coordinating pit runs with resource accumulation cycles, ensuring maximum resource collection between each harvest opportunity.
Optimal Harvest Timing Strategy: • Complete pit runs of sufficient length to gather resources • Immediately harvest to prevent resource overflow and maximize daily efficiency • Coordinate resource accumulation timing with harvest cycles • Ensure buildings are fully stocked before triggering the next harvest • Maximize daily rock yield per harvest opportunity
The resource timer system in Ball X Pit operates independently of harvest timing, meaning buildings continue generating resources even during pit runs, allowing for pre-harvest accumulation strategies.
Advanced Cooldown Management Techniques
Advanced cooldown management involves using the 7-mine U-shaped layout to maximize resource collection per harvest, then resetting to rebuild with accumulated resources for exponential growth. The paid reset loop strategy in Ball X Pit involves resetting the base layout after accumulating resources to rapidly gather gold, wood, wheat, and stone while managing harvest timing.
7-Mine U-Shaped Layout: A layout used in advanced cooldown management to maximize resource collection per harvest.
Character Selection for Rock Farming
Primary Rock Farming Characters
For optimal rock farming, the recommended character priority is The Farmer, followed by The Glutton, The Collector, and The Radical.
The Farmer: • Provides 25% increased resource generation from all sources • Top choice for rock farming efficiency • Excellent for overall resource accumulation
The Glutton: • Offers increased resource pickup range and capacity • Superior resource gathering mechanics • Enhances rock collection efficiency
The Collector: • Specializes in enhanced rare resource acquisition • Increased chance of rare item drops • Excellent for obtaining hard-to-find rock materials
The Radical: • Specializes in AI automation mechanics • Allows players to set up hands-off farms • Continues generating rock resources while away from the game
Secondary Characters for Specialized Strategies
The Hoarder: • Starts with 50% increased resources • Provides strong early-game advantage • Ideal for rapid base development and rock farming setup
The Scavenger: • Reveals hidden resource nodes on the map • Offers enhanced resource discovery • Can uncover additional rock deposits for farming
The Banker: • Converts resources to currency at a 25% bonus rate • Enhances economic efficiency of rock farming • Maximizes gold return on stone investments
Specialized Farming Characters
For specialized farming approaches, several other characters offer unique advantages:
Equipment-Dependent Strategies: • The Blacksmith: Increases equipment durability by 40%, providing superior farming efficiency for equipment-dependent rock collection strategies
Defensive Strategies: • The Guardian: Offers 40% increased defense and damage reduction, making it superior for defensive rock farming strategies in hostile environments
Sustained Efficiency: • The Alchemist: Makes potions and consumables last 50% longer, providing superior sustained rock farming efficiency through enhanced resource management
Ranged Collection: • The Ranger: Offers 30% increased projectile speed and range, enhancing ranged rock collection efficiency for distant resource gathering
Magical Methods: • The Mage: Increases magic damage by 35%, providing enhanced magical resource efficiency that can improve rock farming through magical excavation methods
Critical Resource Drops: • The Assassin: Increases critical hit chance by 25%, enhancing critical resource drops that can include rare rock materials and bonus stone collection
Character Unlocks and Bounce Pattern Effects
Character unlock requirements involve finding specific housing blueprints during runs, with each character's house being essential for accessing their unique resource collection bonuses. Ball X Pit features 16 unique playable characters, each with distinct abilities that significantly impact resource collection and farming efficiency.
Character bounce patterns affect resource collection efficiency, with characters like The Repentant dealing 5% more damage per bounce, indirectly improving rock farming through faster enemy clears. This mechanical nuance can influence your choice when selecting characters for specific farming scenarios.
Common Rock Farming Mistakes to Avoid
1. Scattered Mine Placement
Placing mines too far apart devastates bounce efficiency and cripples resource collection per harvest cycle. This is the most common and damaging mistake in Ball X Pit.
Bounce Efficiency: The number of times a ball ricochets between mines before expending energy.
Neglecting bounce mechanics by not using U-shaped layouts cuts your yields by 200-300%. Scattered placement is never worth the perceived convenience. Many players skip the 7-mine U-shaped layout, suffering a brutal 50-70% resource penalty. They compound this with poor adjacency planning and including natural terrain instead of upgradeable structures.
Solutions: • Implement the 7-mine U-shaped layout with proper spacing • Replace all natural terrain with upgradeable structures • Test bounce consistency after every adjustment
2. Wrong Upgrade Priorities
Upgrading damage buildings before establishing sufficient rock production creates resource starvation and locks you into a weak economy. This fundamental sequencing error slows your entire progression.
Core Upgrades: Foundational abilities that provide essential farming benefits and must be prioritized over situational bonuses.
Another critical waste is upgrading B-tier passive evolutions before securing core upgrades. This squanders valuable points on low-impact abilities. In New Game+, over-investing in farming upgrades before achieving sufficient damage creates a dangerous imbalance. Insufficient combat power reduces gold earned per run.
Solutions: • Focus on rock production buildings before damage upgrades • Secure all core upgrades before spending points on B-tier passives • In NG+, balance farming upgrades with damage to maintain combat effectiveness
3. Ignoring Character Synergies
Overlooking character synergies is a frequent error that costs significant efficiency. Players fail to pair complementary characters for optimal rock farming.
Character Synergy: The combined effect of two or more characters whose abilities enhance each other beyond their individual contributions.
A prime example is pairing The Farmer (25% resource boost) with The Glutton (enhanced pickup range). This combination maximizes both production and collection efficiency.
Solutions: • Always pair The Farmer with The Glutton for maximum efficiency • Review character abilities to identify synergistic combinations
4. Spreading Resources Too Thin
A common early-game mistake is over-diversifying resources. Players spread workers across multiple building types instead of focusing on gold mines first.
Economic Focus: Concentrating resources on high-return investments to accelerate early growth.
This approach stalls economic growth and delays your power spike. Prioritizing gold mines initially establishes a strong foundation before expanding into other resource types.
Solutions: • Concentrate all workers on gold mines during early game • Avoid building multiple resource types until economy is stable • Establish strong gold production before diversifying
5. Uncoordinated Harvest Timing
Not coordinating harvest timing with pit runs represents a critical mistake in the cooldown-based system. Allowing resources to sit unharvested creates lost opportunity cost.
Opportunity Cost: The potential benefits missed when resources are not collected during available harvest windows.
This inefficiency compounds over time, representing significant lost resources. Synchronizing harvests with pit runs ensures you maximize every cooldown cycle.
Solutions: • Schedule harvests immediately after each pit run • Set timers to align with your pit run cooldown • Never let resources cap during active play
6. NG+ Transition Mistakes
In New Game+, players often fail to adapt their layouts for increased enemy difficulty. This leads to reduced harvest efficiency and slower progression.
New Game+ Adaptation: Modifying strategies to account for scaled difficulty and new mechanics in subsequent playthroughs.
Another NG+ error is forgetting to prioritize mythical red items and automation systems. These provide significant efficiency boosts that become crucial in later progression.
Solutions: • Redesign layouts to handle tougher enemies in NG+ • Prioritize mythical red items immediately upon unlocking • Invest heavily in automation systems for passive efficiency
7. Refusing to Automate
Not adapting from active to passive harvesting strategies as your base grows leads to micromanagement overwhelm. This mistake reduces efficiency in larger operations.
Passive Harvesting: Automated collection systems that eliminate manual clicking and optimize resource gathering.
Manual management creates bottlenecks that limit your scaling potential. Transitioning to automation prevents this ceiling and maintains efficiency at scale.
Solutions: • Switch to passive harvesting as soon as automation unlocks • Upgrade automation systems before manual collection speed • Build base size around your automation capacity, not clicking speed
FAQ: Ball X Pit Rock Farming
Layout and Configuration
Q: What is the optimal stone quarry layout?
A: The optimal configuration uses 7 mines arranged in a U-shaped layout, which yields 2,500-3,100+ resources per harvest when executed properly. This setup represents the sweet spot for efficiency.
Q: Why not build more than 7 mines?
A: Building more than 7 mines can actually decrease efficiency due to reduced bounce frequency and longer harvest cycles. The 7-mine U-shape maintains optimal bounce efficiency while providing the highest resource yield per harvest cycle.
Q: How do I test if my layout is working correctly?
A: Before finalizing your setup, conduct test shots to verify your configuration. Your test should achieve at least 4 rebounds. If the ball exits before completing 4 rebounds, move a wall building outward by one tile.
Progression and Upgrades
Q: What upgrade order should I follow?
A: Follow this four-tier priority system:
- Rock production upgrades first
- Damage upgrades second
- Farming upgrades third
- Passive buffs last
This upgrade priority system ensures balanced progression by building resource-rich foundations before investing in damage and passive abilities, preventing resource bottlenecks.
Q: When should I upgrade damage?
A: Damage upgrades should come after establishing stable rock production. Insufficient combat power reduces gold earned per run and diminishes farming upgrade benefits.
Q: What are the most important passive evolutions?
A: Focus on S-tier and A-tier passive evolutions first. S-tier passives like Soul Reaver provide high-impact benefits, while A-tier passives like Deadeye's Cross offer strong utility bonuses. Avoid B-tier passives until all core upgrades are secured.
New Game+ Strategies
Q: How does automation work in New Game+?
A: Automation systems, particularly through The Radical, allow players to set up hands-off farms that continue generating rock resources while away from the game. The Radical's AI can be configured to patrol specific areas, collect fusion drops, and trigger ball evolutions automatically.
Q: What should I stockpile in New Game+?
A: Aim to stockpile several thousand rock units before attempting to unlock high-cost structures. This ensures the automation system can supply needed materials continuously without interruption.
Q: What enemies should I target in New Game+?
A: Focus on enemy types that drop Fusion Cores in later stages, as these cores have the highest probability of producing red-item recipes that enhance rock farming.
Q: What are mythical red items and why are they important?
A: Mythical red items sit at the top of Ball X Pit's rarity hierarchy with distinctive red visual cues, enhanced stat modifiers, and unique fusion potential. They cannot be obtained through standard enemy drops alone and provide significant efficiency boosts for rock farming.
Character Selection
Q: Which character should I prioritize for rock farming?
A: The recommended character priority is:
- The Farmer - 25% increased resource generation from all sources
- The Glutton - Enhanced resource pickup range and capacity
- The Collector - Increased chance of rare item drops
- The Radical - AI automation mechanics for hands-off farming
Q: What character combination works best?
A: Pair The Farmer (25% resource boost) with The Glutton (enhanced pickup range). This combination maximizes both production and collection efficiency through character synergy.
Harvest Timing and Cooldowns
Q: How do I maximize harvest frequency?
A: The harvest cooldown system is tied to gameplay completion rather than real-time timers. Complete multiple short runs (10 seconds) to trigger frequent harvests while maintaining resource accumulation between cycles.
Q: When should I switch from active to passive harvesting?
A: Transition gradually as your base grows: • Small bases benefit from active management • Medium bases begin transitioning to passive systems • Large bases maximize automation with minimal intervention
Conclusion & Next Steps
Mastering rock farming transforms your Ball X Pit experience from a slow grind into a powerful engine of progression. By implementing the strategies outlined in this guide, you'll generate thousands of resources per harvest, enabling faster upgrades, better gear, and dominant pit run performance.
The foundation begins with the 7-mine U-shaped layout, which consistently yields 2,500-3,100+ resources per harvest when properly executed. Pair this with the four-tier upgrade priority system—focusing on rock production first, then damage, farming efficiency, and finally passive abilities—to maximize your returns at every stage. Your character selection matters equally; prioritize The Farmer, The Glutton, The Collector, and The Radical for their unique synergies with resource generation.
As you advance, adapt your approach to match your game stage. Early on, active harvesting with precise cooldown management delivers the best results. Cooldown Management: The practice of timing your actions to align with mine respawn timers and character ability cycles. Monitor your harvest timers closely and align your collection rhythm with mine respawn rates. Once you unlock automation tools and mythical items in New Game+, shift toward passive strategies that generate resources even while you're offline.
Your progression path should look like this: • Early Game: Build your first U-shaped layout and unlock The Farmer • Mid Game: Maximize rock production upgrades and experiment with active cooldown optimization • Late Game: Integrate The Glutton and The Collector, transition to hybrid active/passive farming • New Game+: Deploy full automation with mythical items, achieve 3,100+ consistent yields
Avoid common pitfalls like neglecting upgrade priorities or using suboptimal character combinations. If your yields feel low, revisit your layout spacing and double-check that you're following the tiered upgrade sequence.
Rock farming rewards experimentation. Test variations on the U-shape, try different character rotations, and find the rhythm that matches your playstyle. Every optimization compounds into faster progression, better gear, and higher pit leaderboard rankings.
Start implementing these strategies today. Your future self—with a maxed-out inventory and record-breaking pit runs—will thank you for the foundation you build now.
More Ball-x-Pit Guides
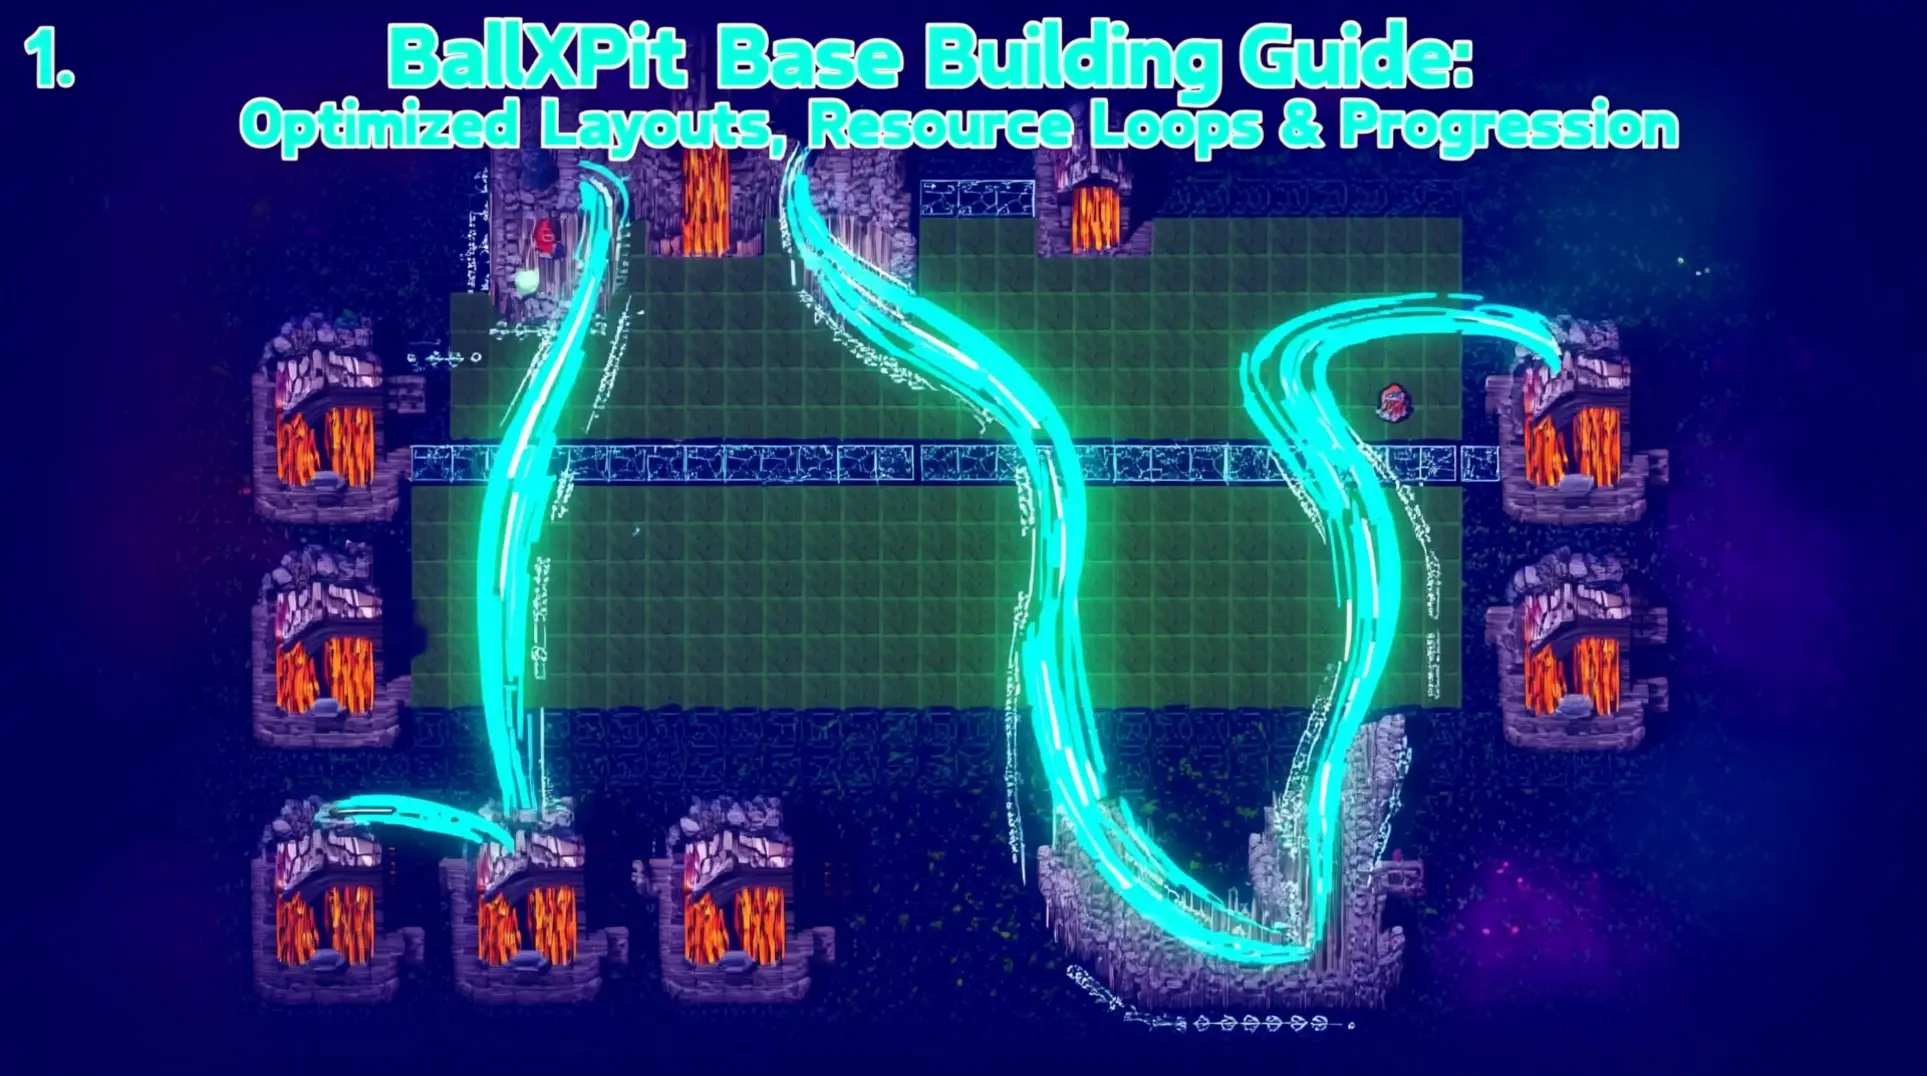
BallXPit Base Building Guide: Optimized Layouts, Resource Loops & Progression
Master BallXPit base building with our complete guide. Learn the 7-mine U-shape gold farm, optimal build order, character unlocks, and advanced resource loops to dominate every run.

Ball X Pit Ultimate Guide: Character Matchups, Boss Strategies & Evolution Synergies
Master Ball X Pit with our complete guide covering character matchups, boss strategies, evolution synergies, and community-proven tactics for every stage from Skeleton King to Void Sovereign.

Ball X Pit Evolution Guide: Best Fusions, Strategies & The Embedded Explained (2025)
Master Ball X Pit's evolution and fusion systems with our comprehensive guide covering S-tier evolutions, strategic combinations, and advanced mechanics for dominating New Ballbylon.
AI Tactical Companion
Consult with our specialized tactical engine for Ball-x-Pit to master the meta instantly.