The Complete Forza Horizon 5 EventLab Guide - From Beginner to Master Builder
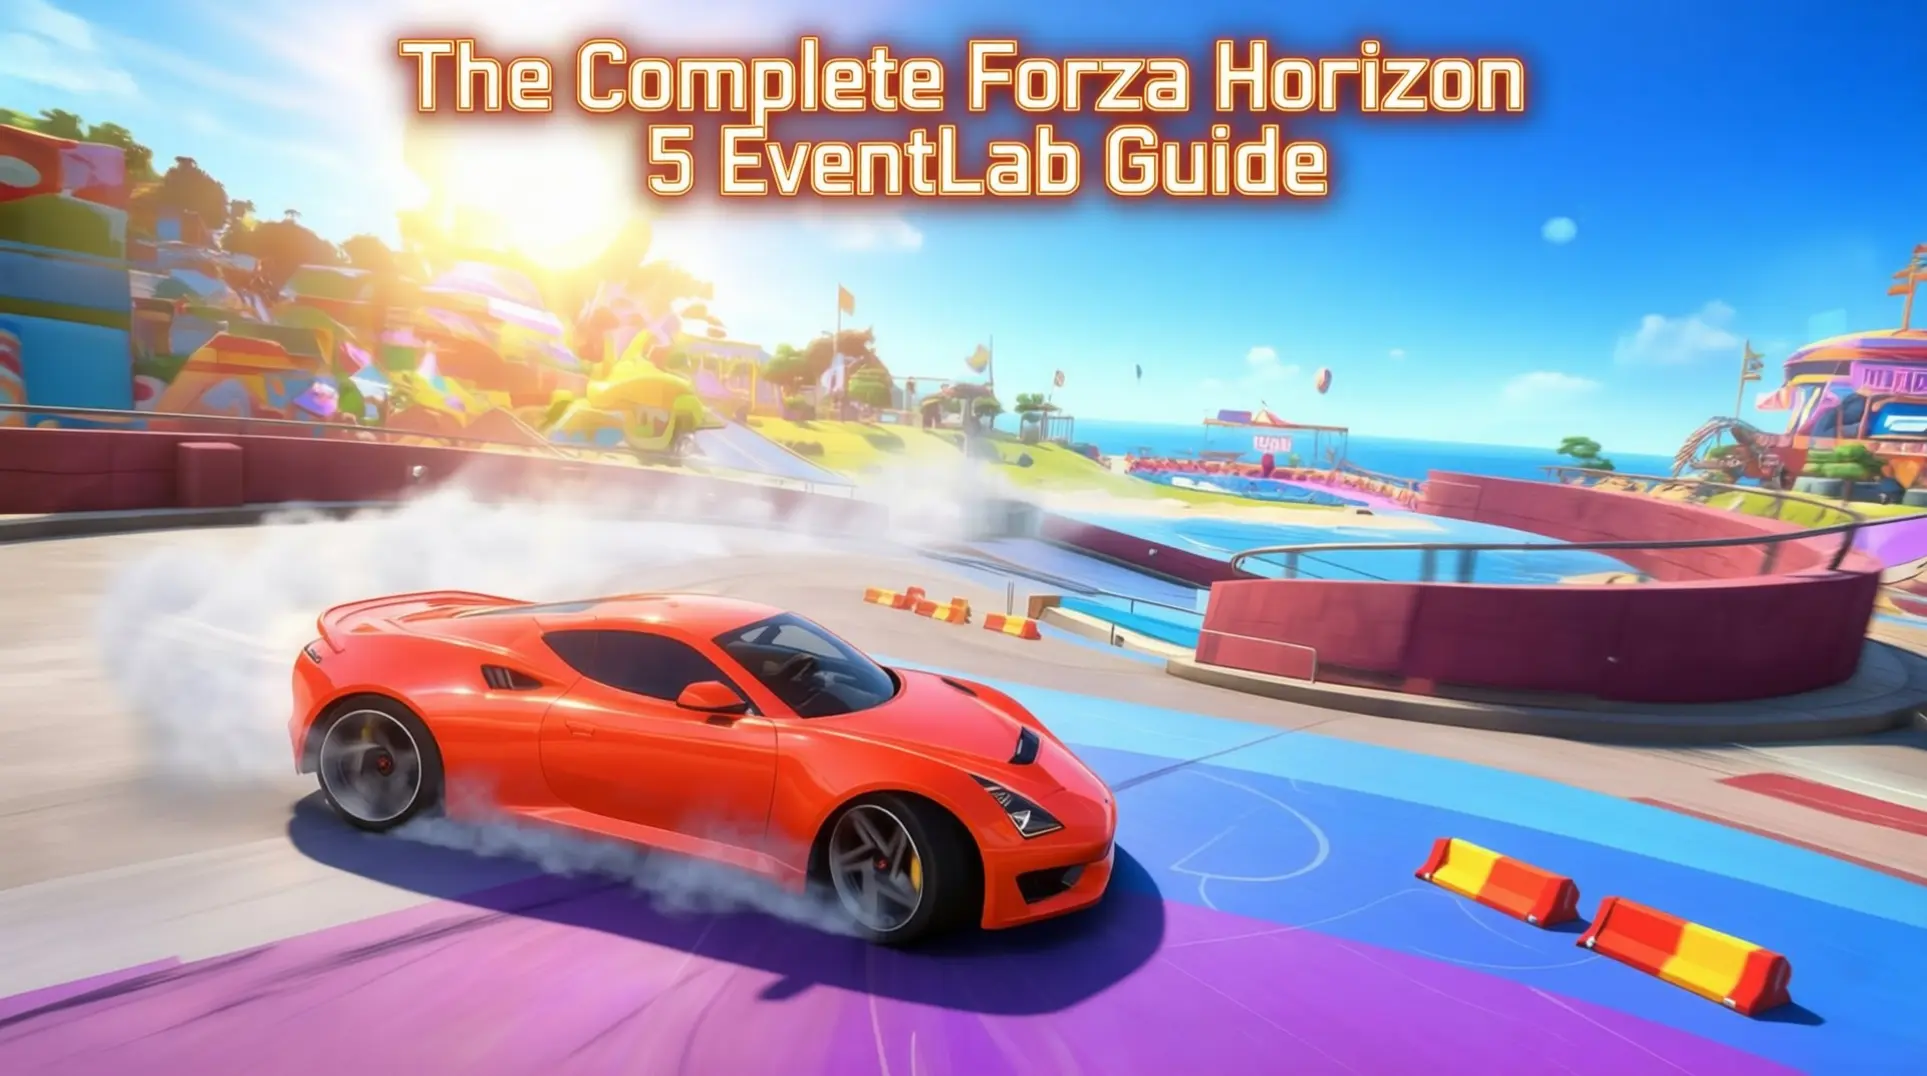
EventLab in Forza Horizon 5 is a powerful toolset that transforms players into track architects, but its depth can be overwhelming. From unlocking the mode to mastering logic chains and budget management, there's a lot to learn. This guide breaks down the entire process, from your first checkpoint to publishing a viral event, giving you the knowledge to build with confidence.
Getting Started: EventLab Access and Setup
Unlocking EventLab Requirements
You can't mess with EventLab right away - first, you need to progress through the general campaign. It unlocks after completing the game's introduction, so there's no need to reach Hall of Fame status to start building. That might seem like a hurdle, but it's really just the game making sure you understand the basics before you start building your own events.
Once you're in the Hall of Fame, you'll find EventLab in the Creative Hub tab of your pause menu. The option shows up automatically after you unlock it, so there's no secret handshake or extra step to find it.
Canvas Selection and Game Mode Templates
Alright, so you've unlocked the tool - now what? EventLab gives you two primary creation spaces to choose from. You've got EventLab Island, a dedicated 2km x 2km flat concrete platform for building completely from scratch, and the ability to modify Existing Tracks on the main Forza Horizon 5 map.
When it comes to game types, EventLab is a flexible toolset rather than a list of fixed templates. You can build custom events like Race and Stunt from scratch, utilizing the various rules and props available to create your own unique experiences.
Track Building Fundamentals
Start Grid and Finish Line Setup
The Circuit-Sprint Drag Start Grid is your best friend here - it's a single prefab that comes with staging beams, a light tree, and an invisible trigger that handles all your race timing. You just snap it onto flat asphalt, rotate it so the tree faces the right direction, and you're golden. One thing though: make sure you're using actual drag surface material for max grip, otherwise your launch is gonna feel sloppy.
Now for the critical part - your finish line needs to be at least 40 meters away from that grid. If a checkpoint even touches the start grid, your timer might never trigger at all, which means your whole race is broken before it begins.
Route Drawing and Checkpoint System
Here is the brutal truth about saving: once you hit that 'Save' button for the first time, your route locks into a no-edit state. There's no magic 'edit' button anywhere in the UI, which means if you want to modify anything, you have to delete the entire route and re-drive it from scratch - re-placing every checkpoint and prop all over again.
That's why you should always do a 'test save' before you even think about publishing. Do not click Publish until you're 100% happy, because that final step will cement your route and force you to re-drive the whole thing just to fix a single misplaced checkpoint.
Track Piece Types and Magnet System
The Series 19 'Midnights at Horizon' update added an EventLab Rally Prop Pack featuring 26 new Rally-inspired props. While the Hot Wheels expansion features magnetic track pieces, these are not available in EventLab. You'll need to rely on standard props and logic to create vertical or inverted stunts in this mode.
Prop Library Categories and Selection
EventLab offers a vast library of props sorted into smart thematic folders. You've got Track & Stunt, Barriers & Walls, Road & Surface, Structures, Nature & Scenery, Lights & FX, Decorative, Gameplay Objects, Vehicles & Static Cars, and Holiday & Seasonal - that's a lot, but the icon-driven browser helps. You can filter by surface type (metal, wood, fabric) or size class (small, medium, large) to find that one perfect piece without scrolling forever, which saves your sanity on big builds.
Advanced Prop Manipulation Tools
Alright, you've got your props - now you need to wrestle them into place. Snapping (X) is your best friend on Hot Wheels track pieces, automatically aligning them at 90-degree angles so you don't have to eyeball everything. Unfortunately, older props like concrete walls don't snap, so you're stuck nudging them manually, and there's no snap-point cycling feature yet despite the community asking for it.
If you can't find the exact piece you need, just scale it. Scaling (LT/RT) lets you resize any object, though blowing things up too large can cause their LODs to lag unless you're right on top of them. This is how builders create those crazy oversized tyre stacks you see in viral tracks.
For speed, the Duplicate Array tools are clutch - multi-select your props, hit D-pad right, and you can clone them in straight lines or radial patterns around a central point. It's a massive time-saver for repetitive sections.
But the real hero is Group/Ungroup (LB+A), which locks props together so they don't drift apart when you move them - that bug has wrecked too many builds. Heads up: you can't nest groups, and ungrouping resets the pivot to world center, which is annoying but manageable.
Finally, Surface Painter (Y) lets you stamp down asphalt, dirt, or ice in 1m, 4m, or 16m radius blobs. Set friction to 'ice' for low-gravity chaos or 'off-road' for extra rally grip. It's deceptively powerful.
Performance Optimization and Budget Management
Now for the tough part - budgets. You're working with a percentage-based prop budget system (0-100%), with EventLab Island offering a higher budget than the main Mexico map, which is why most serious builders work there.
When you hit the limit, the editor slaps you with a 'Prop limit reached' notice and greys out the prop palette - you can only move or delete after that. Watch the performance meter in the top right; it turns red when you're pushing your luck.
Prop cost isn't equal either. Moving pieces like rotating windmills eat 3-5× the budget of static objects, and light sources are surprisingly expensive. Invisible rule-script gadgets don't cost prop budget but hammer your CPU instead, so it's a trade-off.
Veterans prototype big structures with a single ramp first to gauge cost, use 'Lite' variants whenever possible, and build vertically to reuse the same budget footprint. They also publish early and iterate live instead of perfecting in a vacuum. And avoid dropping massive single props like grand-stands without crowd spawns - they're budget black holes that don't justify their cost.
Logic Systems and Custom Rules
Basic Logic Chain Creation
Let's build a proper speed trap - one that actually checks if you're driving clean, not just fast. The goal is simple: award points when someone blasts through above your target speed, but only if they haven't touched the brakes since the last checkpoint.
Here's what you'll need in your logic toolkit: a Check-point to trigger everything, a Speed Trap sensor to read velocity, a Rule-board to house the logic, plus some Player-Trait nodes to watch for brake input, Variable nodes to track state, and Math nodes for comparisons.
The flow works like this: when a player enters the checkpoint, it fires up your rule. You'll split this into two branches - one side checks if the brakes have been touched (and disqualifies if they have), while the other compares SpeedTrap.CurrentSpeed to your target. An AND gate merges both results, and only if both conditions pass do you fire the Award Score action. Oh, and you'll want to reset your NoBrake variable right after, so the next trap gets a fresh start.
Speed Traps read km/h by default, but if you're living in mph land, just tweak the constant in your Compare node.
Pro tip: don't rebuild this logic at every single checkpoint. Build it once, then use the 'Link to existing Rule' option at other checkpoints. Your budget will thank you.
Advanced Logic Nodes and Systems
EventLab 2.0 dropped in September 2023, and it brought some serious toys. The multi-selection mode is huge - you can finally grab a bunch of props, rotate them as a group, move them around, and duplicate them all at once instead of painfully aligning everything by hand.
Prefabs are another game-changer. You can combine multiple props into one mega-prop and share it with the community. Made a sick roundabout setup? Save it as a prefab and drop it into any future event.
If you're publishing events, use Custom Flyers to replace that auto-generated promo image with an actual photo of your creation. Way better for catching eyes in the browser.
Then there's EventLab Island - a 2km x 2km flat concrete playground with a much higher prop budget than the main Mexico map. Want to build a massive stunt park without hitting that 1,700-prop route limit? This is your spot.
For the real mad scientists, the Gravity Multiplier under Game Rules → Gameplay → Physics can be set to -1.0, which literally throws every car into the sky. It's chaos, but the fun kind.
Prefer something less apocalyptic? The magnetic Hot Wheels track pieces (loop, split-loop, bank, corkscrew) have an invisible magnetic surface that locally overrides gravity just for the car. You can drive upside-down without turning the whole world into a floaty nightmare.
One catch: you'll need to place invisible barrier walls about 0.2 meters outside the curve. This keeps the tyre raycast locked onto the magnetic mesh, so you don't fall off mid-loop.
Event Tiles and Game Mode Customization
Event tiles are the Lego bricks of custom modes - each one is a single instruction like 'spawn a car,' 'trigger a timer,' 'award points,' or 'change gravity.' You snap them together to build whatever rules you want.
The core categories break down like this: Race tiles handle the basics like Start Grid, Checkpoint, and Finish. Conditions are your If-Then logic - Compare Values, On Collision, that sort of thing. Actions are where the magic happens: Teleport Car, Explode Prop, Modify Gravity. Scoring tiles manage Add Points, Multiply Score, and Leaderboard updates. Finally, Flow tiles control timing with Delay, Loop, and End Event.
Let's sketch out a simple custom mode. Lay down checkpoint rings on EventLab Island, then drag an 'On Checkpoint Passed' tile. Connect it to 'Modify Countdown' and shave off 3 seconds. Add an 'If Timer ≤ 0' check that triggers 'End Event,' and finish it with 'On Finish Line' → 'Award Winner' + 'End Event.' Boom, you've got a time-attack mode where every checkpoint extends your life.
EventLab Island's bigger budget means you can go wild with props. The 2.0 update added a ton of new toys: a full petrol station set with coffee cups, pumps, and roofs, plus primitive shapes like cones, cubes, cylinders, pyramids, spheres, toruses, and wedges. You also get surface types (snow, ice, grass, tarmac, dirt) and colorful street race flares for checkpoints.
Attachment nodes got smarter too - they're now small, medium, and large, so snapping smaller props actually works without fighting the grid.
Testing, Debugging, and Quality Assurance
Test Drive and Respawn Point Validation
Here's where you separate a working track from a beautiful waste of time. Test Drive (RB on Xbox, R1 on PlayStation) is your truth serum - it flips the editor into the 'race-logic layer,' which means only checkpoints that follow three hard rules actually load in.
The first rule is that checkpoints must be numbered 0, 1, 2, 3, and so on with zero gaps. If you skip a number - even accidentally - the game just pretends every checkpoint after that break doesn't exist. The second rule is spacing: ensure your checkpoints are placed logically along your drivable path to prevent the 'checkpoint missed' bug. So if you've placed 24 checkpoints but only two show up in Test Drive, it's not a bug; you've probably broken one of these invisible laws and the game culled the rest.
Now for respawns, which catch almost everyone. Those Player Start and AI Start objects in the 'Rules of Play' layer aren't just decorative - they're the actual spawn seeds. If you don't place them, the game dumps every player at the map's dead center, which might be nowhere near your loop. The fix is straightforward: ensure both start objects are placed correctly inside your lap near the start of the route. Then validate it properly by running Test Drive twice - once in Solo and once with a Convoy - so you catch both player and AI respawn bugs before they ruin someone else's race.
Common EventLab Mistakes to Avoid
These are the paper cuts that bleed out your entire project. First, large checkpoint gaps can sometimes cause issues. The editor lets you place them, but the game may fail to register gates if they are placed too far apart or incorrectly, often leaving you with just a start and finish line and a lot of confusion.
Second, forgetting manual respawn points means EventLab won't auto-generate a grid for you. Players will spawn inside walls, facing backwards, or off-track entirely, and they'll blame you - not the tool.
Third, props like concrete walls can drift 10-30 centimeters after you place them because the editor rounds your analog stick inputs to the nearest world-grid cell. It's maddening, but the workaround is simple: place your prop, back out to the main EventLab menu, then reload the route for a second fine-tuning pass.
Fourth, performance budget overruns will grey out your save button or block uploads entirely. The budget bar hides in Tools > Performance, and you should keep it below 80% to leave headroom for respawn grids and last-minute tweaks.
Fifth, night races are nearly unplayable by default because the checkpoint hologram brightness is hard-coded and doesn't adjust for darkness. The community fix is to stick a small neon tube or LED prop under each gate and color it orange, creating a glowing breadcrumb trail.
Finally, for point-to-point races that start and end in the same spot, crossing the start line the wrong way can invalidate your first checkpoint. Make sure your start and finish lines don't intersect, or you'll trigger a weird logic bug that skips the opening gate.
AI Pathing and Performance Testing
Your track might look gorgeous, but if the AI can't run it, it's a ghost town. The AI follows a hidden nav-mesh that's four meters wide and hugs the terrain's slope, not the elevation of your props. This is why AI cars slow to a crawl or get stuck on elevated or indoor sections - they're trying to drive on the ground underneath your track.
That green-red racing line overlay that sometimes sticks around? It's a debug visualization, and it means your prop budget is over 95% full or a 'Rules of Play' script is blocking the UI from hiding. You'll need to trim props or force a 'Hide UI Layer' rule at race start.
Performance spikes are often tied to vRAM and texture streaming, especially on PC, which is why you must test at contrasting times of day. A 09:00 run versus a 21:00 run can show a 0.3-0.6 second difference in AI lap times due to light-cache recompilation, and that variance can trash your leaderboards. If the night run is mysteriously a full second slower, you've got a lighting-related streaming bug that needs fixing.
To validate AI pathing, drive your route in a stock rental car at 60% AI difficulty. If the AI finishes within 4% of your time, the spline is clean. For deeper diagnostics, open the hidden Diagnostics tab (Y on Xbox, F3 on PC) and watch for Nav-Mesh Errors as the AI runs. This isn't optional polish - it's core QA that separates viral events from the ones players quit after one broken lap.
Publishing, Sharing, and Community Engagement
Metadata and Thumbnail Creation
Before you hit publish, you need to nail your metadata, and you've got tight limits to work with. Your title can only be 40 characters, so you have to make every letter count - there's no room for fluff. Descriptions are even tighter at 250 characters, which means you can't write a novel about your creation; you just need to hook people with the best features and maybe a call to action.
For the thumbnail, don't just use a random screenshot. Jump into Photo Mode to grab something that actually sells your event. A good thumbnail is the difference between someone clicking your creation or scrolling past it, so spend a few minutes getting the angle and lighting right.
Tagging and Share Code System
The tagging system allows you to describe your event using available categories to help other players find your creation.
Once you're ready to share, you'll get a 9-digit numeric share code - that's your creation's permanent address. Anyone on any platform can use it to download your event, which is great for cross-platform exposure. Just keep in mind that PS5 players won't see Car Clubs, so don't build your sharing strategy around that feature if you want everyone to have the same experience.
Community Engagement and Updates
Getting your event noticed takes more than just a good share code. Slap the #EventLab hashtag on your social posts if you want a shot at Festival Playlist visibility - that's how the community team finds standout creations to feature.
If you're building with friends, you can co-create in a Convoy with up to 12 players total, so plan your collaboration accordingly.
When you need to update your published work, don't just overwrite it. Use the Remix option to create a new version like v1.1 or v2.0 while keeping the original intact. That way, you preserve your download count and ratings while giving players the improved experience - a much cleaner approach than starting from scratch.
Advanced Techniques and Pro Tips
Hidden Quality-of-Life Features
If you're building on PC, you'll need to rely on the menu for saving and undoing actions, as specific keyboard shortcuts for these functions are not officially documented.
Here's a trick for hiding checkpoints: select any checkpoint prop and scale it down or hide it within scenery. Be careful not to scale it too small, or the trigger volume might become unreliable.
Seasons wrecking your props? Dig into the logic tab and use Season Override to force a specific texture or state year-round. Your autumn leaves won't turn green in spring, and that snowy roof won't melt in summer.
Night events killing performance? Skip the heavy volumetric fog and lean hard on Time of Day logic instead. You'll get dramatic lighting that won't melt lower-end hardware, which means more players can actually enjoy your creation.
Creative Event Types and Inspiration
Staring at a blank canvas is brutal, so here are some event formulas that actually work.
Drift Gauntlet: String together narrow bridge props or concrete barriers into a winding mountain trail, then slap high scoring multipliers on every hairpin. The tighter the gap, the better the clip potential.
Parkour Puzzle: Link a Timed Checkpoint to a series of No Rewind triggers, forcing drivers onto floating platform sections. If they fall, they're stuck - add a reset zone or make them suffer.
Open-Road Vision Quest: Use the full map scale for a pure A-to-B journey, but lock the route to scenic backroads and tie weather logic to specific segments. Nothing hits like forcing a Dust Storm through the canyon section.
Magnetic Tracks: In the Route Creator's surface settings, switch to Magnetic to unlock Hot Wheels physics. Suddenly loops and corkscrews aren't just possible - they're reliable. Your track doesn't need to make sense anymore, it just needs to stick.
Your First Hour Roadmap (Quick Start)
Stop planning and ship something. Here's how you get a playable event live in 60 minutes.
Hour 0-15 (The Loop): Fire up Route Creator and record a simple 1 km circle. Don't overthink the layout - just make it drivable. Save the blueprint immediately so you've got a fallback.
Hour 15-30 (The Objective): Jump into Event Settings and set the primary goal to Speed Trap. Tweak the target speed to match the rental car class so players can actually beat it first try.
Hour 30-45 (The Polish): Drop 5-10 decorative props total. Avoid corners where clutter kills draw distance and tanks frames. Less really is more here.
Hour 45-60 (Publish): Hit Publish to EventLab, grab the Share Code, and post it to r/ForzaHorizon with a one-sentence hook. If you're not embarrassed by your first draft, you waited too long.
Mastering EventLab is about understanding its rules - from checkpoint spacing and prop budgets to logic systems and AI pathing. By starting simple, testing rigorously, and engaging with the community, you can turn creative ideas into polished, playable experiences. Now, grab that share code and start building.
More forza-horizon-5 Guides
Ultimate Forza Horizon 5 Difficulty & Credit Farming Guide
Maximize your credits in FH5 with this comprehensive guide to difficulty settings, bonuses, and advanced farming strategies. Optimize for speed, credits, or balance.
The Complete Forza Horizon 5 Barn Finds Guide - Locations, Mechanics & 50 Million CR Ferrari
Master the Barn Find system in Forza Horizon 5. Learn how rumors work, where to find all 14 hidden cars, and how to restore the legendary 50 million CR Ferrari 250 GTO.
Mastering the Hoonigan RS200: The Ultimate S1 Off-Road Build for Forza Horizon 5
Discover why the Hoonigan RS200 dominates S1 off-road in FH5. Learn build specs, tuning setups, and leaderboard strategies to win seasonal championships.
AI Tactical Companion
Consult with our specialized tactical engine for forza-horizon-5 to master the meta instantly.