Ultimate Forza Horizon 5 Difficulty & Credit Farming Guide
Introduction
Forza Horizon 5's difficulty settings are more than just sliders - they're the key to unlocking your maximum credit earnings. With a complex system of bonuses and trade-offs, choosing the right configuration can feel overwhelming. This guide breaks down every setting, from Drivatar AI to manual clutch, to show you exactly how to optimize for speed, credits, or a balanced experience.
Core Difficulty Settings Overview
Forza Horizon 5 throws a lot of toggles at you, and they’re not just for show. Each setting changes how your car feels and - more importantly - how many credits you’ll stuff into your garage. Let’s break down what you’re actually touching.
The 8 Main Difficulty Categories
Here’s the full list of what you can tweak. Think of these as your difficulty arsenal:
| Setting | What It Actually Does |
|---|---|
| Drivatar Difficulty | Sets AI speed from New Racer to Unbeatable |
| Braking (ABS) | ABS On assists, ABS Off is pure simulation |
| Steering | Standard adds mild help, Simulation is 1:1 raw input |
| Traction Control | On prevents wheel-spin, Off lets you powerslide |
| Stability Control | On auto-lifts throttle, Off gives full control |
| Shifting | Automatic, Manual, or Manual + Clutch |
| Driving Line | Full, Braking Only, or completely Off |
| Damage & Tire Wear | Cosmetic, Fuel/Tyre, or full Simulation |
Which settings you pick depends on what you want. If you’re just here to cruise, leaving assists on makes sense. But if you’re hunting for the biggest payout, you’ll need to start turning things off.
Credit Multiplier System Explained
This is where it gets interesting. Every assist you disable contributes to a credit bonus, and they stack. The maximum you can squeeze out is determined by a combination of difficulty settings and assists. Here’s the breakdown:
| Setting | Bonus | How to Get It |
|---|---|---|
| Drivatar Difficulty | +100% | Set to Unbeatable |
| Braking (ABS) | Variable | Set to ABS Off (contributes to multiplier) |
| Steering | Variable | Set to Simulation (contributes to multiplier) |
| Traction Control | Variable | Set to Off (contributes to multiplier) |
| Stability Control | +10% | Set to Off |
| Shifting | Variable | Set to Manual + Clutch (contributes to multiplier) |
| Driving Line | None | Turn completely Off |
| Damage & Tire Wear | Variable | Set to Simulation (contributes to multiplier) |
So if you want the full bonus, you’re looking at running Unbeatable AI, no assists, manual clutch, and full simulation damage. That’s intimidating, but you don’t have to go all-in at once. The beauty is you can toggle these between races.
Manual with Clutch Setup Guide
Controller Button Mapping (LB Clutch Method)
Here's the thing: the LB clutch setup isn't just good - it's essential if you're serious about running Manual with Clutch. The default layout already puts clutch on LB, which means you can pinch-shift without lifting off the throttle or brake, and that's where the real speed lives. Your fingers naturally rest there, so you're not doing gymnastics mid-race.
The setup itself is straightforward. First, hit Settings > Difficulty > Transmission and select Manual w/ Clutch. Then pop over to Settings > Controls > Controller to verify LB shows up as clutch. Now for the tuning that actually matters: drop your clutch deadzone to 0-5% and crank saturation to 100%. This kills the input lag and gives you instant bite-point registration, which means faster shifts and more consistent launches.
Manual with Clutch vs Manual vs Automatic
Let's clear up the bonus confusion right now. Forza Horizon 5 rewards manual transmission use as part of a cumulative difficulty multiplier, though the exact percentage is not officially documented. There's no extra payout for torturing yourself with clutch timing, unfortunately.
So what's actually worth running?
Automatic is the slowest option since the ECU short-shifts everywhere and yanks power mid-corner when you need it most. It's comfortable, but you're leaving time on the table.
Manual (no clutch) hits the sweet spot for most players. You get near-instant shifts without any timing windows to worry about, plus that same bonus.
Manual with clutch is technically the fastest because it reduces power interruption further, but here's the reality: on a controller, the mechanical advantage rarely outweighs the risk of botching shifts. You need millisecond-perfect timing, and one mistake erases any gain.
Advanced Clutch Techniques
Once you've got muscle memory locked in, these tricks will push you ahead. Launch control is your first weapon: at the line, hold LB + brake together, then floor the throttle while keeping LB pinned. The engine bounces off the limiter - release LB the instant lights go green for instant bite and zero wheelspin.
Pre-press timing is where the magic happens. You want to tap LB during the gear change animation, not before. Think of it as a quick hiccup in your rhythm; too early and you neutralize the clutch, too late and you lose power.
For tactile feedback, dig into Settings > Feedback and turn on shift vibration. You'll feel a pulse exactly when the clutch grabs, which is huge for nailing consistent starts.
Finally, nail your RPM windows: shift road cars around 7,000 RPM, race cars just before redline. Hit these targets while your clutch timing is spot-on, and that's where your tenth-s per shift lives.
ABS and Braking Settings Deep Dive
The ABS debate isn't just about difficulty points - it's about whether you can actually stop faster than the computer can think for you. FH5 contributes to your overall difficulty multiplier when you turn ABS off, and that stacks with other assists. But here's the thing: that bonus won't mean much if you're locking up into every corner.
ABS On vs Off: Controller vs Wheel
Here's where your hardware completely changes the conversation:
| Setup | ABS On | ABS Off |
|---|---|---|
| Controller (Standard) | Recommended starting point. The game handles lock-up prevention, so you can mash with confidence. | Faster once mastered, but you need trigger discipline. Elite controllers with trigger locks make this way easier. |
| Wheel + Pedals | Feels artificial and slower. Most players turn it off immediately. | The default for serious players. Load-cell pedals give you precise pressure control that makes threshold braking natural. |
| Keyboard | Honestly your only viable option. Digital inputs can't modulate pressure. | Don't even think about it. You'll lock up every single time. |
The core difference is simple: ABS On pulses your brakes automatically to prevent lock-up, while ABS Off gives you linear, direct control - meaning you lock up the moment you exceed grip.
Community consensus is pretty clear on this. Wheel users almost universally run ABS Off because load-cell pedals make threshold control intuitive, but controller players should start with it On and only switch Off once you can feel the trigger travel. Keyboard users? Yeah, keep it On unless you enjoy frustration.
Braking Techniques with ABS Off
Ready to earn that bonus? Here are the techniques that'll keep you pointing forward:
Threshold Braking: Squeeze the brake until you're just shy of lock-up and hold it there. On a controller, you'll feel vibration and see smoke when you cross the line - that's your cue to back off slightly. The sweet spot is usually around 70-80% trigger travel.
Trail Braking: This is the advanced stuff. Keep bleeding off brake pressure as you turn in, keeping your front tires dancing right on that lock-up edge through the apex. It sounds terrifying, but it actually helps rotate the car.
Controller Calibration: Set linear trigger sensitivity with a 0-5% dead-zone and 90-95% saturation to maximize your modulation range - you'll get finer control over that crucial last bit of trigger travel.
Tuning Trick: For RWD cars, shift your brake balance 1-2% rearward. This shortens stopping distance and helps the car rotate while you're trail braking - just don't overdo it or you'll spin.
Practice Drill: Grab a homologated road car, find a flat straight, and practice braking from 100 mph over and over until you know exactly how far you can push before lock-up becomes smoke and vibration.
Drivatar Difficulty and Credit Optimization
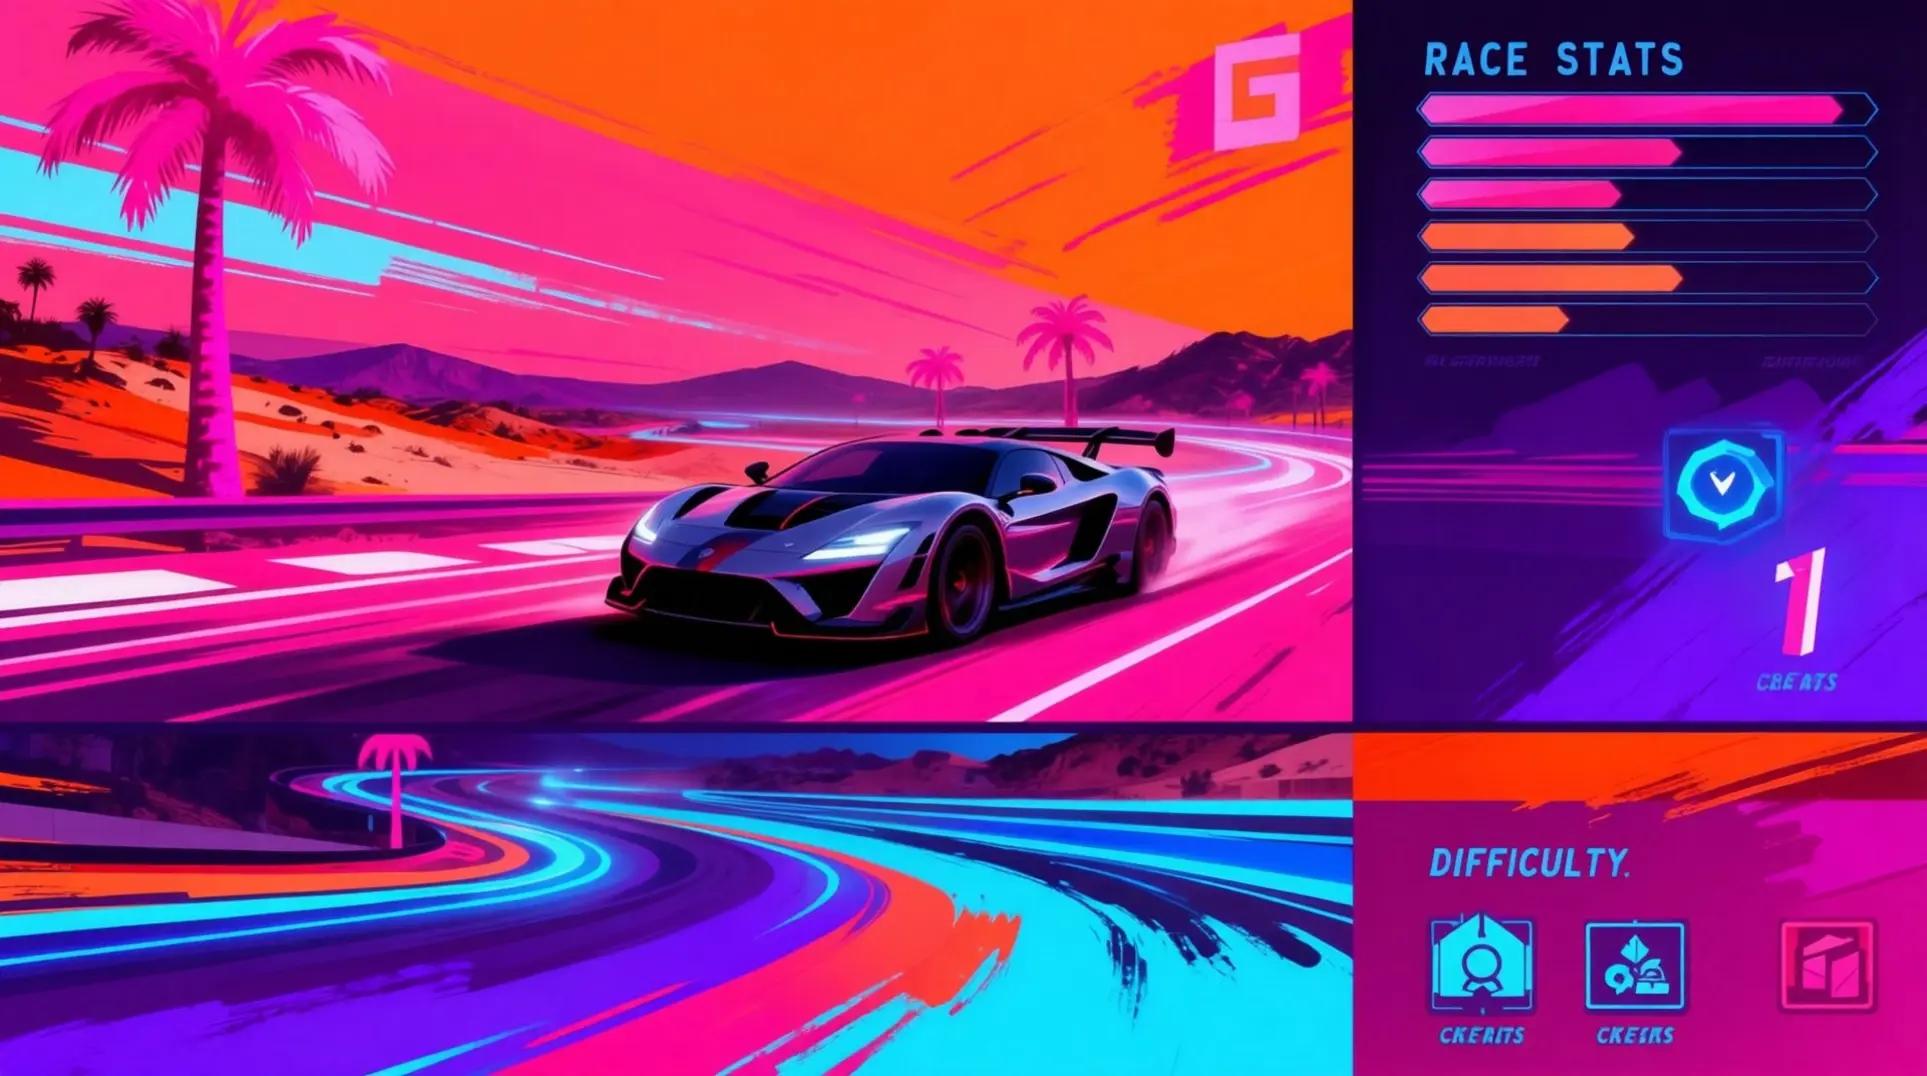
Listen, if you're not touching your Drivatar difficulty settings, you're leaving stacks of credits on the table, because every race pays out based on how tough you make it for yourself. The system has eight rungs total, from New Racer all the way up to Unbeatable, and the jumps between levels are way bigger than most people realize.
Difficulty Level Credit Multipliers
Here's the full lineup with the exact multipliers we could confirm:
| Difficulty | Credit Multiplier |
|---|---|
| New Racer | 1.00x (baseline) |
| Inexperienced | incremental |
| Average | incremental |
| Above Average | incremental |
| Highly Skilled | incremental |
| Expert | incremental |
| Pro | incremental |
| Unbeatable | 2.0x (100% bonus) |
Intermediate values scale up step-by-step between New Racer and Pro.
This multiplier hits every single event that pays credits, from official races to player-made EventLab blueprints. Even better, it stacks with everything else you've got - VIP passes, car mastery perks, the works. So that 100% boost on Unbeatable gets multiplied by your other bonuses, which means the gap between difficulties grows even wider when you're fully kitted out.
Pro vs Unbeatable: Finding Your Sweet Spot
So here's where theory meets reality, because that 2.0x multiplier on Unbeatable looks juicy but it only matters if you actually win. A race that pays 10,000 credits at baseline will net you 20,000 on Unbeatable, but slightly less on Pro - that's a significant credit difference per race.
The real test is consistency. If you're taking first place on Unbeatable every time, absolutely crank it to the max. But if you're finishing second or third - maybe getting 11,000 or 12,000 credits - you're actually earning less than you would by dominating on Pro. The AI gets pretty ridiculous at Unbeatable, with rubber-banding and corner speeds that defy physics.
For general learning, the community swears by Medium as the sweet spot where you can practice without getting demolished. But when it comes to pure credit optimization, Pro is where it's at for most players. It's that perfect balance: you still get a significant bonus without wanting to throw your controller through the window. Unbeatable is for when you've got a meta build and you're feeling lucky, but Pro is where the consistent money's at. Start there, and only bump up if you're winning by comfortable margins.
Optimal Settings Configurations
Let's cut through the noise on this. Everyone's got a different opinion about 'optimal' settings, but it really comes down to what you're trying to achieve - max credits, balanced performance, or just having fun without crashing every thirty seconds.
Maximum Credit Build
First, we need to clear up some confusion. Everyone keeps talking about this magical bonus configuration, but here's the brutal truth: Drivatar Difficulty and Stability Control are the primary confirmed drivers of credit bonuses, with other assists contributing to a cumulative multiplier.
So if you're chasing maximum credits, the only thing that matters is cranking the AI to Unbeatable for that sweet +100% flat credit boost and turning off Stability Control for an additional +10%. The other settings are just what the community used to run for max bonuses, but now they're just for personal challenge.
| Setting | Configuration | Credit Impact |
|---|---|---|
| Drivatar Difficulty | Unbeatable | +100% Credits |
| ABS | Off | Contributes to multiplier |
| TCS | Off | Contributes to multiplier |
| STM | Off | +10% Credits |
| Shifting | Manual with Clutch | Contributes to multiplier (but faster) |
| Driving Line | Off | No bonus |
| Rewind | Off | No bonus |
| Damage | Simulation | Contributes to multiplier |
Manual with Clutch will make you faster by about 0.3-0.5 seconds per lap, which means you'll win more races - but it won't make you any richer directly.
Balanced Performance Build
Now, if you're like most controller players, Unbeatable AI sounds like a recipe for constant frustration and broken controllers. The community sweet spot trades a bit of credit potential for a lot more consistency and fun.
This setup runs Pro AI with ABS On, which still gives you a healthy credit bonus while keeping your sanity intact. After all, locking your wheels into every corner costs way more time than ABS ever will.
| Setting | Configuration | Why It Works |
|---|---|---|
| Drivatar Difficulty | Pro | Good credits, less rage |
| ABS | On | Prevents wheel lock on controllers |
| TCS | Off | Lets you power-slide when you want |
| STM | Off | Full control over drifts |
| Shifting | Manual with Clutch | 0.3-0.5s faster per lap |
| Driving Line | Braking Only | Learn braking points, not gas |
| Rewind | Off | Forces clean racing habits |
| Damage | Simulation | Adds consequence without ruin |
Simulation Steering is worth turning on here too - it cuts through the 'numb' filter of Normal steering, so your counter-steers actually respond when the rear steps out.
Beginner-Friendly Configuration
Look, we've all been there. Jumping straight into the deep end just means you'll spend more time in the walls than on the track. For new players, the goal is learning, not suffering.
This setup is basically training wheels that actually help. ABS, TCS, and STM will save you from yourself in every corner, which means you can focus on learning racing lines instead of recovering from endless spins.
| Setting | Configuration | What It Does |
|---|---|---|
| Drivatar Difficulty | Above Average/Higher Skilled | Challenging but fair |
| ABS | On | No wheel lock, ever |
| TCS | On | No accidental burnouts |
| STM | On | Catches slides before they start |
| Shifting | Automatic | Focus on driving, not gears |
| Driving Line | Full | Shows you exactly where to go |
| Rewind | On | Unlimited do-overs |
| Damage | Cosmetic | Crash without consequences |
The real hero here is Rewind. It's unlimited flashbacks with zero repair costs, so you can experiment in every corner without worrying about ruining your whole race. Once you've got the lines memorized, then you can start turning things off one by one.
Hidden Settings and Accessibility Options
Offline Game Speed (Motor Accessibility)
If you've ever felt like Forza Horizon 5 just moves too fast for your reflexes, there's a setting that'll make your day. Buried in the accessibility options is Offline Game Speed, and it lets you slash the entire game down to 70% speed - or even as low as 40% if you need it. Everything slows down: your car, the AI, timers, even the physics ticks. That gives you roughly 43% more real-world time to react, which is huge when you're learning the ropes or dealing with motor control challenges.
Here's the weird part though: when you finish a race, the post-race screen shows 'Credits earned: 0' and 'XP earned: 0.' But don't panic - you're not being penalized. Playground Games deliberately zeroes out the rewards to protect leaderboard integrity and prevent exploits. The game still tracks your lap times and race results internally; it just won't hand you currency for slowed-down runs. Think of it as an assist that stays purely assistive, not something you can farm.
The cool thing is you can flip this toggle mid-race if you want. Struggling on a tricky corner? Drop the speed for that section, then pop it back to 100% before the finish line and your rewards recalculate instantly. A lot of players even use the slower speed while tuning or testing new builds because it makes alignment and gearing changes way easier to feel out.
Auto-Steering
Auto-Steering is an extreme accessibility tool. It allows the game's AI to take the wheel, guiding you along the racing line or your waypoint route without any steering input from you. You can find it under Settings > Difficulty > Steering Assist. Unlike some racing games that penalize you for using assists, FH5 does not disable credit or XP bonuses for using Auto-Steering; it is purely a support feature.
Advanced Credit Farming Strategies
Alright, so you have the basics down - now let's talk about the real money. End-game credit farming in FH5 is all about stacking multipliers and picking the right events, not just grinding random races.
Event Selection for Maximum Payout
Here’s the thing: not all events are created equal, and the best ones change based on how much time you have.
| Event Type | Base Payout | Time Investment | Key Advantage |
|---|---|---|---|
| Goliath (3-lap blueprint) | 200,000+ CR | 30–40 minutes | Massive per-run payout; no lobby reset needed |
| Seasonal Championships | Exclusive Cars, Wheelspins | ≈25 minutes | Gives Season Points and exclusive rewards |
| Horizon Tours / Open | Forza Points (FP) and XP | 15 minutes | Near-zero loading time; chain victories back-to-back |
| PR Stunts (top 1%) | Credits and Wheelspins (varies) | <10 minutes | Daily leaderboard reset; high CR and spin value |
| Story Chapters (replay) | Accolade Points | 2–3 minutes | Fast completion; no fixed credit payout |
| Auction House flipping | 1–3 million CR | 30 minutes | Zero driving required; pure market timing |
The Goliath is your marathon moneymaker - it is a brutal 34-mile race that normally pays 70k–100k CR on Expert or Unbeatable with assists off. However, the real trick is blueprinting a 3-lap version, which triples the reward without kicking you back to the lobby. Stack that with VIP membership and FE car perks, and you are looking at over 200,000 CR per run.
If you do not have 40 minutes to burn, Seasonal Championships refresh every Thursday and offer exclusive cars and Super Wheelspins. Running a full six-event playlist on Unbeatable difficulty is a great way to earn Season Points toward more Wheelspins.
For pure speed, Horizon Tours and Horizon Open grant Forza Points and XP. Good drivers can chain five events in 15 minutes, and the almost non-existent loading time between matches keeps the momentum going.
Do not sleep on PR Stunts either. Speed Traps and Drift Zones have daily leaderboards, and cracking the top 1% awards credits and Wheelspins. When you are tuned for each stunt, you can bag that reward in under 10 minutes.
Story chapters - like the final missions in Born Fast or V10 - are only 2–3 minutes long. Replaying them rewards Accolade Points rather than fixed credits, making them useful for progression rather than direct credit farming.
Finally, if you would rather not drive at all, auction-house flipping is still viable. Snipe under-priced FE or seasonal reward cars during peak listing hours (Friday night UTC), then relist them around 20:00 UTC when demand spikes. Sharp traders can clear 1–3 million CR in half an hour.
Conclusion
Mastering Forza Horizon 5's difficulty and credit systems is about finding the right balance for your skill and goals. Whether you're chasing the maximum +100% payout on Unbeatable AI or a more consistent build on Pro, the right settings turn every race into a more rewarding experience. Now, fine-tune your configuration and hit the road to fill your garage.
More forza-horizon-5 Guides
Forza Horizon 5: Complete Guide to Buenas Vistas House and Fast Travel Anywhere
Learn how to earn 2 million credits quickly, unlock the Buenas Vistas house for map-wide fast travel, and optimize your gameplay in Forza Horizon 5. Step-by-step roadmap included.
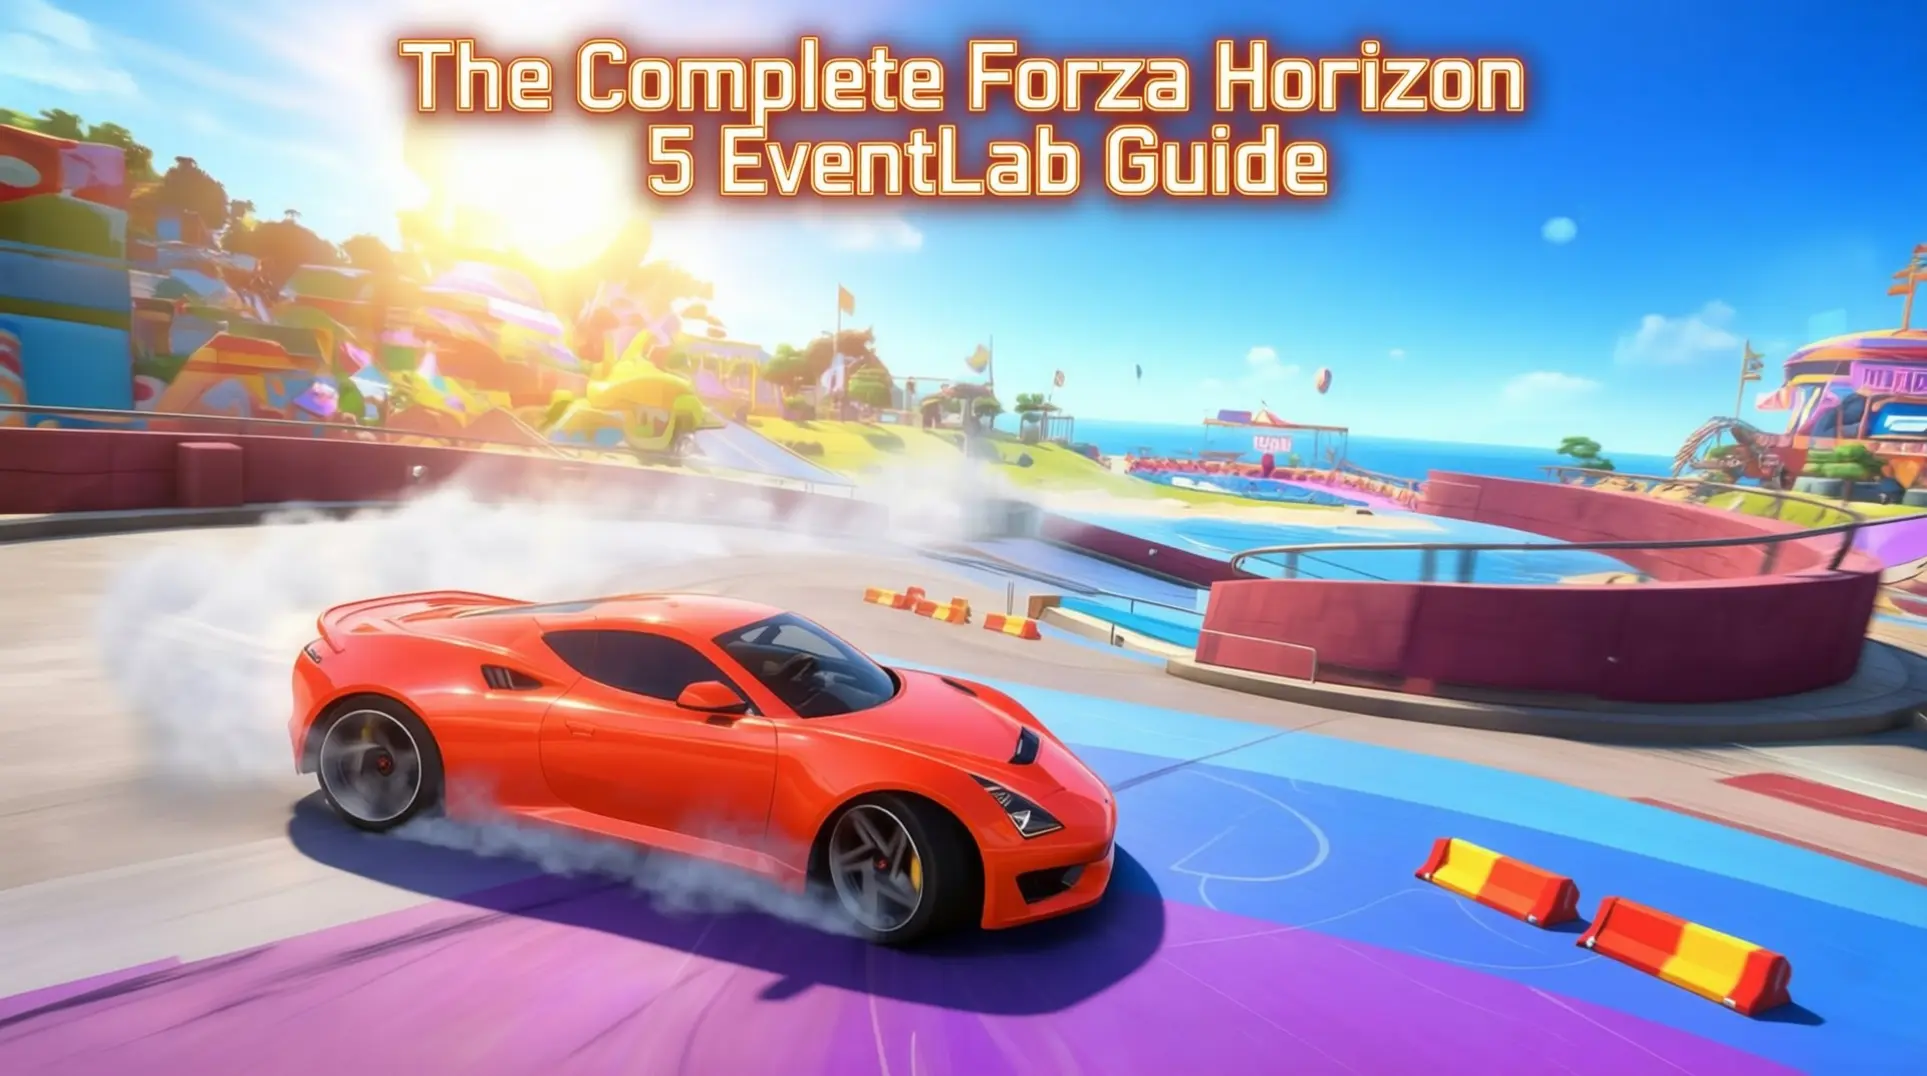
The Complete Forza Horizon 5 EventLab Guide - From Beginner to Master Builder
Unlock EventLab, master track building, logic systems, prop budgets, and publishing. Learn pro tips for creating viral custom events in Forza Horizon 5.
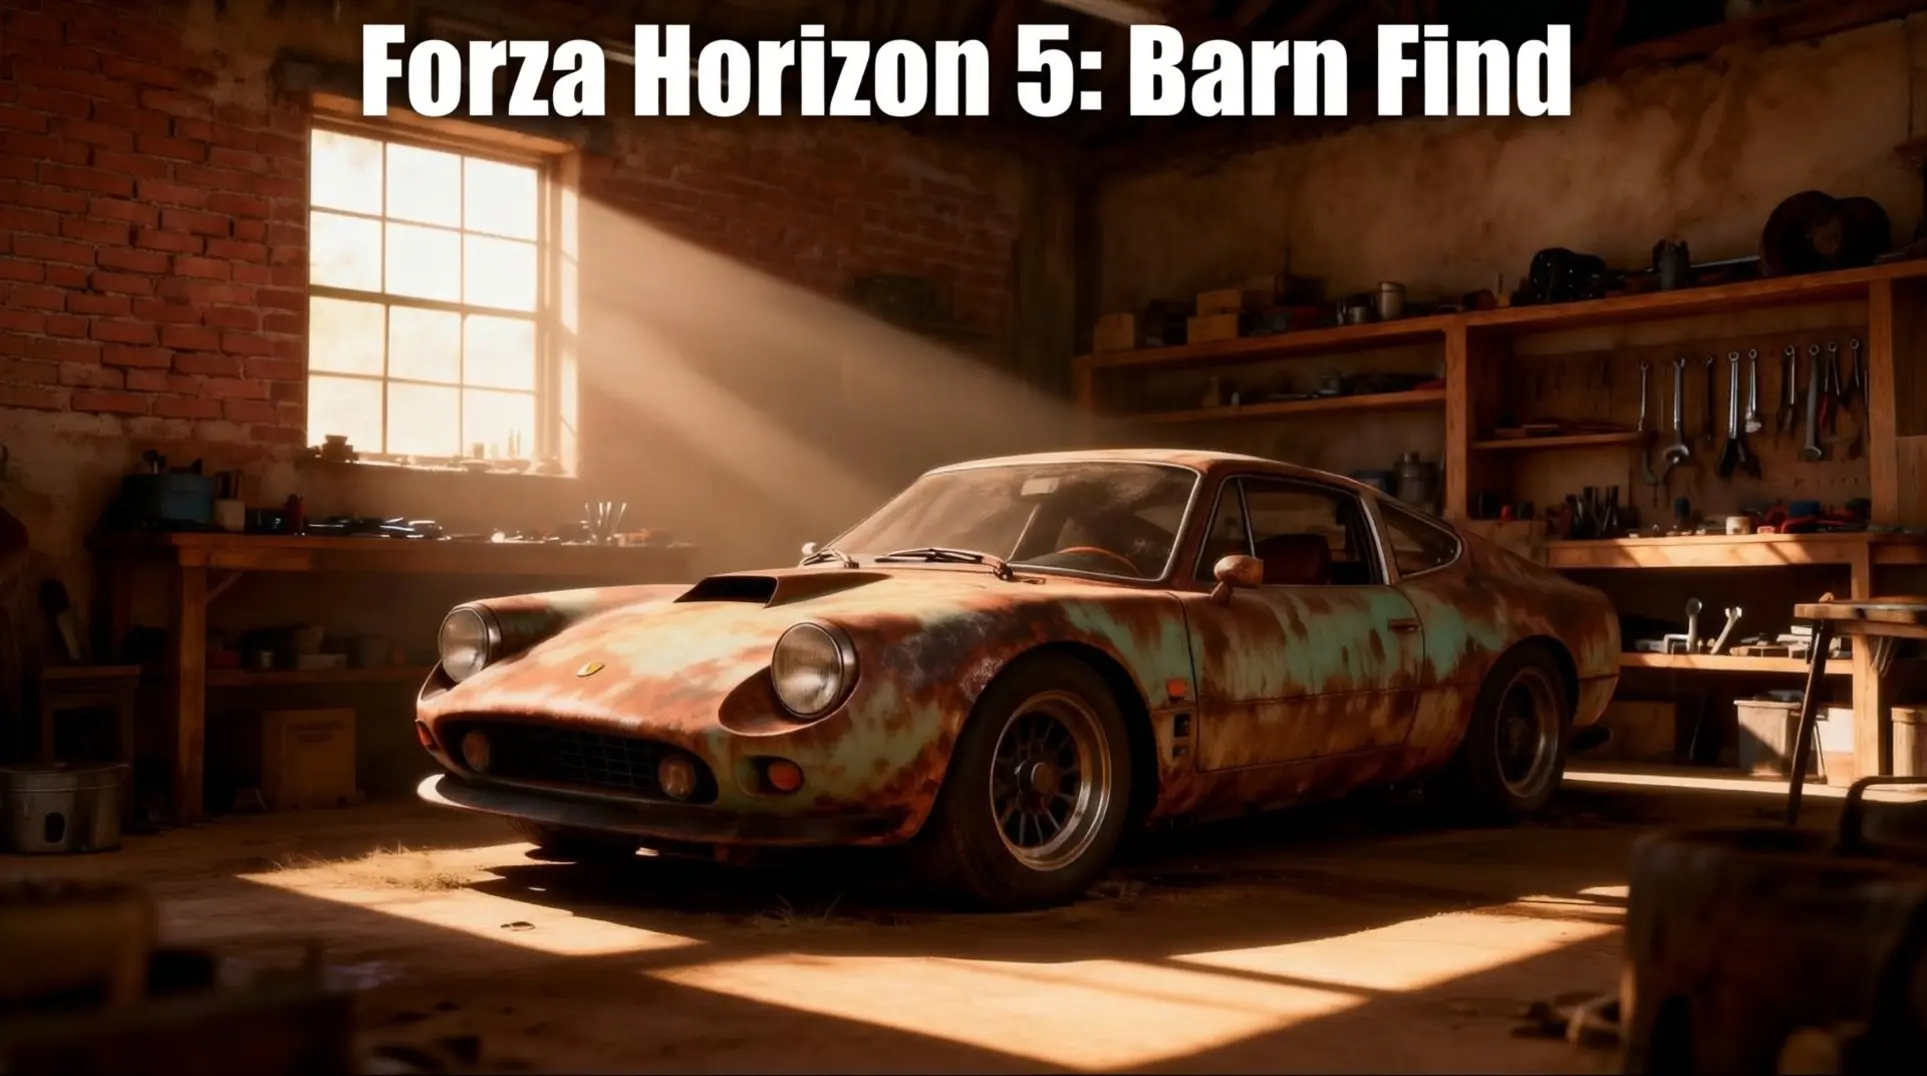
The Complete Forza Horizon 5 Barn Finds Guide - Locations, Mechanics & 50 Million CR Ferrari
Master the Barn Find system in Forza Horizon 5. Learn how rumors work, where to find all 14 hidden cars, and how to restore the legendary 50 million CR Ferrari 250 GTO.
AI Tactical Companion
Consult with our specialized tactical engine for forza-horizon-5 to master the meta instantly.