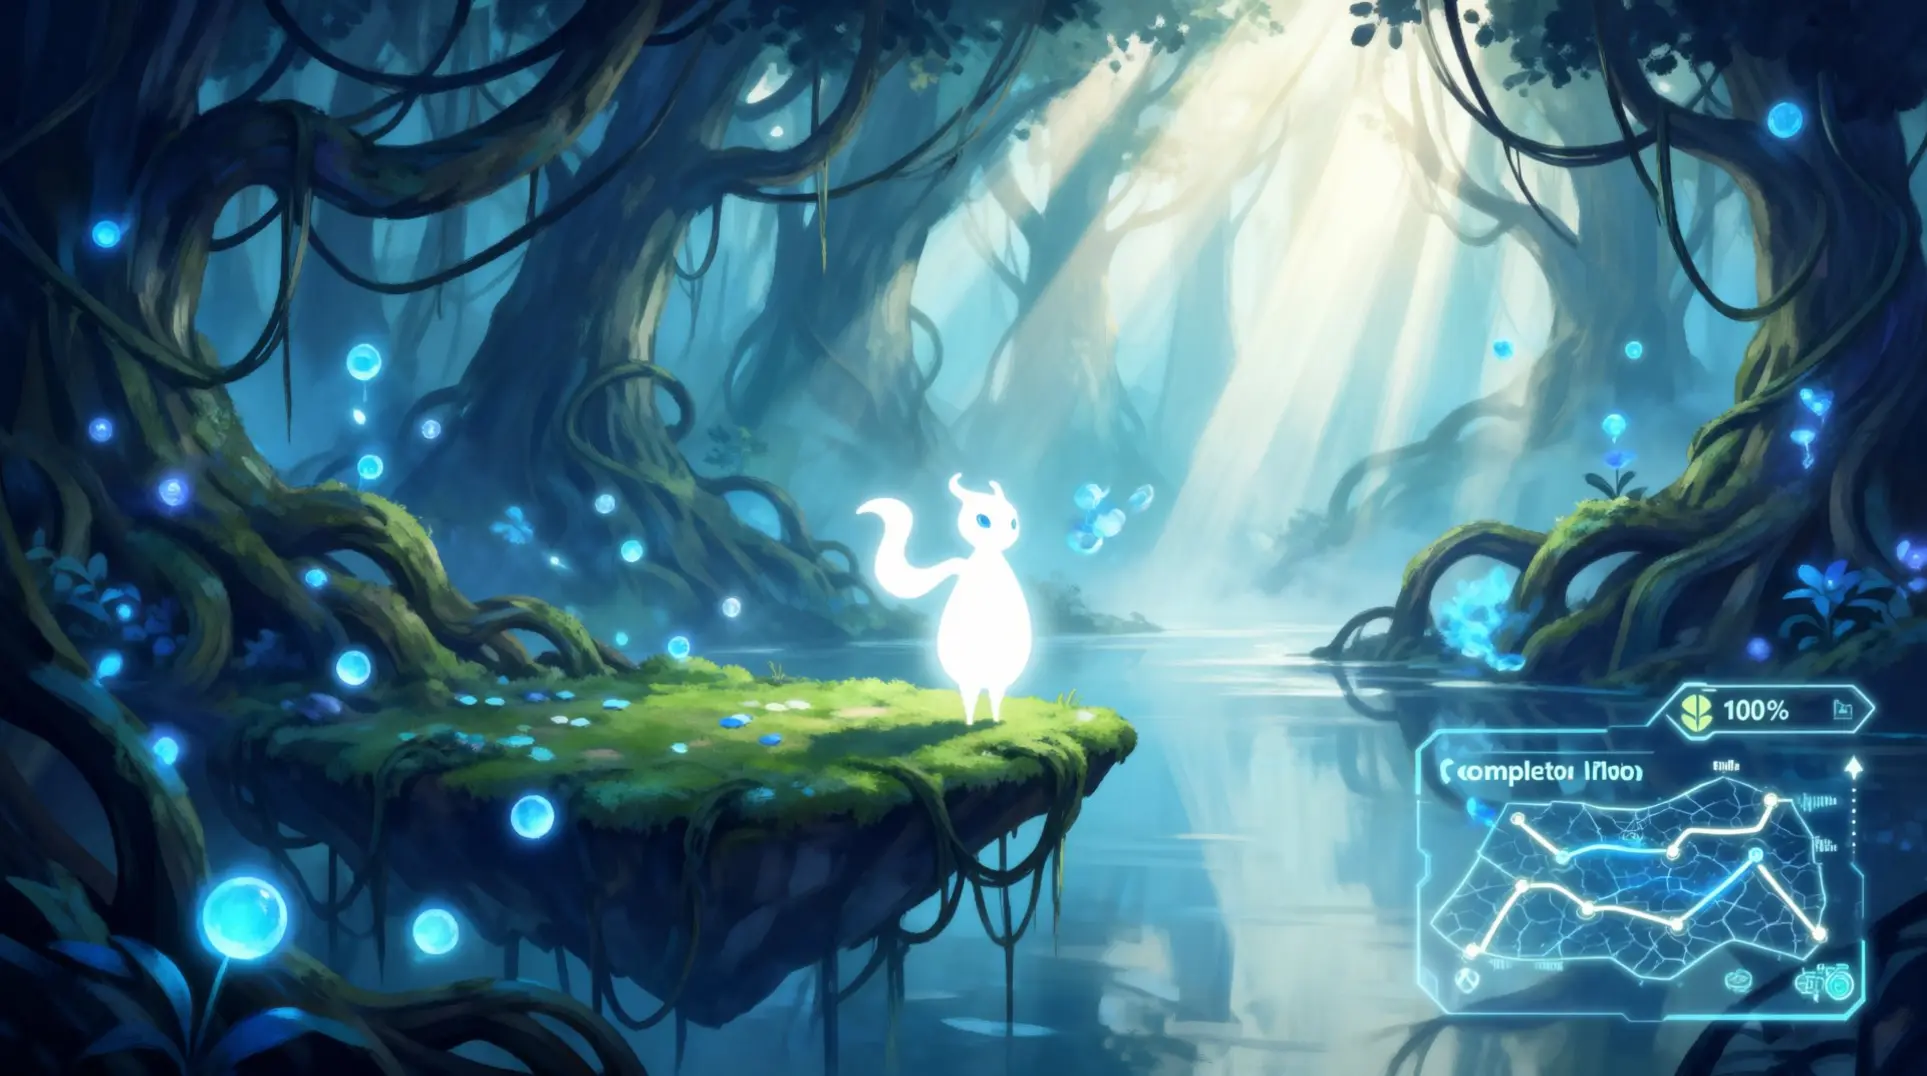
Ori and the Will of the Wisps: Ultimate 100% Completion Guide
Introduction
Chasing 100% completion in Ori and the Will of the Wisps is a massive undertaking, requiring you to complete a specific checklist of collectibles, upgrades, and quests. Getting stuck at 99% is a common and frustrating roadblock. This guide breaks down the exact requirements and provides a step-by-step route to ensure you don't miss a single collectible, upgrade, or quest.
Understanding 100% Completion Requirements
Essential Completion Requirements
If you're hunting that perfect save file, you need to tick off the following exact categories. Team Hitless breaks it down like this:
- All Abilities + Upgrades (18 total): You must acquire all 18 distinct ability trees and fully upgrade each one (31 total nodes).
- All Spirit Shards (31 unique): Every shard must be found or purchased. Upgrading is optional for completion.
- Life Cells (12 total): You must collect 24 Life Cell Fragments, which combine to form 12 full Life Cells.
- Energy Cells (20 total): You must collect 40 Energy Cell Fragments, which combine to form 20 full Energy Cells.
- Gorlek Ore (40 chunks): You need all 40 pieces for 100% completion, though only 30 are required to rebuild Wellspring Glades.
- Combat Shrines (5 total): These wave-based arenas each unlock an extra shard slot when cleared.
- Spirit Trials (8 total): You must beat the target time (gold medal) in all eight trials.
- Side Quests: You must complete every side quest that appears in the quest log.
Common 99% Completion Pitfalls
Getting stuck at 99% is brutal, and it's almost never a hidden room. The usual suspects are way more annoying.
Another sneaky one: unclaimed side quest rewards. A quest isn't truly 'completed' until you walk back to the NPC and accept your prize. The marker won't clear until you do, which means your percentage won't budge either.
Combat Shrines and Spirit Trials can also trip you up. Their icons need to show a filled-in medal - not just an outline. If you see a hollow symbol, you haven't finished it yet.
And don't forget your area maps. You need to buy the Map Stone for every zone, then walk every corner to eliminate those black edges. A single unexplored tile can cost you that last percent.
If you've triple-checked everything and you're still stuck, try this last resort: completely close the game and relaunch it. There's a rare de-sync bug that recalculates your percentage on a fresh load, and sometimes that's all it takes to pop the achievement.
Collectible Checklist: The 143 Essential Items
If you're going for that sweet 100% completion in Ori and the Will of the Wisps, here's what you're really up against: 143 individual collectibles spread across eight major categories, and some of them aren't as straightforward as just picking them up.
Life Cell Fragments (24 Total → 12 Full Cells)
First up, Life Cell Fragments - and yeah, they're fragments, not whole cells. You'll need two pieces to make one full Life Cell, which means you're hunting down 24 fragments total to max out your health bar. These things are scattered across nine regions, and some areas are way more generous than others.
Inkwater Marsh kicks things off with 5 fragments, while Kwolok's Hollow bumps it up to 3. The Wellspring is where things get serious with 2 fragments hiding in its watery depths. Luma Pools contributes 3, while the remaining regions - Baur's Reach, Mouldwood Depths, Windswept Wastes, Midnight Burrows, and Willow's End - hand out the scraps. Nab every single fragment and you'll pop the 'Healthy' trophy, which feels pretty appropriate for maxing out your health.
Energy Cells (20 Total)
Energy works the same way - 40 fragments give you 20 full Energy Cells (those blue orbs you need for abilities). But here's where it gets tricky: a bunch of these fragments are locked behind late-game abilities. If you don't have Grapple, Burrow, or Launch, you're going to hit a lot of dead ends.
The distribution is all over the place, so here's the breakdown: Inkwater Marsh has 3 fragments, Kwolok's Hollow has 3, The Wellspring drops 10, and Luma Pools offers another 4. You'll also find them in Baur's Reach, Silent Woods, Windswept Wastes, Windtorn Ruins, Midnight Burrows, and Wellspring Glades. So keep those abilities in mind when you're backtracking.
Gorlek Ore (40 Pieces)
Gorlek Ore is where the real grind begins. You need all 40 pieces not just for completion, but to fully rebuild Wellspring Glades - so if you're wondering why that one building won't finish, you missed some ore. The map tracks these, which is nice, but there's a twist: it'll show 39/40 until you complete the 'Hand to Hand' side quest, which rewards the final piece.
As for the other 39 pieces, they're spread everywhere: Inkwater Marsh (5), Kwolok's Hollow (5), The Wellspring (6), Baur's Reach (5), Silent Woods (4), Windswept Wastes (7), Windtorn Ruins (1), Luma Pools (4), Mouldwood Depths (2), and Willow's End (5). Happy hunting.
Spirit Shards (31 Unique + Upgrades)
This is the big one that trips up most players. There are 31 unique Spirit Shards, and simply finding them counts toward 100%; upgrading is optional.
Some standouts you'll want to max early: Lifeforce provides a +30% damage bonus when Ori's current health is above 50%, Resilience cuts damage taken by 30%, and Harvest increases Spirit Light drops so you can afford everything else. Then there's Ultra Bash for damage, Last Stand to survive fatal blows, Catalyst for energy refunds, and Spirit Power to boost all melee and ability damage. Each upgrade costs both Gorlek Ore and Spirit Light, so you're juggling resources the entire game. Don't be the player who collects all 31 shards and wonders why the completion percentage is stuck - you've been warned.
Abilities & Upgrades (18 Total)
Combat Abilities & Weapon Skills
You won't get far in Niwen without some proper firepower, and that's where Opher comes in. This old toad hangs out in both Inkwater Marsh and Wellspring Glades, selling core movement and attack abilities that completely change how you fight. Here's the thing though: your first purchase from him is half-price, so that 800 Spirit Light ability will only cost you 400. Don't blow that discount on something you'll never use.
The lineup has six weapons total, and each one fills a specific niche:
- Spirit Arc is a light bow that fires quick arrows (becomes rapid-fire with Quickshot shard) - perfect for spamming enemies from a distance
- Spirit Smash is a slow, heavy hammer that breaks blocks and staggers everything it hits
- Spirit Star acts like a boomerang, letting you hit enemies around corners
- Blaze is a short-range flamethrower ability
- Sentry drops an auto-turret that fights for you
- Spike plants a ground mine with the highest single-hit damage in the game
Pick what fits your style, but remember - you're not done paying for them yet.
Movement & Utility Abilities
These are the real MVPs for exploration and hitting that 100% completion. Most movement skills come from Ancestral Trees or story moments, so you can't really miss them:
- Double Jump from Inkwater Marsh is your early game verticality
- Dash in Baur's Reach gets you across gaps
- Burrow (Windswept Wastes) lets you dive through sand
- Launch from Weeping Ridge (Silent Woods) is basically a rocket jump
- Grapple is found at an Ancestral Tree in the Wellspring after speaking with Kwolok
Utility abilities are where things get interesting. Water Breath is purchased from Opher in Wellspring Glades - total game-changer. Regenerate from Midnight Burrows lets you trade energy for healing, which means you can save your Soul Links for checkpoints. Spirit Light Harvest passively boosts your currency drops.
Then there's Flash from Baur's Reach, and this one's clutch. It creates a damaging light aura. That aura is the only way to survive the dark areas like Mouldwood Depths without taking constant damage.
Oh, and Triple Jump exists, but it is purchased from Twillen's shop.
Ability Upgrade Requirements
Here's completionists start sweating. Buying a base ability from Opher counts toward completion. Each weapon has its own upgrade path, and the Spirit Light costs add up fast.
Let's look at some numbers:
- Spirit Smash starts at 800 Spirit Light (or 400 if it's your first buy), then Shock Smash costs another 1,200
- Blaze runs 800 for the base, then Charge Blaze is another 1,600
- Sentry costs 400 initially (or 800), with Sentry Speed at 1,600
- Spike is 400 base (or 800), and Exploding Spike will run you 1,600
You're looking at roughly 32,450 Spirit Light just to buy every base ability and all their upgrades, and that's before you even touch the 32,450 you'll need for Spirit Shards. If you want everything maxed, you'll be farming Spirit Light for a while, so get comfortable replaying areas and hunting down those wisps.
Challenges & Side Content
If you are gunning for 100% or just want to juice Ori to the max, here is everything that is not on the main path. Some of it is easy to miss, and a few pieces are locked until you have the right upgrades.
Combat Shrine Locations and Rewards
Combat Shrines are the only way to get more Shard Slots, and you need every single one if you want to run a real build. They are tucked away in corners you’d otherwise ignore, and missing just one means you are short a slot. All five give the same reward, but the journey to each one is different.
| Location | Where to Find | Reward |
|---|---|---|
| Inkwater Marsh | Drop below the hollow log where Opher is met | +1 Shard Slot |
| Kwolok's Hollow | Bash off the Luma bulb to the high left alcove after the toad cutscene | +1 Shard Slot |
| Mouldwood Depths | West after finding the Moki, requiring the Flash ability | +1 Shard Slot |
| Baur's Reach | East from the second Spirit Well, taking the lower path and reaching a Spirit Gate | +1 Shard Slot |
| Silent Woods | East from the second Spirit Well, take the lower route after the bridge | +1 Shard Slot |
The Silent Woods shrine is brutal to spot when you are panicking about Shrieks, so grab it on your first pass if you can.
Spirit Trial Locations (All 8)
Spirit Trials are those glowing race tracks that test your movement tech. The good news: you only need to finish them for 100%, not hit some crazy leaderboard time. Just cross the finish line and you are done.
| Location | Trial Name | Where to Start | Where to Finish |
|---|---|---|---|
| Inkwater Marsh | Inkwater Marsh Spirit Trial | High root left of the first Spirit Well | Near Grom's first encounter |
| Kwolok's Hollow | Kwolok's Hollow Spirit Trial | Path toward Luma Pools | Above the shop pool |
| The Wellspring | Wellspring Descent | Near the breakable floor | After the first water-wheel |
| Luma Pools | Luma Pools Spirit Trial | Behind the coral wall near the Spirit Well | On the coral outcrop |
| Baur's Reach | Reach Slalom | Inside the hollow log after the downhill chase | Snowy platform before the Moki |
| Mouldwood Depths | Depths Dash | Near the hanging lantern | Next to the map stone |
| Windswept Wastes | Wastes Loop | Half-buried pillar | High pedestal with Gorlek Ore |
| Silent Woods | Woods Rush | Inside the hollow trunk | Branch overlooking the petrified Moki village |
Baur's Reach will test your patience with ice physics, and Silent Woods feels like a nightmare when you are being hunted. Do not stress about the ghost times.
All 12 Side Quests (NPCs, Requirements, Rewards)
Side quests are where Ori hides its best stuff. Some are one-and-done fetch quests, but a few are massive chains that span the entire map. Here is the full list so you do not miss the important ones, especially the easy-to-skip 'Into the Darkness.'
| Quest Name | NPC | What You Need to Do | Reward |
|---|---|---|---|
| Into the Darkness | Lupo | Use the Flash shard to carry a lantern through a dark cave | Gorlek Ore + permanent warp/heal lantern |
| Hand to Hand | Tokk | Trade items: Moki → Tokk → Grom → Opher → Tuley → Tupo | Key of the Hand (or Secret Shard) |
| Family Reunion | Grom | Find the Petrified Doll in the Silent Woods | Hut key |
| A Diamond in the Rough | Motay | Use Burrow on a shovel in Windswept Wastes to get an Eerie Gem | Secret Spirit Shard |
| Lost and Found | Twillen | Complete the 'The Lost Compass' quest | Gorlek Ore |
| The Kindness of Strangers | Tuley | Deliver a Handkerchief to Tokk and a Memento to Twillen | 1 Gorlek Ore and Spirit Light |
| Test of Courage | Mokk | Survive the spiked gauntlet in Baur's Reach under 45 seconds | Shard Slot upgrade (+15 Resilience) |
| Adept's Path | Opher | Spend 800 Spirit Light with Opher | 'Chaos' Shard |
| Memories of the Forest | Ku | Find 4 Feather Fragments in Windswept Wastes and Silent Woods | Gorlek Ore + Ku Feather cosmetic |
| Rebuild the Glade | Grom | Bring 31 Gorlek Ores total | Various caches + final Spirit Well warp hub |
| Cartographer's Protégé | Lupo | Purchase every area map | Achievement |
Hand to Hand is the longest chain by far, and Into the Darkness is easy to miss if you do not backtrack with the Flashlight. Grab them early so you are not running circles later.
Area Completion & Map Exploration
Map Fragment Locations
First things first: if you want to see where every collectible is hiding, you need Lupo's maps. This little cartographer sells 11 zone maps total, and buying all of them unlocks the Cartographer's Protégé achievement. Unfortunately, Grom's map markers don't count for this, so you'll need to track Lupo down in every single area.
Here's where he hides out:
In Inkwater Marsh, you'll find him tucked inside a tiny air-pocket house under the broken bridge on the far right of the marsh. It's your first meeting, so you really can't miss him if you're exploring properly.
Kwolok's Hollow has him perched on a small wooden platform halfway up a climbable wall, right of the first Spirit Well. Just keep your eyes up while you're climbing and you'll spot his little shop.
The Wellspring location is trickier since it's underwater. Lupo's inside an air pocket on the right side of the large flooded chamber, just right of the central Spirit Well. You'll need to swim around a bit to find it, but he's there.
Luma Pools requires some actual platforming. After the first long swim-section, you'll bash off a Luma fish to reach a high coral shelf, and Lupo waits inside a small cave above the waterline there. It's a bit of a trip, but the map's worth it.
For Baur's Reach, ascend the first wind-tunnel gauntlet and look for a breakable floor just before the second giant stump. Smash through and you'll find Lupo's snow-covered shack hidden underneath.
Windswept Wastes hides him inside the buried stone tower that houses the first Sand-Worm chase. Drop to the lowest interior ledge before you exit right, and you'll see his camp.
In Windtorn Ruins, Lupo does not appear. The map is provided by a Map Stone located at the start of the zone.
Silent Woods is creepy as hell, but Lupo's not here. He asks you to chart it for him.
Mouldwood Depths is probably the worst one. In the pitch-black section guarded by the giant spider, you have to stick to the ceiling with the Feather ability until you spot a faint lantern glow. Lupo is located in a hidden chamber above the Spirit Well.
Willow's End is near the finish line. Lupo is located on a platform near the first Spirit Well.
Finally, Midnight Burrows: after solving the rotating-pillar puzzle, Lupo is located in the upper-left portal nook.
Region-by-Region Completion Checklist
Now for the real grind. Getting 100% means ticking off every single box in each region, and some areas are way more demanding than others.
Inkwater Marsh is your starting zone, but it still packs a punch. You'll need to activate the Spirit Well, buy Lupo's map, collect 3 Gorlek Ore, 4 Life Cell fragments, 4 Energy Cell fragments, and 2 Keystone pairs. Complete the 'A Little Braver' quest by planting that seed, get the Torch shard from the freed Moki, and clear the Ability Ring bells puzzle (remember to hit them backwards). Oh, and don't forget to open the Midnight Burrows gate before you leave, or you'll be backtracking later.
Kwolok's Hollow is where things start getting serious. Grab Lupo's map and activate 1 Spirit Well. You'll need 25 Spirit Light containers, 2 Gorlek Ores, 3 Life Cell fragments, 3 Energy Cell fragments, and 6 Keystone pairs. Hunt down 5 Spirit shards (Catalyst, Reckless, Vitality, Secret, Sticky), complete the 'Hand-to-Hand' quest, defeat the mini-boss, and cleanse the water in The Wellspring. Pro tip: you'll need Light Burst from Baur's Reach to access some submerged pickups here, so don't try to 100% this place immediately.
Wellspring Glades is your hub area, and it will eat your Ore for breakfast. Rebuild all 5 projects with Gorlek Ore. Finish side-quests 'Hand to Hand' (final turn-in is in Luma Pools, annoying, I know), 'Tuley's Garden', and 'Help Motay'. Purchase every combat skill from Opher and every shard from Twillen. Buy Lupo's map and upgrades, collect any missing Life/Energy/Gorlek Ore pickups, and physically enter the top-tree secret house after the final rebuild. This place is a resource sink, so save your Ore.
For global requirements that apply to your whole save file, you'll need all 18 abilities fully upgraded, all 31 unique Spirit Shards, 12 Life Cells, 20 Energy Cells, 40 Gorlek Ore total, every side-quest finished, and every Spirit Well activated for fast travel. It's a lot, but you can chip away at it.
Common Stuck-at-99% Fixes: Rotate your camera constantly to find small unrevealed foreground foliage tiles that are easy to miss. Sometimes re-equipping newly bought shards forces a save update and reveals hidden progress. If you're on a pre-patch version, check for offset collectible icons that might be hiding. And here's a weird one: Silent Woods shows no map percentage, but it still holds 1 Energy Cell and 1 Shard you need for global 100%, so don't skip it just because the map says zero.
Efficient 100% Completion Route
Alright, so you're aiming for that sweet 100% completion? Here's the deal: don't waste time hunting every single thing on your first run. The game is designed for a two-phase approach, and trying to grab everything early will just burn you out.
Phase 1: Story Playthrough (60% Completion)
First things first - the moment you hit that Spirit Well in Inkwater Marsh, book it to Lupo and buy the map. This isn't optional. That map reveals every secret and keystone location, which stops you from missing stuff you'll just have to backtrack for later. While you're in the area, finish the 'A Diamond in the Rough' quest - it rewards the Secret Spirit Shard, and that's way more valuable than any early damage upgrade.
Before you leave Inkwater Marsh, grab the Water Breath shard from Luma Pools (later in the game). You might not need it immediately, but skipping it now means forced backtracking later when you're cleaning up submerged secrets. Same goes for the first combat shrine: that +10% Spirit Edge damage buff makes the first boss way less of a headache.
Here's a micro-tip: practice the Bash-Jump-Glide combo while you're still in the early areas. The worm escape sequence is just the beginning, and you'll be hitting way harder chases later. Muscle memory matters.
When it comes to spending Spirit Light, prioritize earning shard slots by completing Combat Shrines before anything else. Don't blow your money on damage shards early - you'll want the flexibility later. Once you finally get Wall Grab, immediately backtrack to Inkwater Marsh. Those unreachable collectibles? Yeah, they're now yours for the taking.
Phase 2: Post-Credits Cleanup (85% Completion)
After the credits roll, the game dumps you back at the pre-final-boss Spirit Well with every ability and upgrade intact. This is your cleanup window. With Launch, Burrow, and Kuro's Feather fully online, you can finally sequence-break and reach those treasure troves that were mocking you earlier.
Your priority list is pretty straightforward. First, activate every Spirit Well - those glowing flowers create one-way shortcuts that'll save your sanity during cross-map runs. Next, hammer out the remaining side quests in Baur's Reach, Mouldwood Depths, Luma Pools, and Windswept Wastes. Then tackle the Spirit Trial in Silent Woods for exclusive shard upgrades and bonus Spirit Light.
Speaking of shards, make sure you've got Ultra Bash, Ultra Grapple, and Charged Leap upgraded. These three are your keys to the hidden areas you couldn't touch before. Finally, dump any leftover Spirit Light at merchants to buy remaining upgrades - the game tracks these for completion, and you don't want to get stuck at 99% because you hoarded currency.
Phase 3: Final Verification (100% Completion)
Now for the annoying part. The game's internal 100% counter is picky. It needs every map tile revealed, every collectible collected, and all side quests completed. If you're staring at 99%, don't panic.
The most common trap is the hidden Hand to Hand side quest in Windswept Wastes - you need to place the final map stone in the temple statue, which is easy to miss, but it'll lock you out of 100%.
Use the map reveal function (Y/Triangle/V) to scan for any grey outline tiles. Run over every single one to ensure total coverage. After beating the final boss, if you're still stuck, try this: hand in your final collectible, fast-travel to a new area, then manually save and reload in Willow's End.
Once it's done, your save file will show a filled bubble and 100% on the load screen. That's your confirmation. You've officially cleaned house.
Achievement & Trophy Guide
Collection-Based Achievements
First up is 'Healthy', which wants you to push Ori's Life Cells to the absolute cap of 20. You’ll start with 3, and the story hands you 5 more automatically, which means you’re hunting down 24 Life Cell Fragments to fill the rest. Sometimes the achievement doesn’t pop right when you hit 20/20, which is frustrating, but there’s a simple fix - just save your game, quit to the main menu, and reload. That usually forces the flag to update.
Then there's 'Fully Slotted', and this one’s tied directly to 'Shrine Bright' (we’ll get to that). You’ll need to upgrade all Shard Slots to the maximum of eight (3 base + 5 from shrines), and you do this by completing all five Combat Shrines. Each shrine you beat rewards one Shard Slot Upgrade, so you're killing two birds with one stone here. And if you're a completionist, 'Cartographer’s Protégé' is purely about shopping. You’ve got to buy all 11 regional maps from Lupo, and it’ll cost you roughly 3,100 Spirit Light total. That’s a lot of grinding, but the maps are worth it for the full clear.
Completion & Challenge Achievements
The 'Shrine Bright' achievement is exactly what we just mentioned: survive all five Combat Shrines and their escalating enemy waves. These arena-style challenges aren’t just for show - they’re mandatory for anyone chasing 100%. Meanwhile, 'Completionist' is a different beast entirely. You’ll need to complete the specific checklist of collectibles, upgrades, and quests, including the entire 'Hand to Hand' trade sequence and any other fetch or escort quests you find.
Now, here’s where things get tricky. That 100% completion counter can be a real pain because it’ll often stick you at 99% and you’ll have no idea why. Most of the time, it’s one of two things: either you missed the final Energy Cell that Opher sells for 1,500 Spirit Light (and this only appears after you’ve bought his entire shard inventory), or you forgot to spend that 15th Gorlek Ore on the last Wellspring Glades project. The 100% Completion achievement only pops when the game's internal counter hits the full mark, which means checking off everything - Life Cells, Energy Cells, Spirit Shards, Gorlek Ores, all Combat Shrines and Spirit Trials, every map purchase, and every single quest. It’s a massive checklist, but that’s what true 100% means here.
Conclusion
Achieving 100% is a meticulous process of checking off every Life Cell, Energy Cell, Spirit Shard, and Gorlek Ore, while also completing all side quests and challenges. Follow the efficient route, double-check for common pitfalls like un-upgraded shards, and remember to reload your save to trigger the final flag. Your perfect save file awaits.
More ori-and-the-will-of-the-wisps Guides

The Ultimate 100% Completion Guide for Ori and the Will of the Wisps
A comprehensive guide to achieving 100% completion in Ori and the Will of the Wisps, covering optimal routes, collectibles, achievements, and troubleshooting the 99% bug.
Ori and the Will of the Wisps: Ultimate Resource Farming Guide
Learn how to farm Spirit Light efficiently and find all Gorlek Ore locations in Ori and the Will of the Wisps. Master progression strategies for 100% completion.
Ori and the Will of the Wisps: The Ultimate Guide to Hidden Secrets
Uncover every secret in Ori and the Will of the Wisps, from hidden shards and developer rooms to speedrun tech and nostalgic callbacks. A complete guide for completionists.
AI Tactical Companion
Consult with our specialized tactical engine for ori-and-the-will-of-the-wisps to master the meta instantly.