Best Palworld Base Locations: Strategic Resource & Defense Guide
Why Base Location Choice Defines Your Palworld Success
Your choice of base location in Palworld is the strategic cornerstone of your entire operation, fundamentally shaping your efficiency, security, and progression speed.
An optimal location is not merely a convenience; it's a critical multiplier for your success, balancing resource accessibility, defensive positioning, and long-term scalability.
Early-Game Starting Points
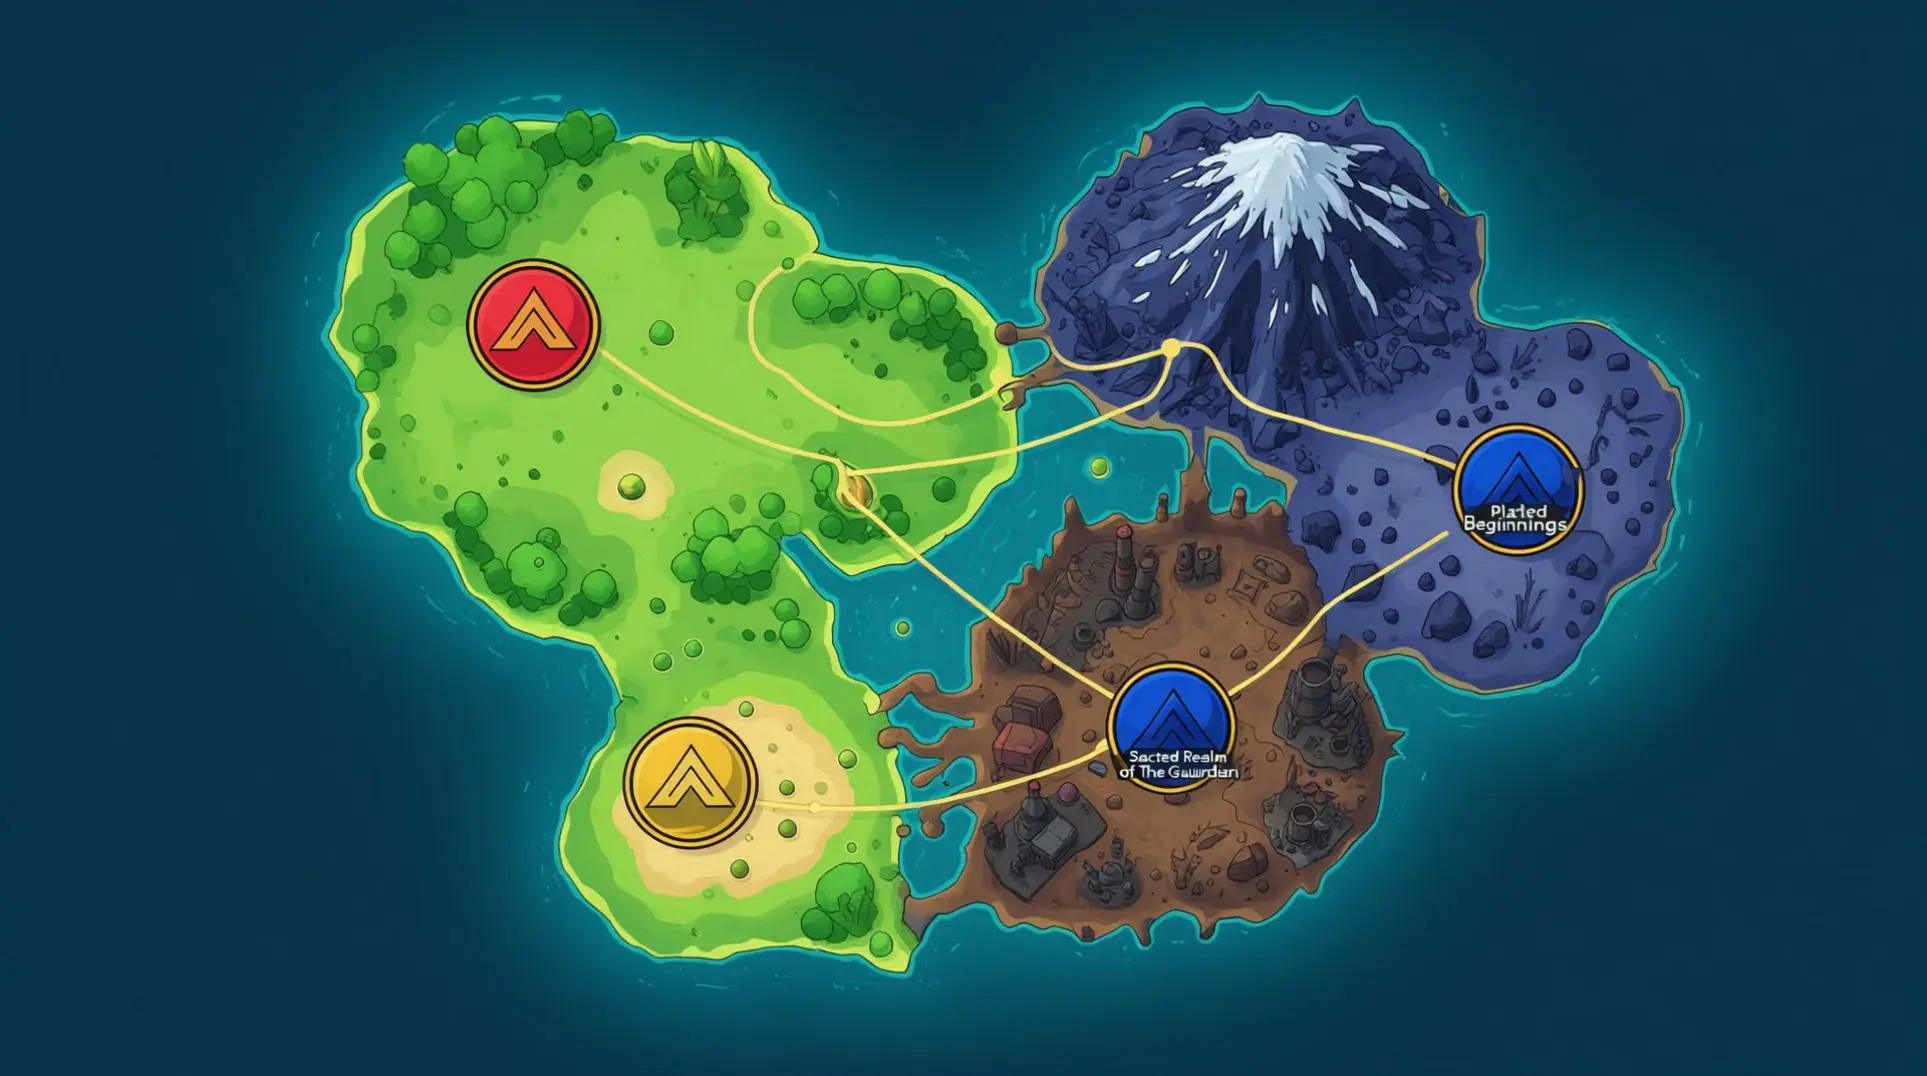
For new players, the Plateau of Beginnings is the quintessential starting point. Its coordinates (approximately 233, -488) offer a haven rich in beginner essentials like Wood, Stone, and Paldium Fragments, though as of the 2025 Tides of Terraria update, it is no longer completely secure from high-level threats like Nightwing Raids, Syndicate Scout Squads, and Ore-Vein Worms.
This area also provides access to nearby dungeons for early ore farming, establishing a powerful foundation for your journey.
Advanced Multi-Base Strategy
As you advance, the strategy evolves. Top players don't rely on a single outpost; they establish multiple specialized bases to maximize efficiency.
A dedicated mining base at a location like the area west of Fort Ruins (156, -396), with its seven ore nodes, becomes essential for gathering materials to craft advanced gear.
Defensive and Logistical Advantages
Defensive advantages are equally crucial. Prioritize elevated terrain like the Cliffside Fortress, which offers natural protection against raids.
Furthermore, your base itself becomes a fast travel point, strategically creating new access routes to otherwise remote and resource-rich areas of the map.
Avoid the common pitfall of building in a resource-poor "pretty" spot; your success is defined by prioritizing function over aesthetics, ensuring your chosen location can support your ambitions from early game to the endgame meta.
Top 5 Strategic Base Locations for Maximum Efficiency
Choosing the right base location is a critical strategic decision that balances resource access with defensive security. Based on the current meta, which prioritizes defensive positioning and choke point utilization, here are the top five spots for maximum efficiency.
Late-Game Production Hub
For unparalleled late-game production, the Sakurajima Oil Fields (-646, 270) is unmatched. This location features multiple oil field sites with 2 to 3 crude oil deposits each, making it essential for crafting high-tier gear and Plasteel.
Its elevated position also offers excellent natural raid protection, securing your valuable end-game operations.
Maximum Ore Yield
If your goal is massive ore production, look no further than the Small Settlement Ore Farm (11, -523). With an incredible eight ore nodes—the highest yield in the game—this spot is perfect for mid-to-late game ingot production.
Its cliffside location provides a single access point, making raid defense straightforward.
Secure Early-Game Start
For a superb early-game start, the Fort Ruins (155, -394) is a unique find. It offers seven ore nodes and a massive defensive advantage: enemy pathing bugs make it nearly immune to raids.
This allows new players to accumulate resources in complete safety.
Balanced Early-to-Mid Game Option
The Northwestern Plateau (Near Chillet) provides an excellent balanced option for early-to-mid game players. It boasts abundant ore on a flat, buildable plateau, giving you a natural height advantage against threats—perfect for a multi-story base.
Scenic and Efficient
Finally, the Coordinate Ore Farm (-74, -319) combines efficiency with aesthetics. Located in a serene, autumn-themed area, it offers strong resource access and good visibility for defense, proving that functionality and a peaceful atmosphere can go hand-in-hand.
Resource-Specific Base Placement Strategies
When establishing bases for farming specific resources, pinpointing the right location is half the battle.
Sulfur Farming
For dedicated sulfur operations, the premier spot is Mount Obsidian West (coordinates -744, -442), which boasts a dense cluster of seven nodes with four more nearby. This location is perfect for late-game players, as the community consensus prioritizes sulfur for advanced ammunition and equipment.
However, this area requires careful management due to hazardous lava pools; building protective walls is essential for safety.
Coal and Ore Combination
If you're in the mid-game and need both coal and ore simultaneously, the Sealed Realm of the Guardian (coordinates 180, -39) is an excellent choice. It offers a medium-sized build area with normal climate conditions, making it ideal for progression.
For a more mixed approach near end-game areas, the location near the Jetragon spawn (-788, -321) provides a good mix of coal and sulfur, though it demands strong defensive preparations against powerful enemy Pals.
Resource Management Tips
- Resources respawn after a full in-game day cycle.
- You can adjust the "Gatherable Objects Respawn Interval" setting to 0.5 for faster regeneration.
- The most effective strategy is to establish separate, dedicated bases for different resource types to prevent interference and maximize efficiency.
Defensive Positioning: Natural Choke Points & Elevation
In Palworld, your base's location is your first and most powerful line of defense. Mastering natural choke points and elevation can turn a vulnerable outpost into an impenetrable fortress.
Utilizing Elevation Superiority
The ultimate example is the Cliffside Fortress at coordinates (205, -411), a location prized for its elevation superiority. This high ground provides a commanding bird's-eye view, making it extremely difficult for raiders to navigate the steep, rocky inclines that dissuade attacks and create multiple natural choke points.
Forcing Enemy Pathing
The core principle is to force enemies into predictable pathways. Seek out locations with only one or two access points, such as narrow bridges or elevated islands.
These natural bottlenecks allow you to concentrate your defensive efforts, from Pal deployments to mounted weapons. Raiders, when faced with significant terrain obstacles, will often retreat after several failed attempts to breach your defenses.
Reinforcing with Construction
However, natural advantages must be reinforced with smart construction. Stone walls are strongly recommended for effective late-game raid defense. Building a full perimeter of stone walls is crucial, as it compensates for current pathing limitations that can prevent raid NPCs from properly engaging.
By combining unassailable elevation with constructed stone walls, you create a layered defense that is incredibly difficult to breach.
Multi-Base Strategy: Specializing Your Palworld Empire
Mastering a multi-base strategy is the key to transforming your Palworld operations from a simple camp into a sprawling, efficient empire.
The Principle of Specialization
The core principle is specialization: dedicating each of your available bases—the default maximum has increased to ten in 2025—to a distinct, high-value function to maximize output. The most popular setup among seasoned players involves a trifecta of specialization:
- A main base for general crafting and production
- A dedicated ore and coal mining outpost
- A third base focused on harvesting rare resources like sulfur and quartz
Creating a Breeding Base
For those focused on breeding powerful Pals, a dedicated breeding base is highly recommended. This isn't just about placing a few pens; it requires a completely self-sufficient cake production chain.
This means integrating ranching for milk and eggs, farming for wheat and berries, and beekeeping for honey, all automated so your Pals seamlessly transport ingredients to storage. As noted in a community discussion, this level of specialization, while complex, is incredibly rewarding.
Logistical Coordination
The biggest challenge is logistical coordination and avoiding feeling overwhelmed. The key is strategic location scouting; placing your resource extraction bases directly on top of rich clusters, like large coal deposits in the desert, is non-negotiable for efficiency.
By thoughtfully assigning your Pals and pairing complementary functions, you can create a streamlined production network that fuels your entire Palworld ambitions.
Conclusion: Building Your Perfect Palworld Stronghold
Your base location strategy in Palworld evolves from simple survival to sophisticated empire management. Start with secure early-game locations like the Plateau of Beginnings, then expand into specialized bases that maximize resource extraction, crafting efficiency, and defensive capabilities.
Remember that the optimal approach involves multiple bases—don't try to cram everything into one location. Prioritize defensive terrain with natural choke points, and always build with stone walls for late-game raid protection.
Whether you're farming sulfur at Mount Obsidian West or establishing a breeding paradise, strategic base placement remains the foundation of Palworld success. Choose wisely, build strategically, and watch your Palworld empire thrive.
More Palworld Guides

Palworld vs Nintendo: Inspiration or Plagiarism Battle
Explore the full story behind Nintendo's patent lawsuit against Palworld developer Pocketpair. Learn about design similarities, legal precedents, and industry impact.

Complete Palworld Pal List: Stats, Abilities & Locations Guide
Master Palworld with our complete pal list guide covering stats, abilities, locations, breeding combinations, and top-tier Pals for combat, base work, and mounts.
Palworld Cave Exploration Guide: Locations, Treasures & Dangers
Master Palworld's underground realm with our complete cave guide. Discover hidden locations, rare loot drops, Alpha Pal strategies, and survival tips for dangerous cave exploration.
AI Tactical Companion
Consult with our specialized tactical engine for Palworld to master the meta instantly.