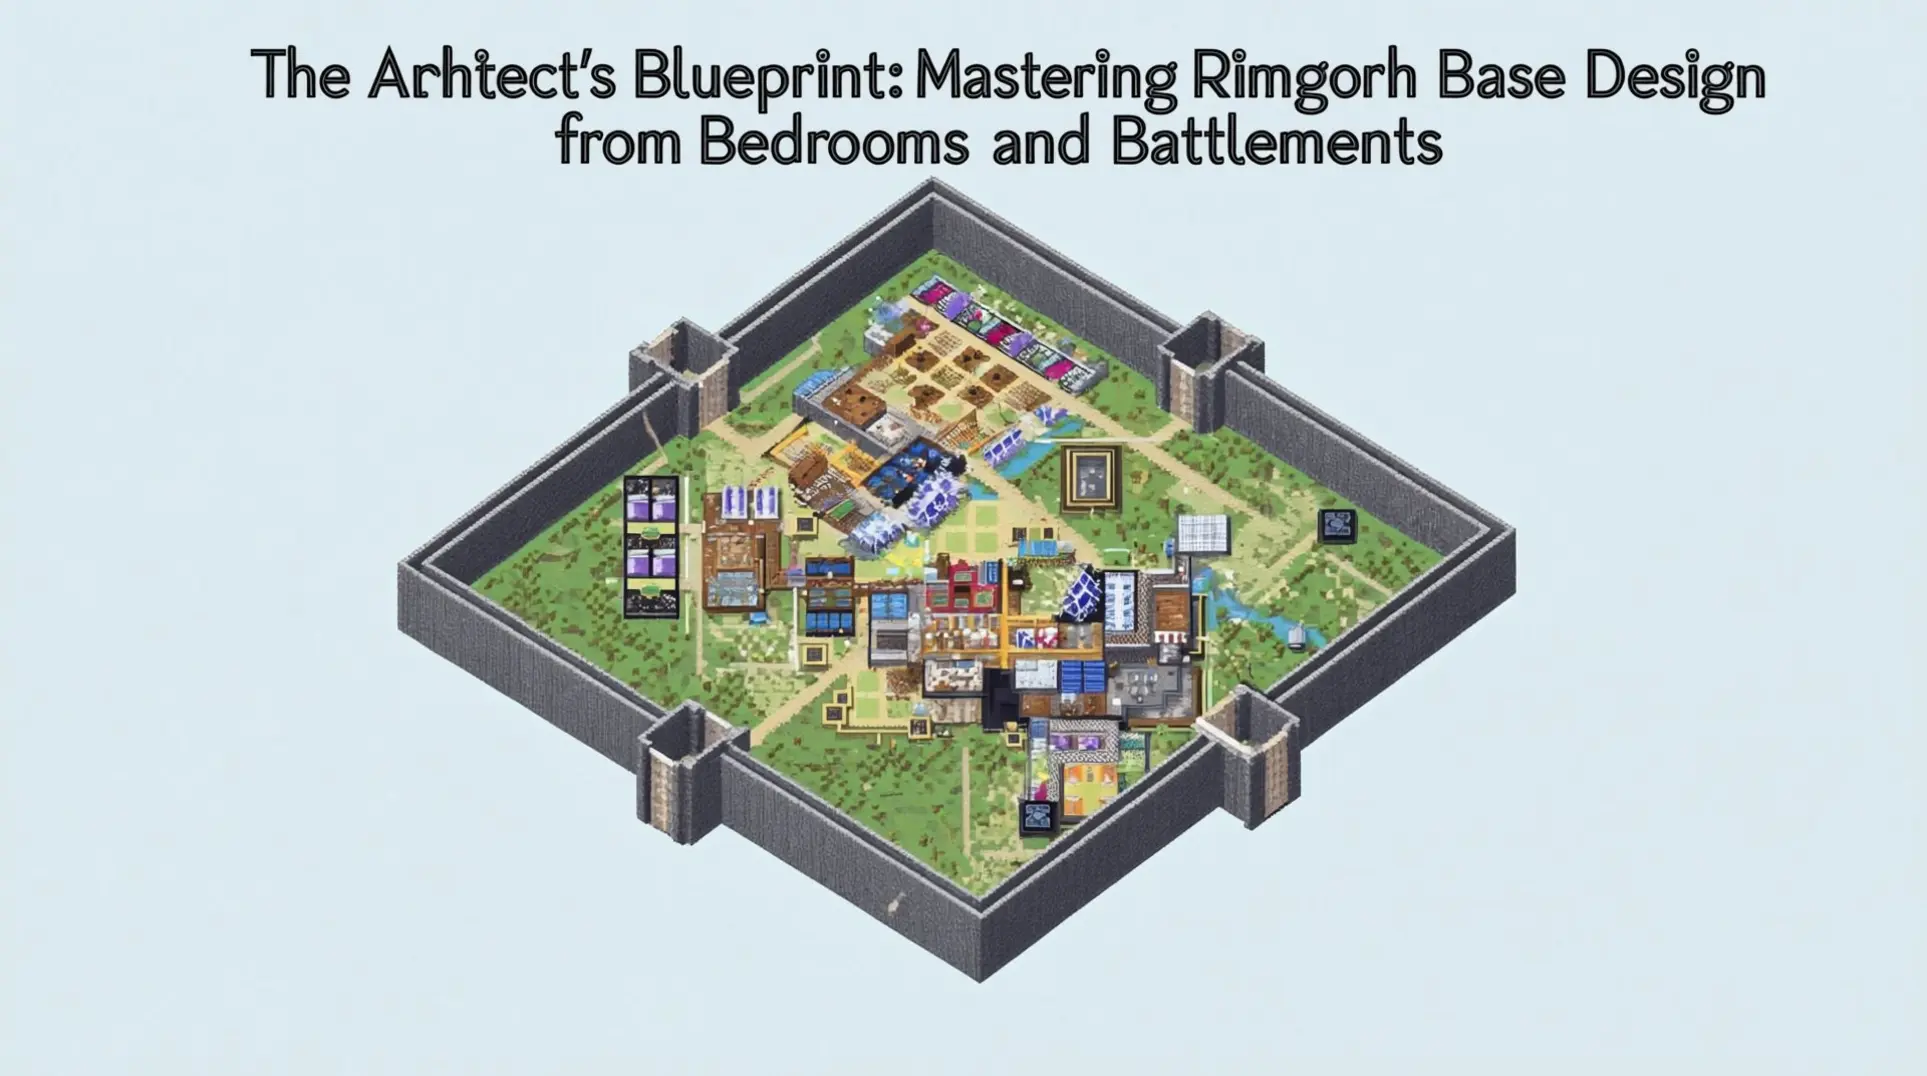
The Ultimate RimWorld Base Design Guide: Optimal Layouts for Maximum Efficiency
Poor base design consistently ranks as one of the leading causes of colonist deaths in RimWorld, often killing more people than raids, diseases, or mental breaks combined. This stark reality makes strategic layout planning not just helpful, but essential for any colony hoping to survive.
An effective RimWorld base must satisfy three core requirements: operational efficiency, environmental comfort, and defensive security. These pillars form the foundation of every successful colony.
Colony layout directly influences colonist mood and mental health through environmental comfort and accessibility factors. Cramped, inefficient designs increase stress levels and can trigger mental breaks that doom your settlement.
Efficient base design enables colonists to complete assigned tasks promptly while maintaining high productivity levels. The foundation of production efficiency lies in minimizing travel time between related workstations and ensuring logical material flow throughout the base.
Effective defensive structures work in conjunction with overall layout, creating layered protection that can withstand increasingly challenging waves of attackers. Your base design is your primary defense against the dangers of RimWorld.
This guide covers room optimization, material selection, and defensive architecture, providing you with proven strategies to build a colony that thrives rather than merely survives.
What Makes a Perfect RimWorld Base?
A perfect RimWorld base balances defensive capability, production efficiency, and colonist happiness through optimal room sizing, strategic material selection, and scalable layout planning. It satisfies three core requirements: operational efficiency via minimized travel time and logical material flow, environmental comfort for mental health, and defensive security, supporting growth from early to late game.
Foundational Planning: Colony Layout Strategy
Terrain Selection and Resource Proximity
The ideal base location should be near multiple biomes to access diverse resources. Players should prioritize proximity to fertile soil, mineral deposits, and defensible terrain features.
Terrain analysis should prioritize several key factors that significantly impact defensive capability and resource access:
- Elevation advantages
- Natural chokepoints
- Proximity to water sources
Resource proximity is critical for efficiency. Players need to balance proximity to mining areas, farming zones, and trading posts to minimize colonist travel time and maximize productivity.
Core Layout Principles for Scalable Bases
Central Storage Concept: This design places all resources in a central location with production areas radiating outward. This reduces travel time and improves workflow efficiency as the colony grows.
The foundation of successful colony planning lies in modular design principles. Each section of the base can be expanded independently without disrupting existing operations.
Expansion space planning requires leaving 3-tile wide corridors between major base sections. This accommodates future growth and prevents bottlenecks as the colony expands from 3 to 20+ colonists.
Mountain vs. Open Terrain: Strategic Tradeoffs
Mountain bases offer the highest defensive advantage due to natural walls and the ability to create killboxes with only one entrance. However, they risk infestations that can devastate colonies if not properly prepared.
Open terrain bases offer easier expansion and resource gathering but require more defensive planning. Mountain bases provide natural protection but limit expansion options and create infestation risks.
Early game planning should focus on establishing a defensible position with clear sight lines and minimal entry points. Initial base placement determines long-term defensive strategy.
Mountain bases require careful planning for infestation defense. Key elements include:
- Dedicated killboxes
- Fallback positions
- Escape routes
Infestations can quickly overwhelm unprepared colonies without these precautions.
Optimal Room Sizes and Dimensions
Bedroom Size and Mood Bonuses
22 tiles is approaching the bare minimum for a bedroom to achieve a +0 mood bonus. At this size, colonists avoid negative mood penalties from poor room quality but don't gain positive effects.
25 tiles provides a comfortable buffer above the minimum 22-tile requirement. This size is frequently used in efficient base layouts for bedroom construction.
40 tiles represents the bare minimum threshold for earning a positive mood bonus in bedrooms. This milestone is significant for improving colony happiness.
For maximum efficiency, many players construct bedrooms in the 20-25 tile range. This provides adequate mood benefits while maximizing the number of colonists that can be housed in a given area.
The optimal size range for bedrooms falls between 5x5 (25 tiles) and 16x16 (256 tiles). This range allows you to achieve spacious mood bonuses without wasting valuable space.
Room Impressiveness: This is calculated based on four key factors: wealth, beauty, space, and cleanliness. Space becomes the bottleneck for bedroom impressiveness since bedrooms should remain small to house as many colonists as possible.
An impressive room directly affects colony mood and can be required for certain quests and noble titles. Colonists receive positive mood thoughts from sleeping in impressive bedrooms.
The mood buff difference for bedrooms ranges from +2 at decent quality to +8 at wondrously impressive quality. Reaching the highest level requires a ridiculously huge bedroom.
- 22 tiles: Approaching bare minimum for +0 mood bonus (no penalties)
- 25 tiles (5x5): Comfortable buffer for efficient layouts
- 40 tiles: Bare minimum for positive mood bonus
- 20-25 tiles: Maximum efficiency range
- 5x5 to 16x16: Optimal range for spacious bonuses
- Mood buffs: +2 (decent) to +8 (wondrously impressive)
Technical Size Limits
The maximum room size without map region issues is 50x50 (2500 tiles). Above this size, the area will be treated as non-room indoor space.
Non-Bedroom Spaces
Medium rooms should be utilized for room types requiring more space for essential furniture. This includes kitchens or compact dining rooms with tables and chairs.
Impressiveness only matters in non-work environments. Bedrooms, dining rooms, and rec rooms are the primary spaces where size and impressiveness directly impact colonist mood.
Bedroom Design and Mood Bonuses
Prioritize Quality Over Quantity
High-quality beds can make end tables and dressers unnecessary for bedroom impressiveness. Excellent beds provide sufficient comfort and value without requiring additional furniture.
Bedroom Impressiveness: The scoring system that determines the mood buffs colonists receive from their room.
Quality furniture is more important than quantity in bedroom design. High-quality pieces provide better mood benefits while taking up less space than multiple lower-quality items.
A royal bed combined with large sculptures can create an 'unbelievably impressive' bedroom with 177 points. Adding a dresser and end table actually reduces the score to 'extremely impressive' at 168 points due to space constraints.
Optimize Space and Tile Usage
The optimal bedroom size ranges between 3x3 (9 tiles) and 4x4 (16 tiles) for efficient space usage. This provides decent mood buffs without wasting valuable space.
Space Value: The contribution each tile makes to overall room impressiveness, which is reduced by different furniture and art pieces.
Consider these space efficiency strategies:
- Very impressive bedrooms can be constructed in relatively small spaces like 6x3 tiles (18 tiles) when using high-quality art and beauty objects effectively
- Placing both a dresser and end table in small bedrooms can decrease room value back to 'awful' rating due to making the space too cramped
- The space value of each tile is reduced by different furniture and art pieces, making careful placement essential for maximum impressiveness per tile
Leverage Permanent Mood Benefits
An impressive bedroom provides permanent positive mood effects for colonists. Unlike temporary solutions like lavish meals or drugs which only offer short-term mood improvements, bedroom bonuses are constant.
Bed comfort increases from 112 to 124 when adding both a dresser and end table. However, this improvement does not significantly impact overall room impressiveness or colonist mood compared to the space efficiency trade-off.
Production and Workshop Areas
Kitchen Design and Food Safety
Kitchens must be separated from dining areas and equipped with sterile tiles to prevent food poisoning. Colonists can become sick from meals prepared in non-sterile environments, which reduces overall colony productivity.
Sterile Tiles: These provide a cleanliness bonus that prevents food poisoning when used throughout the entire kitchen floor. Players need to install them across the complete kitchen area for maximum effectiveness.
Medium rooms should be utilized for kitchens to accommodate essential furniture. Kitchen efficiency improves when stoves are positioned near ingredient storage and meal storage areas, creating a logical workflow from raw materials to finished products.
Dining Area Optimization
Dining rooms should be at least 8x8 (64 tiles) to accommodate multiple colonists eating simultaneously. This size provides adequate space for tables, chairs, and room impressiveness factors.
Dining rooms benefit from strategic positioning near kitchen areas to reduce meal transport time. This proximity encourages colonists to eat regularly, maintaining high mood levels.
- Research benches should be placed near dining areas for efficiency
- Researchers often work for extended periods and benefit from easy access to meal preparation
Workshop Layout and Workflow Efficiency
The foundation of production efficiency lies in minimizing travel time between related workstations. Workshops should be organized by production type with clear pathways between workstations to maximize colonist productivity during work cycles.
Central Storage Concept: This design places all resources in a central location with production areas radiating outward. This approach reduces travel time and improves workflow efficiency as the colony grows.
Production areas should be separated from residential areas to prevent noise pollution and maintain colonist mood. Workshops should be located in dedicated industrial zones, with dirty production areas separated from clean areas to maintain colonist health.
- Group similar production types together while maintaining clear access routes
- Consider noise levels and environmental factors in workshop layout
- Ensure logical material flow throughout the base for maximum efficiency
Material Selection and Construction
Material Durability Rankings
Granite blocks have the highest hit points among all stone types at 595 HP. This makes them the most durable stone option for defensive wall construction in RimWorld.
Hit Points (HP): This represents a material's durability and ability to withstand damage.
The complete durability ranking from strongest to weakest is: Plasteel (980 HP), Uranium (875 HP), Granite (595 HP), Limestone (540 HP), Sandstone (490 HP), Slate (455 HP), Marble (420 HP), Steel (350 HP), Silver (245 HP), Gold (210 HP), Jade (175 HP), Wood (140 HP). Stone structures will last approximately 3-4 times longer than wooden ones under the same conditions. Stone materials range from 420-595 HP compared to wood's 140 HP.
- Plasteel: 980 HP
- Uranium: 875 HP
- Granite: 595 HP
- Limestone: 540 HP
- Sandstone: 490 HP
- Slate: 455 HP
- Marble: 420 HP
- Steel: 350 HP
- Silver: 245 HP
- Gold: 210 HP
- Jade: 175 HP
- Wood: 140 HP
Granite blocks have almost 10% more hit points than their nearest stone competitor, limestone (540 HP). They have more than 21% more hit points than sandstone (490 HP).
Strategic Material Applications
Stone materials generally offer superior durability compared to metals and wood. Granite being the strongest stone option at 595 HP makes it ideal for impregnable walls and fortifications.
Steel provides 350 HP and offers a good balance of durability and versatility. This makes steel suitable for various construction needs beyond just defensive walls.
Wood has the lowest durability at just 140 HP. It may be preferred for its availability and faster construction time in early game scenarios.
Steel construction is faster than stone but provides less durability (350 HP vs 595 HP for granite). This makes steel better for utility structures while granite excels for defensive fortifications.
Marble blocks provide 420 HP but are valued more for their beauty factor than pure durability. This makes them suitable for decorative areas while granite remains superior for defensive applications.
Limestone blocks provide 540 HP, making them the second-most durable stone type after granite. They offer a good alternative when granite isn't available.
Construction Time and Other Factors
Stone furniture takes about 5-6 times as long to make as steel or wood furniture. While stone walls are durable, players should be careful about construction time for major stone furniture pieces.
Different stone types have varying beauty factors, with most stone types having beauty factors of 1.1 or higher. These act as multipliers on final beauty value for room impressiveness.
Beauty Factor: This is a multiplier that affects the final beauty value of constructed items for room impressiveness.
Construction material also affects flammability, hit points, door opening speed, rest effectiveness for beds, and market value. All of these factors affect room impressiveness.
Granite blocks don't have unique recipes and are only used in stuffable items and buildings. Their exceptional strength and resilience make them ideal for defending against hostile forces.
The material order for wall construction by durability is: Stone > Plasteel > Steel > Wood. Stone is the preferred choice for permanent defensive structures when available.
Material Durability Comparison
Complete Durability Hierarchy
The complete durability ranking from strongest to weakest is: Plasteel (980 HP), Uranium (875 HP), Granite (595 HP), Limestone (540 HP), Sandstone (490 HP), Slate (455 HP), Marble (420 HP), Steel (350 HP), Silver (245 HP), Gold (210 HP), Jade (175 HP), Wood (140 HP). Hit Points (HP): This numerical value represents the structural integrity and durability of each material.
| Material | Hit Points | Notes |
|---|---|---|
| Plasteel | 980 HP | |
| Uranium | 875 HP | |
| Granite | 595 HP | Most durable stone for defensive walls |
| Limestone | 540 HP | Second-most durable stone, good alternative to granite |
| Sandstone | 490 HP | |
| Slate | 455 HP | |
| Marble | 420 HP | Valued for beauty factor, suitable for decorative areas |
| Steel | 350 HP | Good balance for utility structures |
| Silver | 245 HP | |
| Gold | 210 HP | |
| Jade | 175 HP | |
| Wood | 140 HP | Lowest durability, early game use |
Stone Material Performance
Granite blocks have the highest hit points among all stone types at 595 HP, making them the most durable stone option for defensive wall construction in RimWorld. Granite blocks have almost 10% more hit points than their nearest stone competitor, limestone (540 HP), and more than 21% more than sandstone (490 HP).
Limestone blocks provide 540 HP, making them the second-most durable stone type after granite, offering a good alternative when granite isn't available. Marble blocks provide 420 HP but are valued more for their beauty factor than pure durability, making them suitable for decorative areas while granite remains superior for defensive applications.
Construction Trade-offs and Considerations
Steel provides 350 HP and offers a good balance of durability and versatility, making it suitable for various construction needs beyond just defensive walls. Steel construction is faster than stone but provides less durability (350 HP vs 595 HP for granite), making steel better for utility structures while granite excels for defensive fortifications.
Wood has the lowest durability at just 140 HP but may be preferred for its availability and faster construction time in early game scenarios. Stone structures will last approximately 3-4 times longer than wooden ones under the same conditions, with stone materials ranging from 420-595 HP compared to wood's 140 HP.
- Construction Time: Stone furniture takes about 5-6 times as long to make as steel or wood furniture, so while stone walls are durable, players should be careful about construction time for major stone furniture pieces.
- Material Priority: The material order for wall construction by durability is: Stone > Plasteel > Steel > Wood, with stone being the preferred choice for permanent defensive structures when available.
- Multi-factor Impact: Construction material affects multiple factors including flammability, hit points, door opening speed, beauty, rest effectiveness for beds, and market value which impacts room impressiveness.
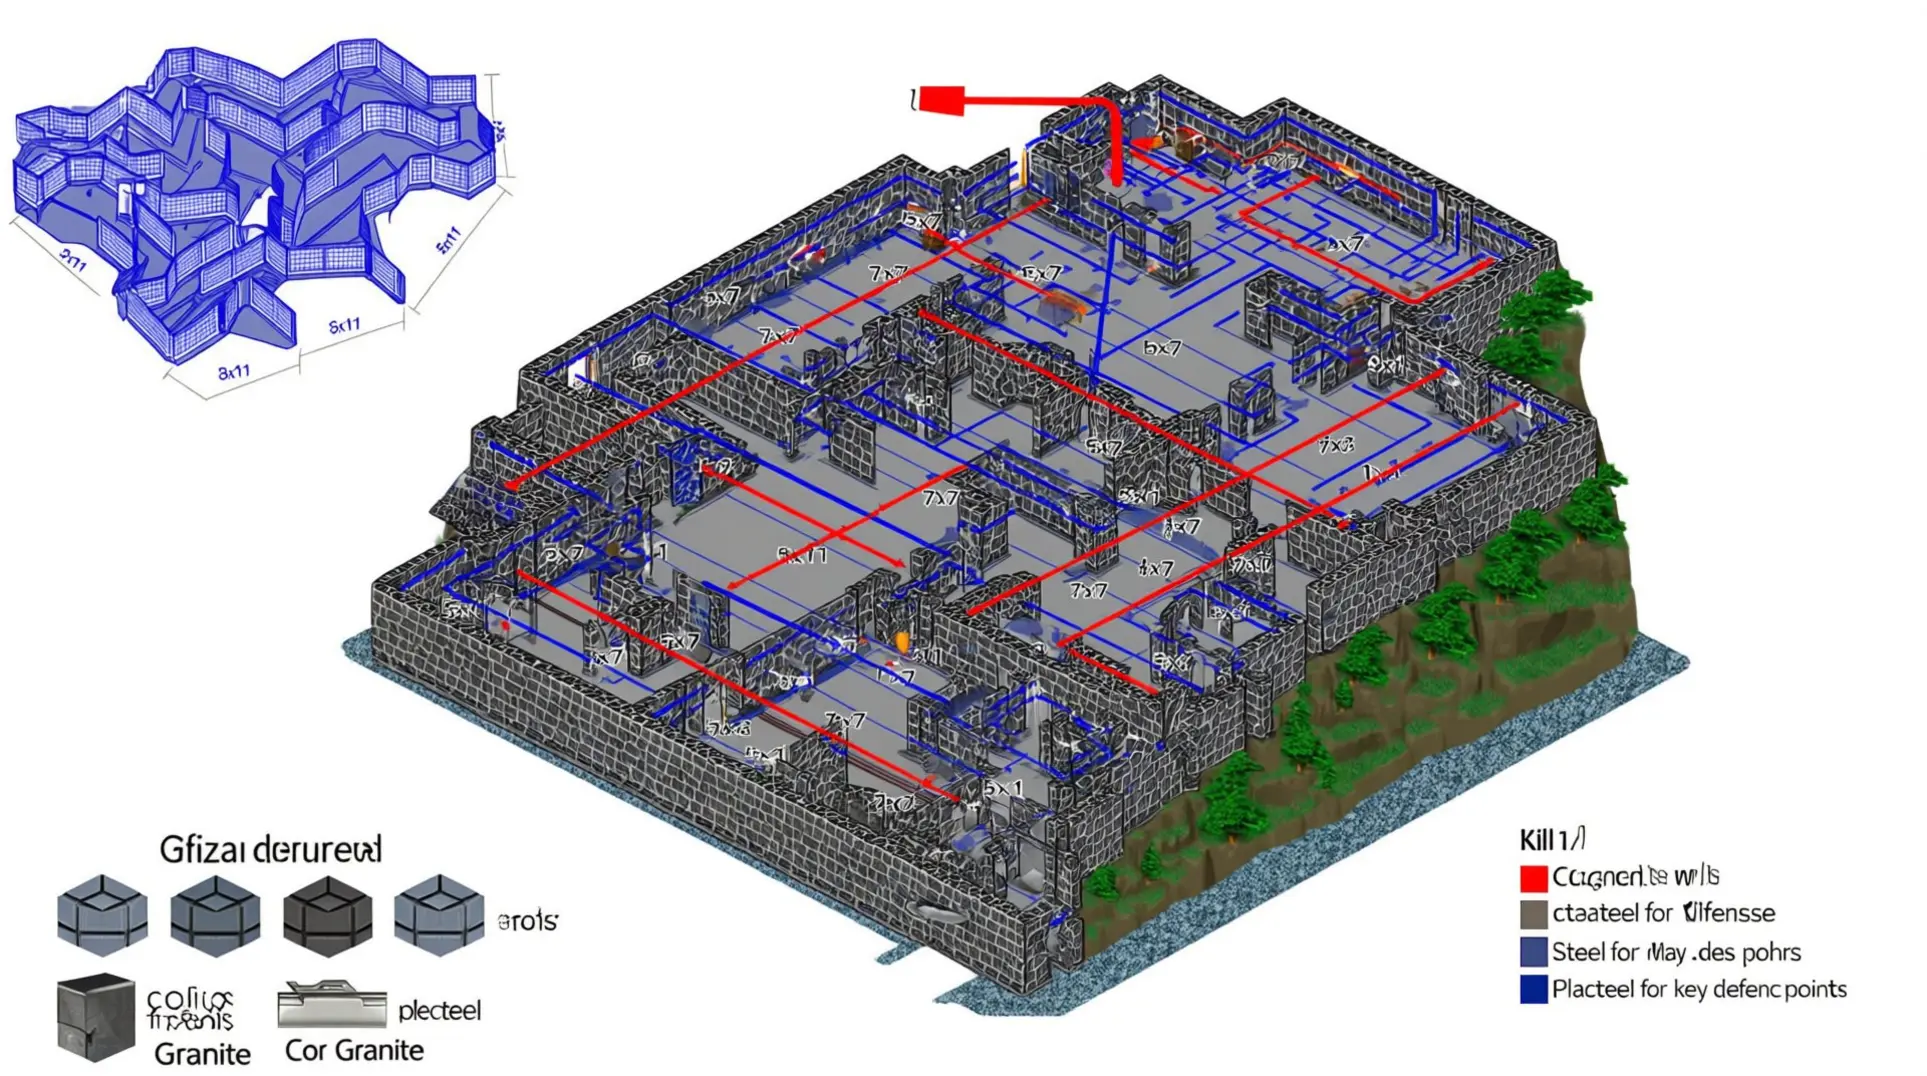
Defensive Architecture and Killbox Design
Core Killbox Mechanics and Pathfinding
Killbox: A designed killing ground that leverages RimWorld's pathfinding AI and combat mechanics to create a predictable, controllable battle space through maze-like corridor systems that slow down raiders and funnel them into trap-filled zones.
Effective killbox design relies on understanding unit collision mechanics and enemy pathing behavior, as raiders will follow corridors rather than break through walls unless absolutely necessary.
The corridor approach serves multiple purposes: it groups enemies together for maximum weapon effectiveness, prevents flanking maneuvers, and gives colonists time to deal with each wave systematically.
When raiders cannot find adequate cover within the killbox, they become vulnerable to concentrated fire from defensive positions, which is intentional and forms the basis of effective killbox design.
The key to effective defensive architecture lies in combining multiple defensive elements into a cohesive strategy, with each component serving a specific purpose in the overall defensive ecosystem.
Defensive Cover and Positioning Systems
Sandbags: Structures providing crucial cover bonuses for colonists while creating tactical obstacles, as raiders cannot stop on them which forces them to continue moving forward and trigger traps placed in their path.
Full Cover: Provides high defense for colonists, making proper positioning crucial for survival during large raids, with sandbags being the primary source of cover in defensive architecture.
Hard Defensive Positions: Configurations using alternating two wall segments and sandbags, with a row of sandbags between the wall and incoming fire, creating a tactical advantage for defending colonists.
The maze-like approach uses alternating wall segments and sandbags to create a confusing path that naturally guides raiders toward defensive positions, slowing enemy movement and preventing flanking maneuvers.
Layered Defense and Raid Adaptation
Spike Traps: One of the most effective area denial weapons, dealing consistent damage while colonists maintain position behind cover, and requiring no maintenance, ammunition, or power.
Mini-Turrets: Weapons delivering damage roughly equivalent to a pawn equipped with a recurve bow, making them useful as distractions or to guide specific raid types like sapper raids rather than primary damage dealers.
Turrets should be positioned to complement colonists' fire rather than replace it, serving as additional fire support during critical moments and being most effective when used as part of layered defense.
- Upgrade-able and modular defensive systems allow for expansion and improvement over time, with additional walls, rooms, and defensive structures like turrets improving the overall defensive capability.
- The most successful defensive architectures evolve over time, incorporating lessons learned from previous raids and adapting to new threats as the colony grows and faces increasingly challenging encounters.
Sapper Raids: Raid types requiring different defensive approaches than standard frontal assaults, necessitating adaptive defensive strategies based on raid type.
Essential Defensive Structures
Core Defensive Positions and Cover
Sandbags provide crucial cover bonuses for colonists while creating tactical obstacles. Raiders cannot stop on sandbags, which forces them to continue moving forward and trigger traps placed in their path.
Hard defensive positions use alternating two wall segments and sandbags, with a row of sandbags between the wall and incoming fire. This creates a tactical advantage for defending colonists.
Full Cover: High defense for colonists that makes proper positioning crucial for survival during large raids. Sandbags serve as the primary source of cover in defensive architecture.
- Sandbags force raiders to keep moving into trap zones
- Alternating walls and sandbags create superior tactical positions
Area Denial and Trap Systems
Spike traps represent one of the most effective area denial weapons, dealing consistent damage while colonists maintain position behind cover. They require no maintenance, ammunition, or power.
The 2-wide staggered design for spike traps maximizes trap effectiveness while preventing pawns from walking over traps during replacement. This avoids accidents during reconstruction.
- Zero maintenance, ammunition, or power requirements
- Staggered design prevents colonist accidents during trap replacement
Layered Defense Strategy
Mini-turrets deliver damage roughly equivalent to a pawn equipped with a recurve bow. This makes them useful as distractions or to guide specific raid types like sapper raids rather than as primary damage dealers.
Turrets should be positioned to complement colonists' fire rather than replace it. They serve as additional fire support during critical moments and are most effective when used as part of layered defense.
Layered Defense: A cohesive strategy where each component serves a specific purpose in the overall defensive ecosystem. Upgrade-able and modular defensive systems allow for expansion and improvement over time with additional walls, rooms, and defensive structures.
The most successful defensive architectures evolve over time. They incorporate lessons learned from previous raids and adapt to new threats as the colony grows and faces increasingly challenging encounters.
Some raids like sapper raids require different defensive approaches than standard frontal assaults. This necessitates adaptive defensive strategies based on raid type.
- Turrets complement colonist fire rather than replacing it
- Modular systems allow continuous expansion and improvement
- Adaptive strategies are essential for different raid types
Killbox Optimization
Core Design Principles
Effective killboxes use winding paths with multiple turns to slow down raiders and prevent them from reaching defensive positions too quickly. This maze-like approach uses alternating wall segments and sandbags to create a confusing path that naturally guides raiders toward defensive positions.
Choke Point: A narrow passage designed to funnel enemies together while preventing them from spreading out, typically 2-3 tiles wide to maximize weapon effectiveness.
The alternating wall and sandbag pattern creates tactical cover for defenders while forcing raiders to continue moving forward. Raiders cannot stop on sandbags and must advance into trap zones, making them vulnerable to concentrated fire.
Understanding unit collision mechanics and enemy pathing behavior is crucial for effective design. Raiders will follow corridors rather than break through walls unless absolutely necessary, allowing you to control their movement completely.
Trap and Turret Placement
Spike Trap: A defensive element that deals consistent damage and requires no maintenance, ammunition, or power, making it the most reliable component for long-term colony defense.
The 2-wide staggered design for spike traps maximizes trap effectiveness while preventing pawns from walking over traps during replacement. This avoids accidents and maintains continuous defensive coverage.
Trap placement should consider raider pathing behavior, with traps positioned at corners and chokepoints where enemies are forced to slow down or change direction. Multiple trap types can be combined in killboxes:
- Spike traps for consistent damage
- IEDs for area denial
- EMP traps for mechanoid-specific threats
Turrets should be positioned to provide overlapping fields of fire at choke points, with multiple turrets covering the same approach path. They should be placed behind cover and elevated when possible to provide superior firing angles while protecting them from direct enemy fire.
Power infrastructure for turrets should be designed with redundancy and backup power sources. Turret failure during critical moments can compromise the entire defensive system.
Layered Defense Systems
The most effective killboxes incorporate multiple defensive layers, with outer trap fields, middle turret zones, and inner fallback positions. This corridor approach serves multiple purposes:
- Groups enemies together for maximum weapon effectiveness
- Prevents flanking maneuvers
- Gives colonists time to deal with each wave systematically
Fallback Position: Secondary defensive locations that provide colonists with alternative positions if the primary killbox is breached or overwhelmed during large raids.
Fallback positions are essential for killbox design, providing colonists with secondary defensive positions if the primary killbox is breached. This allows colonists to retreat and regroup if outer defenses fail, maintaining defensive capability throughout extended raids.
When raiders cannot find adequate cover within the killbox, they become vulnerable to concentrated fire from defensive positions. This intentional vulnerability forms the basis of effective killbox design, ensuring enemies remain exposed throughout their approach.
Scalable Colony Planning
Modular Design Principles for Growth
The foundation of successful colony planning lies in modular design principles, where each section of the base can be expanded independently without disrupting existing operations. Successful colony planning requires flexible layouts that can accommodate evolving needs while maintaining operational efficiency during growth phases from 3 to 20+ colonists.
Central Storage Concept: This design pattern places all resources in a central location with production areas radiating outward, reducing travel time and improving workflow efficiency as the colony grows.
Key modular design elements include:
- Leaving 3-tile wide corridors between major base sections to accommodate future growth and prevent bottlenecks
- Grouping similar production types together in workshops while maintaining clear access routes for material delivery and finished product collection
- Using planning markers and structured approaches to improve long-term layout efficiency and reduce costly planning mistakes during expansion phases
The maximum room size without map region issues is 50x50 (2500 tiles), and above this size, the area will be treated as non-room indoor space, which becomes relevant for late-game mega-colonies.
Phased Expansion Strategies
The most successful colonies implement a phased expansion strategy, starting with essential facilities and gradually adding specialized areas as resources and population allow. Base design is an iterative process that requires starting with solid fundamentals, adapting based on colony-specific needs, and continuously learning from both successes and failures.
Resource-Based Planning: This strategy balances infrastructure expansion with available resource availability, ensuring sustainable growth without overextending colony capabilities.
Power infrastructure planning becomes critical as colonies expand, with every expansion phase requiring careful assessment of additional power needs and corresponding production capacity increases. Successful base placement requires considering both immediate needs and long-term growth, with players needing to balance current resource access against future expansion possibilities.
Late game colonies are overproducing no matter what, with colonists becoming fast, skilled and bionically improved, requiring more sophisticated production chains and expanded facilities.
Adaptive Defensive Architecture
Early game planning should focus on establishing a defensible position with clear sight lines and minimal entry points, as initial base placement determines long-term defensive strategy. Upgrade-able and modular defensive systems allow for expansion and improvement over time, with additional walls, rooms, and defensive structures like turrets improving the overall defensive capability.
The most successful defensive architectures evolve over time, incorporating lessons learned from previous raids and adapting to new threats as the colony grows and faces increasingly challenging encounters. Overly complex defensive systems can impede colonists' daily activities and reduce overall productivity, requiring balance between security and operational efficiency as the colony scales up.
Early Game to Late Game Transition
The most successful colonies implement a phased expansion strategy. They start with essential facilities and gradually add specialized areas as resources and population allow.
Phased Expansion: This is the practice of starting with essential facilities and gradually adding specialized areas as resources and population allow, following a research roadmap that suggests must-have technologies early then advanced strategies for expansions.
Phased Facility Development
Many experienced players recommend combining research facilities with hospital facilities and kitchen areas in early to mid-game when resources are limited. This allows researchers to work while remaining close to medical facilities and food preparation areas.
Dedicated hospitals are more of a mid-game thing when you have enough resources to build the specialized equipment used in them. Hospital beds provide significant boosts to treatment quality, immunity gain speed, and healing speed.
The most important hospital areas include:
- Hospital bed rooms
- Freezer storage for medicine
- Cryptosleep rooms
- Connected rooms for the colony's best doctors Autodoors enable fastest care possible during late-game raids with lots of small injuries.
Research facilities should incorporate hi-tech research benches, multi-analyzers to increase research speed and unlock new research, and sterile tiles to keep the room clean, increasing research speed.
A hi-tech research bench provides faster research speeds and allows access to more advanced technologies compared to basic research benches. This makes it essential for late-game progression.
Late-game colonies should expand into dedicated research complexes with multiple hi-tech research benches and several multi-analyzers. They should follow a structured research roadmap that prioritizes foundational technologies first, then expands into specialized areas.
Strategic Layout and Design Principles
The foundation of successful colony planning lies in modular design principles. Each section of the base can be expanded independently without disrupting existing operations, allowing for smooth progression from early to late game.
Modular Design: This is the practice where each section of the base can be expanded independently without disrupting existing operations.
Hospitals should be built primarily from stone materials, with marble being a popular choice for its aesthetic appeal and durability. They should minimize travel time between different treatment areas.
The most successful late-game colonies employ strategic base design principles that balance efficiency with defensive considerations:
- Modular room design
- Defensive positioning
- Resource flow optimization
Late-game colonies often benefit from superstructure designs where critical facilities are centralized and heavily fortified. Modular room designs offer greater flexibility for expansion and adaptation to new technological requirements.
Superstructure Design: This is a layout where critical facilities are centralized and heavily fortified.
During late-game scenarios with large raids resulting in multiple minor injuries, the risk of infections increases significantly. This makes rapid treatment design through strategic door placement and room connectivity crucial for colonist survival.
The most successful colonies design their advanced facilities to work synergistically. They position research facilities near production areas to quickly implement new technologies and locate hospitals with easy access to both residential areas and defensive positions.
Synergistic Positioning: This is the practice of positioning research facilities near production areas to quickly implement new technologies and locating hospitals with easy access to both residential areas and defensive positions.
Resource and Technology Roadmapping
Wood is most important in early game, steel becomes the most important resource in mid-game. Late-game focuses on crafting advanced components and the best armor, guns and bionics with dedicated fighters and workers using steel, plasteel and gold.
Research is the primary method through which players can enhance and expand the abilities of their colony. Certain buildings and gear require research in order to be built, making research facilities central to progression.
Late-game progression requires sophisticated production chains that efficiently transform raw materials into advanced goods. Production facilities should be organized in logical sequences that minimize transportation time and maximize workflow efficiency.
Essential late-game production areas include:
- Advanced manufacturing for high-tech production benches
- Resource processing for efficient material refinement
- Specialized production facilities based on chosen technological paths
The most effective workshop layouts group similar production types together while maintaining clear access routes for material delivery and finished product collection. This is crucial as the colony scales up from early to late game.
Late-game progression requires careful resource allocation across multiple facility types. Players should prioritize technologies and equipment that provide the greatest overall benefit to the colony's development goals.
Poor base design remains one of the leading causes of colonist deaths in RimWorld, often proving more lethal than raids, diseases, or mental breaks combined. An effective colony must satisfy three core requirements: operational efficiency, environmental comfort, and defensive security.
Operational Efficiency: This is the foundation of production, enabling colonists to complete assigned tasks promptly while maintaining high productivity levels through minimizing travel time between related workstations and ensuring logical material flow throughout the base. The most successful colonies implement modular design principles, where each section expands independently without disrupting existing operations.
Environmental Comfort: This refers to how colony layout directly influences colonist mood and mental health through accessibility and well-designed spaces. Room sizing impacts mood bonuses, with 25 tiles providing efficient bedroom space and 40+ tiles earning positive mood bonuses.
Defensive Security: This involves effective defensive structures that work in conjunction with overall layout, creating layered protection that can withstand increasingly challenging waves of attackers. Material selection is critical, with granite blocks providing the highest durability (595 HP) for defensive walls while steel offers versatility for utility structures.
Killbox Design: This leverages pathfinding AI to create predictable battle spaces through maze-like corridors that funnel raiders into trap-filled zones. Successful colony planning requires flexible layouts that can accommodate evolving needs while maintaining operational efficiency during growth phases from 3 to 20+ colonists.
The most successful colonies implement a phased expansion strategy, starting with essential facilities and gradually adding specialized areas as resources and population allow. Mastering RimWorld base design means integrating these principles into a cohesive whole where defense, efficiency, and colonist happiness support each other through strategic planning and material selection.
More RimWorld Guides
The Ultimate RimWorld Colony Blueprint: Mastering Room Sizes, Layout Efficiency, and Defensive Architecture
Complete guide to RimWorld base building covering optimal room dimensions, defensive killbox design, temperature management, and strategic material selection for colony survival.

RimWorld Pawn Mastery: Complete Colony Control Guide
Master RimWorld pawn management with our comprehensive guide covering colony scaling, automation, and the critical 14-colonist threshold.
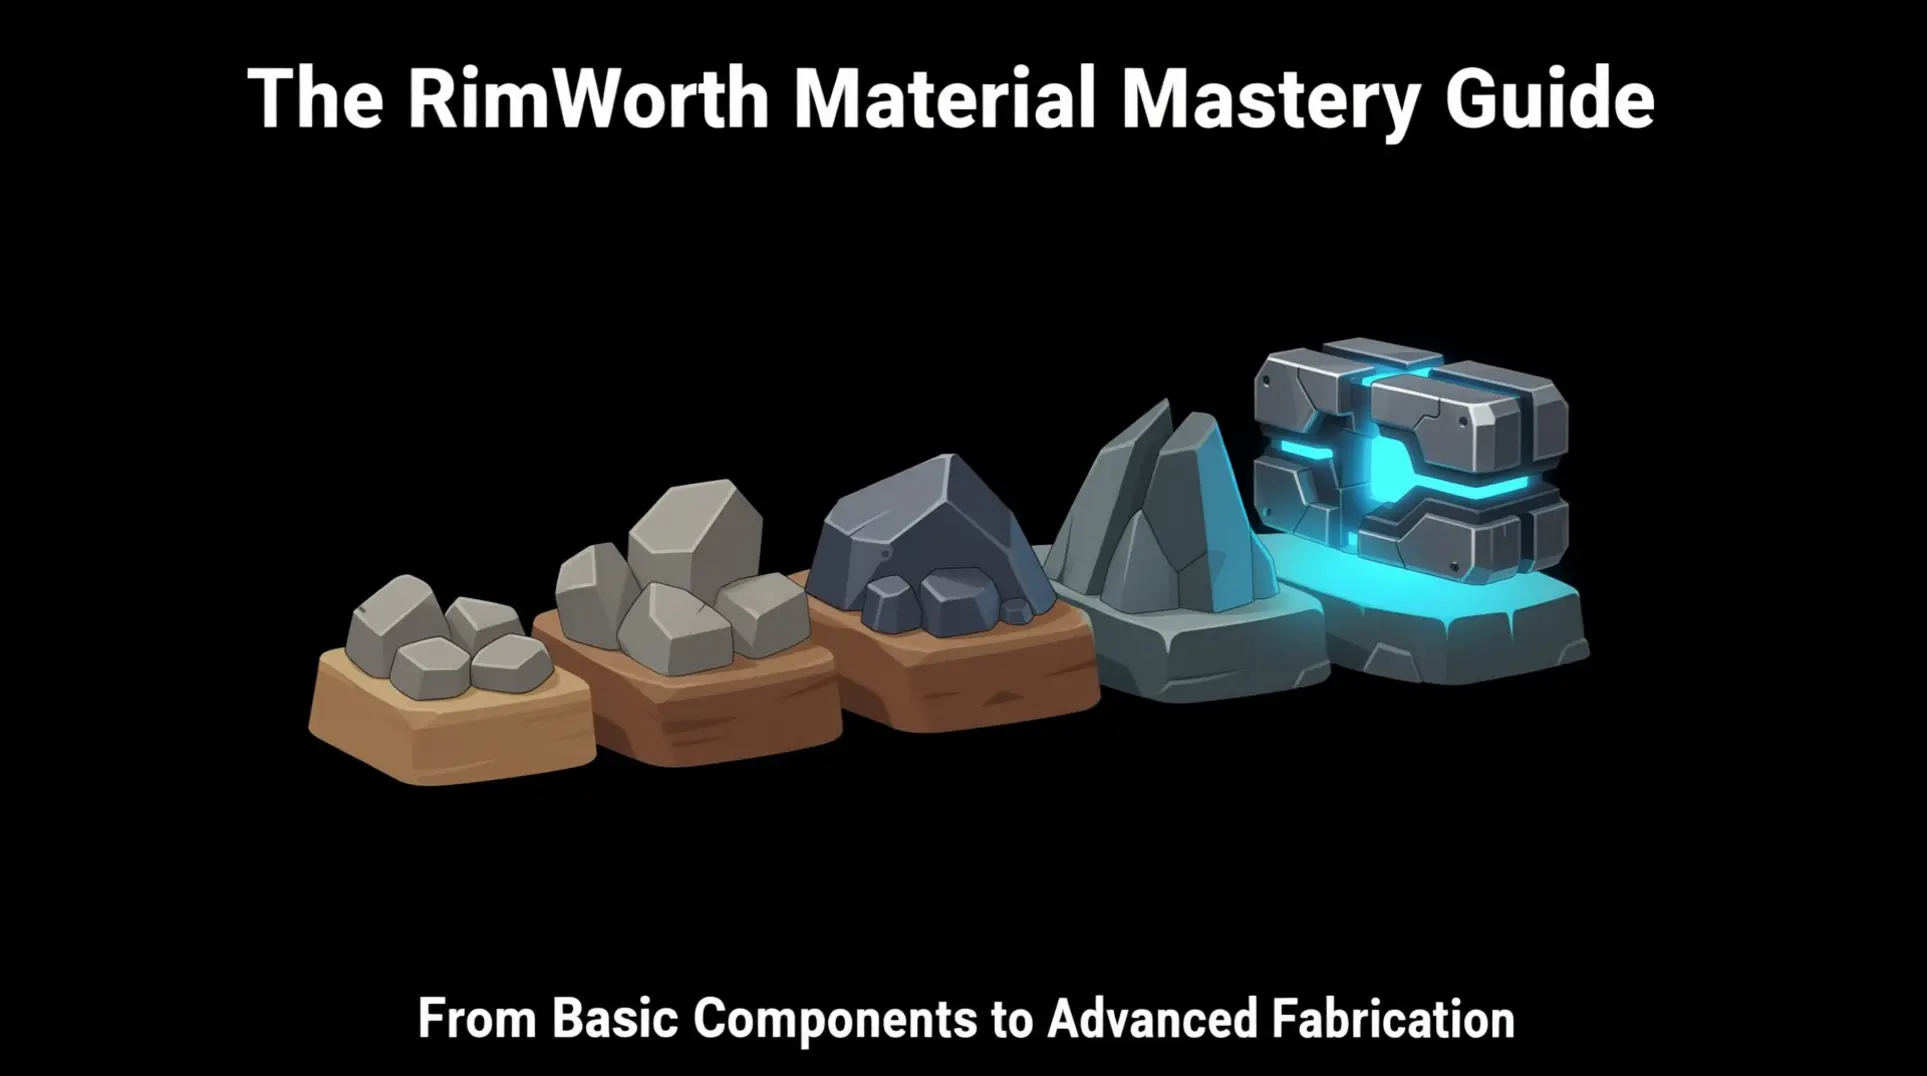
The RimWorld Material Mastery Guide: From Basic Components to Advanced Fabrication
Complete guide to RimWorld resource management covering components, advanced components, neutroamine, plasteel, steel, and cloth. Learn crafting strategies and acquisition methods for colony survival.
AI Tactical Companion
Consult with our specialized tactical engine for RimWorld to master the meta instantly.