RimWorld Pawn Mastery: Complete Colony Control Guide

RimWorld Pawn Mastery Guide: Complete Colony Control Strategies
Table of Contents
- Why Pawn Management Determines Colony Survival
- Scaling Your Colony: From Three to One Hundred Pawns
- Core Principles for RimWorld Success
- Understanding Pawn Characteristics
- Area Restrictions and Zone Management
- Work Priority System
- The Critical 14-Pawn Threshold
- Quality vs. Quantity
- Automation and Systematic Approaches
- FAQ Section
- Conclusion
Quick Start Checklist
For Immediate Action:
- Enable Manual Priorities in the Work tab
- Set up Growing Zones for food production
- Create Storage Zones to organize resources
- Assign Construction priority to your best builder
- Designate a Medical priority colonist
- Establish Residential zones for colonist well-being
- Set up basic Area Restrictions to keep colonists safe
The life and success of your colony depend on your ability to master the art of pawn management. RimWorld combines strategic gameplay elements where your colonists serve as the primary workforce, defenders, and decision-makers.
RimWorld Pawns: The characters and colonists that populate your colony, serving as the primary workforce, defenders, and decision-makers.
Effective management directly impacts productivity, safety, and well-being. This fundamental truth applies to every rimworld colonist.
Key Takeaway
Mastering pawn management is the foundation of colony success - it directly determines your colonists' productivity, safety, and overall well-being.
Why Pawn Management Determines Colony Survival
Emotional management is essential. A happy colony is a productive colony. This principle is central to all effective rimworld guides and rimworld basics content.
Your rimworld pawns are the primary workforce, defenders, and decision-makers. Effective management directly impacts their productivity, safety, and well-being.
The game becomes exponentially more complex as your colony grows. What works for 3-5 colonists becomes overwhelming at 14+ colonists without proper systems in place.
Key Takeaway
Colony success hinges on managing both the practical and emotional needs of your colonists - happy colonists are productive colonists.
Scaling Your Colony: From Three to One Hundred Pawns
This guide covers colonies from 3 to 100+ colonists. There's a critical 14-colonist threshold where management becomes overwhelming.
Colony Size Categories
- Small colonies: 3-5 rimworld pawns
- Medium colonies: 6-13 rimworld pawns
- Large colonies: 14+ rimworld pawns
Quality over quantity is important for long-term success. Rimworld traits and rimworld skills determine colonist quality.
Key Takeaway
Plan for scaling challenges early - the jump from 13 to 14 colonists represents a fundamental shift in management complexity.
Core Principles for RimWorld Success
Understanding rimworld traits and rimworld skills supports quality over quantity. These attributes directly influence productivity, safety, and well-being.
Strategic Pawn Management Framework
Trait Analysis: Evaluating positive and negative traits for colony harmony
- Example: A colonist with "Kind" (+5 social, +5 animals) and "Hard Worker" (+20% work speed) contributes significantly more than one with "Abrasive" (-15 social) and "Lazy" (-20% work speed)
Skill Assessment: Matching abilities to colony needs
- Example: A colonist with Construction 15 builds walls 3x faster than one with Construction 5
- Example: Medical 12 provides 85% treatment success vs. Medical 4 at 45% success rate
Role Specialization: Assigning colonists based on their strengths
- Example: Assign your top 3 shooters to defense, top 2 growers to agriculture, top 2 crafters to manufacturing
Systematic Automation: Building scalable management systems
- Example: Set up bills for "Cook until 50 meals" instead of manually assigning cooking tasks
- Example: Create hauling priorities during specific hours (e.g., hauling priority 2 from 6 PM to 8 PM)
Actionable Steps for Implementation
- Week 1: Audit all colonists' skills and traits
- Week 2: Reassign work priorities based on skill matching
- Week 3: Set up basic automation (bills and zones)
- Week 4: Implement specialized role assignments
Key Takeaway
Successful colonies prioritize skill matching and automation over manual micromanagement - each colonist should have a defined role based on their strengths.
Understanding Pawn Characteristics: Traits, Skills, and Backstories
Every colonist has specific skills, positive and negative traits, and a character backstory that determine their effectiveness. Understanding how skills work is key to effective colony management.
Skills: The Foundation of Pawn Proficiency
Skills represent proficiency 0-20, directly affecting work efficiency and output quality.
Skills: Numerical ratings from 0-20 that measure pawn competency and directly impact work performance.
Critical Skills Impact Examples:
Construction:
- Skill 15: Builds walls 3x faster than Skill 5
- Skill 20: Minimal resource waste, perfect placements
Medical:
- Skill 12: 85% treatment success rate
- Skill 4: 45% treatment success rate, longer healing times
Shooting:
- Skill 16: 90% accuracy at medium range
- Skill 6: 60% accuracy, significant misses
Traits: Permanent Modifiers That Shape Behavior
Traits provide permanent bonuses and penalties. These affect work speed, mental health, and social interactions.
Traits: Inherent personality characteristics that grant permanent statistical modifiers and behavioral tendencies.
Positive Traits to Prioritize:
- Hard Worker: +20% work speed
- Kind: +5 social, +5 animals
- Careful Shooter: +15% accuracy
- Night Owl: Works efficiently during night shifts
Negative Traits to Avoid:
- Abrasive: -15 social, causes fights
- Chemical Fascination: Seeks drugs despite restrictions
- Lazy: -20% work speed
- Pyromaniac: Starts fires when stressed
Backstories: Narrative Foundations with Gameplay Impact
Backstories provide skill bonuses and hindrances. This affects what colonists can and cannot do.
Backstories: Narrative backgrounds that grant skill modifiers and can restrict or enable certain activities.
Impact Examples:
- Soldier Backstory: +4 Shooting, +4 Melee, but -2 Social
- Doctor Backstory: +6 Medical, +4 Intellectual, but -2 Construction
- Farmer Backstory: +6 Growing, +4 Animals, but -2 Shooting
Key Takeaway
Understanding the interplay between skills, traits, and backstories allows you to make informed recruitment decisions and maximize each colonist's potential contribution.
Area Restrictions and Zone Management: The Foundation of Control
Why Zone Management is Critical
Area Restrictions: Setting boundaries for your pawns is a crucial component of this management. This ability has a huge influence on their productivity, safety, and general well-being.
Learning how to restrict places efficiently is crucial if you want to keep your colonists away from dangerous situations and prevent resource waste.
Essential Zone Types for Efficiency
Establishing specific zones for different activities helps prevent accidents, keeps colonists out of dangerous areas, and ensures they focus on relevant tasks.
Zone Setup Examples:
Growing Zones
- Provide dedicated space for crop cultivation and food production
- Example: 20x20 rice zone produces ~800 rice per harvest cycle
Storage Areas
- Organize resources and prevent clutter that can lead to inefficiencies
- Example: Separate zones for wood, stone, steel, and components
Residential Zones
- Create living spaces that support colonist mood and well-being
- Example: Individual bedrooms with beauty items increase mood by +10
Specialized Zones for Safety and Protection
Dangerous Area Management: This practice protects colonists from extreme conditions. This protection keeps colonists safe.
Resource Protection: This prevents premature harvesting and access to unfinished construction. This prevents waste of resources.
Safe Zones: During raids, establishing safe zones protects non-combat colonists. This protects non-combatants during raids.
Key Takeaway
Proper zoning reduces colonist travel time by 40-60% and prevents accidents, making it one of the most impactful management tools available.
Work Priority System: Directing Colonist Behavior
Understanding Manual Priority Settings
Manual priority settings range 1-4 (highest to disabled), essential for controlling which tasks colonists prioritize. This system prevents idleness and ensures essential tasks receive attention.
Manual Priorities: A feature in the Work tab that allows you to assign numerical priorities to tasks. Enable Manual Priorities from the Work tab, ensuring every colonist has basic tasks enabled.
Priority Setting Examples:
Essential Tasks (Priority 1):
- Firefighting for all colonists
- Doctoring for medical specialists
- Construction for builders
Important Tasks (Priority 2):
- Growing for agricultural specialists
- Hauling during specific hours
- Cleaning in high-traffic areas
Standard Tasks (Priority 3):
- Mining for designated miners
- Crafting for production workers
Disabled Tasks (Priority 4 or blank):
- Tasks outside colonist specialization
- Non-essential activities during crisis
Matching Skills to Roles
Understanding how skills work is key to effective colony management. You'll need to assign colonists to jobs based on their skills.
Skill-Based Assignment Examples:
- A pawn with Construction 15+ is ideal for building projects
- Someone with Shooting 12+ should be your primary defender
- Medical 10+ colonist handles all treatment duties
Specialized approaches prevent critical tasks from being neglected while maintaining overall colony efficiency.
Advanced Priority Management
Combine with time-based scheduling. Set hauling priorities for specific hours at day end.
Time-Based Scheduling Example:
- 6 AM - 8 AM: Hauling priority 2 (morning cleanup)
- 12 PM - 2 PM: Cleaning priority 2 (lunch break maintenance)
- 6 PM - 8 PM: Hauling priority 2 (end of day organization)
Key Takeaway
Manual priorities combined with skill-based assignments create a 60-80% efficiency improvement over default settings.
The Critical 14-Pawn Threshold: Preparing for Scaling Challenges
Understanding the 14-Pawn Management Crisis
Many players report colonies becoming difficult to manage around 14 colonists. This happens because manual oversight becomes overwhelming while colony complexity increases exponentially.
Scaling Threshold: The point at which manual pawn management becomes unsustainable due to exponential growth in colony complexity.
One player expressed this frustration clearly: "I very much love that game but I always find myself getting frustrated when my colony get around 14 colonists." This sentiment reflects a common experience where enjoyment decreases as micromanagement demands increase.
Warning Signs You've Reached the Limit
Difficulty navigating all pawns, inability to automate colony responses, and reduced enjoyment indicate you've reached the scaling threshold. This frustration is why many players struggle at this colony size.
Warning Sign Examples:
- Feeling overwhelmed by individual pawn needs
- Struggling to coordinate colony-wide responses to threats
- Noticing a decline in your overall enjoyment of the game
- Spending more time in menus than watching your colony
- Missing critical events because you can't monitor all colonists
Transitioning to Automation-Based Management
Preparing for this transition before reaching the threshold is crucial. At 20+ colonists, you're no longer managing pawns directly but rather managing bills, zones, and work assignments to automate the colony.
Transition Timeline:
- Colonies 1-13: Focus on individual pawn management
- Colonies 14-19: Begin implementing automation systems
- Colonies 20+: Rely primarily on systematic management
This transition is crucial for maintaining efficiency with larger populations. Managing bills, zones, and work assignments instead of individual pawns allows your colony to scale effectively without proportional increases in your management burden.
Key Takeaway
The 14-colonist threshold marks the transition from personal management to systematic control - prepare automation systems before reaching this point.
Quality vs. Quantity: Strategic Population Management
The Quality Over Quantity Principle
A small colony of optimized psycasters will be far more effective than a large one of regular baseliners. Being selective about recruitment and focusing on quality over quantity may lead to better long-term success. Not every survivor or prisoner should join your colony.
Evaluating Colonist Traits
Focus on balanced trait sets rather than seeking perfection, as perfect colonists are rare. Very bad traits should generally be avoided, but you don't need perfect traits for successful colonies.
Trait Evaluation Framework:
Balanced Trait Sets: This approach prioritizes complementary traits rather than seeking perfection.
Bad Traits: These require more management time than they're worth.
- Abrasiveness: Creates social conflicts, reduces colony mood
- Addictions: Drains resources, requires constant monitoring
- Pyromaniac: Safety risk during mental breaks
- Lazy: Reduces overall productivity
Quality Assessment Examples:
High-Quality Colonist:
- Construction 12, Medical 8, Shooting 10
- Traits: Hard Worker, Careful Shooter
- Backstory: Soldier/Builder hybrid
Low-Quality Colonist:
- Construction 4, Medical 3, Shooting 2
- Traits: Abrasive, Lazy, Chemical Fascination
- Backstory: Drifter with no relevant skills
Balancing Size with Management Capacity
Some players prefer "10 really strong colonists" while others manage larger numbers through automation. Ideal colony size depends on playstyle, available resources, and management capabilities.
Size Strategy Comparison:
Small Quality Colonies (8-12 colonists):
- Easier to manage manually
- Higher individual productivity
- Less automation required
Large Automated Colonies (20+ colonists):
- Requires extensive automation
- Higher total output
- More complex systems needed
Key Takeaway
Quality colonists with complementary skills and positive traits provide better long-term value than quantity, especially as colony complexity increases.
Automation and Systematic Approaches for Large Colonies
Having established the importance of quality over quantity in your colony composition, the next challenge emerges: how to effectively manage larger populations without becoming overwhelmed by micromanagement demands.
The Scale Problem: When Manual Management Breaks Down
As colonies grow, manual oversight becomes insufficient. It's very easy to let your colonists do 'busy work' - hauling, cleaning, shuffling around - and never actually grow your base in any productive way.
What works for 5 colonists may not work for 15, so consider scalability from the beginning. This means recognizing that small-colony strategies will fail as your population expands.
Busy Work: Non-productive activities like hauling, cleaning, and unnecessary movement that don't contribute to base growth.
Core Automation Systems for Large Colonies
Implementing bill automation, zone management, and work assignment systems becomes essential for maintaining efficiency. These automated systems replace the need for constant manual intervention.
Essential Automation Components:
Bill Automation:
- Set production targets instead of manual assignments
- Example: "Cook until 100 meals" vs. daily cooking assignments
Zone Management:
- Automated resource organization
- Example: Separate storage zones prevent resource mixing
Work Assignment Systems:
- Priority-based task distribution
- Example: Construction 15+ colonists handle all building
Managing bills, zones, and work assignments becomes more important than individual colonist management. At scale, systemic efficiency takes priority over micromanaging each pawn's actions.
Concrete Automation Examples
Example 1: Automated Food Production Chain
Setup:
- Growing Zone: 30x30 rice field (produces ~3,600 rice/cycle)
- Bills System:
- Cook: "Cook until 200 meals"
- Haul: "Haul rice to kitchen" (priority 2)
- Haul: "Haul meals to freezer" (priority 1)
- Storage Zones: Separate areas for raw rice, ingredients, and finished meals
- Work Priorities: High Growing + Cooking colonists assigned to food production
Result: 200+ meals produced automatically without daily intervention
Example 2: Automated Manufacturing System
Setup:
- Resource Zones: Steel, wood, and component storage areas
- Bills System:
- Smith: "Smith steel until 50 components"
- Craft: "Craft furniture until 20 items"
- Hauling Priorities: Automated resource delivery during 6-8 PM
- Specialized Roles: Top crafters handle all manufacturing
Result: Consistent production output with minimal oversight
Example 3: Defense Automation
Setup:
- Safe Zones: Non-combatants retreat here during raids
- Work Priorities: All Shooting 12+ colonists set to priority 1 defense
- Equipment Management: Dedicated weapon storage zones
- Medical Response: Medical 10+ colonists priority 1 during combat
Result: Coordinated defense response without manual coordination
Designing Scalable Workflows
Design colony layout and systems with expansion in mind. Planning for future growth prevents the need for costly redesigns as your colony expands.
Scalable Design Principles:
Modular Construction:
- Build expandable production areas
- Example: 4x4 workshops that can connect to 8x8 complexes
Efficient Layouts:
- Minimize travel distances between related areas
- Example: Kitchen adjacent to dining room and food storage
Future-Proofing:
- Leave space for expansion in all directions
- Example: 20-tile buffer zones around main base
Focus on reducing busy work and maximizing productive activities. Every system you implement should minimize wasted movement and maximize time spent on value-adding tasks.
Key Takeaway
Successful large colonies (20+ colonists) require 70-80% automation - manual management becomes counterproductive beyond this scale.
FAQ Section
Colony Size and Scale
Q: What is the optimal colony size in RimWorld?
A: The optimal colony size depends on your management style and experience level. Small optimized colonies of around 10 strong colonists can be highly effective without requiring complex automation. Large colonies of 20+ colonists are viable but demand extensive automation systems to prevent chaos.
Q: What is the 14-colonist threshold?
A: The 14-colonist threshold is the critical point where management becomes overwhelming for most players. At this size, manual micromanagement becomes inefficient and stressful. Many players find this is where enjoyment begins to decrease without proper systems.
Q: When should I consider scaling up to 20+ colonists?
A: You should only scale to 20+ colonists when you have robust automation systems ready. This includes automated work assignments, zone management, and production bills. Without these systems, you'll spend more time managing than playing.
Pawn Quality and Selection
Q: Is quality or quantity more important for colonists?
A: Quality over quantity is the fundamental principle of effective pawn management. A small colony of optimized psycasters will be far more effective than a large one of regular baseliners. Focus on making each colonist count rather than simply increasing numbers.
Q: Which traits should I avoid when recruiting new pawns?
A: Avoid bad traits like abrasiveness and addictions that create colony instability. These traits lead to social fights, mood problems, and resource drain. Instead, focus on recruiting pawns with balanced trait sets that contribute positively to colony harmony.
Q: What are the most important skills for colonist success?
A: The three most critical skills form the foundation of colony success:
- Construction: Essential for building projects and base expansion
- Medical: Crucial for effective treatment and survival
- Shooting: Vital for colony defense against threats
Prioritize colonists with high levels in these key areas.
Management Strategies and Automation
Q: How do I effectively manage large colonies of 20+ pawns?
A: At 20+ colonists, you must shift from managing individual pawns to managing bills, zones, and work assignments. This system-level automation replaces pawn-level micromanagement. Set up proper work priorities and production chains to keep the colony running smoothly.
Q: What is "busy work" and how do I prevent it?
A: Busy work refers to low-value tasks like excessive hauling, cleaning, and shuffling around that consume colonist time without meaningful progress. It's very easy to let your colonists do busy work instead of productive tasks. Prevent this through efficient zoning and priority management.
Q: What are the warning signs that my colony is becoming unmanageable?
A: Key warning signs include:
- Difficulty navigating all pawns quickly during critical moments
- Inability to automate responses to routine events and threats
- A noticeable reduction in your enjoyment of the game
When you spend more time managing menus than watching stories unfold, your colony has become too complex. Consider scaling down or implementing stronger automation.
Conclusion - Mastering Colony Control for Long-term Success
The Journey from Personal Management to Systematic Control
The life and success of your colony depend on your ability to master the art of pawn management. This journey requires understanding the evolution from personal colonist management to systematic colony control.
Four Pillars of Sustainable Success
Success depends on quality recruitment, emotional management, systematic automation, and preparing for scaling challenges. These four pillars support sustainable colony development.
Emotional Management: A happy colony is a productive colony. This truth makes emotional management essential for maintaining stability.
Critical Scaling Thresholds
The critical importance of the 14-colonist threshold preparation cannot be overstated. At 20+ colonists, you must transition from managing individual pawns to managing "bills, zones, and work assignments."
The Quality Over Quantity Principle
Quality over quantity principle remains true at every stage. A small colony of optimized psycasters will be far more effective than a large one of regular baseliners.
Achieving Colony Mastery
Balancing automation with strategic depth makes RimWorld compelling. This balance ensures mastery is achievable with the right approach.
More RimWorld Guides
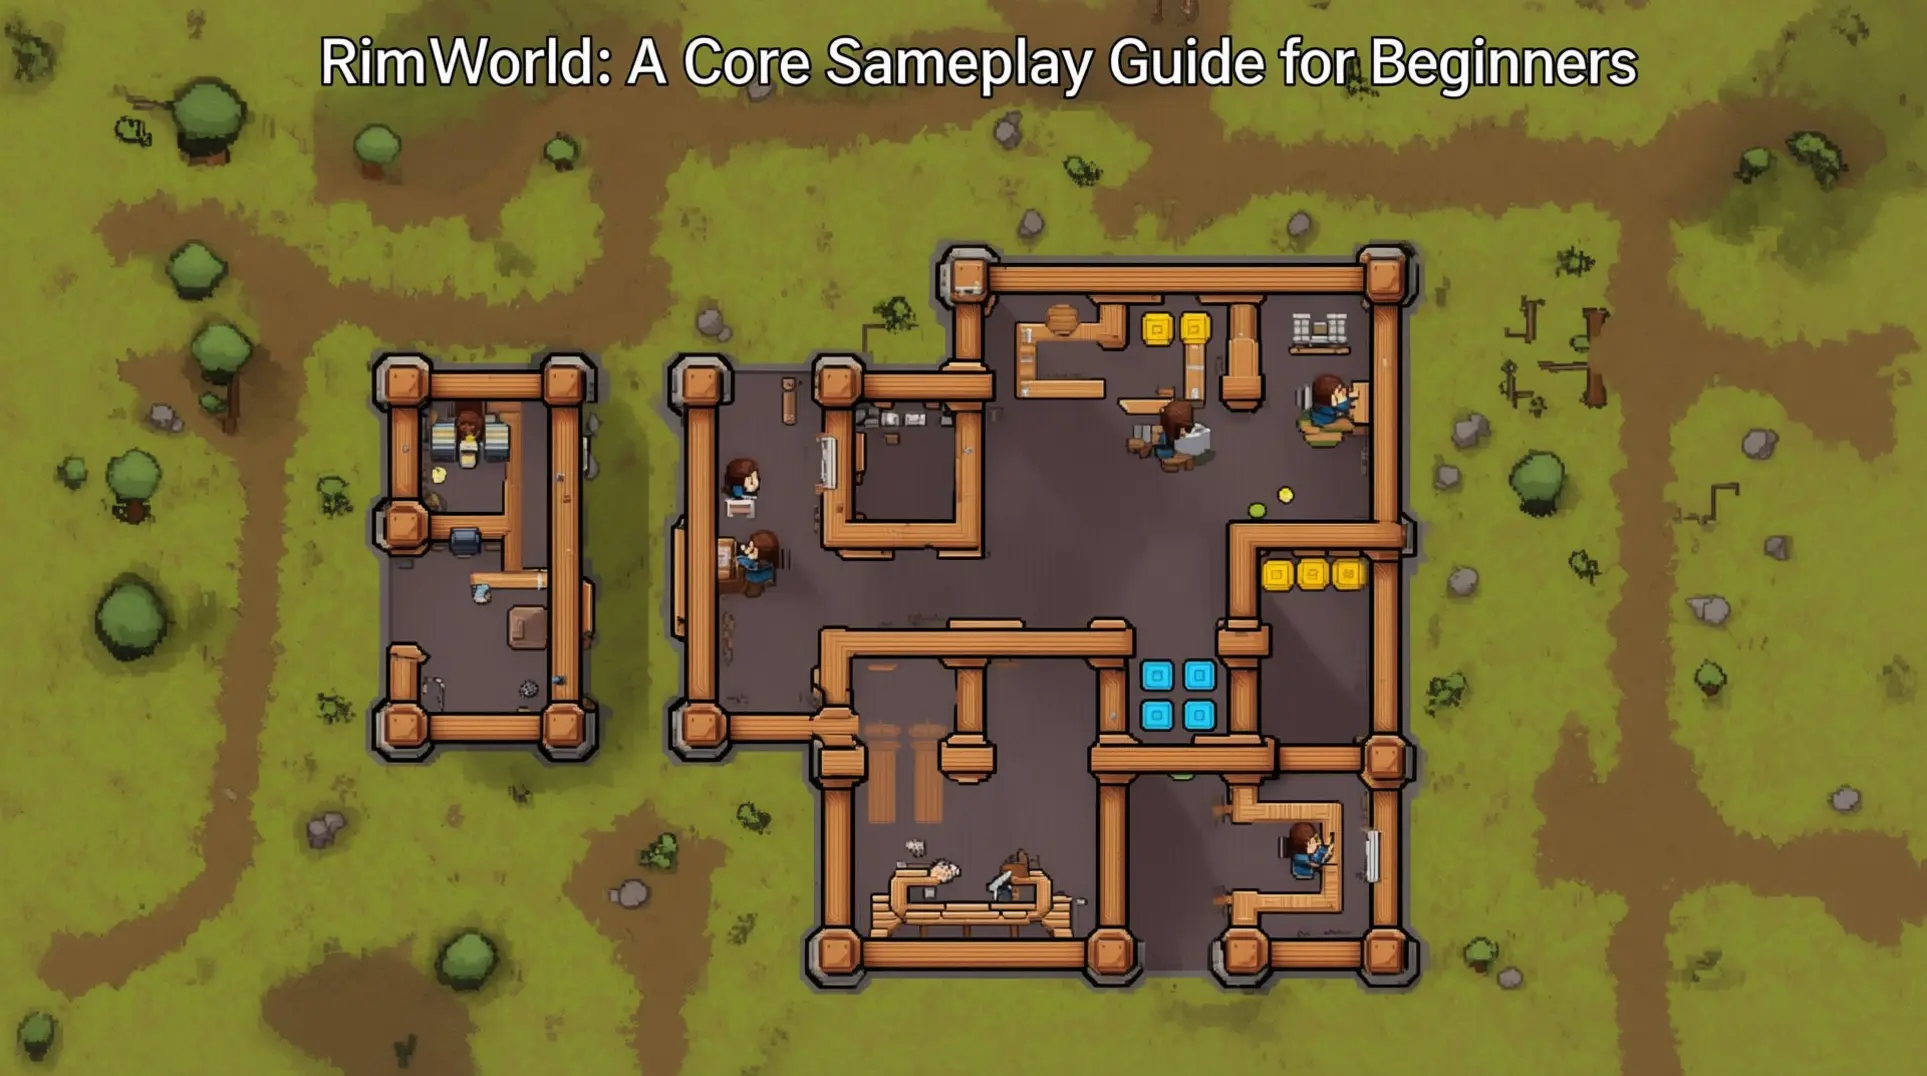
RimWorld: A Core Gameplay Guide for Beginners
Master RimWorld with this comprehensive guide covering colonist management, base building, food production, combat tactics, and mood management for your first successful colony.
RimWorld Beginner's Guide: Complete Guide to Starting Your First Colony
Learn everything you need to start your first RimWorld colony successfully - from choosing colonists and biomes to building your base, managing food, power, and defending against threats.

Escape, Transcend, or Destroy: Your Ultimate Guide to RimWorld's 7 Paths to Victory
Master all 7 RimWorld victory paths with our comprehensive guide covering spaceship escape, royal ascension, Archonexus, mechanitor mastery, and apocalyptic alternatives.
AI Tactical Companion
Consult with our specialized tactical engine for RimWorld to master the meta instantly.