RimWorld Combat Guide: Mastering Weapons, Armor & Defense Strategies
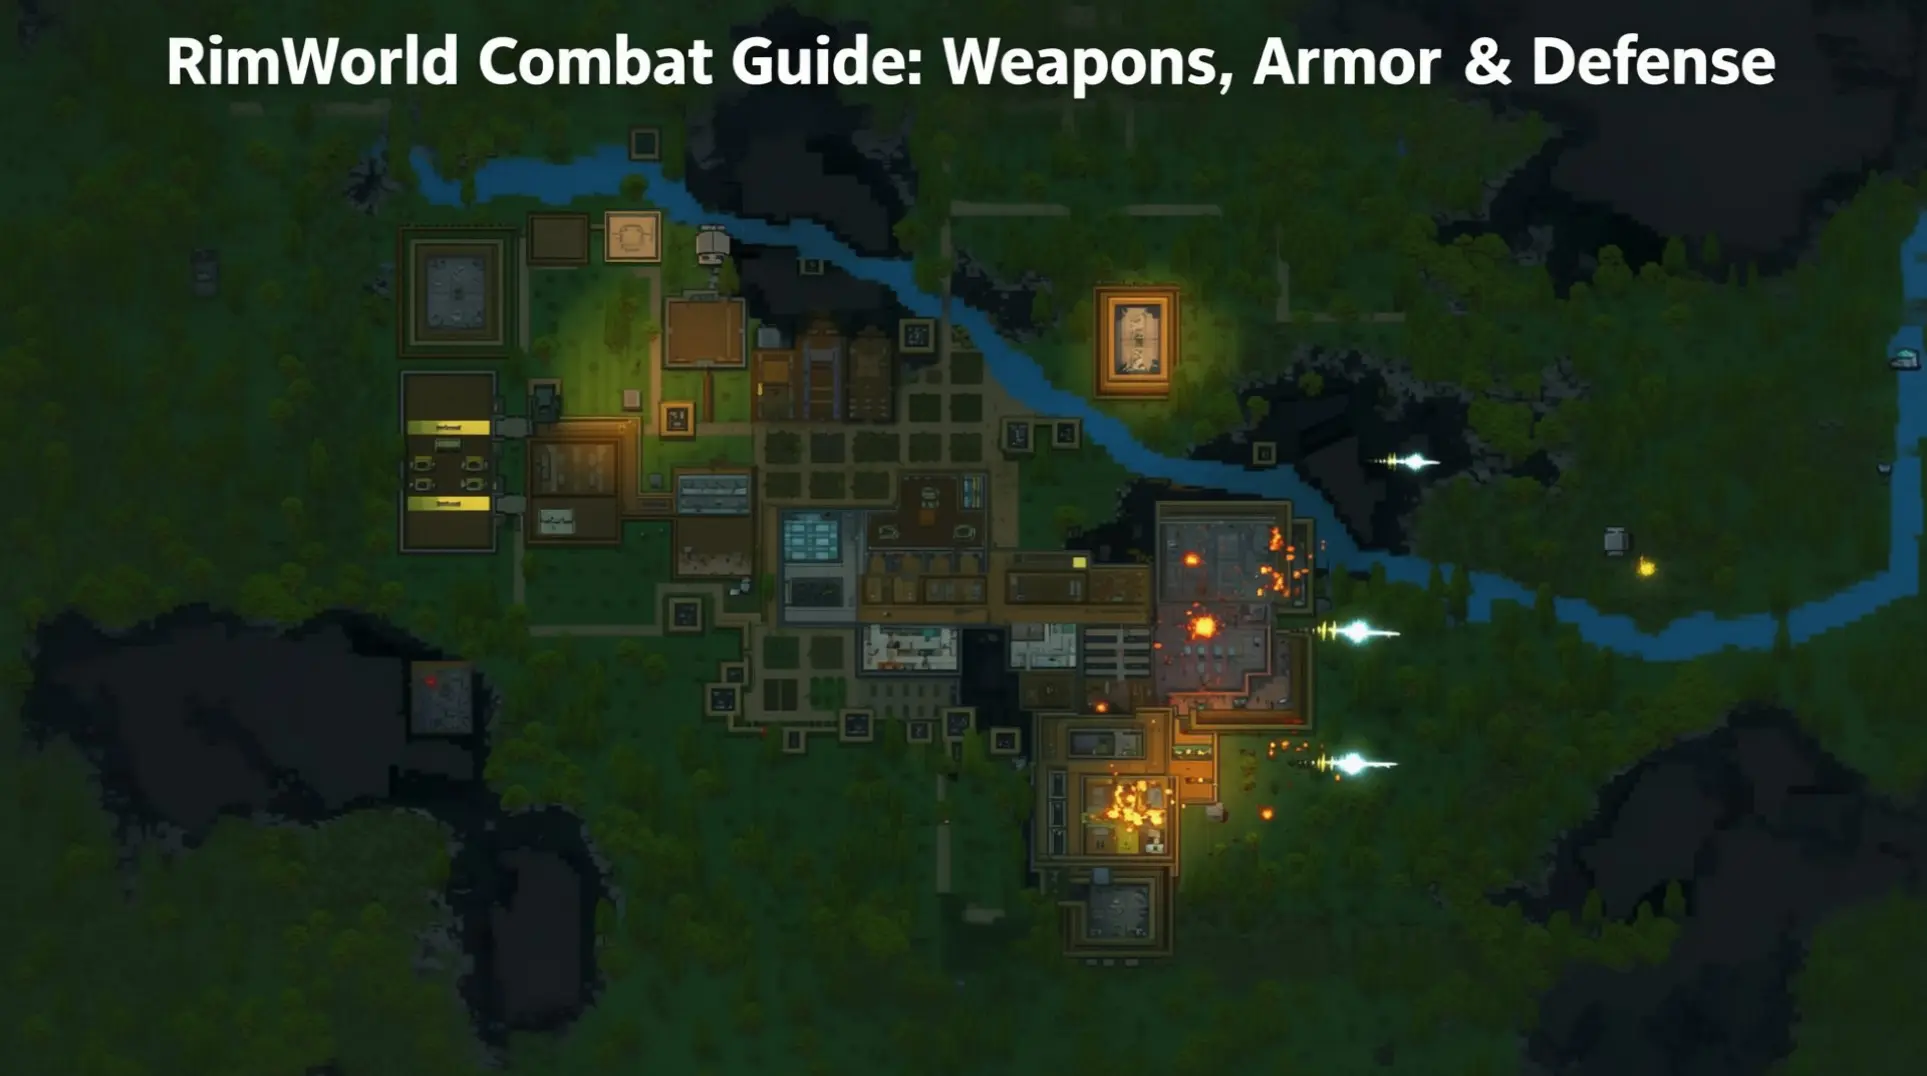
Combat in RimWorld is not merely an optional feature; it is a fundamental pillar of colony survival that directly influences every aspect of your management strategy. A colony's longevity hinges on its ability to defend itself against a relentless stream of threats, making a deep understanding of combat mechanics and a well-planned progression of weapons and defenses absolutely critical. The single most important lifesaving rule in RimWorld combat is to always use whatever cover is available. This comprehensive guide covers everything from early game weapons to advanced killbox strategies for all colony stages, ensuring your settlers can withstand raids, infestations, and mechanoid attacks throughout your RimWorld journey.
Understanding RimWorld Combat Fundamentals
Cover and Positioning Basics
Never fight in the open. Proper use of cover and positioning is one of the most critical survival skills in RimWorld.
Cover Effectiveness: This is the percentage chance a projectile will hit the cover object instead of the colonist behind it. Walls provide 75% cover, while sandbags and barricades offer 55%. This makes walls superior for protection, especially since they can absorb shots from a forced miss radius that sandbags cannot stop. Remember, cover only protects against ranged attacks, not melee or explosions.
For maximum protection, use layered defenses. The best setup is a colonist behind a wall with a sandbag in front of their firing position. You should also position colonists on elevated terrain to deny enemy cover bonuses and clear trees and stone chunks near defenses to deny the enemy cover. Avoid clustering colonists to minimize damage from area-of-effect attacks.
Weapon Range and Engagement Tactics
Controlling the engagement distance is key to winning fights. You should always aim to outrange your enemies to land multiple volleys before they can effectively retaliate.
Different weapons excel at different ranges. Sniper rifles have very long range and high accuracy but a long fire rate, making them perfect for harassing enemies from a safe distance. A few well-placed snipers can significantly reduce enemy numbers before the main battle. For general-purpose combat, the assault rifle is a balanced medium-range weapon. In contrast, heavy SMGs have high damage at short range but poor accuracy at long range, making them ideal for close-quarters defense.
Position your colonists at the maximum effective range of their weapons. This lets you channel raiders into kill zones where your colonists have the advantage. For advanced setups, consider equipping colonists with two weapon sets: one for long-range perimeter defense and another for short-range base defense. Ultimately, maximizing range and using solid cover is essential for survival.
Understanding Armor Mechanics
Armor is a specialized apparel system that provides protection against various damage types. It works on a percentage-based system where the armor rating represents the chance to deflect or reduce incoming damage.
Armor Penetration: This is a value from a weapon that is subtracted from an armor's rating during an attack. When an attack lands, the game compares its armor penetration against the target's effective armor rating. If a random roll is less than half the armor rating, the attack deflects harmlessly. If it is between half and the full rating, it damages the armor but not the colonist. If it exceeds the full rating, the attack penetrates and wounds the colonist.
Protection is not uniform; each armor piece covers specific body parts. You can create a layered defense by having colonists wear multiple apparel pieces. An attack must penetrate each layer sequentially to reach the colonist. Higher quality armor provides better protection, so craftsmanship is vital. Always balance the movement penalties of heavy armor with your protection needs.
Weapon Selection for Every Game Stage
Early Game Weapons (Survival Phase)
Your initial weapon choices are critical for surviving the first few raids. You will often balance between crafted weapons and those looted from attackers.
Here are some of the best options for this stage:
- Bolt-Action Rifle: This firearm is a top-tier early-game choice due to its excellent range and high single-shot damage. The bolt-action rifle deals 18 damage and has a 36.9-tile range, allowing colonists to engage enemies safely from a distance.
- Pump Shotgun: This weapon is devastating at close range, especially in choke points. While the pump shotgun also deals 18 damage, its effective range is only 15.9 tiles, making it ideal for when enemies breach your outer defenses.
- Heavy SMG: A versatile "jack of all trades," the Heavy SMG offers a good balance of rate of fire and damage. It is particularly effective for low-skilled shooters due to its shorter aim times and fires in manageable 3-shot bursts.
- Melee Weapons: Don't neglect close-combat options. Choose melee weapons based on their DPS (Damage Per Second), with crafted items like clubs or spears being viable for colonists with high Melee skill.
Mid Game Weapons (Colony Expansion)
The mid-game begins once you have a machining table, allowing you to craft more advanced firearms. A balanced arsenal that mixes different weapon types is key to handling diverse threats.
The Assault Rifle is one of the best all-around weapons of this era, offering great versatility. It outperforms the Charge Rifle in engagement distance, allowing your colonists to land the first shot on approaching raiders. A common strategy is to use Assault Rifles for initial volleys and then switch to other weapons to finish off high-priority targets that get too close.
For specialized defense, the Chain Shotgun is ultra-specialized for short-range combat. It is exceptionally effective against breachers, sappers, or insect hordes that try to overwhelm your position in tight corridors. The Heavy SMG remains a strong competitor in close-quarters, offering similar point-blank DPS but with higher armor penetration against armored targets.
For long-range support, the Sniper Rifle becomes a must-have to pick off dangerous enemies from extreme range.
Late Game Weapons (Endgame Threats)
In the late game, you will face heavily armored raiders and mechanoid clusters, demanding weapons with significant armor penetration and high damage output.
Charge rifles are widely considered the optimal all-rounders, offering an excellent balance of damage and armor penetration. They are a reliable backbone for any late-game squad. For extreme range and anti-armor capability, charge lances are superior, boasting very high armor penetration for a ranged weapon and making them exceptionally effective against heavily armored foes like centipedes.
For area denial, the minigun provides unparalleled suppression against tightly grouped enemies. However, minigun wielders become "sitting ducks" due to a massive move speed penalty and a long warm-up time, requiring careful, pre-planned positioning at choke points. Charge weapons can also use specialized EMP ammunition, which is highly effective at staggering and damaging mechanoids.
Melee Weapon Strategies
Melee weapons are crucial for controlling the battlefield and remain viable from the early game to the endgame. They are highly effective for controlling choke points like narrow hallways, where you can force attackers to engage your specialists on favorable terms. Rushing high-threat targets like Mechanoid Centipedes with melee fighters is also an optimal strategy to prevent their powerful ranged attacks.
Blunt vs. Cutting: Your choice between weapon types matters. Blunt weapons like stone clubs are excellent in the early game for non-lethally capturing prisoners. In the mid-game, uranium maces are also ideal for downing enemies to recruit them. Cutting weapons like the longsword, especially when crafted from plasteel, emerge as premier mid-game options for raw damage.
In the late game, Persona Weapons from the Royalty DLC are the undisputed best-in-slot. The Persona Zeushammer is particularly effective against mechanoids due to its immense blunt damage and armor penetration. Even without the DLC, a well-crafted plasteel longsword remains an exceptionally powerful weapon, especially when wielded by a colonist equipped with power armor and a shield belt.
Armor and Protective Gear Optimization
Layered Defense: Armor vs. Clothing
RimWorld's defense system relies on a layered apparel structure, where pawns equip items across five distinct layers: Skin, Middle, Outer, Headgear, and Belt. Armor calculations start from the outermost layer and move inward, giving each layer an independent chance to stop or reduce damage. Clothing, typically made from fabrics and leathers, offers excellent insulation but modest protection, while combat-focused armor provides superior damage mitigation at the cost of poor insulation and potential speed penalties.
A highly effective combination pairs a flak vest (middle layer) with a devilstrand duster (outer layer), as each layer gets its own roll to mitigate torso damage. While Marine armor and helmet offer slightly more survivability, they impose a movement speed penalty that the flak vest and duster setup avoids. This strategic layering allows for tailored defense against specific threats without sacrificing mobility.
Early vs. Mid vs. Late Game Armor Progression
- Early Game: Rush the Flak Armor research to produce cost-effective gear like Flak Vests and Advanced Helmets. A Flak Vest and Advanced Helmet combo significantly reduces fatal torso and head injuries from initial raids.
- Mid-Game: Upgrade fighters to full Plate Armor with an Advanced Helmet and equip ranged specialists with Recon Armor. Introduce utility items like Shield Belts for melee colonists to block ranged fire, and consider Smokepop Belts or Jump Packs. The classic full Flak Armor set remains a strong transitional option.
- Late Game: Counter heavy threats with top-tier armor such as Marine Armor for ranged fighters and Cataphract Armor for melee tanks. A successful strategy involves equipping melee colonists with Recon Armor and Shield Belts for mobility and ranged defense, while ranged colonists wear heavier Marine Armor for survivability. Nobles from the Royalty DLC will require royal apparel.
Stopping Power and Combat Advantages
Armor provides a percentage-based chance to deflect or reduce incoming damage, which is categorized by types like Sharp and Blunt. However, if a weapon's Armor Penetration (AP) value exceeds the target's armor rating, the armor is ignored entirely. Stopping Power is a separate weapon stat that represents the ability to stagger or slow a target on hit, with a value of 1 being sufficient to momentarily stagger humans and human-like mechanoids.
Tactical advantages come from balancing protection and mobility. A Flak vest with a Duster and Marine helmet offers enhanced survivability with better movement speed than full Marine armor. High-end materials like Hyperweave, Thrumbofur, and Devilstrand significantly improve armor quality, with Devilstrand being a strategic choice since it can be farmed. The Flak vest and duster combo is also cheaper and often more effective against mechanoids, whereas Marine armor is better suited for foes like insects and empire troops.
Advanced Defense Structures and Killboxes
Killbox Fundamentals: Why They Work
Killboxes in RimWorld work by manipulating enemy AI pathfinding. Raiders constantly evaluate the path of least resistance, seeking accessible colony furniture, and these structures force them into predictable, single-file approaches through narrow choke points. Raiders navigate on a tile-by-tile basis, where an open door has a very low path cost compared to breaking down walls, making a properly designed killbox the logical AI choice.
This design exploits pawn collision mechanics, as narrow openings force raiders to enter one or two at a time. This prevents defenders from being overwhelmed by large groups. The core principle is to maximize cover for your pawns while completely removing cover for enemies, then bringing enough firepower to eliminate threats before they can close the distance. Strategic placement of chunks can also predictably funnel enemies, as the AI will typically take a clear gap in a row of chunks rather than going over them. However, raider AI can recognize death traps and may opt to dig through walls or mountains to bypass them if perceived as too dangerous.
Advanced Killbox: The Singularity Design
The Singularity Killbox is a highly optimized defensive structure that channels enemy raids into a lethal choke point. It refines core killbox principles—concentrated fire, controlled engagement, and durable construction—by cleverly exploiting game mechanics to neutralize overwhelming threats with minimal risk. The design is renowned for its ability to handle massive raids, including hundreds of mechanoid centipedes, with minimal damage to defenders.
A key mechanic exploited is the 'peeking' mechanic, where a colonist's line-of-sight shifts one tile away from their position. This allows them to see and shoot through walls while remaining completely protected. The classic design uses two rows of barricades at the final choke point; the front row provides cover for colonists to peek from, while the back row forces enemies to stop directly in the line of fire. The entrance must be the most attractive path for raiders, achieved by sealing the rest of the base with strong walls. However, the design may be less effective against sapper raids, and with RimWorld 1.5, there is speculation that core mechanics enabling this strategy have been altered, potentially rendering it obsolete.
Alternative Defense Strategies
Instead of a traditional killbox, some players create an open 'kill-field'—a cleared area with minimal cover for attackers—while colonists defend from a fortified bunker overlooking it. This strategy focuses on direct firepower and positioning. Utility items like deployable shields and smoke launchers can be used strategically in open-field engagements to control positioning and disrupt enemy formations, improving defensive capabilities.
Leveraging natural terrain is another effective tactic. Pre-positioning a mix of shooters and melee brawlers behind rock formations or ruins can create an "L" shape that prevents being surrounded and allows for flanking. Targeted trap placement at choke points or along known raider paths can also thin enemy numbers effectively without extensive trap corridors. It's important to note that avoiding killboxes is more viable at lower to medium game difficulties, as on the highest difficulty settings, they are often almost necessary to survive overwhelming raids.
Specialized Threat Counter-Strategies
Managing Infestations (Internal Threats)
Infestations are a disruptive internal threat that can spawn deep inside a mountain base, targeting areas with an overhead mountain roof. These events are tied to your colony's wealth and environmental conditions, with a preference for dark, warm spaces above -8°C (17.6°F). The infestation is only over once all spawned hives are destroyed.
Bait Room: An unattended, warm room built deep within a mountain to deliberately attract infestations away from critical colony areas.
A key defensive principle is designing your base in sections, using 3-tile-wide hallways to create natural choke points and fallback positions. This design allows for effective area control during an attack. A highly effective tactic is the "melee block" formation, which places three heavily armored melee colonists at a narrow entrance to block insects while ranged fighters fire safely from behind. This works because pawns are immune to friendly fire from weapons if they are within 4 tiles of the shooter.
For a more strategic approach, consider creating a bait room. Placing this room 5-10 tiles deeper into the mountain increases its likelihood of attracting an infestation. An advanced version of this tactic involves combining the bait room with incendiary traps to burn and weaken insects before your colonists engage. Remember, an active infestation prevents new ones from spawning elsewhere.
Handling Breachers and Sappers
Sappers are raiders equipped with explosives who mine through walls to create new entry points, deliberately avoiding killboxes. They calculate paths to colonist beds while steering clear of turrets, even when powered off. You can manipulate sappers by placing deactivated turrets to funnel them toward preferred engagement zones.
Against breacher raids, equip pawns with long-range precision weapons like assault rifles and engage in open field combat where breachers focus on walls rather than colonists. For mechanoid breachers, EMP weapons are crucial, with EMP grenades stunning groups and EMP mortar shells softening approaching mechanoids.
Create layered defenses with multiple fallback positions to manage breachers who penetrate outer defenses. Incendiary weapons can create fire zones that impede breacher movement, and targeted elimination of sapper specialists can cause remaining raiders to revert to standard behavior.
Mechanoid Cluster Defense
Mechanoid clusters land from the sky and establish fortified positions, forcing you to be the aggressor. Most start dormant, giving you time to assess threats. Identify proximity or countdown activators—countdown activators force engagement within limited time, while proximity activators awaken when you get too close.
EMP grenades and shells are invaluable as they stun mechanoids, disrupting attacks. For clusters without high-shield projectors, use long-range artillery with high-explosive and EMP shells. Mech high-shield projectors block mortar rounds but can be temporarily disabled by EMP attacks for 18 seconds.
The 'peek-and-shoot' assault involves positioning colonists at activation range and using a fast pawn to aggro enemies back to your firing line. Mechanoid allies controlled by a Mechanitor can serve as durable frontline tanks. Prioritize targets: keep Scythers at distance using choke points, eliminate Lancers and Pikemen quickly, and use armor-piercing weapons against Centipedes.
Conclusion
Mastering RimWorld combat requires a holistic approach that combines proper weapon selection, strategic armor layering, and intelligent defensive planning. The most successful colonies understand that survival isn't about having the best individual equipment, but about creating systems where each element supports the others. Whether you're facing early-game raiders with bolt-action rifles or endgame mechanoid clusters with charge lances, the principles remain the same: control the engagement distance, maximize your defensive advantages, and always prioritize colonist safety through proper positioning. By implementing the strategies outlined in this guide, you'll transform your colony from a vulnerable settlement into a fortress capable of withstanding whatever the rim throws at you.
More RimWorld Guides
RimWorld Pawn Mastery: Complete Colony Control Guide
Master RimWorld pawn management with our comprehensive guide covering colony scaling, automation, and the critical 14-colonist threshold.
The Ultimate RimWorld Colony Blueprint: Mastering Room Sizes, Layout Efficiency, and Defensive Architecture
Complete guide to RimWorld base building covering optimal room dimensions, defensive killbox design, temperature management, and strategic material selection for colony survival.
The RimWorld Material Mastery Guide: From Basic Components to Advanced Fabrication
Complete guide to RimWorld resource management covering components, advanced components, neutroamine, plasteel, steel, and cloth. Learn crafting strategies and acquisition methods for colony survival.
AI Tactical Companion
Consult with our specialized tactical engine for RimWorld to master the meta instantly.