The RimWorld Trade Masterclass: Orbital Beacons, Caravan Economics, and Wealth Management That Actually Controls Raid Difficulty
The RimWorld Trade Masterclass: Orbital Beacons, Caravan Economics, and Wealth Management That Actually Controls Raid Difficulty
In the unforgiving colonies of RimWorld, the greatest threat often isn't the manhunting squirrels or the toxic fallout—it's your own success. Most players are raided into oblivion not by chance, but because they unknowingly stockpile a mountain of wealth, directly summoning ever-larger and deadlier assaults. This is the core, brutal mechanic of the storyteller AI: your colony's total wealth, scaling up to a staggering 1 million wealth, is the primary driver of raid difficulty, capable of generating raids worth up to 4,200 combat points.
This guide is your essential defense against economic self-sabotage. We will demystify the wealth-raid relationship and move beyond mere survival to mastering the economy. You will learn to leverage orbital trade beacons for lucrative off-world deals, master the art of caravanning to seek out the best prices, and implement advanced wealth management strategies that convert dangerous hoards into practical power. Mastering these interconnected systems is not optional; it is the fundamental key to thriving on the higher difficulties, ensuring your prosperity attracts allies and opportunities, not just overwhelming firepower.
Understanding RimWorld's Economic Ecosystem
RimWorld features two primary trading systems that work in tandem to help colonies acquire resources and manage their economy. The orbital trade beacon system enables trading with orbital traders after researching Microelectronics, requiring both a comms console and beacons to function. Items must be within the beacon's 15-tile diameter radius to be available for trade, with animals being tradeable regardless of beacon range. The caravan trading system offers more flexibility, allowing players to form expeditions consisting of colonists, animals, and prisoners to transport goods to other settlements without beacon range limitations.
The most critical relationship in RimWorld's gameplay is between colony wealth and raid difficulty. The game's storyteller system calculates raid points based on your total colony wealth, which directly determines the strength and frequency of raids. Colony wealth includes all items on the map at full value, equipped gear and resources, pawns and animals, and structures at half their value. The system scales raid difficulty up to 1 million storyteller wealth, with wealth generating up to 4.2k raid points (nearly half the 10k raid point cap on higher difficulties).
Effective strategies include reducing visible wealth by only keeping essential items, using caravans to remove excess wealth from the map (items leaving don't count toward base wealth), giving away unnecessary items to improve faction relations, and avoiding overproducing and stockpiling everything. The caravan system provides a clever wealth management tactic that allows players to effectively "hide" wealth from raid calculations.
Orbital Trade Beacon Mastery - Beyond Basic Placement
Moving beyond simply placing a beacon inside your warehouse, advanced mastery transforms the orbital trade beacon from a mere trading tool into a powerful strategic defensive asset. The core principle is relocation: beacons must be placed in a dedicated, unroofed area, well away from your primary storage and production buildings. This is non-negotiable, as it directly exploits the game's raid targeting mechanics.
The key mechanic is that approximately 40% of all potential raids will specifically target your most recently-built, powered orbital trade beacon. By controlling its location, you dictate where these drop pod raids will land. A beacon's effective range is a generous 15-tile diameter, allowing for significant flexibility in its placement. The designated landing zone should be a fortified "killbox" designed for maximum defensive advantage, featuring clear firing lines for your colonists, heavy turret coverage, and strategic cover.
Power management is critical for this strategy. The beacon must be connected to your grid to function for trade, but this also activates it as a raid magnet. A highly effective technique is the use of a decoy beacon. Build your primary, strategically-placed beacon first. Later, construct a second beacon in your desired killbox. As the newest beacon, it will attract the 40% of raids. By keeping this decoy beacon unpowered via a switched-off power conduit, you can deactivate it as a target. When a trade ship appears, simply flick the power switch on to connect, conduct your business, and then disable it again to resume its role as a dormant lure.
Managing multiple beacons for trade and defense requires nuance. Raids will always target the newest, powered beacon. Therefore, your oldest beacon should be your permanent, powered trading post in a safe location. Any newer beacons are tactical constructs, to be powered only when you intentionally want to draw raids to their location or need to use them for trade.
This approach fundamentally changes colony defense. Instead of fearing the random chaos of drop pod assaults into your heart, you anticipate them. You funnel a predictable portion of your enemies into a pre-sighted slaughterhouse, turning their preferred method of attack into their greatest weakness. This is the pinnacle of orbital trade beacon mastery: not just calling for cargo, but commanding the battlefield.
Caravan Economics: Risk vs Reward Analysis
Launching a caravan is the primary engine of wealth in the harsh frontier, but it is a calculated gamble where poor planning leads to ruin. Success hinges on a meticulous risk-reward analysis, balancing security, speed, and carrying capacity to maximize profit margins.
Composition & Security: The Profit Protection Detail A caravan's composition is its first line of defense. Data from recovered trader logs indicate an optimal security detail consists of 2-3 well-equipped, mobile fighters. This number provides a robust defense against common raider parties without becoming a drain on supplies. A dedicated medical specialist is non-negotiable; their ability to treat wounds on the move prevents minor skirmishes from becoming catastrophic losses, effectively paying for their upkeep by preserving the caravan's most valuable assets—its people and animals.
Animal Selection: The Engine of Commerce The choice of pack animal defines the caravan's economic potential. Horses are the premier choice for high-value, low-volume goods or dangerous routes, offering a 160% multiplier to individual colonist caravan speed, with an additional +60% "all-mounted" bonus when every colonist rides, drastically reducing exposure time to threats. For bulk commodity trading, elephants or muffalo are superior. A single elephant boasts a massive carrying capacity stat of 300kg (though they can only haul 75kg stacks on-map due to game mechanics, and carry ~140kg in caravans), allowing for immense profit per trip. However, this comes at the cost of significantly reduced speed, increasing the journey's duration and inherent risk. The choice is a direct trade-off: velocity versus volume.
Supply Logistics: The Margin Eaters Underestimating supplies is a fatal error. Each colonist consumes one survival meal approximately every 1.6 days. For a week-long journey, a five-person team requires a minimum of 22 meals, consuming precious weight. Medicine is a weight-efficient insurance policy; carrying 5-10 units can mean the difference between a healthy return and a caravan stranded by disease or infection. Every kilogram allocated to supplies is one less kilogram of silver earned, directly cutting into profit margins.
The Prisoner Economy & Route Planning Incorporating prisoners for sale introduces complex calculations. Each requires a dedicated guard, increasing the supply burden. Furthermore, prisoners reduce overall caravan speed by approximately 6% each, compounding the risk. They are only profitable on secure, established routes or when the caravan's security is overwhelmingly powerful. Route planning itself is paramount. Choosing a longer, safer path may be more profitable than a direct route through hostile territories, even with the extra supply cost. The goal is not the shortest path, but the path with the highest probability of a profitable return.
Ultimately, caravan economics is a discipline of balance. Over-investing in security cripples profits with supply costs; under-investing loses everything. Prioritizing speed sacrifices bulk gains; prioritizing bulk invites danger. The most successful caravans are those that align their composition and cargo precisely with their chosen route's specific threats and opportunities.
Advanced Wealth Management Strategies
Effective wealth management is the cornerstone of surviving and thriving on higher difficulties. Uncontrolled wealth accumulation directly scales raid points, leading to increasingly severe and frequent attacks. Advanced strategies, therefore, focus not on hoarding, but on intelligent conversion, expenditure, and minimization of inefficient assets—a concept often termed the "silver ceiling problem."
Solving the Silver Ceiling: Spending, Gifting, and Discarding The "silver ceiling" is the point where your colony's wealth triggers raids that outpace your defensive and combat capabilities. The solution is proactive wealth reduction. Destroy useless items regularly. Burn tattered apparel, shattered weapons, and low-quality furniture in a crematorium or campfire. This instantly removes their wealth value. For surplus high-value goods, gifting to allied factions via transport pods is a dual-purpose strategy: it reduces wealth while significantly boosting relations, making trade more favorable and enabling you to call for military support during crises. Finally, strategic spending is key. Convert raw materials and drugs into permanent defensive and productivity enhancements: build better walls, purchase advanced components and bionics from traders, and invest in masterwork armor and weapons for your key colonists.
Production Chain Optimization: Psychoid to Flake vs. Yayo The psychoid production chain is a major wealth generator and requires careful analysis. Producing yayo (8 psychoid leaves → 23 silver, 2.875 per leaf) is wealth-efficient for its weight and value, making it ideal for caravans and trade. However, flake (4 psychoid leaves → 14 silver, 3.5 per leaf) generates 50% more market value from the same raw input. While heavier and less value-dense, flake is superior on-site production if your goal is pure profit and rapid wealth generation to hit a specific trading goal. Crucially, all drug production should be confined to a dedicated drug lab. This sterile, tool cabinet-boosted room staffed by a single, skilled crafter minimizes wasted time and resources, dramatically increasing output per input and keeping production wealth-efficient.
Hidden Wealth Techniques: Storage and Animal Management Wealth stored in certain forms is calculated less efficiently by the game's raid point formula. A prime example is storing unprocessed raw materials like plasteel, components, and gold; their market value is only factored at 20% of its true value until crafted into an item. Keep stockpiles of these vital resources as raw mats for as long as possible. Animal management is another critical lever. While bonded pets provide morale, a large herd of boomalopes or elephants represents a massive, constantly breeding wealth bomb. Regularly cull older, non-productive animals and sell the offspring. Only keep animals that provide a clear utility: hauling, combat, or milk/wool production.
Practical Implementation and Balancing Act Implementation requires constant vigilance. Use the wealth graph in the history tab to monitor spikes. Use bribery and alliances to manage raid frequency. Gifting surplus goods to powerful hostile factions can temporarily buy peace, while strong alliances provide crucial raid-breaking support. The ultimate goal is to balance production efficiency with acute wealth awareness. Produce only what you need for immediate use, trade, or gifting. Every item crafted should have a designated purpose, not simply fill a stockpile. By mastering these strategies—efficient production, strategic disposal, and intelligent storage—you break the silver ceiling and ensure your colony's growth is measured in security and capability, not just raw silver.
Trader Psychology and Manipulation Tactics
Mastering trade in the RimWorld colony economy requires more than simple bartering; it demands a sophisticated understanding of factional psychology and market manipulation. Each faction possesses distinct, deeply ingrained buying patterns. Outlanders, with their tech-focused societies, pay a significant premium for advanced components, bionics, and complex weapons. Conversely, Tribal factions highly value medicine, textiles, and natural materials like wood and leather, items they cannot easily produce en masse. Pirates operate on vice and violence, offering the best prices for recreational drugs, alcohol, and a wide array of weaponry. Recognizing these preferences allows you to tailor your caravan's inventory for maximum profit with each specific faction.
The pricing mechanics themselves are a study in psychological thresholds. The game enforces a 60/140 rule: you will always sell an item for 60% of its market value and buy for no less than 140% (a 140% markup). This built-in spread creates a constant tension, training the player to seek every possible advantage. This is where social intelligence becomes a tangible asset. A colonist with a high Social skill doesn't just talk better; they directly manipulate the numbers, securing deals up to 2% better on prices compared to an unskilled trader. This margin is the difference between profit and loss on high-value trades.
Timing is another critical lever. Faction bases operate on a 30-day restock cycle. Arriving immediately after a restock ensures they have maximum silver and goods to purchase your wares. Conversely, trading when their stocks are depleted leaves you with a poor selection and a buyer low on funds.
Finally, the most powerful tactic is pre-transaction generosity. Gifting a small portion of your trade goods, especially items the faction desires, provides a substantial relationship boost. This improved standing doesn't just make them less likely to raid you; it directly applies a hidden discount to all subsequent transactions. A faction that views you as an ally is psychologically primed to offer you better deals.
Understanding these patterns transforms trading from a mundane exchange into a strategic game. By leveraging faction desires, the 60/140 rule, social prowess, restock timing, and gift psychology, you cease to be a mere merchant and become a master of economic manipulation.
Real-World Case Study: The Colony That Beat the System
In the unforgiving world of RimWorld, wealth is the primary driver of raid strength, making opulence a death sentence. Yet, one colony defied this core mechanic, maintaining a formidable war chest of over 500,000 silver while facing only minimal raids. Their success was not found in poverty but in a masterclass of strategic wealth management.
The cornerstone of their strategy was understanding the raid calculation threshold. They discovered that once their colony's total wealth surpassed approximately 80,000-100,000, raid sizes began to escalate dramatically. Instead of halting all production, they employed a policy of selective wealth retention and conversion. Raw materials and finished goods were immediately transformed into superior defensive capabilities. Marble was carved into formidable walls, plasteel and components were forged into advanced turrets, and uranium was stockpiled exclusively for the most powerful mortars. This crucial step meant their wealth was not "idle" but actively working to protect them, thus not triggering disproportionately severe threats.
Furthermore, they mastered diplomatic wealth management. A significant portion of their excess silver—often tens of thousands at a time—was not hoarded but strategically gifted to allied factions. This generated a massive buffer of goodwill, allowing them to call for immediate military support multiple times per season. When a raid did occur, it was often met by a friendly trader caravan or a quickly-summoned allied squad, effectively having other factions fight their battles for them.
Their silver management techniques were equally precise. Surplus silver was often stored in a separate, lightly defended outbuilding. If a raid did target this "decoy" wealth, the loss was acceptable, protecting their core infrastructure and defensive investments.
This colony's story is a compelling testament to a superior strategy: successful colonies don't eliminate wealth; they intelligently convert liquid assets like silver and jade into unassailable defensive and diplomatic power.
Conclusion
In conclusion, mastering RimWorld's economy transcends simple profit. It is the strategic integration of controlling raid frequency through orbital beacon mastery, mitigating risk with calculated caravan economics, and intelligently managing colony wealth to dictate raid scaling. Coupled with a deep understanding of trader psychology to maximize every transaction, these systems form an interconnected web of power. This knowledge is the critical divide. Stop merely surviving each brutal season. Implement these strategies to weaponize the economy itself, transforming your struggling outpost into an unstoppable, wealth-generating powerhouse that doesn't just endure, but definitively thrives.
More RimWorld Guides

RimWorld Pawn Mastery: Complete Colony Control Guide
Master RimWorld pawn management with our comprehensive guide covering colony scaling, automation, and the critical 14-colonist threshold.
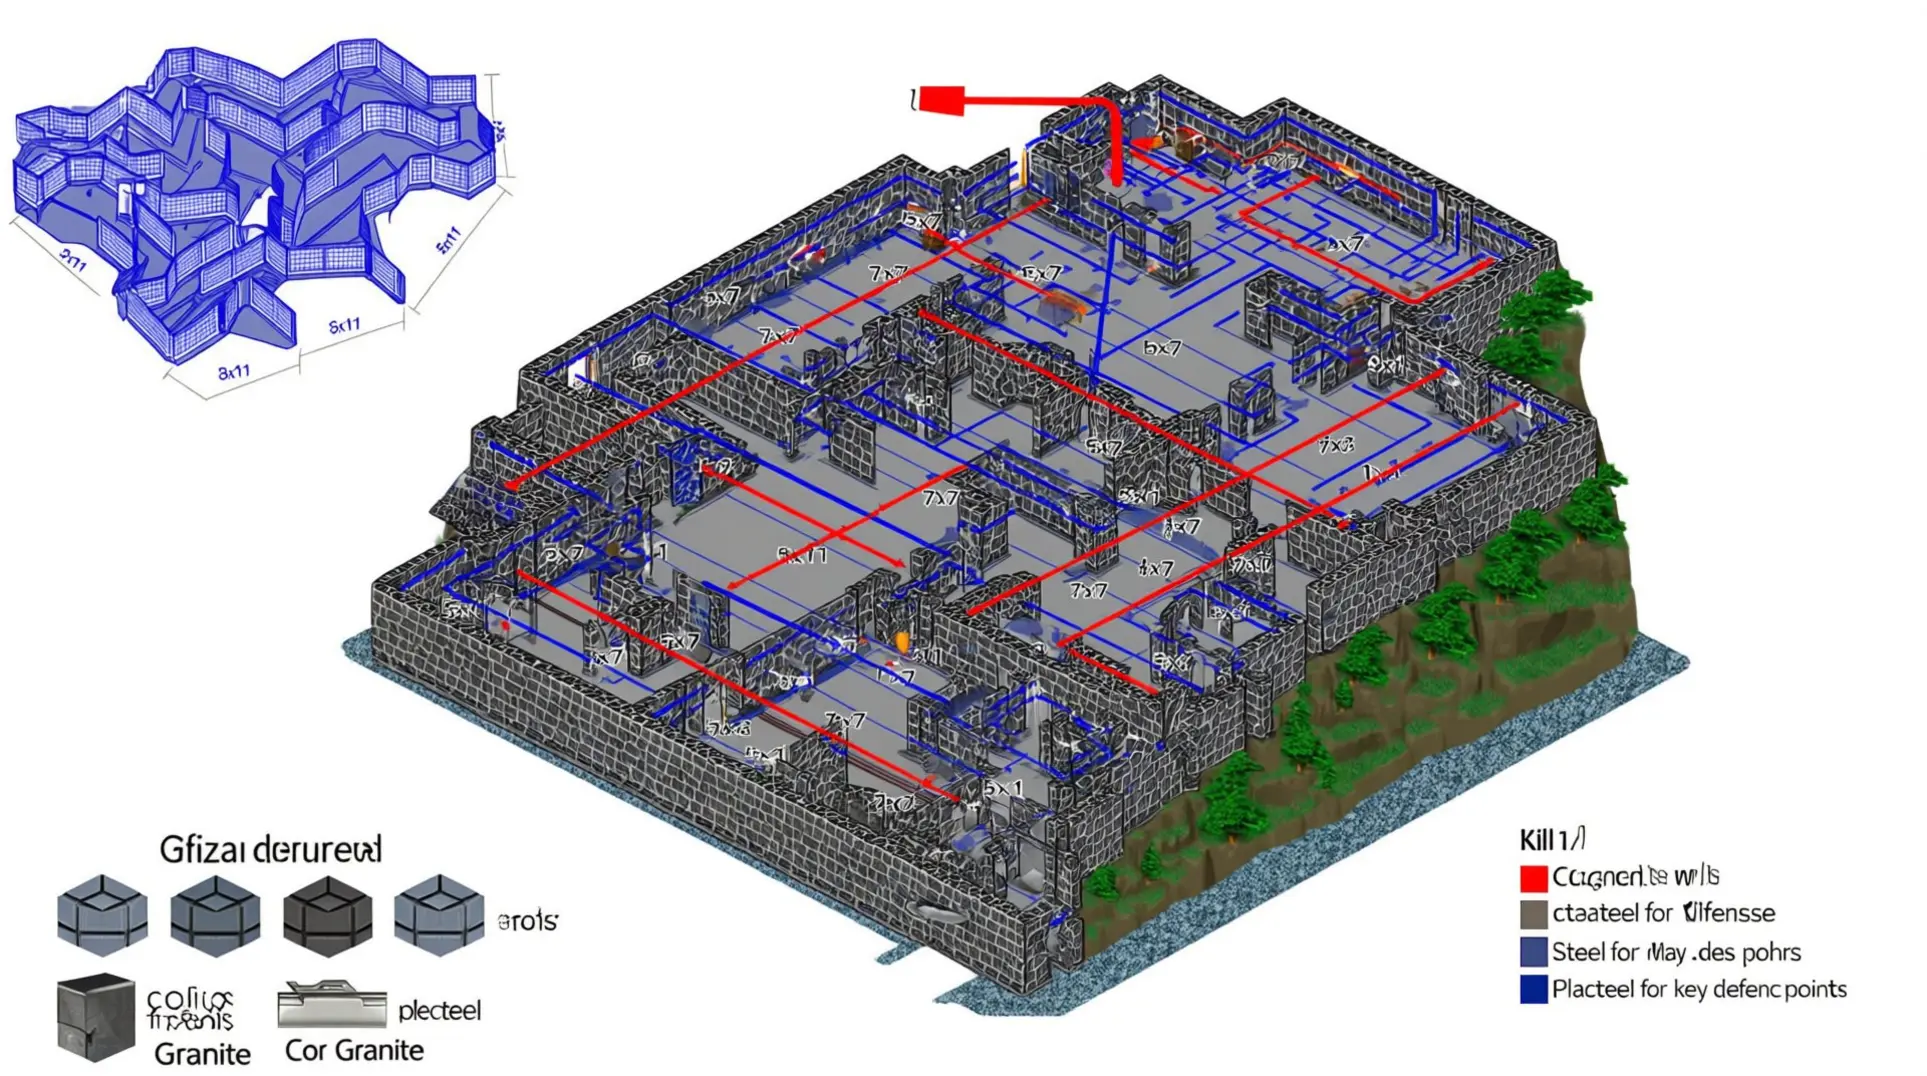
The Ultimate RimWorld Colony Blueprint: Mastering Room Sizes, Layout Efficiency, and Defensive Architecture
Complete guide to RimWorld base building covering optimal room dimensions, defensive killbox design, temperature management, and strategic material selection for colony survival.
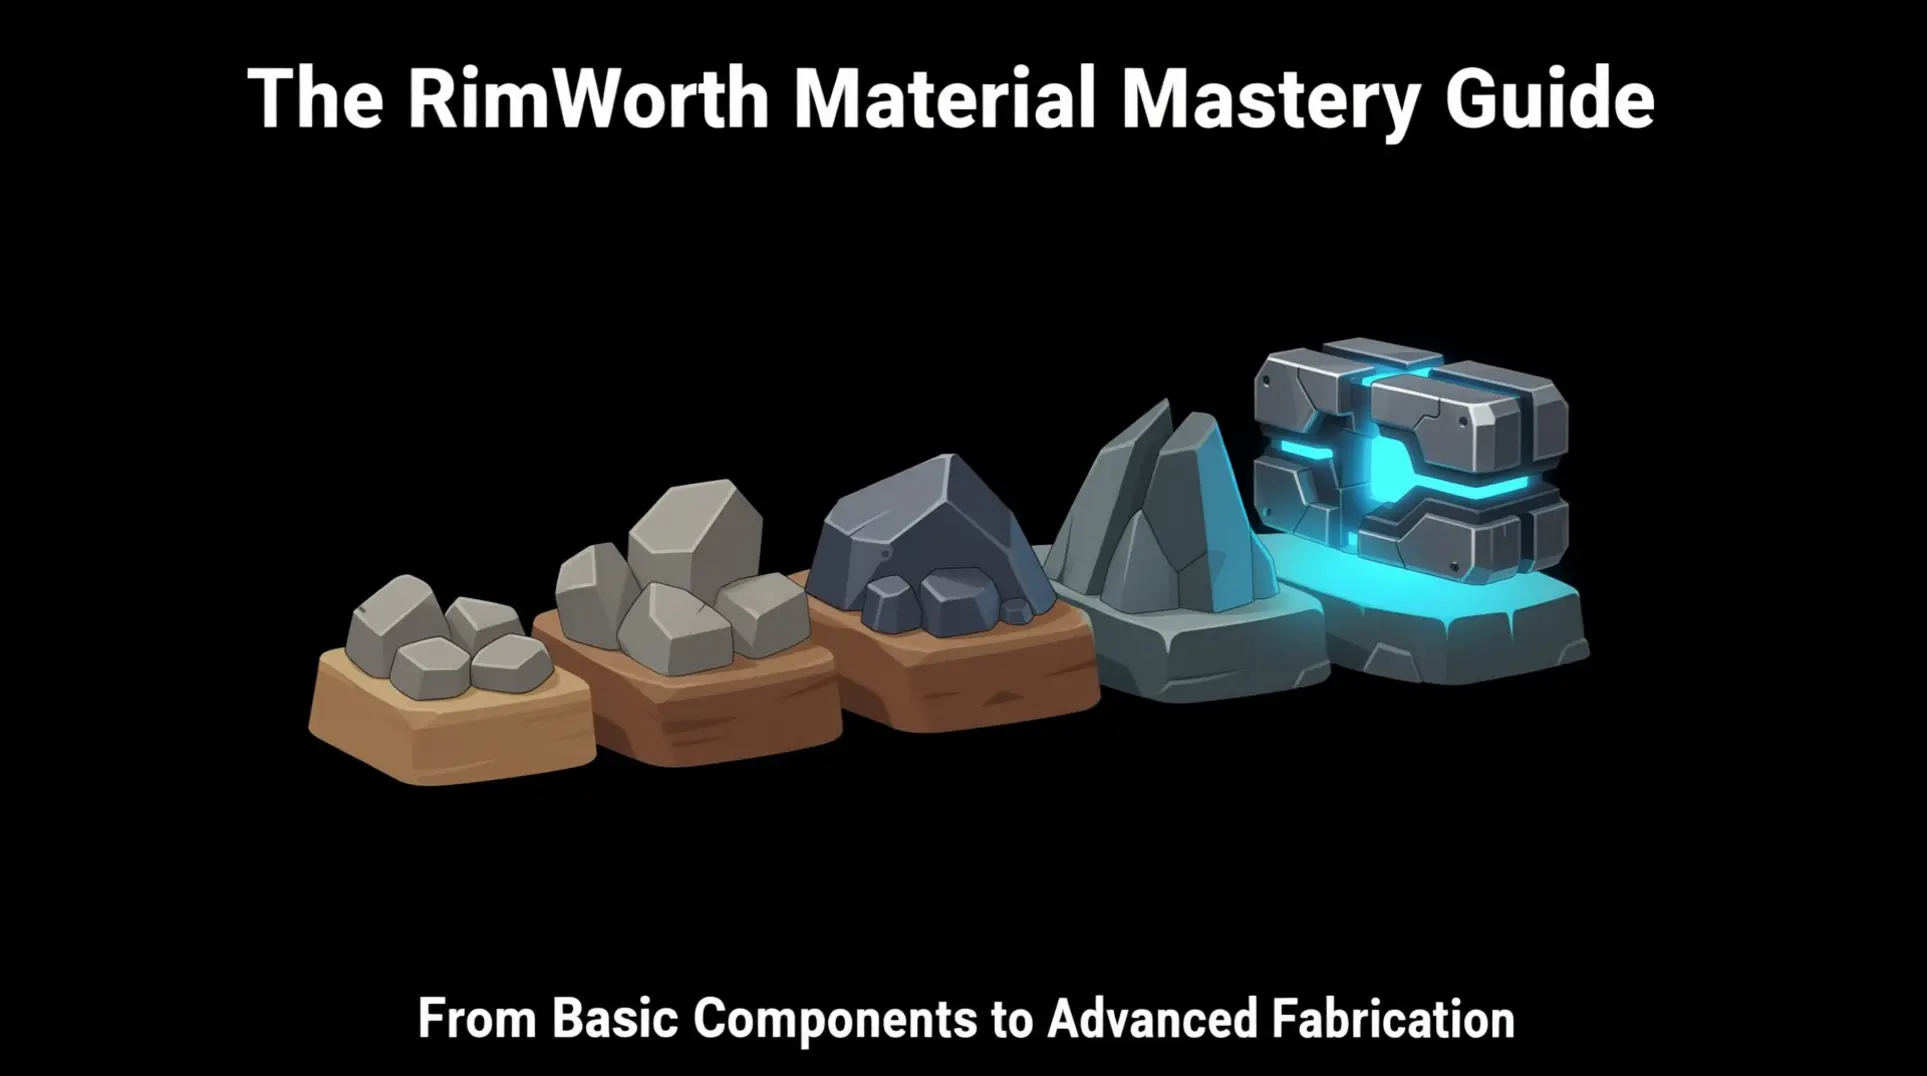
The RimWorld Material Mastery Guide: From Basic Components to Advanced Fabrication
Complete guide to RimWorld resource management covering components, advanced components, neutroamine, plasteel, steel, and cloth. Learn crafting strategies and acquisition methods for colony survival.
AI Tactical Companion
Consult with our specialized tactical engine for RimWorld to master the meta instantly.