Outer Worlds 2 Workbench Guide: Max Materials Per Hour

The Outer Worlds 2 Workbench Breakdown Efficiency Guide: Max Materials Per Hour
Material scarcity is the true endgame boss in The Outer Worlds 2. While competitors list crafting recipes, they ignore the real bottleneck: Workbench breakdown efficiency. This guide reveals how to transform junk into the crafting materials that fuel late-game progression, showing you exactly what to break down, what to sell, and how to farm maximum materials per hour.
Understanding The Outer Worlds 2 Workbench System
Core Workbench Functions
The workbench serves as your central hub for equipment management, offering four primary functions: Crafting, Mods, Breakdown, and Party Upgrades. This system marks a significant departure from the first game's currency-driven tinkering approach. Instead of spending Bits to improve gear, you'll focus on gathering raw materials throughout your journey.
Crafting allows you to fabricate ammunition, grenades, mods, and other essential items using collected materials without touching your Bit reserves. This resource-driven philosophy encourages thorough exploration and strategic item management rather than simple wealth accumulation.
Breakdown Efficiency & Resource Management
Breaking down junk items at the workbench yields significantly more parts compared to using the inventory menu, making it the superior choice for material-focused players. This creates a compelling strategic decision: sell junk for immediate Bit gains or break it down for long-term crafting benefits.
Engineering skill perks can provide chances to receive mod kits when breaking down items, further enhancing the value of this process. A practical approach involves sorting items by value, breaking down less valuable gear while selling expensive items to maintain a healthy Bit balance.
Materials Farming Strategy
The game emphasizes collecting junk items scattered throughout the world as your primary crafting material source. Thorough exploration becomes essential, as nearly every container and corner contains valuable junk specifically designed for crafting purposes.
For players seeking alternative approaches, the Treasure Hunter perk increases Bits found, providing financial flexibility to purchase resources instead of farming them. Additionally, improving your Speech skill unlocks better vendor prices, creating an economic loop that supports both selling and purchasing strategies.
Core Breakdown & Inventory Management Strategies
The Outer Worlds 2 launched on October 29, 2025, with Premium Edition players diving in five days early. Despite this head start, most guides still gloss over the single biggest late-game bottleneck: material scarcity. Competitors love to list crafting recipes, but they leave you guessing where to actually get the components.
Why Breakdown Beats Vendors
Your ship's Workbench is more than a crafting station—it's the heart of sustainable progression. Every junk item and obsolete weapon you loot can be fed into this machine for raw components, the currency that keeps your best gear scaling with enemy power spikes.
The math is simple once you know it:
- Junk items exist solely to be broken down; they sell for pennies but convert into valuable alloys and polymers.
- Tinker skill (unlocked at Science 20) slashes upgrade costs, making those recycled materials worth far more than the Bits you'd earn from a vendor sale.
- Post-mission routine: after each major quest, fast-travel to the ship, dump everything into the Workbench, and walk away richer in the only currency that truly matters for end-game builds.
Material Yield Comparison
| Item Type | Breakdown Yield | Sell Value (Bits) | Best Use Case |
|---|---|---|---|
| Common Junk | High material output | 50-150 | Always break down |
| Premium Items | Very high material output | 200-500+ | Break down early game, sell late game |
| Weapons/Armor | Medium-high materials | Variable | Depends on rarity and game stage |
| Mods/Components | Low materials | High | Generally sell for Bits |
Strategic Item Processing
Understanding what to break down versus what to sell marks the difference between struggling and thriving in late-game progression. Junk items are safe dismantling targets since they're never required for quests or essential recipes. These common items provide steady material streams for early upgrades.
As you progress, the strategy shifts dramatically. Premium items yield significantly more crafting materials than common junk, making them valuable breakdown targets. However, mid-to-late game economics favor selling accumulated junk for Bits to purchase superior gear from specialized traders.
Break Down vs Sell Recommendations
Always Break Down:
- Common scrap metal and electronics
- Worn-out clothing and general junk
- Low-value consumables
- Duplicate quest items after completion
Always Sell:
- Antique watches and luxury goods
- Rare books and unique artifacts
- High-value weapons in late game
- Expensive consumables you don't use
Depends on Game Stage:
- Early Game: Break down most gear for materials
- Mid Game: Mix of breakdown and selective selling
- Late Game: Sell high-value items, keep only essential materials
The Balanced Loot Loop
Smart players run a two-pile system:
- Break Down: Items below 200 Bits get dismantled for parts
- Sell: Items above 200 Bits get sold to fund rare mod purchases
This keeps your inventory light, your wallet healthy, and your crafting reserves topped off without ever needing to hunt for a "secret" farming route.
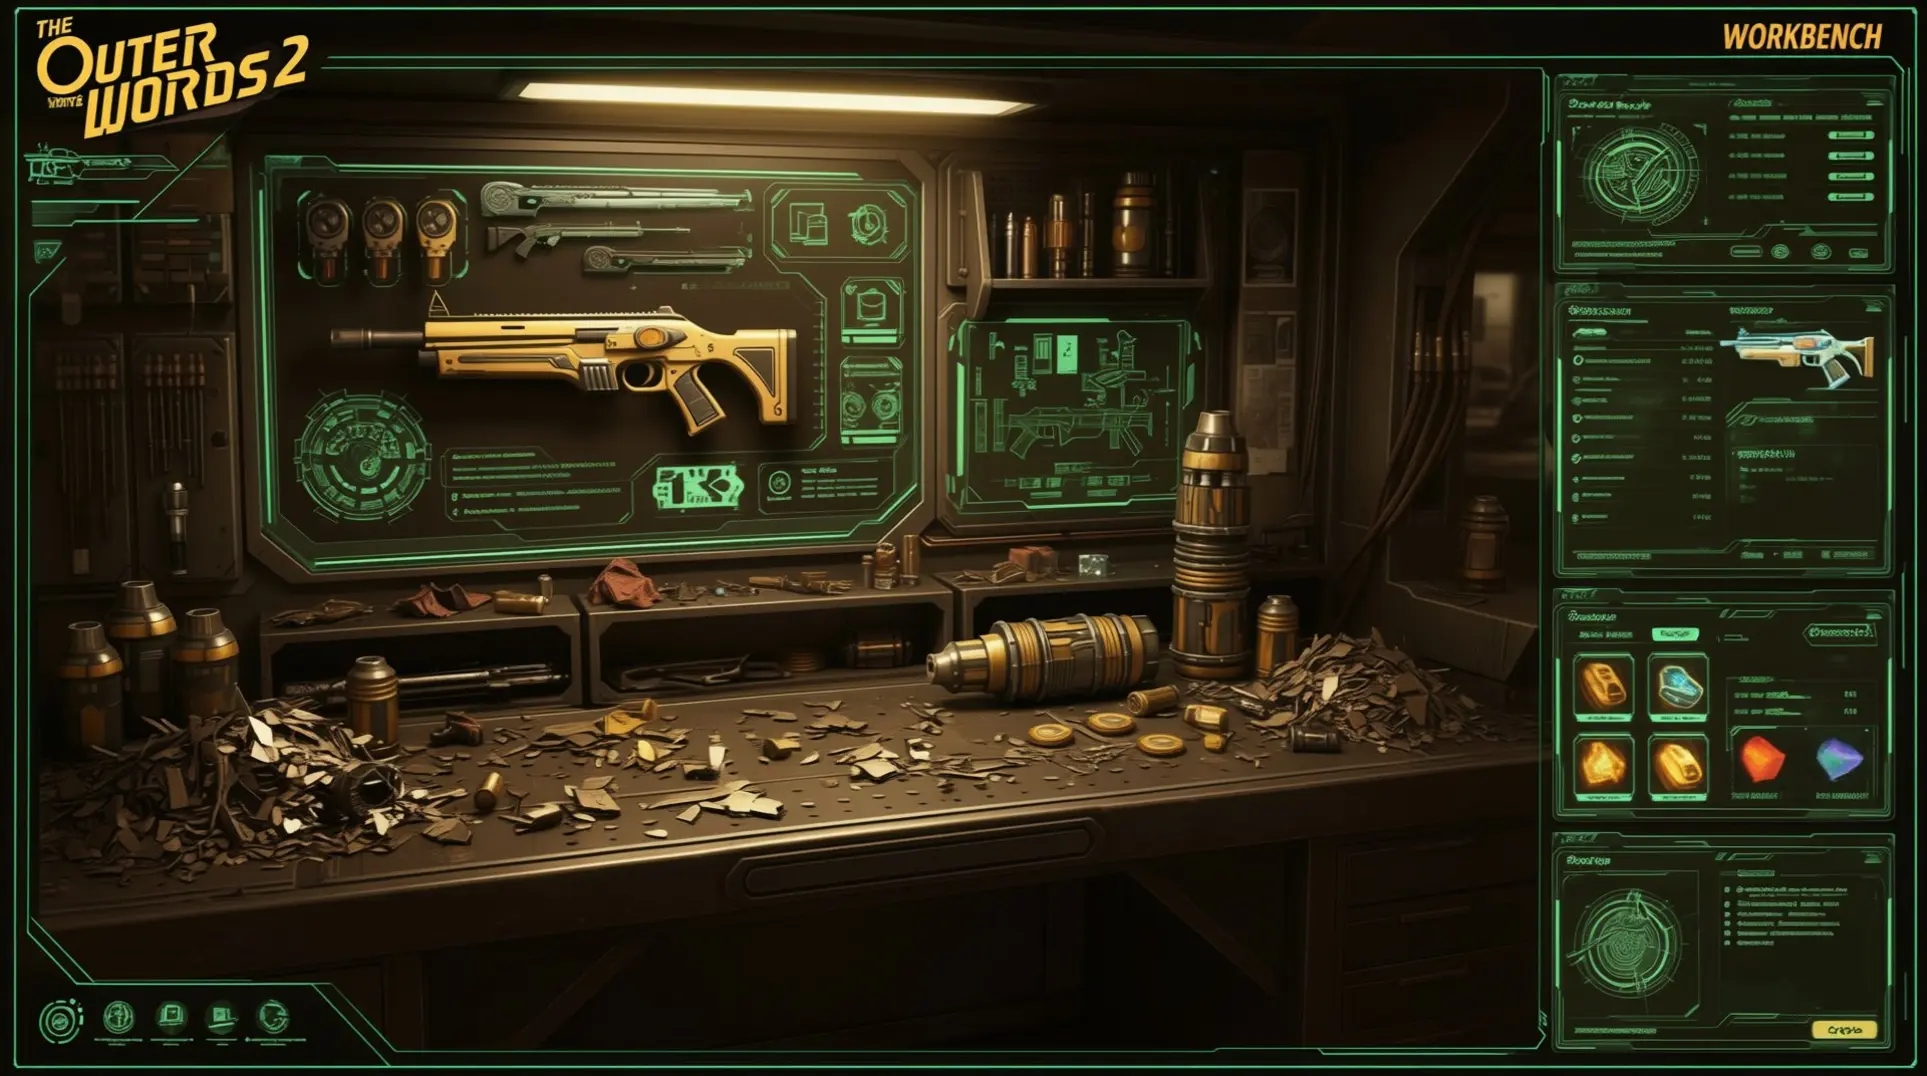
Workbench Breakdown Mechanics
The Workbench is your primary station for converting unwanted gear into crafting materials. Every item you dismantle is permanently destroyed, so choose carefully before committing to the process.
Early in your journey, prioritize breaking down junk and low-value equipment. This approach builds a solid foundation of essential components rather than earning minimal Bits from vendors. As you progress into mid and late game, the strategy shifts—higher-tier gear sells for significantly more, making sales more attractive once your material reserves are stable.
Material Farming Route Optimization
Efficient farming revolves around a simple loop: loot thoroughly, return to a Workbench, process your haul, and repeat. This cycle keeps your inventory clean while steadily generating materials for future upgrades.
When you acquire weapon upgrades, break down the replaced gear immediately. This turns your natural progression into a direct material source rather than dead weight in your inventory. Establish a salvage threshold of 6-12 Bits—items below this value should be automatically salvaged since the resulting parts often sell for similar value while freeing crucial inventory space.
The key to long-term success lies in balancing immediate Bit needs against future crafting requirements. Plan your farming sessions around this equilibrium to avoid both material shortages and wasted opportunities.
Inventory Management Strategies
Inventory expansion comes through two primary methods: permanent perks and equipment-dependent mods. These upgrades become essential for extended farming runs where every slot counts.
Regular Workbench visits serve a dual purpose—clearing inventory weight while converting bulky items into lightweight crafting materials. This practice prevents the dreaded over-encumbrance that can cripple farming efficiency.
Weapon selection directly impacts your carrying capacity. Focus on maintaining 2-3 versatile primary weapons that cover different damage types. This minimalist approach maximizes available space for valuable loot while ensuring combat readiness.
Note that companion upgrades operate independently of traditional inventory management. These enhancements are handled exclusively through the Workbench via story mission progression, freeing you from carrying upgrade materials for your allies.
Optimized Farming Routes for Maximum Materials
Strategic Junk Management
Not all junk is created equal. Follow this priority system to maximize your returns:
- Break Down: Common junk items like scrap metal, broken electronics, and worn-out clothing
- Sell: Higher-value junk items such as antique watches, rare books, or luxury goods
- Store: Unique quest items or gear you might need later
Resource-Rich Location Strategy
While specific farming routes aren't documented, systematic exploration yields the best results. Focus your efforts on these high-density areas:
- Spireton: Known for abundant containers and enemy encounters
- Abandoned outposts: Typically contain multiple desks, crates, and lockers
- Enemy camps: Guards often carry valuable junk and gear
Remember to balance your inventory space. Avoid completely looting your ship's initial containers, as these serve as permanent storage for future gear management.
Early Game Optimization
Your Lockpick skill is crucial for accessing hidden caches behind locked doors. Invest early points to unlock secret areas containing rare materials and equipment. Additionally, prioritize early side quests over random container looting, as quests consistently provide better rewards including unique gear and substantial material caches.
Maximum Materials per Hour Farming Route
Efficient farming hinges on a simple loop: loot, break, sleep, repeat. Sleeping for 2–3 days on your ship forces enemies and containers to respawn in repopulating zones, instantly refreshing your material pipeline. Junk drops from every lootable crate, fallen enemy, and tucked-away corner of the map, so thorough exploration pays off more than any single "best" spot.
Follow this repeatable cycle to maximize yield:
- Loot everything—no container is too small
- Break down at any Workbench—ship or settlement, both work
- Sleep 2–3 days on your vessel to reset spawns
- Return to cleared areas and harvest again
By chaining these steps, you'll convert an endless stream of scrap into the rare alloys and polymers that fuel end-game tinkering and elite mod crafting.
Late-Game Progression & Application
Workbench Breakdown Efficiency
The Workbench in The Outer Worlds 2 has evolved far beyond the original game's simple Tinkering system. It now serves as your central command for crafting, modding, and resource management across Arcadia.
Your ship's Workbench is your single most valuable asset for converting trash into treasure. Every ammunition stack, consumable, gear component, and companion upgrade flows through this station. Breaking down junk items and obsolete equipment is the only guaranteed way to stockpile the crafting materials needed for high-tier mods and tinkering.
Smart players adopt a tiered strategy. Early on, dismantle common weapons immediately for their base components. Once credits flow more freely, sell high-value weapons instead—their sell prices scale dramatically in late game. Junk items are safe to break down at any time; they never tie into quests or storylines, so feel free to melt them down without hesitation.
Optimized Farming Routes with Niles
Workbenches are strategically distributed across Arcadia with clear map icons (crossed hammer and wrench symbols) for efficient route planning. This visual system eliminates guesswork when plotting resource loops.
For maximum efficiency, combine physical Workbench visits with Niles' field tinkering ability. This companion feature grants Workbench functionality anywhere, letting you break down loot immediately after clearing high-value locations. Interactive maps become essential tools for pinpointing resource-rich areas like Spireton and creating optimized loops between nodes and traders.
The key lies in balancing immediate material needs against long-term Bit accumulation. Early stockpiling through junk breakdown builds your foundation, while late-game selling funds the premium gear that makes those final challenges manageable.
Conclusion
Mastering Workbench breakdown efficiency is the key to overcoming material scarcity in The Outer Worlds 2. By following the two-pile system, optimizing your farming routes, and balancing breakdowns with sales, you'll keep your gear scaling smoothly into the late game. Start implementing these strategies after your next mission and watch your crafting reserves soar.
More the-outer-worlds-2 Guides
The Outer Worlds 2 Workbench Guide: Complete Crafting, Mods & Resource Management
Master The Outer Worlds 2 workbench system with our complete crafting guide. Learn essential recipes, weapon mods, armor upgrades, and resource management strategies to dominate combat in Halcyon.

The Outer Worlds 2 Endgame Guide: Mastering Resource Management After Level 30
Learn how to overcome The Outer Worlds 2's permanent resource crisis at level 30. Master farming, crafting, and strategic decisions for the best ending.

Ultimate Guide to Elemental Status Effects in The Outer Worlds 2
Master burning, corroding, and electrocuting effects in The Outer Worlds 2. Complete guide to elemental status mechanics, synergies, and build optimization.
AI Tactical Companion
Consult with our specialized tactical engine for the-outer-worlds-2 to master the meta instantly.