Ball x Pit Gold Farming Guide: 7-Mine U-Shaped Layout & Base Optimization (2025)

Base layout optimization is the cornerstone of efficient gold farming in Ball x Pit. The difference between a well-designed base and a poorly organized one can mean the difference between 2,500-3,100 gold per harvest versus missing out on valuable resources. Understanding how to cluster your buildings strategically near the entrance and leverage synergies between structures like the Veterans Hut and Watchtower will dramatically accelerate your progression and resource accumulation.
Understanding Harvest Mechanics
The Harvest Cycle Explained
The harvest phase begins immediately after a pit run completes. You must return to town and manually initiate harvesting by interacting with your resource buildings to collect the produced resources. During this phase, resources such as gold, wood, wheat, and stone are gathered and added directly to your inventory to fund your upgrades and new constructions.
An Assigned Worker is a character designated to automatically collect resources from a specific building during the harvest phase. To automate collection, tap 'Assigned Worker' on a building, select a character, and confirm the assignment. Once assigned, the worker automatically travels to the building during harvest, enabling passive income.
Workers bounce between buildings during the harvest phase. Placing your harvest zone near the entrance and clustering resource-generating buildings minimizes travel time and maximizes efficiency.
Resource Building Mechanics
Resource Generators are the primary buildings that produce resources, including Gold Mines, Wheat Fields, Forests (for Woodcutters), and Stone Quarries. Their output is optimized through strategic placement and management, and characters must physically interact with these buildings to collect resources. After each pit run, you return to base to gather the produced resources, which fund your progression.
There is a 16-character cap for assigning workers across all resource buildings. This limit influences how you allocate your workforce for maximum efficiency. Clustering buildings reduces travel time and increases hits per harvest. The U-shaped layout (seven-mine configuration) is highly recommended to maximize consecutive hits and gold output.
A centralized design places the Veterans Hut near the center with two lines of three Gold Mines clustered near the entrance. This layout minimizes travel time and maximizes hit coverage.
The 7-Mine U-Shaped Gold Farm Layout
The 7-mine U-shaped gold farm layout is designed to maximize gold per harvest by positioning mines strategically near your base entrance. This configuration can yield approximately 2,500–3,100 gold per harvest when fully optimized.
Layout Construction Steps
- Position the gold farm cluster as close to the base entrance as possible to minimize ball travel distance and maximize hit opportunities.
- Create two parallel lines of three Gold Mines near the entrance to form the core of the layout.
- Place the seventh mine at the base of the U to connect the two lines and complete the U-shape.
- Veterans Hut: Centralize this building so its XP bonus applies to as many houses as possible.
- Spa and Watchtower: Position these structures near the mining operation to boost efficiency and profits.
Upgrade priority should target Gold Mines first to increase per-hit gold output.
Upgrade Priority for Gold Mines
- Initial Phase: Construct 3–4 Gold Mines to establish early income while upgrading Ball Evolutions to increase gold per hit.
- Layout Completion: Advance to a 7-mine U-shaped layout by placing two parallel lines of three Gold Mines near the entrance and adding a seventh mine to complete the U, maximizing hits per run.
- Mid-Game Focus: Continue upgrading Ball Evolutions to boost per-hit gold across the full layout, as the compounded benefit from higher hit value scales with the number of bounces.
- Building Upgrades: Prioritize upgrades that directly increase Gold Mine output or efficiency after establishing the layout and improving ball power.
- Passive Evolutions: Unlock and prioritize these for global bonuses that amplify resource gains across all mines.
- Harvest Strategy: Harvest between runs rather than paying escalating restart costs to fund upgrades and maintain steady growth.
Strategic Building Placement & Clustering
Veterans Hut Centralization Strategy
Centralizing the Veteran's Hut is the most critical early-game strategy. It provides a 30% experience point increase for all characters housed within its radius. A Veteran's Hut is a building that grants an area-of-effect bonus to nearby Character Houses, which are structures that must be placed touching or fully within the Veteran's Hut's zone to maximize the XP bonus.
An optimized layout can fit all houses within the Veteran's Hut's range while still leaving space for resource-generating structures. The recommended 7-mine U-shaped farm uses two parallel lines of three Gold Mines near the entrance, with a seventh mine completing the U shape.
Cluster resource farms around the central Hut to maximize efficiency and growth, including Gold Mines, Woodcutters, and Quarries. Advanced synergy can be achieved by placing the Captain's Quarter so its bonus zone overlaps with the Veteran's Hut zone, providing a double buff to housed characters. This centralization strategy should be established early and maintained as the base expands to sustain efficient growth.
Synergistic Building Combinations
Spa-Watchtower synergy multiplies Spa earnings via the Watchtower's area-of-effect bonus. The Spa must be within the Watchtower's aura to apply the multiplier. This Spa-Watchtower Synergy is a core pillar of base-building strategy where the Watchtower's aura amplifies Spa earnings for rapid progression.
The Watchtower's bonus increases the output of nearby resource buildings, turning a tightly packed layout into a scalable profit engine. Center the Veteran's Hut and cluster two lines of three Gold Mines near the entrance, positioning them so the Watchtower's aura covers the Spa cluster and key resource buildings.
Optimal base layouts place the Spa within the Watchtower's aura and cluster high-value farms to maximize efficiency and growth. This synergy enables accelerated progression by providing a steady, amplified stream of resources to fund evolutions and upgrades. Early-game advice suggests purchasing essential buildings and upgrades before harvesting to ensure multipliers are active from the first collection.
Advanced Optimization Techniques
The Paid Reset Loop Strategy
The paid reset loop is an advanced tactic where you pay gold to reset the harvest cycle, refreshing resource nodes for rapid, repeated farming. This Paid Reset Loop is a strategy that bypasses the natural cooldown period between harvests, allowing for continuous resource collection when properly funded.
To execute the paid reset loop, follow these steps:
- Sell excess materials at the Market to fund the reset cost
- Immediately restart the harvest cycle after selling
This strategy is most effective when you have sufficient gold generation and resource stockpiles to sustain multiple cycles without depleting your reserves. Careful resource management is essential for this advanced farming method and should be used strategically rather than continuously to avoid burning through your gold and materials.
Offline Farming with Spa Building
The Spa building provides 70% efficiency for offline farming, allowing characters to continue generating resources while you're not actively playing. This Spa Building is a facility with capacity for 16 heroes, enabling substantial passive income generation during offline periods.
To maximize Spa efficiency, you must leverage the Spa-Watchtower synergy by placing the Spa within the Watchtower's aura to multiply its earnings. This Spa-Watchtower Synergy is a core pillar of base-building strategy that accelerates progression by providing a steady, amplified stream of resources.
Optimal base layouts cluster high-value farms near the Spa, positioning it within the Watchtower aura to maximize both efficiency and growth potential. This synergy is critical for funding evolutions and upgrades, providing the continuous resource stream needed for rapid progression in the game.
Resource Balancing & Progression Strategy
Early Game Priorities
The Early Game Foundation starts by constructing 3–4 Gold Mines to establish initial income. Simultaneously upgrade Ball Evolutions, which are enhancements that increase gold per hit, to boost your earnings.
Focus on Resource Clustering by grouping Resource Farms—production buildings like Gold Mines, Woodcutters, and Quarries—around the central Hut. This minimizes travel time and maximizes hit coverage. The Optimal Layout Strategy is to use the 7-mine U-shaped layout: create two parallel lines of three Gold Mines near the entrance, then add a seventh mine to complete the U to maximize hits per run early.
The Building Priority Order should prioritize Gold Mines first, then Farms and Woodcutters to prevent bottlenecks and maintain steady resource flow. Upgrade Gold Mines first to increase per-hit gold output and sustain early income growth.
For Support Structure Synergy, centralize the Veterans Hut, a building that provides XP bonuses to surrounding houses within its radius, early to maximize its effect. Place the Spa, a building that generates earnings, within the Watchtower aura, the area of effect of the Watchtower, to multiply Spa earnings and accelerate progression.
Avoid three critical early Common Pitfalls: neglecting base layout, mismanaging harvest by erratic firing, and delaying upgrades before harvesting.
Late Game Transition
Once the core layout is secure, shift focus to evolutions and passive bonuses. These amplify output across all mines, prioritizing core resource clusters over micro-optimization.
Common Layout Mistakes to Avoid
Inefficient base layouts create bottlenecks that limit progression and resource accumulation. Avoiding common design errors is crucial for maximizing your harvest efficiency and character development.
- Scattered Building Placement: Spreading structures randomly across your base wastes movement time during the harvest phase. This inefficiency reduces resource collection and lowers hits per run, especially when resource-generating buildings aren't clustered near the entrance.
- Veterans Hut Misplacement: The Veterans Hut is a building that provides a 30% XP bonus to surrounding houses. Poor placement fails to maximize this bonus, slowing character progression and reducing combat effectiveness for units whose houses fall outside its radius.
- Synergy Neglect: The Watchtower's Aura is an area of effect that multiplies profits when the Spa is placed within it. Failing to position these buildings correctly misses out on this powerful synergy.
- Random Ball Firing: Randomly firing balls instead of targeting clustered buildings reduces both efficiency and overall resource yield during harvest.
- Skipping Pre-Harvest Upgrades: Not upgrading buildings before harvesting causes missed opportunities for increased resource generation.
Mastering the 7-mine U-shaped layout with strategic building placement transforms your Ball x Pit experience from a struggle for resources into a well-oiled gold farming machine. The key takeaways include clustering your Gold Mines near the entrance, centralizing the Veterans Hut for maximum XP bonuses, and leveraging the Spa-Watchtower synergy for amplified profits. Remember that early game focuses on establishing your core layout, while late game shifts toward optimizing evolutions and passive bonuses. Avoid scattered buildings and random firing patterns to maintain peak efficiency. With these strategies, you'll consistently generate 2,500-3,100 gold per harvest and accelerate your progression through the game's challenges.
More Ball-x-Pit Guides
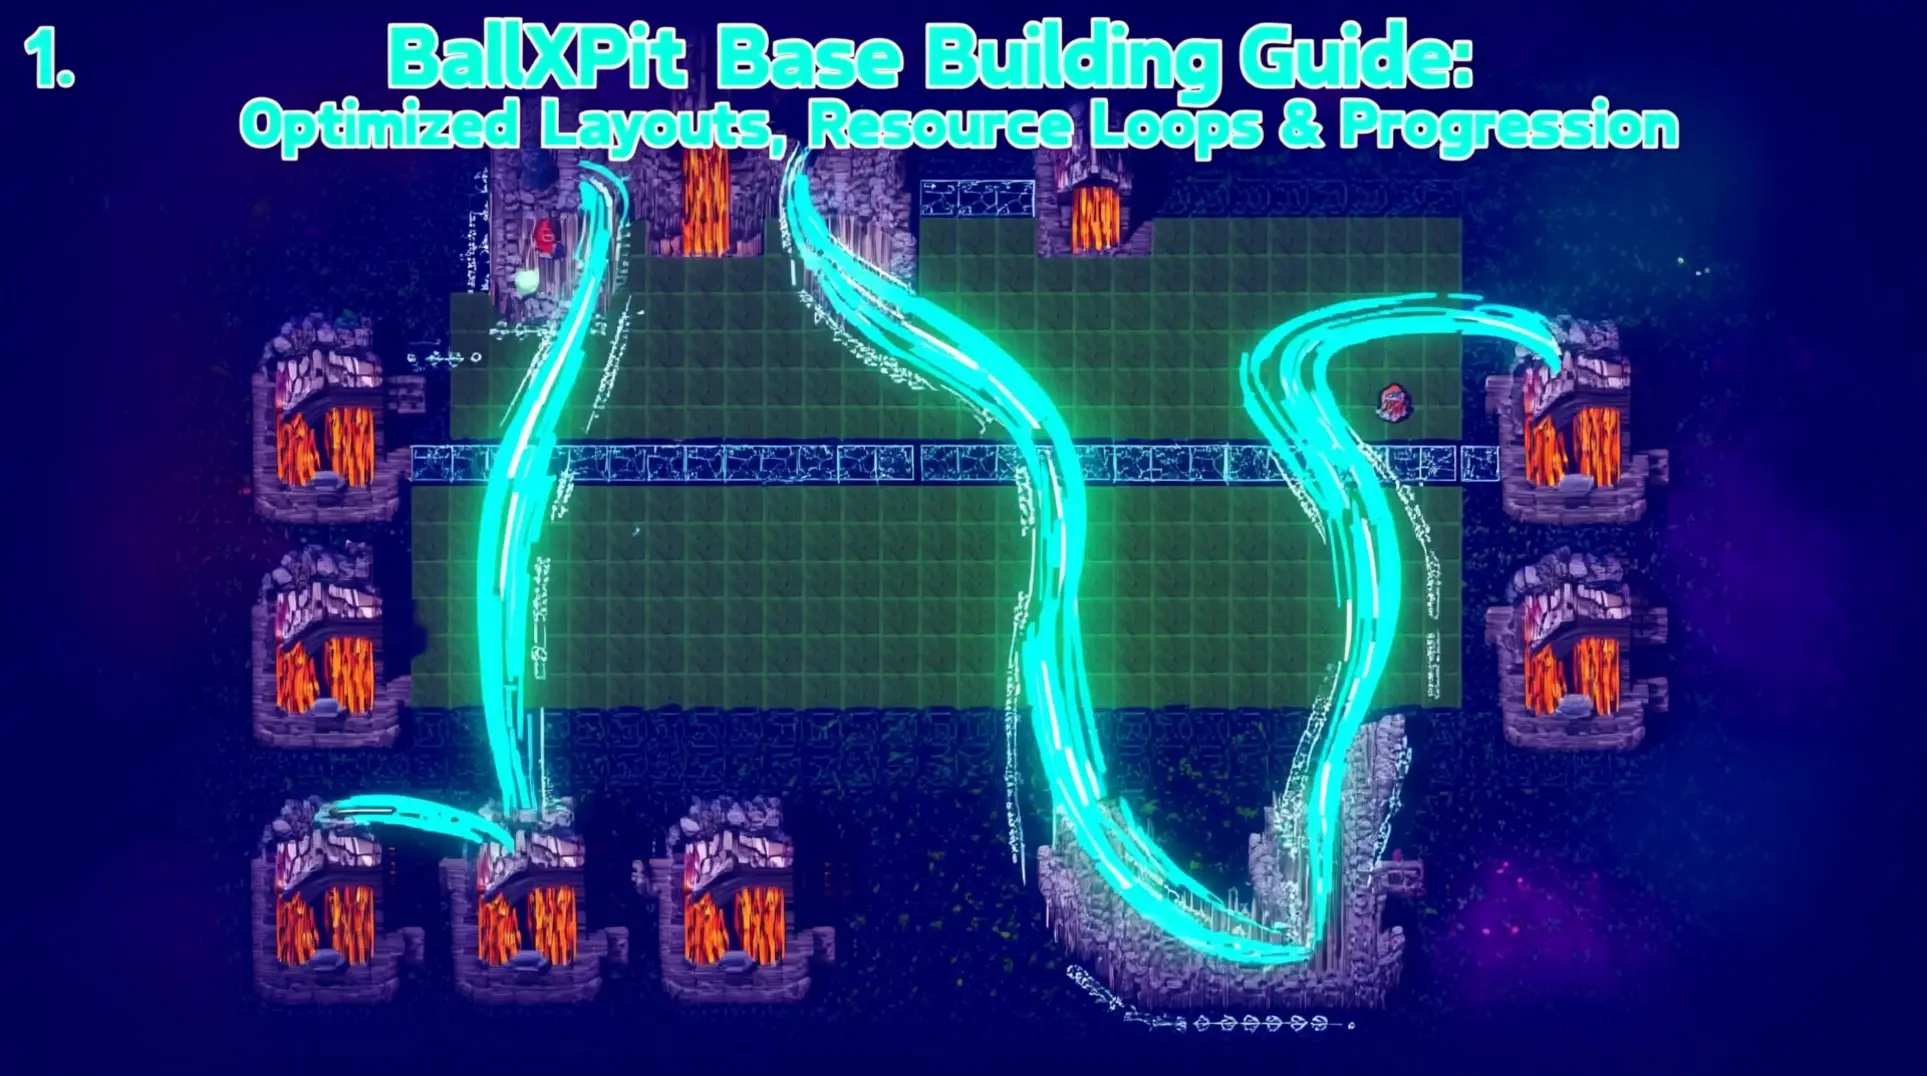
BallXPit Base Building Guide: Optimized Layouts, Resource Loops & Progression
Master BallXPit base building with our complete guide. Learn the 7-mine U-shape gold farm, optimal build order, character unlocks, and advanced resource loops to dominate every run.

Ball X Pit Ultimate Guide: Character Matchups, Boss Strategies & Evolution Synergies
Master Ball X Pit with our complete guide covering character matchups, boss strategies, evolution synergies, and community-proven tactics for every stage from Skeleton King to Void Sovereign.
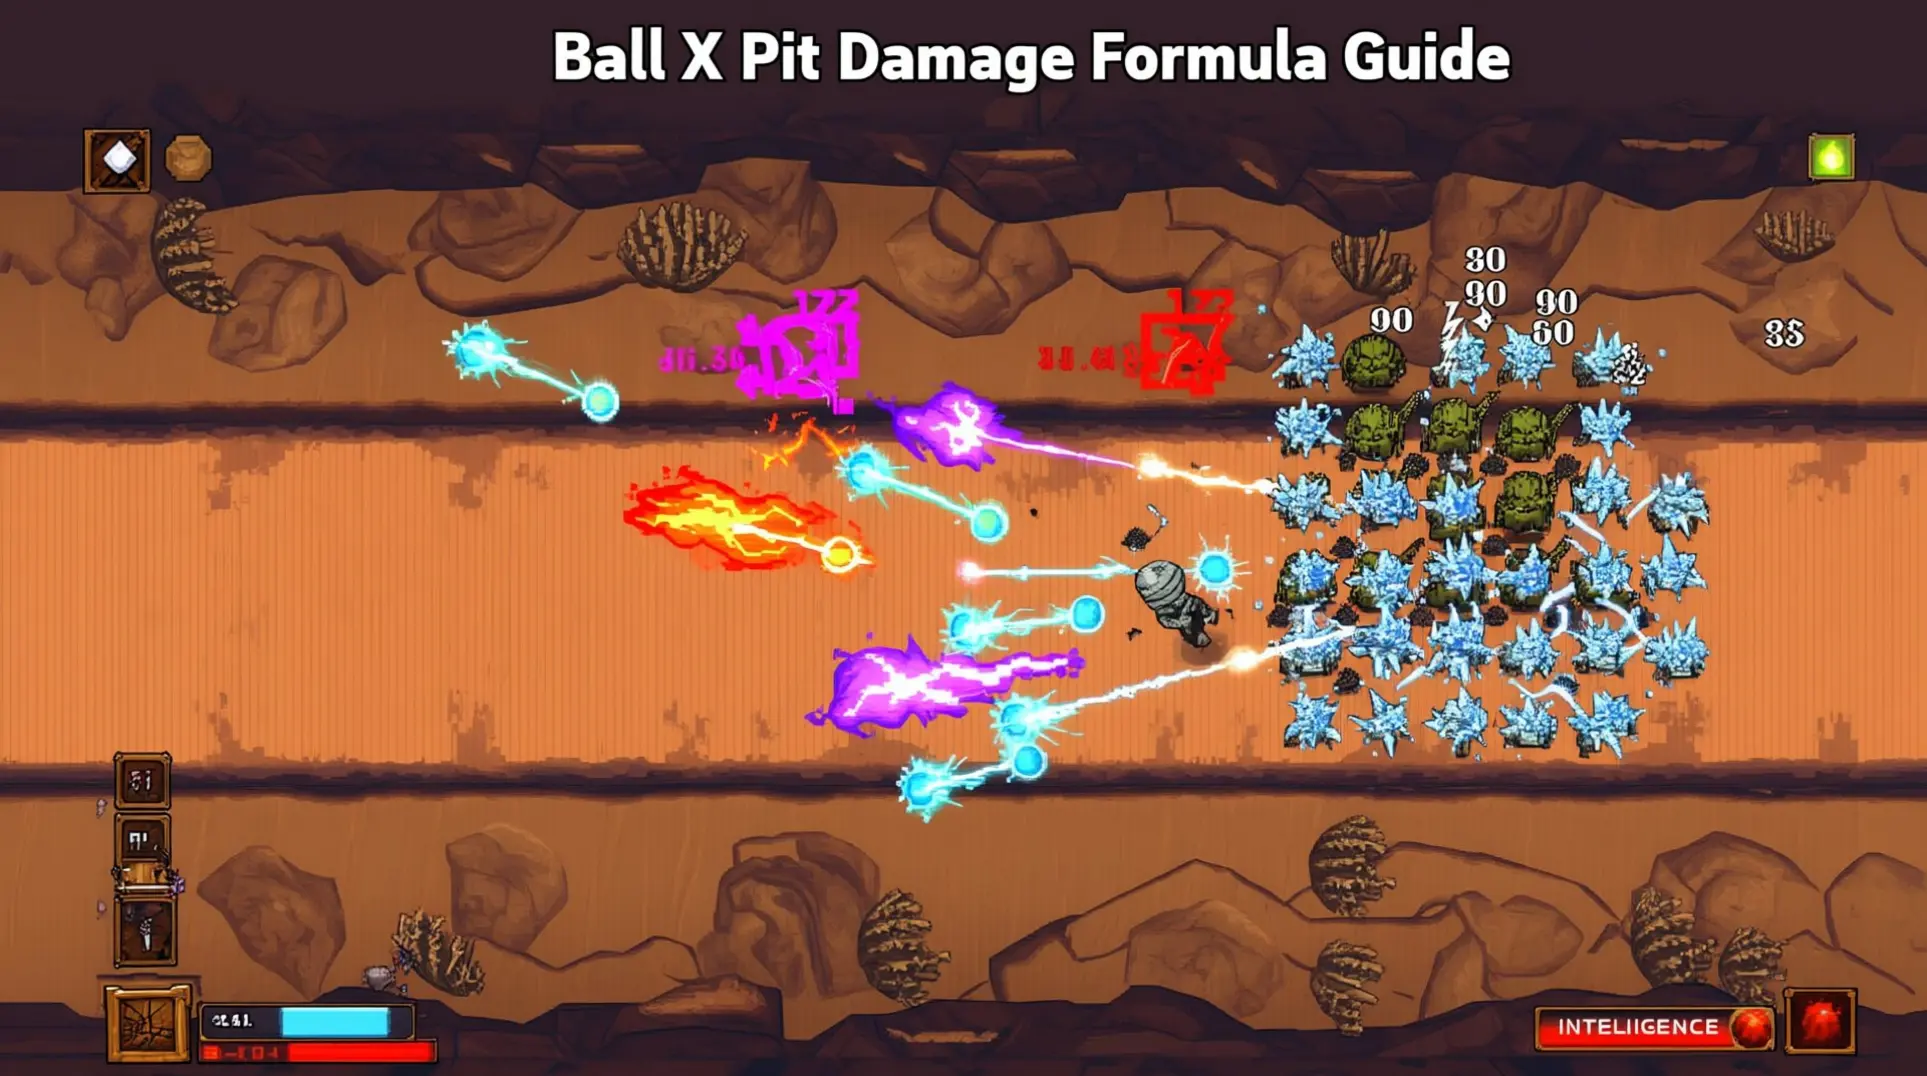
Ball X Pit Damage Formula Guide: Master Intelligence Scaling and Status Effects
Master Ball X Pit's hidden damage formula with Intelligence scaling, status effect stacking, and optimal build strategies for endgame dominance.
AI Tactical Companion
Consult with our specialized tactical engine for Ball-x-Pit to master the meta instantly.