Ultimate Flagellant Guide: Ball X Pit Bounce Mechanics
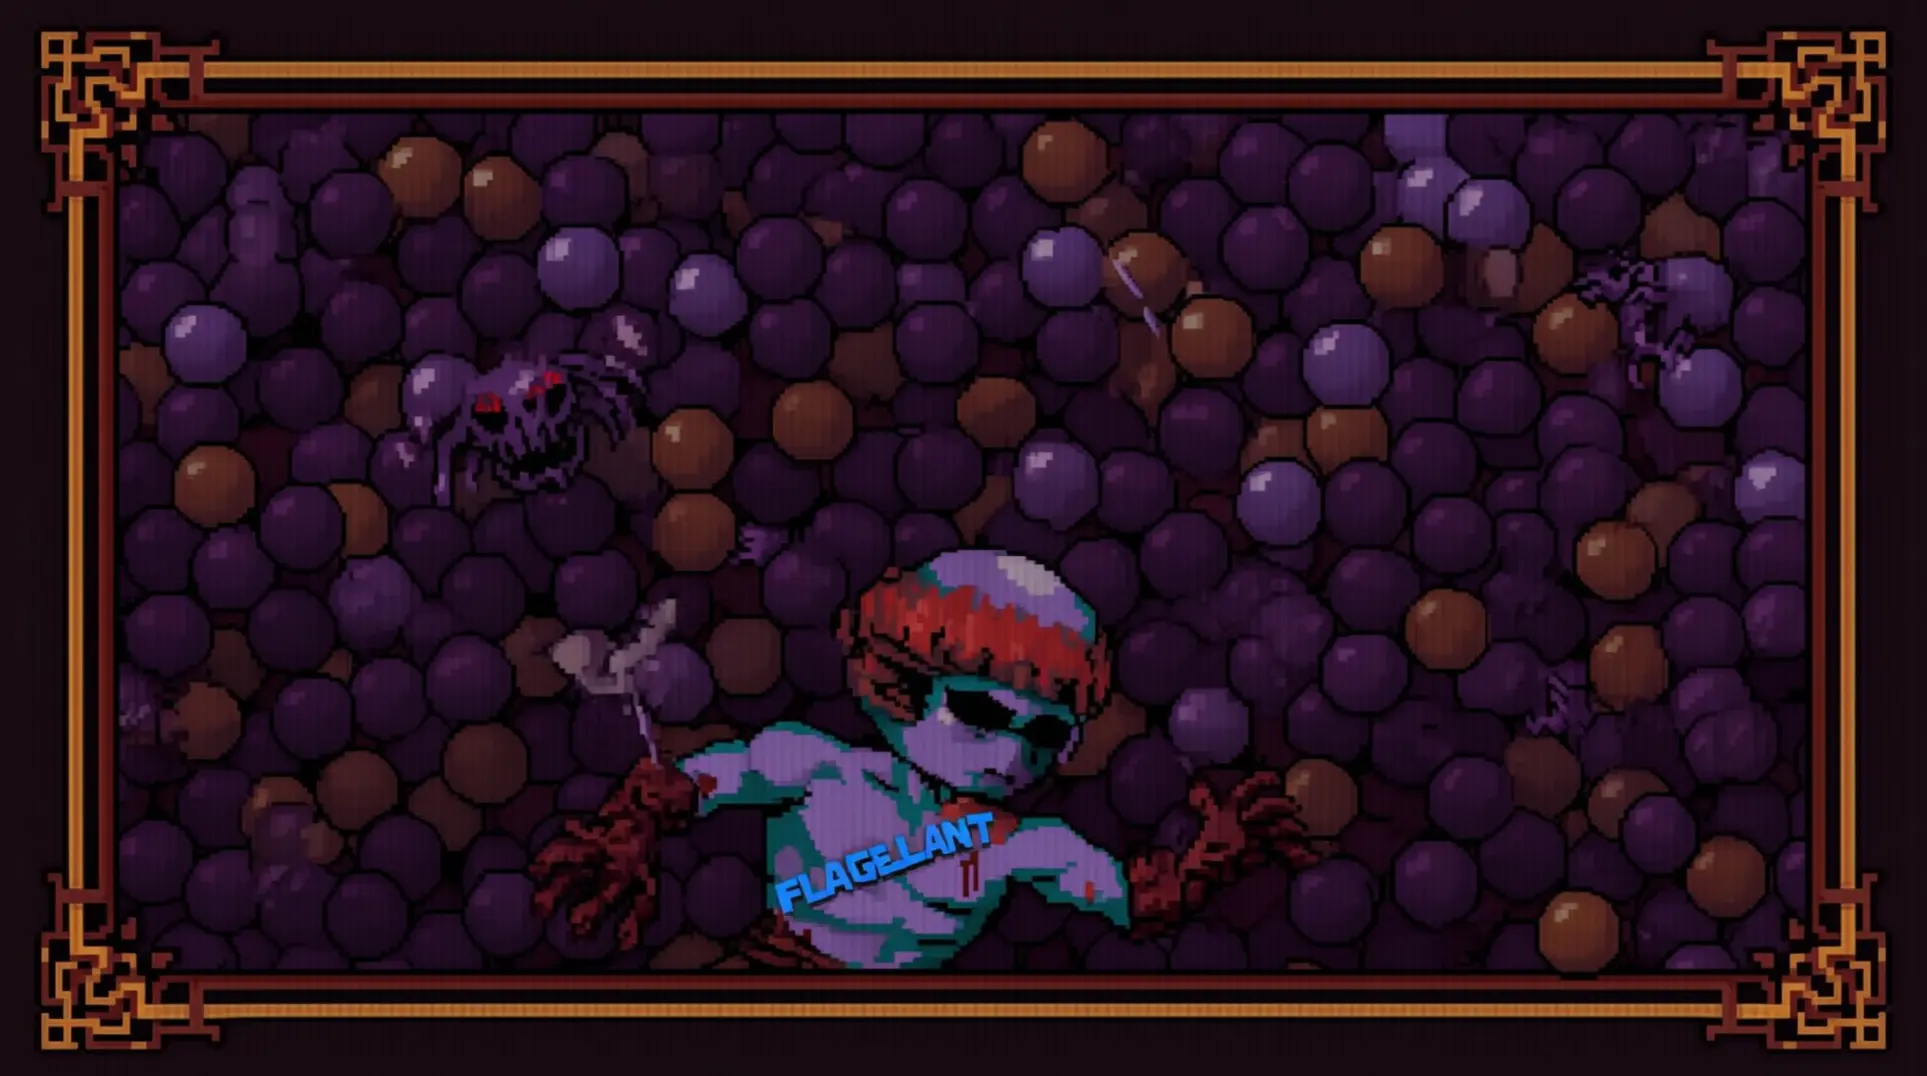
The Flagellant stands among the 16 playable characters in Ball X Pit, but this character redefines the fundamental rules of engagement. Unlike standard characters that lose balls when they disappear off the bottom of the screen, The Flagellant's signature ability transforms the playing field by causing balls to bounce back upward.
This creates a perpetual barrage system where attacks originate from both top and bottom simultaneously. The result is a dynamic battlefield where projectiles continuously cycle through the arena, demanding new strategic approaches from both you and your opponents.
This unique bounce mechanic generates constant ball movement, ensuring your offensive pressure never ceases. The Flagellant particularly excels when combined with baby ball strategies, creating devastating synergies that capitalize on the endless ricochet patterns. However, mastering this character requires significant skill and precise timing to manage the chaotic dual-direction assault effectively.
This comprehensive guide will equip you with the knowledge to harness The Flagellant's transformative mechanics. You'll learn to control the relentless ball movement, optimize baby ball combinations, and elevate your gameplay to dominate through this uniquely challenging playstyle.
Unlocking The Flagellant - Blueprint Requirements
The Flagellant unlocks through Ball x Pit's standard blueprint system. This process requires obtaining a specific building blueprint and constructing it to add the character to your roster.
Step 1: Acquire the Monastery Blueprint
- Clear the Gory x Grasslands stage to obtain the Monastery Blueprint
- This stage is one of the earlier stages in Ball x Pit, making the blueprint relatively accessible compared to those in later zones
Step 2: Construct the Monastery Building
- Build the Monastery after obtaining its blueprint through the construction menu
- Once construction is complete, The Flagellant automatically joins your team
Accessibility: The Flagellant remains relatively accessible compared to characters requiring more advanced blueprints. The Gory x Grasslands stage's early placement ensures players can unlock this character without extensive endgame progression, following the standard unlock pattern of blueprint collection and building construction.
The Flagellant's Unique Ability: Bounce Mechanics Explained
How Bounce Mechanics Change Gameplay
The Flagellant's main ability fundamentally alters ball physics by modifying bounces to behave normally off the bottom of the screen. This contrasts sharply with the default behavior where balls disappear upon reaching the lower boundary.
Instead of despawning, balls now ensure a constant barrage from both directions. This transformation completely changes offensive strategy and battlefield control, creating perpetual ball movement that maintains continuous offensive pressure throughout encounters.
The result is sustained combat efficiency that reduces ball loss during chaotic sequences. This fundamentally changes survival dynamics and damage consistency across all combat scenarios, ensuring your offensive strength remains constant even during prolonged battles against tanky bosses.
Bounce Mechanics: A system where balls reflect off the bottom boundary instead of despawning, enabling continuous multi-directional attacks and sustained damage output across the entire battlefield without interruption.
Strategic Implications and Synergies
The strategic implications extend far beyond simple ball retention. This unique behavior enables powerful synergies and fusion combinations not possible with other characters, opening new tactical avenues for build optimization and endgame strategies.
Enhanced Baby Ball Generation
The Flagellant's bouncing mechanics synergize perfectly with baby ball generation. Each bounce increases the chance for Brood Mother to spawn additional balls, exponentially growing your offensive potential through compounding effects.
Ultimate Fusion Combinations
The ability becomes particularly powerful when combined with The Cohabitants character via Matchmaker. This creates "forever-bouncing Holy Maggot Lasers," forming an unstoppable cascading effect that fills the screen with projectiles.
Sustained Combat Efficiency
By eliminating the primary source of ball loss, players can maintain full offensive strength even during prolonged battles. This creates consistent damage output that doesn't waver based on battlefield conditions.
Unique Build Opportunities
The perpetual motion system enables fusion combinations that capitalize on sustained multi-directional assault patterns. These builds focus on overwhelming pressure through constant dual-direction attacks.
Resource Conservation
Reducing ball loss means less time spent rebuilding your arsenal and more time applying damage. This efficiency becomes crucial in high-difficulty content where every second counts.
Best Evolutions for The Flagellant
The Flagellant's most effective evolutions include Maggot, Brood Mother, and Egg Sac II. These three evolutions enhance the character's bouncing mechanics and enable powerful baby ball strategies for sustained combat.
Maggot Evolution Path
The Maggot serves as a foundational ball type that can be evolved into more powerful forms. It can be fused with other balls to create devastating combinations that define endgame Flagellant builds.
Evolution Unlock: To unlock evolutions in Ball X Pit, players must get two different balls to rank three before fusing them together. This prerequisite makes early investment in the Maggot evolution path crucial for long-term success.
Brood Mother Strategy
The Brood Mother evolution has a 25% chance of birthing a baby ball each time it hits an enemy. This creates exponential scaling potential during extended battles and transforms each bounce into a potential spawn event.
The Flagellant's unique bouncing mechanics work exceptionally well with the Brood Mother's baby ball spawn ability. Increased ball interactions lead to more frequent baby ball generation, making every ricochet more valuable.
Baby Ball Synergy
Baby balls spawned by Brood Mother inherit the bouncing properties of The Flagellant. This allows them to continue bouncing off the bottom of the screen, creating a self-perpetuating damage engine that compounds over time.
Key Benefits:
- Inherited Properties: Baby balls maintain the bouncing behavior of The Flagellant
- Self-Perpetuating Engine: Each bounce creates potential for more baby balls
- Compounding Effects: Damage output grows exponentially over time
- Resource Efficiency: Less manual input required for sustained damage
Egg Sac II Build
Egg Sac II represents an advanced tier of the Egg Sac evolution. It involves enhanced egg-laying or spawning capabilities that complement the Flagellant's playstyle and bouncing rhythm.
Spider Queen: Brood Mother + Egg Sac = Spider Queen is a powerful combination. It merges the spawning ability of Brood Mother with the egg-laying mechanics of Egg Sac, creating an overwhelming minion presence on screen.
Advanced Combinations
Leech Evolution: Bleed × Brood Mother = Leech evolution creates a leech that attaches to enemies on hit. It applies 2 Bleed stacks per second with a maximum of 24 stacks, adding powerful damage-over-time effects to your spawning strategy.
💡 Key Takeaway: The Maggot → Brood Mother → Egg Sac II path provides the most consistent results for hard mode content, offering sustained damage and resource generation that scales with battle duration.
Quick Reference: Best Evolution Paths
| Evolution Path | Key Benefits | Best For |
|---|---|---|
| Maggot → Brood Mother → Egg Sac II | Sustained damage, baby ball generation, resource scaling | Hard mode, extended battles |
| Maggot → Leech (Bleed × Brood Mother) | Damage over time, enemy control | Boss fights, tanky enemies |
| Brood Mother → Spider Queen | Minion army, overwhelming presence | Wave-based content |
Optimal Fusion Combinations
Baby ball fusions represent some of the most effective strategies in the game. The combination of The Flagellant and The Cohabitants via Matchmaker creates overpowered bounce loops that maximize both direct damage and status effect application.
Matchmaker Integration
Matchmaker: This character unlocks around Stage 3-4 and enables powerful fusion combinations mid-battle. Its ability to fuse any two balls creates temporary hybrid evolutions that benefit from Flagellant's unique bouncing properties.
Status Effect Fusion Builds
The Flagellant + Matchmaker fusion creates an endless loop of bouncing projectiles known as Forever Lasers. This combination produces Holy Maggot Lasers that bounce indefinitely between the top and bottom of the screen.
The Cohabitants: This character forms a symbiotic relationship with other balls, increasing their damage output by 15% when paired with Flagellant's bouncing mechanics. The synergy extends beyond raw damage, providing a 20% increase to all status effect durations.
Bleed, Burn, and Poison effects are applied more frequently due to increased ball interactions. This results from Flagellant's bouncing mechanics combined with baby ball generation.
360-Degree Attack Pattern: Flagellant's bottom-bounce mechanic creates comprehensive coverage when combined with The Cohabitants. Balls continuously cycle around the screen perimeter, maintaining constant pressure from all directions.
Fusion Strategy Tips:
- Utilize Matchmaker's fusion ability to combine Flagellant with Cohabitants mid-battle
- The resulting hybrid evolution benefits from both bouncing properties and symbiotic damage increases
- Positioning becomes less critical as the 360-degree attack pattern covers the entire screen
- Focus on applying multiple status effects simultaneously to maximize the 20% duration increase
Advanced Playstyle Tips
Evolution Timing and Resource Management
The Flagellant requires precise timing and evolution management for hard difficulty. This means players must carefully plan when to upgrade and which evolutions to prioritize, as each decision significantly impacts survivability throughout challenging encounters.
Rushing evolutions without proper preparation can leave you vulnerable to the game's most punishing enemy patterns. This could result in an early run termination that could have been avoided with better planning.
Strategic Upgrade Timing
It is critical to time evolutions correctly to maximize bounce effectiveness. Poorly timed upgrades can interrupt your rhythm and reduce damage output during crucial moments when enemy pressure is highest.
The window between waves often provides the safest opportunity to evolve without sacrificing momentum. Sometimes evolving mid-wave can provide the burst needed to survive overwhelming odds when your screen becomes too crowded with projectiles and enemies.
Optimal Build Composition for Hard Mode
The Flagellant build with Maggot, Brood Mother, and Egg Sac II evolutions is particularly effective for hard mode. This specific combination creates powerful synergy that addresses the increased demands of hard difficulty while maintaining consistent pressure on enemies.
The Maggot evolution provides essential sustain, while Egg Sac II ensures you have resources to maintain your army of baby balls throughout extended engagements that define hard mode.
The success of this build relies on understanding how each component interacts with The Flagellant's core mechanics. Resource generation becomes paramount in hard mode, where enemies have increased health and damage.
Without proper resource management, you will find yourself unable to spawn sufficient baby balls to control the battlefield effectively against the tougher enemy compositions that appear in later stages.
Resource Generation Loop
The Flagellant's unique bouncing mechanics work exceptionally well with the Brood Mother's baby ball spawn ability. Increased ball interactions lead to more frequent baby ball generation, creating a positive feedback loop that sustains your offense without additional resource investment.
Each bounce becomes a potential spawn event, multiplying your presence on screen and overwhelming enemies through sheer numbers and constant activity.
🎯 Pro Tip: Plan your evolution path from the first stage. Deviating from your target build can delay crucial power spikes and leave you underpowered during the most difficult sections of the game.
Character Synergies and Team Compositions
Strategic team building amplifies bounce mechanics through targeted character pairings. These synergies transform individual abilities into powerful, screen-wide effects that maximize damage and control.
The Flagellant and The Cohabitants: A Symbiotic Core
The Flagellant pairs exceptionally well with The Cohabitants as a foundational team composition. This duo creates a symbiotic relationship that enhances overall combat effectiveness through coordinated ball mechanics.
Damage Enhancement: The Cohabitants character provides a 15% damage increase to other balls when combined with Flagellant's bouncing mechanics. This boost applies to all projectiles cycling through the bounce pattern, making each hit more impactful.
Status Effect Extension: The Cohabitants provides a 20% increase to all status effect durations when combined with Flagellant's bouncing mechanics. This prolongs bleed, burn, and poison effects across multiple bounce cycles, ensuring maximum damage over time.
360-Degree Coverage: The Flagellant's bottom-bounce mechanic creates a comprehensive attack pattern when paired with The Cohabitants. Balls continuously cycle around the screen perimeter, hitting targets from all angles simultaneously.
Flagellant and Matchmaker: The Forever Lasers Fusion
Matchmaker unlocks around Stage 3-4 and can fuse with The Flagellant to create a devastating combination. This fusion generates Forever Lasers, an endless loop of bouncing projectiles.
The Flagellant + Matchmaker fusion produces Holy Maggot Lasers that bounce indefinitely between the top and bottom of screen, dealing continuous damage. This creates sustained damage output without additional input, perfect for prolonged battles and boss encounters.
FAQ Section
How Do The Flagellant's Bounce Mechanics Work?
The Flagellant's main ability makes balls bounce off the screen bottom instead of disappearing. This ensures a constant barrage from both directions, fundamentally changing how you approach combat.
Bounce Mechanics: This creates a chaotic dual-direction assault that requires precise timing and skill to manage effectively. Mastering this mechanic is essential for success. The unique bounce behavior means projectiles remain active longer, creating complex patterns that can overwhelm both you and your enemies.
What Is the Best Evolution Path?
The Flagellant's best evolutions include Maggot, Brood Mother, and Egg Sac II. These specifically enhance the character's bouncing mechanics and overall effectiveness. This evolution path is particularly effective for hard mode, providing sustained damage output and resource generation.
Key benefits of this path:
- Enhanced bouncing capabilities
- Improved resource generation
- Consistent damage output
Is The Flagellant Suitable for Beginners?
The Flagellant requires significant skill and precise timing to manage effectively. The chaotic dual-direction assault creates a high skill ceiling that most beginners will struggle with. New players should consider other characters first. The Flagellant is better suited for experienced players who can handle its complex mechanics.
What Is the Strongest Fusion Combination?
The Flagellant + Matchmaker fusion creates 'Holy Maggot Lasers'. These projectiles bounce indefinitely between the top and bottom of the screen, dealing continuous damage. This fusion represents the pinnacle of The Flagellant's potential. The infinite bounce pattern creates unparalleled zone control and damage potential.
Conclusion - Mastering The Flagellant
The Flagellant stands as one of the most rewarding characters for dedicated players. Its unique bounce mechanics transform the fundamental rules of engagement, creating gameplay experiences found nowhere else in the game.
Skill and Precision Required
Mastering this character demands significant skill and precise timing. The chaotic dual-direction assault requires constant attention and practice to manage effectively, separating novice players from true experts.
Exceptional Synergy Potential
The Flagellant's bounce mechanics create remarkable synergies. The Maggot, Brood Mother, and Egg Sac II evolution build excels in hard mode due to sustained damage output and resource generation. For ultimate power, the Flagellant + Matchmaker fusion creates 'Holy Maggot Lasers' that bounce indefinitely, dealing continuous damage.
Baby Ball Dominance: The Flagellant's bounce mechanics work exceptionally well with Brood Mother's baby ball spawn ability, as increased ball interactions lead to more frequent baby ball generation.
This character is perfect for players wanting advanced strategies and baby ball dominance. While the learning curve is steep, the Flagellant rewards mastery with unparalleled battlefield control and devastating combo potential. Embrace the challenge and transform your gameplay.
More Ball-x-Pit Guides

Ball X Pit Ultimate Guide 2025: Mastering The Radical Character
Complete guide to Ball X Pit's Radical character, ball evolution strategies, and pro tips for dominating every run in this innovative brick-breaking roguelite.
BallXPit Base Building Guide: Optimized Layouts, Resource Loops & Progression
Master BallXPit base building with our complete guide. Learn the 7-mine U-shape gold farm, optimal build order, character unlocks, and advanced resource loops to dominate every run.
Ball X Pit Ultimate Guide: Character Matchups, Boss Strategies & Evolution Synergies
Master Ball X Pit with our complete guide covering character matchups, boss strategies, evolution synergies, and community-proven tactics for every stage from Skeleton King to Void Sovereign.
AI Tactical Companion
Consult with our specialized tactical engine for Ball-x-Pit to master the meta instantly.