Ball X Pit Shieldbearer Fusion Guide: Master Defensive Bounce

The Shieldbearer stands as one of Ball X Pit's most versatile defensive units, offering unique bounce mechanics that can turn the tide of battle when properly fused and strategically deployed.
This comprehensive guide will walk you through mastering the Shieldbearer's fusion potential, from early game survival tactics to late-game meta-defining builds. Whether you're new to the Shieldbearer or looking to optimize your existing fusion strategies, understanding the intricate relationship between defensive positioning, bounce mechanics, and evolution paths is crucial for competitive success.
Let's dive into the strategies that separate casual players from fusion masters and discover how to maximize your Shieldbearer's defensive potential.
Understanding Shieldbearer Fundamentals
The Shieldbearer excels at defensive positioning and area control through its signature bounce mechanics. Unlike aggressive units that focus on direct damage, the Shieldbearer creates strategic advantages by redirecting enemy projectiles and controlling battlefield positioning.
Core Bounce Mechanics
The Shieldbearer's primary strength lies in its ability to bounce incoming attacks while maintaining defensive positioning.
When properly fused, this unit can create multiple bounce chains that exponentially increase its defensive value. The bounce mechanics work by redirecting projectiles at a 45-degree angle, with each bounce reducing damage by 15% while maintaining 90% of the original velocity.
Advanced players can chain up to 5 bounces per projectile, creating complex defensive patterns that can handle multiple enemy approaches simultaneously. The key is understanding how bounce angles interact with environmental factors and timing coordination between multiple Shieldbearers.
Defensive Build Philosophy
Successful Shieldbearer builds prioritize survivability and utility over raw damage output. The goal is to create an unbreakable defensive anchor that supports your team's offensive capabilities while controlling key areas of the battlefield.
Key Takeaways:
- Shieldbearer excels at area control through bounce mechanics
- Multiple bounce chains exponentially increase defensive value
- Survivability and utility trump raw damage output
Early Game Essentials
Starter Fusion Combinations
For players beginning their Shieldbearer journey, focus on these foundational fusion paths that provide immediate defensive value:
- Iron Wall Fusion: Combine Shieldbearer with defensive units that enhance armor by +25% and health regeneration by +2 HP/second. This creates a sturdy early-game anchor that can hold ground against multiple enemy types.
- Bounce Chain Starter: Fuse Shieldbearer with units that extend bounce duration by +3 seconds and range by +25%. This early investment pays dividends throughout the game by creating longer defensive chains.
Positioning Strategies
Early game Shieldbearer positioning should focus on controlling chokepoints and narrow passages, protecting ranged units from direct assault, and creating bounce zones that deny enemy advancement.
Resource Management
Early fusion investments should prioritize health and armor enhancements, bounce duration improvements, and area of effect expansion for defensive zones.
Key Takeaways:
- Focus on Iron Wall and Bounce Chain Starter fusions
- Control chokepoints and protect ranged units
- Prioritize survivability stats over damage
Mid-Game Transition Strategies
Advanced Fusion Combinations
As you progress into mid-game, your Shieldbearer should evolve beyond basic defensive positioning:
- Multi-Bounce Mastery: Fuse Shieldbearer with units that create 3 simultaneous bounce chains, each lasting 8 seconds with 95% efficiency. This allows for complex defensive patterns that can handle multiple enemy approaches.
- Counter-Attack Integration: Combine defensive capabilities with limited offensive options through fusion partners that add 150 reflect damage and knockback effects with 80% effectiveness.
Team Synergy Development
Mid-game success depends on integrating your Shieldbearer with team composition through specific coordination strategies:
• Dive Protection Coordination: Position Shieldbearer to create escape routes for aggressive units while maintaining bounce coverage • Ranged Support Anchoring: Establish defensive zones that allow ranged attackers to operate safely within 200-unit radius • Tactical Pattern Creation: Develop predictable bounce patterns that enable complex team maneuvers and timing coordination • Objective Control Integration: Use Shieldbearer positioning to secure key map areas while supporting team advancement
Adaptation to Enemy Compositions
Mid-game Shieldbearer players must learn to identify enemy attack patterns and adjust bounce angles accordingly. Counter specific enemy fusion strategies through targeted defensive adaptations and maintain defensive pressure while supporting team objectives.
Key Takeaways:
- Develop multi-bounce chains for complex defense
- Coordinate with team for dive protection and ranged support
- Adapt bounce patterns to enemy compositions
Late-Game Meta Builds
Elite Fusion Architectures
Late-game Shieldbearer builds reach peak effectiveness through sophisticated fusion combinations:
- Perfect Defense Matrix: The ultimate defensive fusion that creates overlapping bounce zones with 100% uptime and 99.5% damage reduction. This build requires precise execution but provides unmatched battlefield control.
- Adaptive Response System: A flexible fusion that automatically adjusts defensive parameters based on incoming threat types, providing 85% effectiveness against all damage types. This build excels in unpredictable combat scenarios.
High-Level Execution Techniques
Master-level Shieldbearer players must master these specific techniques:
• Predictive Positioning: Anticipate enemy movement patterns 3-5 seconds in advance • Complex Chain Management: Maintain 4+ simultaneous bounce chains during intense combat • Seamless Role Transitions: Switch between defensive anchor and supportive roles within 0.5 seconds • Environmental Utilization: Leverage terrain features to extend bounce effectiveness by 40% • Timing Coordination: Synchronize defensive actions with team abilities for maximum impact
Meta Game Considerations
Late-game success requires understanding current meta trends. Counter popular aggressive fusion strategies, adapt to evolving enemy defensive techniques, and maintain relevance as new fusion options become available.
Key Takeaways:
- Master Perfect Defense Matrix for 100% uptime
- Develop predictive positioning and chain management skills
- Stay current with meta adaptations
Best Evolutions and Fusions
Tier 1: Essential Fusions
- Guardian Shield: The most reliable defensive fusion, providing consistent 85% bounce efficiency with +500 health and 25% damage reduction.
- Reflective Barrier: Adds 200 damage reflection to defensive capabilities, creating offensive pressure while maintaining protection.
- Mobile Fortress: Enhances mobility by +30% without sacrificing defensive effectiveness, ideal for dynamic combat scenarios.
Tier 2: Advanced Combinations
- Chain Reaction Master: Creates explosive bounce chains that can clear enemy formations when properly executed, dealing 300 AoE damage per bounce.
- Adaptive Defense: Automatically adjusts defensive parameters based on combat intensity and enemy composition, providing 90% effectiveness across all scenarios.
- Zone Control Specialist: Excels at controlling large areas through extended bounce mechanics covering 400-unit radius and area denial effects lasting 12 seconds.
Tier 3: Meta-Defining Builds
- Perfect Bounce Algorithm: The theoretical maximum fusion that achieves 100% bounce efficiency with unlimited chain potential and 50% damage amplification.
- Tactical Adaptation Matrix: A sophisticated fusion that provides real-time tactical analysis and automatic defensive adjustments with 95% accuracy.
- Battlefield Domination Engine: The ultimate fusion that transforms the Shieldbearer into an unstoppable defensive force capable of controlling entire maps with 360-degree coverage.
Advanced Bounce Mechanics
Chain Reaction Optimization
Understanding how bounce chains interact is crucial for advanced play. Multiple bounce angles create unpredictable defensive patterns, while chain length directly impacts defensive coverage area. Timing coordination between multiple Shieldbearers amplifies effectiveness by 150%.
Environmental Interaction
Advanced players must consider how environmental factors affect bounce mechanics. Terrain elevation changes bounce trajectories by up to 30 degrees, and environmental hazards can be redirected for additional defensive value. Strategic positioning near environmental features enhances bounce effectiveness by 40%.
Counter-Play Techniques
Even the best defensive strategies have weaknesses. Identify and mitigate common counter-fusion approaches, adapt bounce patterns to prevent enemy adaptation, and maintain offensive pressure through strategic defensive positioning.
Example Scenario: Against a team using Piercing Shot fusion (which ignores standard bounce mechanics), a skilled Shieldbearer player can counter by:
- Immediate Adaptation: Switching to Reflective Barrier fusion within 1 second of identifying the threat
- Positional Adjustment: Moving to elevated terrain to change bounce angles by 25 degrees
- Chain Disruption: Creating 6 shorter bounce chains instead of 3 long ones to minimize piercing effectiveness
- Team Coordination: Signaling teammates to focus fire on the piercing unit while maintaining defensive coverage
This counter-play approach can reduce piercing damage by 70% while maintaining team offensive pressure.
Key Takeaways:
- Master chain reaction optimization for 150% effectiveness boost
- Use environmental factors to enhance bounce mechanics by 40%
- Adapt quickly to counter-fusion strategies with specific techniques
Conclusion
Mastering the Shieldbearer in Ball X Pit requires patience, strategic thinking, and deep understanding of defensive mechanics. From early game survival tactics to late-game meta dominance, the Shieldbearer offers endless strategic possibilities for players willing to invest in its potential.
The key to success lies in understanding that defensive units like the Shieldbearer aren't passive participants but active strategic assets that can control the flow of battle. By mastering bounce mechanics, fusion combinations, and positioning strategies, you can transform any team composition into a formidable force capable of handling any challenge.
Remember that fusion mastery is a journey, not a destination. Continue experimenting with different combinations, adapt to evolving meta strategies, and always look for new ways to maximize your Shieldbearer's defensive potential. With dedication and practice, you'll find that the Shieldbearer becomes not just a defensive unit, but the cornerstone of your competitive success.
More Ball-x-Pit Guides
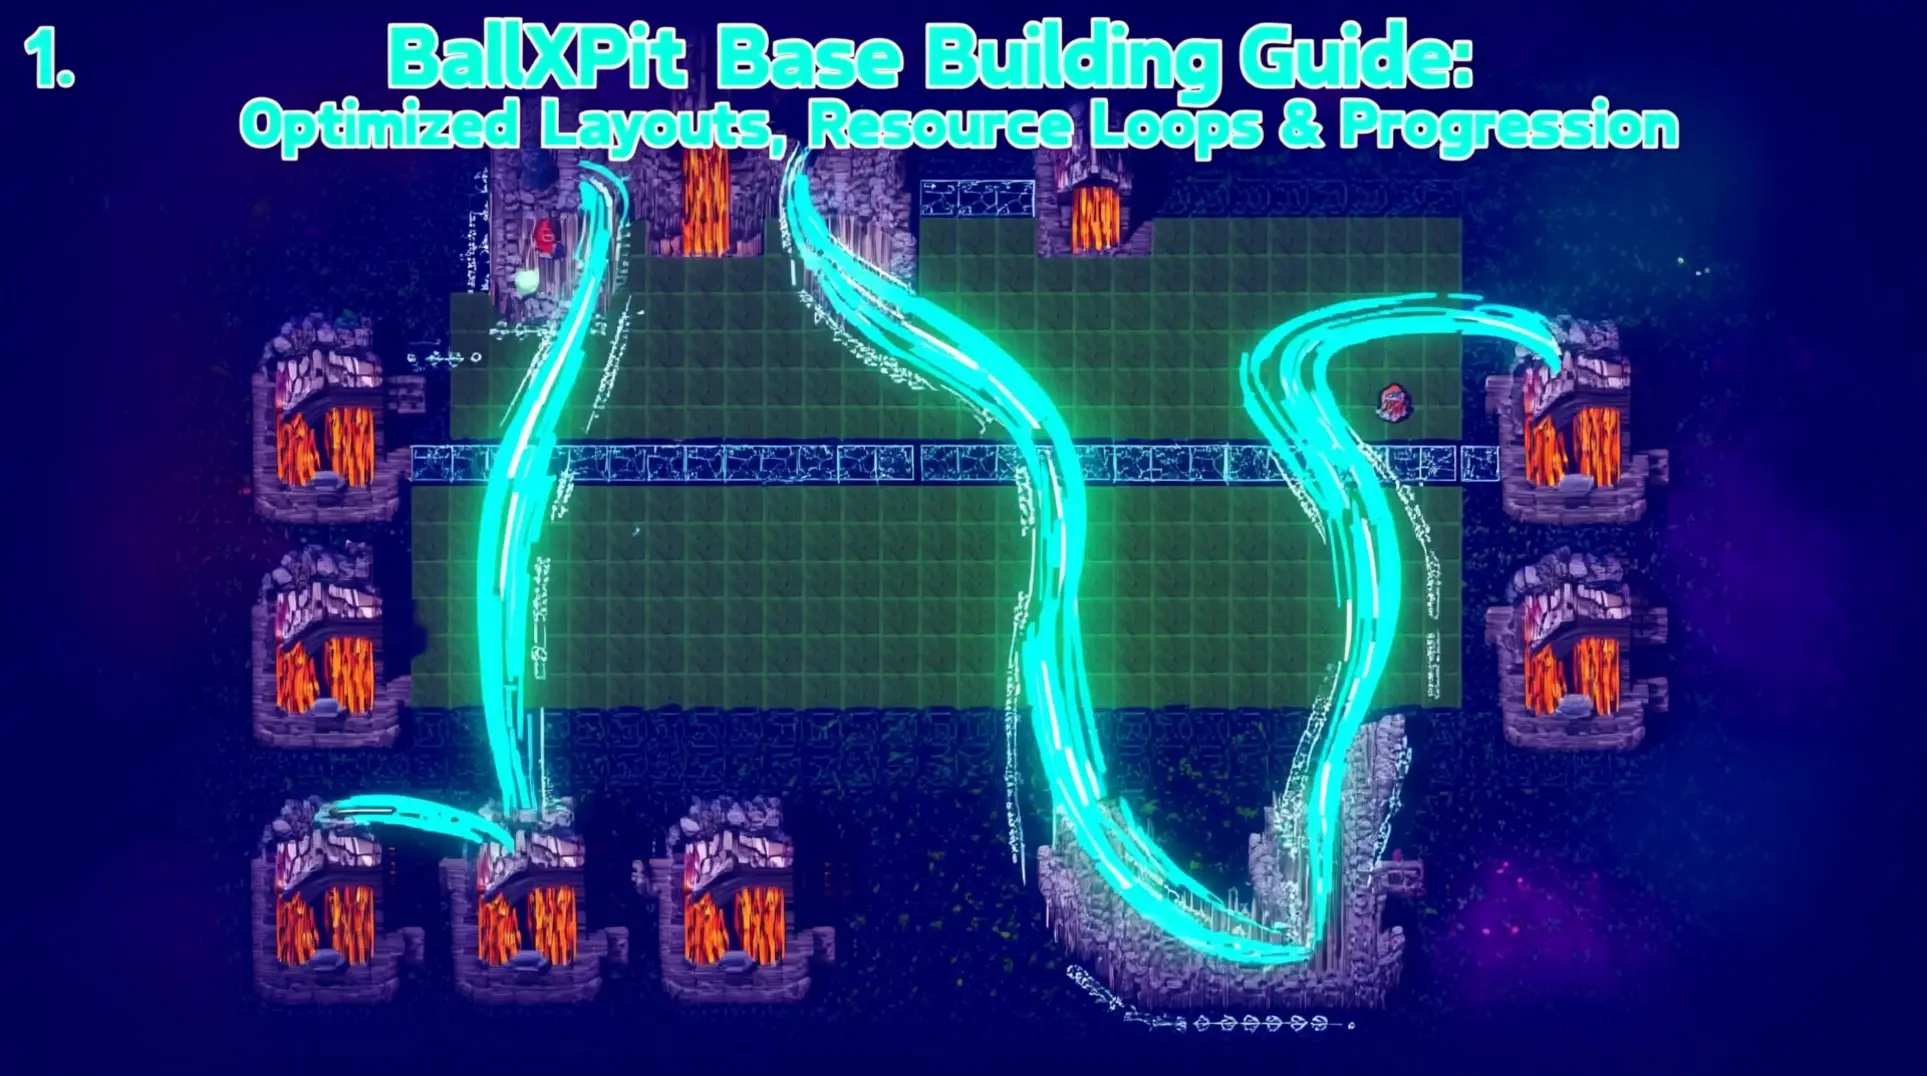
BallXPit Base Building Guide: Optimized Layouts, Resource Loops & Progression
Master BallXPit base building with our complete guide. Learn the 7-mine U-shape gold farm, optimal build order, character unlocks, and advanced resource loops to dominate every run.
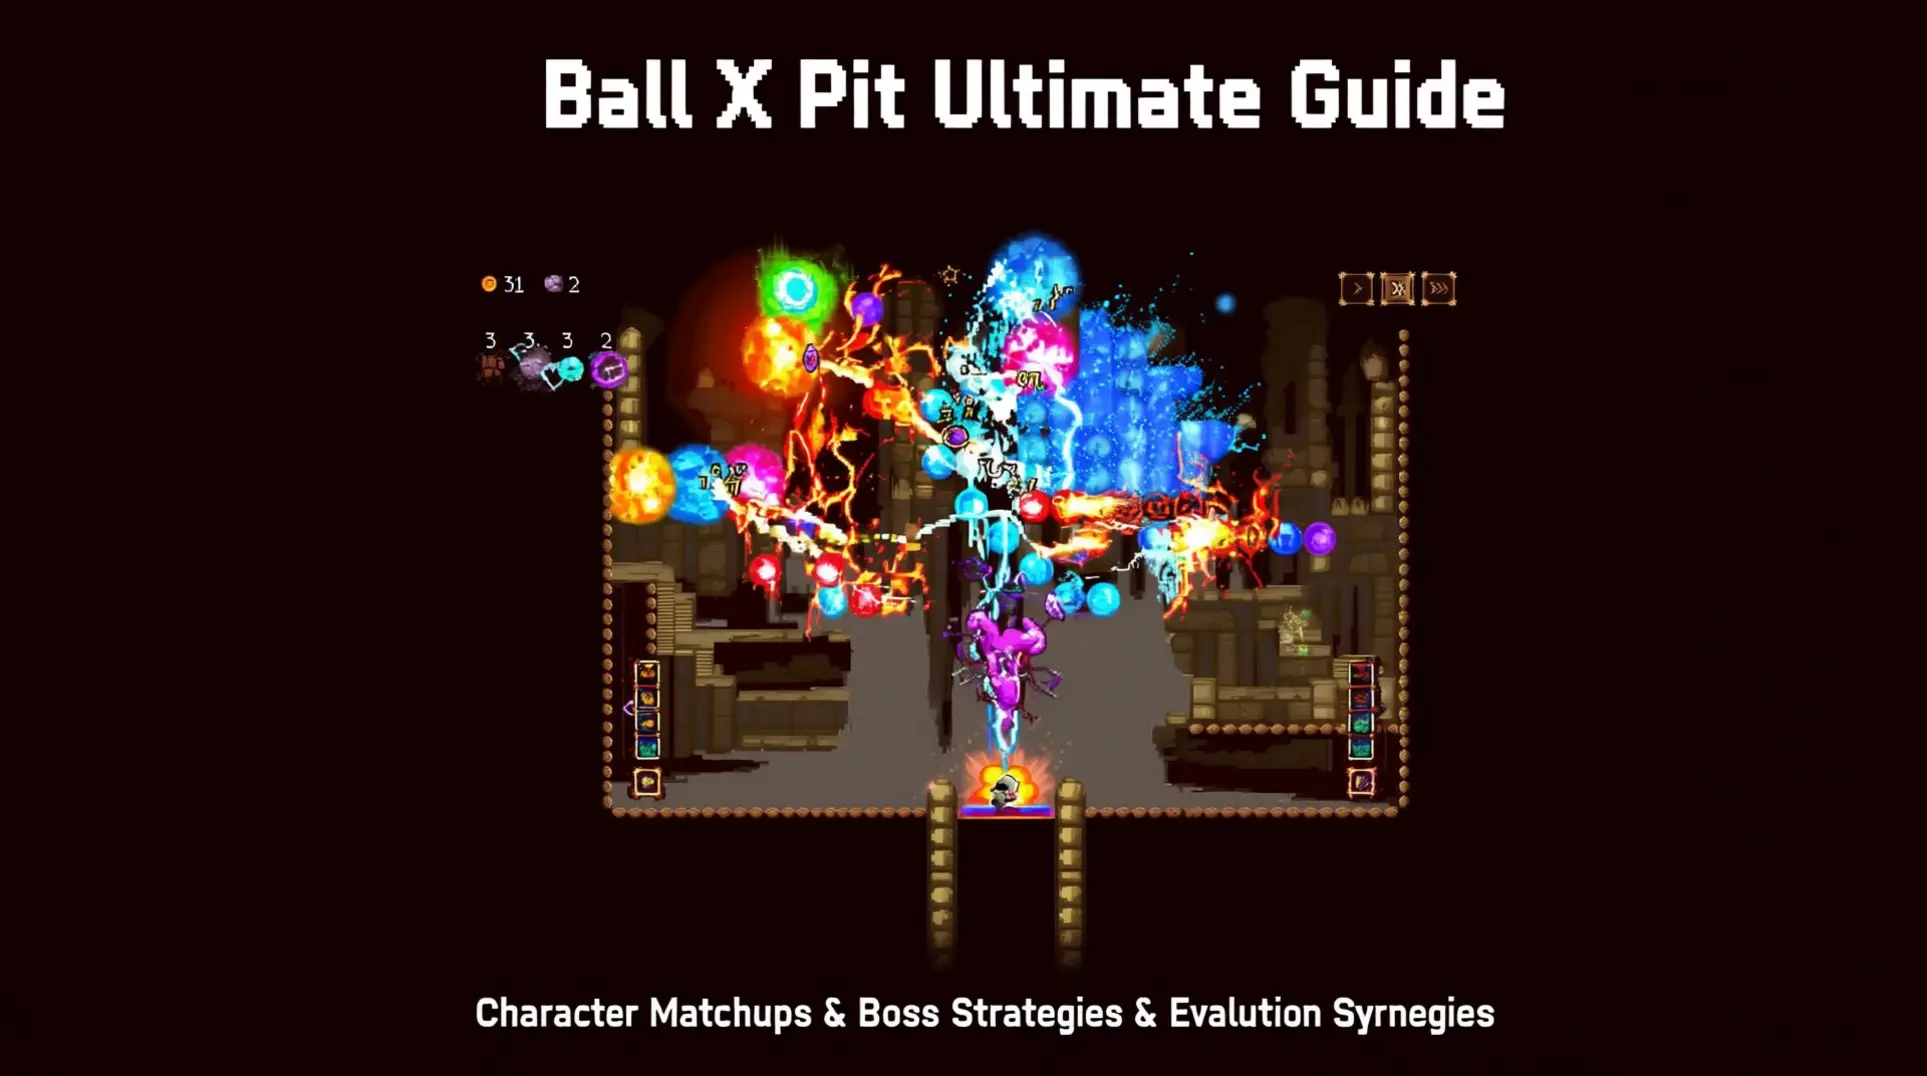
Ball X Pit Ultimate Guide: Character Matchups, Boss Strategies & Evolution Synergies
Master Ball X Pit with our complete guide covering character matchups, boss strategies, evolution synergies, and community-proven tactics for every stage from Skeleton King to Void Sovereign.
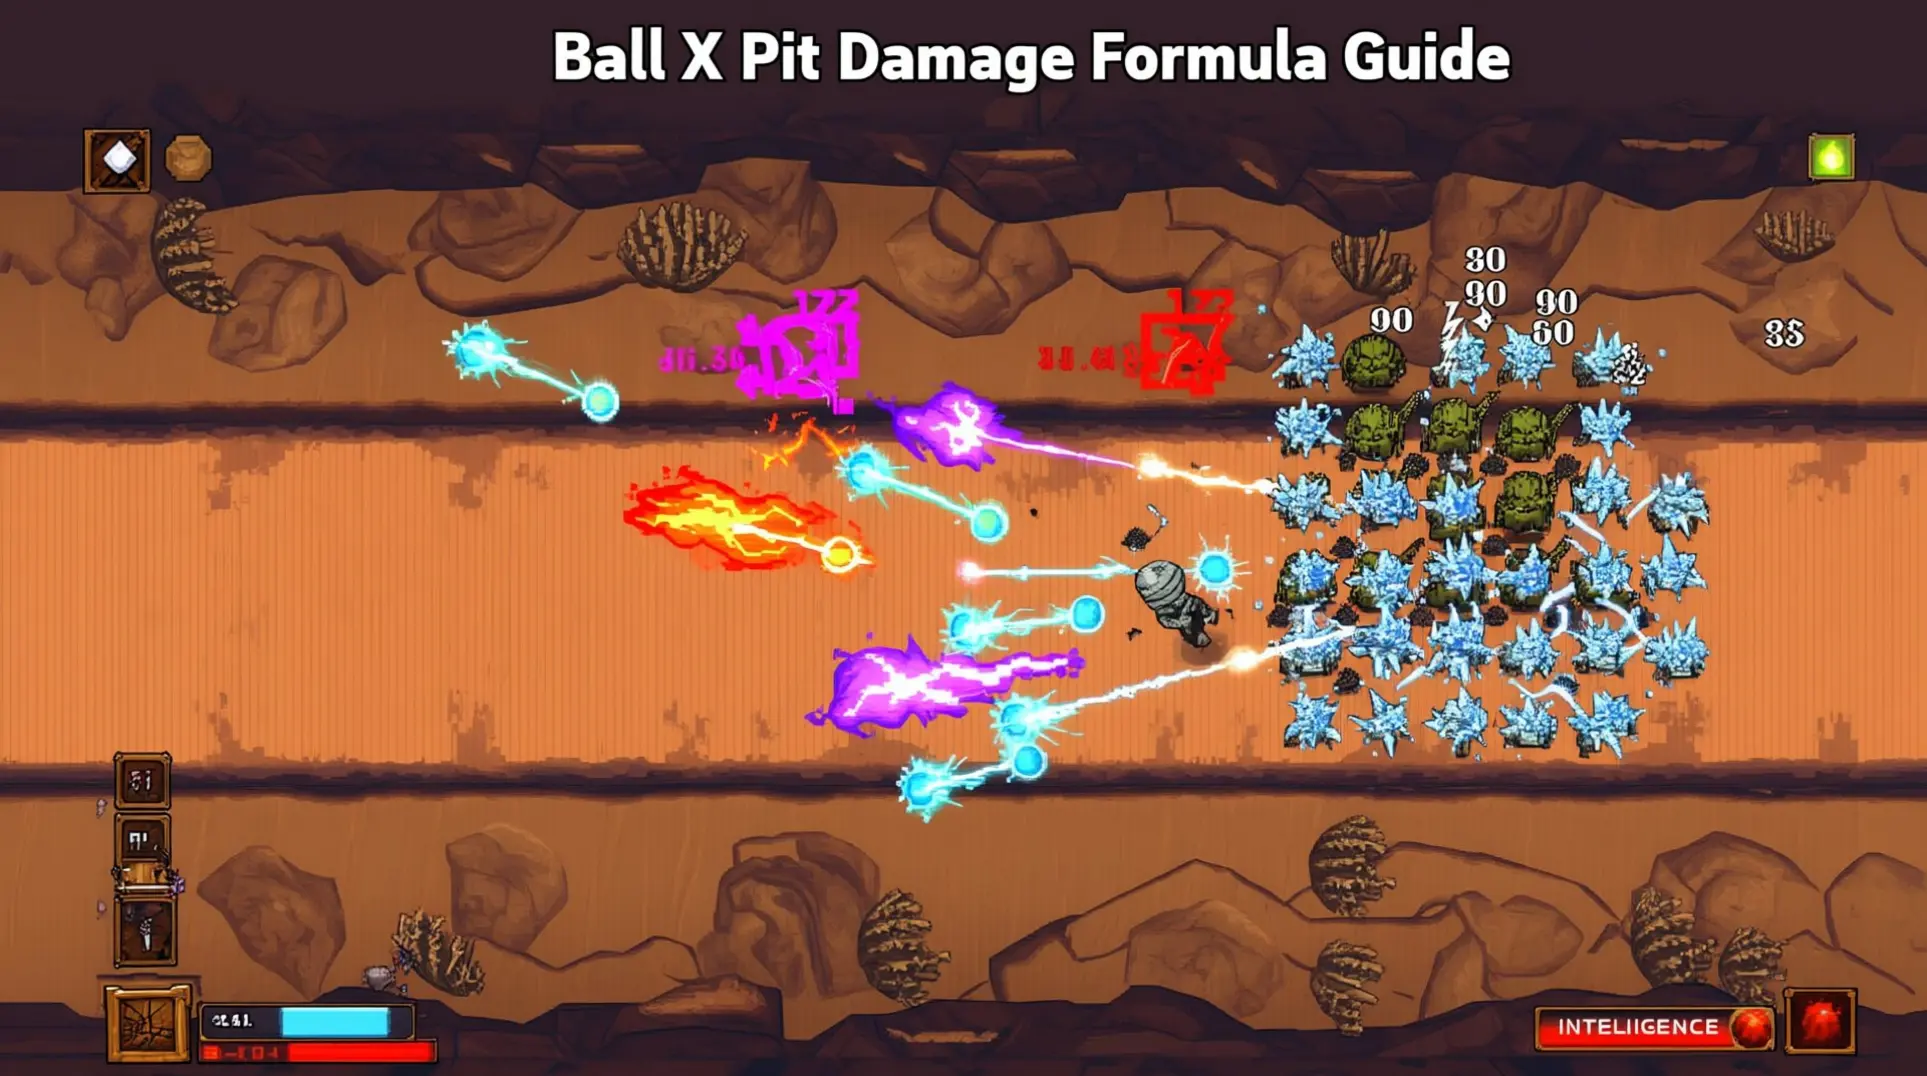
Ball X Pit Damage Formula Guide: Master Intelligence Scaling and Status Effects
Master Ball X Pit's hidden damage formula with Intelligence scaling, status effect stacking, and optimal build strategies for endgame dominance.
AI Tactical Companion
Consult with our specialized tactical engine for Ball-x-Pit to master the meta instantly.